Capture Learning with Screencastify
Another one of my favorite tools to integrate into any classroom is Screencastify. There are a number of tools for screen recording, but Screencastify sits atop the list, in my opinion. It is accessible to both adults and students when used in the classroom. Teachers can use it to record feedback or flipped lessons. Students can use it to record standalone video or provide commentary on a presentation. Setup is literally as easy as 1-2-3.
Setup in 1-2-3
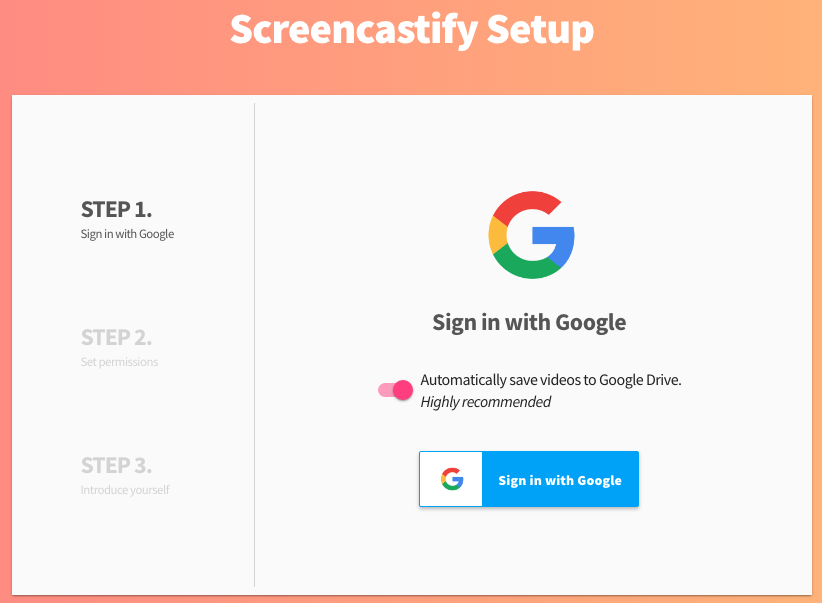
The first step in setup is to sign in with Google. Make sure you are using your school account (select it after clicking the blue button).
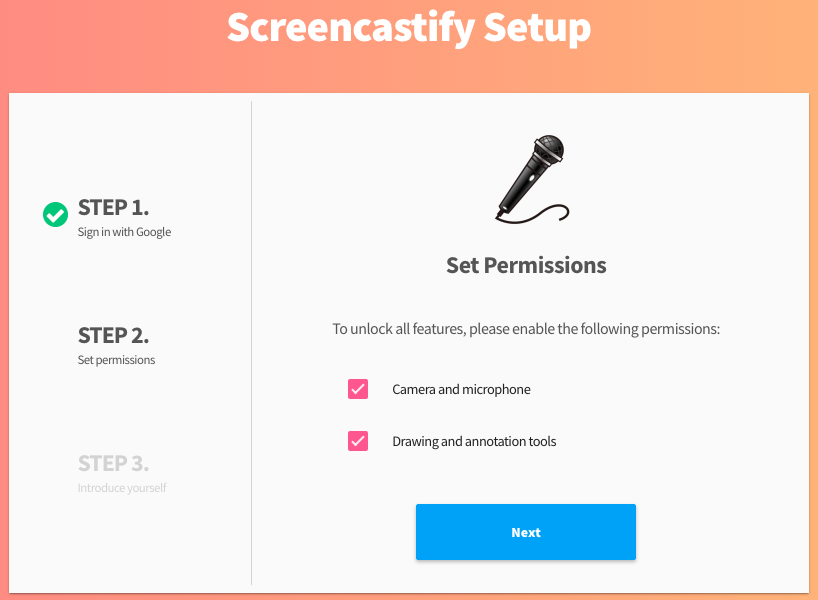
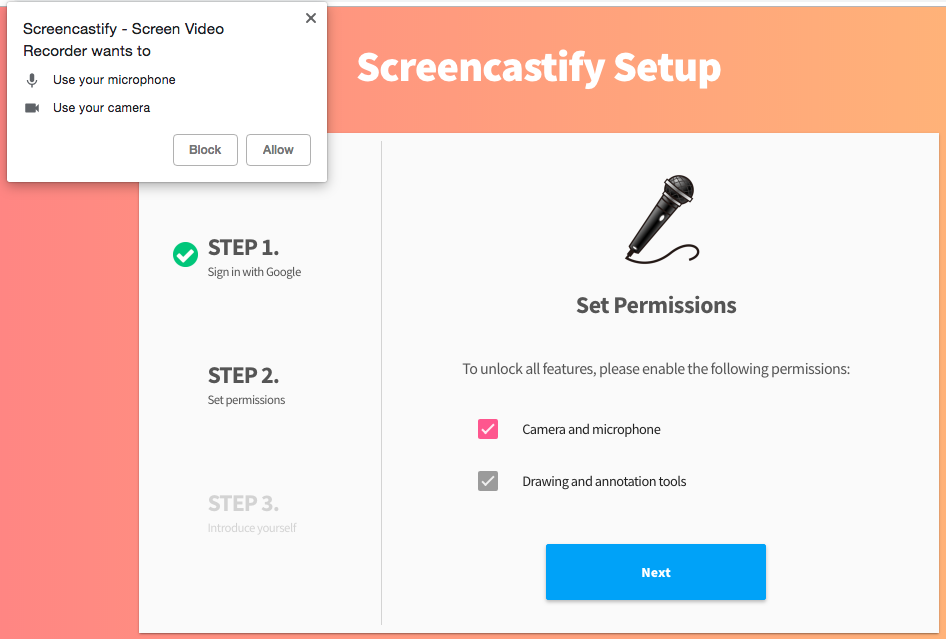
The second step involves a couple of follow up clicks to ensure permissions are set correctly. If you are working with students…this is important. Make sure you prep them so they stop before each step and wait for directions. Typically permissions can be fixed after the fact, but every once in a while (particularly on a Chromebook), you can end up with an account issue due to denying permissions from the start. Note the placement of the “allow” option in each dialogue box. See screenshots.
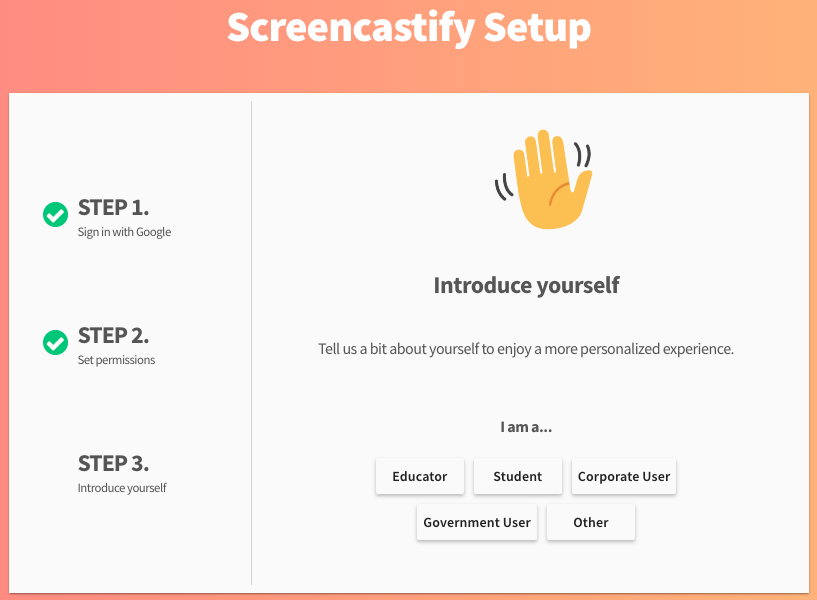
The third step for those of us in schools boils down to selecting “Educator” or “Student” to finish your setup.
The video that pops up once setup is complete gives you a preview of the features and is embedded below.

Free, or not to free
The free version of Screencastify gives you 50 videos per month and a maximum length of 10 minutes per video. While the free version is certainly robust enough to use as-is, it would be worth considering the paid option if you can add that to your school tools. Contact them for a price quote that is right for your classroom, school or district. The paid version offers basic editing capabilities and that is the primary advantage for schools using Chromebooks and looking for some basic editing within an extension. Whether you have Chromebooks or not, you should be trying this extension out for yourself and your students.

Teacher Friendly
As a teacher you can do flipped lessons, provide feedback with annotations (tab option) and add yourself into the screen recording via the embedded webcam option. For student projects they can use the “Webcam Only” option to record themselves or give a presentation through the Tab or Desktop options. One way we put this to use in a Chromebook environment was with the music students who needed to record themselves playing their instruments. They were able to set up their Chromebook, click record, and easily create/access a video recording that automatically saves to Google Drive.
Google Integration
You know I love tech tools that integrate with Google. The G Suite environment is increasingly more prolific in schools. Finding a tool that integrates with Google just makes sense. If your own school is set up well, using G Suite and potentially a single sign on option like Clever, you simplify the process of technology integration for both teachers and students. In the setup process the default option is to save videos and sync with your Google account. I would not change this option. This is what Screencastify was built to do, and it does it well. Students can easily record and rename videos that save to Google Drive. If an assignment asks them to attach a video to Google Classroom, for example, this is a quick process once their recordings are complete since they go straight to Drive.
Final Thoughts
I am a big fan of Screencastify for my own use and with students in the classroom. I have used it in a limited fashion with students as young as Kindergarten and second graders can access it independently. It is important to teach students about the 50 video limit (the YouTube generation will want to do many, many takes!), if you are using the free version. Fortunately, there is a bit of a workaround if you restart a video, instead of stopping it, to do multiple takes. This may take some practice to master that level of coordination - there is definitely a temptation to click stop, watch the video, then decide to go back and re-record. I have tried to encourage students to just roll with it, and keep their first recording. Naming the video is an important step to teach kids (and adults!) because you will end up with numerous recordings in Drive. Naming the files makes it easy to identify them at a glance. Even though I would be a fan just because I have used it and I know it works well, it does not hurt that Screencastify is based in Chicago!
UPDATE July 2019:
Check out the FREE PD offered by Screencastify to learn more about integrating with G Suite (Google Apps For Education) tools: Screencastify Genius! The course is led by none other than Alice Keeler! It is a lovely short breakdown of some examples to use Screencastify as a learning tool in the classroom. Extremely easy to follow along with the content and it should inspire you to try something you learn right away in your classroom. I will share an updated post once I have more from the uses in my current school. Stay tuned for that this coming year!