Laser Cut Acrylic Puzzle
As I spend more time trying out samples with the laser cutter and different applications this puzzle idea kept nagging at me. While I have done laser cut wood puzzles before I have never tried to make one using acrylic. One of the biggest challenges with cutting a puzzle is getting the actual pieces the way you want them. When I stumbled upon this awesome jigsaw puzzle generator by Draradech online I was geeked to try it out.

The generator allows the puzzle to be customized in a number of ways. Files are exported as SVG and can be dropped right into Adobe Illustrator (or whatever program you use for designing/cutting). The first one I made was a little 9 piece puzzle on a piece of 6” square acrylic. It was pretty cute but the etching was very light. One area I needed to work on was rounding the edges of each corner of the puzzle. This first time around I used a clipping mask with a rounded off square. It worked, but was not ideal.
For the second test run I was able to set the puzzle outline up more effectively. I released the paths so they were disconnected. With each line showing up I was able to remove the outer boundary only and replace it with my rounded edge square. Once that was all merged back together the result was a much cleaner cut job for the laser. Keep in mind that it worked just fine the first time too! The laser followed just fine but it did double cut a bit around the edges as it saw two paths instead of one.
This second puzzle was also a piece of 6” square acrylic. Deep engraving/etching settings were used to test that effect. It is significantly different than the first puzzle since it has grooves dug into the acrylic where all of the graphics are in the design. This puzzle is 25 pieces total. I would not go any smaller with this size of acrylic (the 6” piece). One difference with the smaller pieces was that the edges of each puzzle piece were a big sharper. There are settings in the generator to help with that, but I did not check that in advance. Now I know for the next one!
The puzzle came out pretty well but did need more cleaning that most projects. The library decided to mask the top of the acrylic with the tape (blue) due to the deep engrave/etch settings used. Once the tape is peeled off you can easily wash off the pieces. I used regular dish soap and washed/rinsed a couple times. I did use a brush (nail brush or toothbrush) to make cleaning a bit more efficient. I always have a set of cleaning tools just for this purpose. The Dollar Store is a great resource if you need to add some to your own project supplies!
Since this was another sample to test out I made it with a school theme. The icons used are all part of different fonts (like Dingbats), so there is nothing fancy there. Do not forget to choose “create outlines” any time you are making a version of your file ready for use on another computer. If you have a laser cutter that you access from your own computer then it probably is not an issue for you.

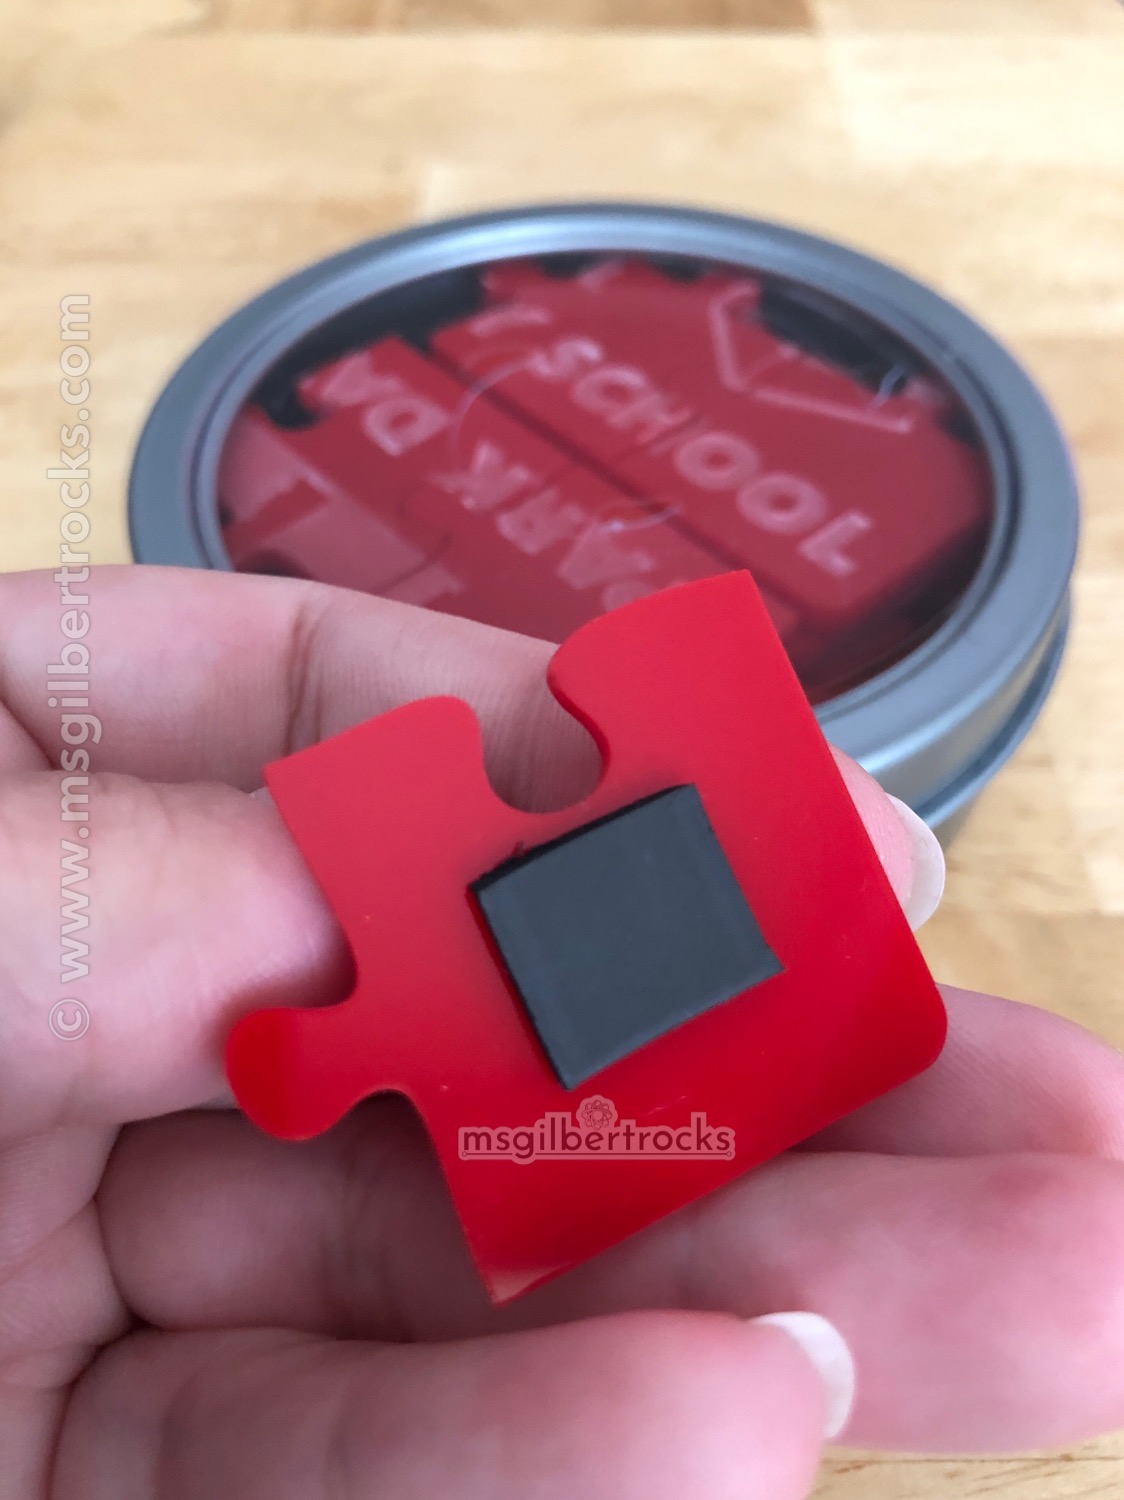
Once the puzzle was all cleaned up I decided to add a small piece of magnetic tape to the back of each piece. I was not entirely sure it would work out, but it did! You can put the puzzle together on a magnetic surface and the pieces match up the same way even though they are raised a bit. The pieces also all fit snugly in one of the larger magnetic office supply organizer tins from Dollar Tree. This will be put on the front of my desk or our portable whiteboard for the kids to get hands on with an acrylic laser etched/cut sample.
If you would like to make your own puzzle you can find the files on Thingiverse. Please be sure to share any remixes! Happy Making!!