Interactive Makey Makey Poster
MarGilly, the collaborative duo of Maggie Lu and Jen Gilbert, is always on the lookout for new and engaging ways to teach science to our students. Recently, we created an interactive Makey Makey poster project for Earth Day with the goal of sharing the content with younger students. We were fortunate to connect with the 2nd and 3rd graders in our building so they could listen to what their 7th and 8th grade buddies had to share about Earth Day in their audio clip.
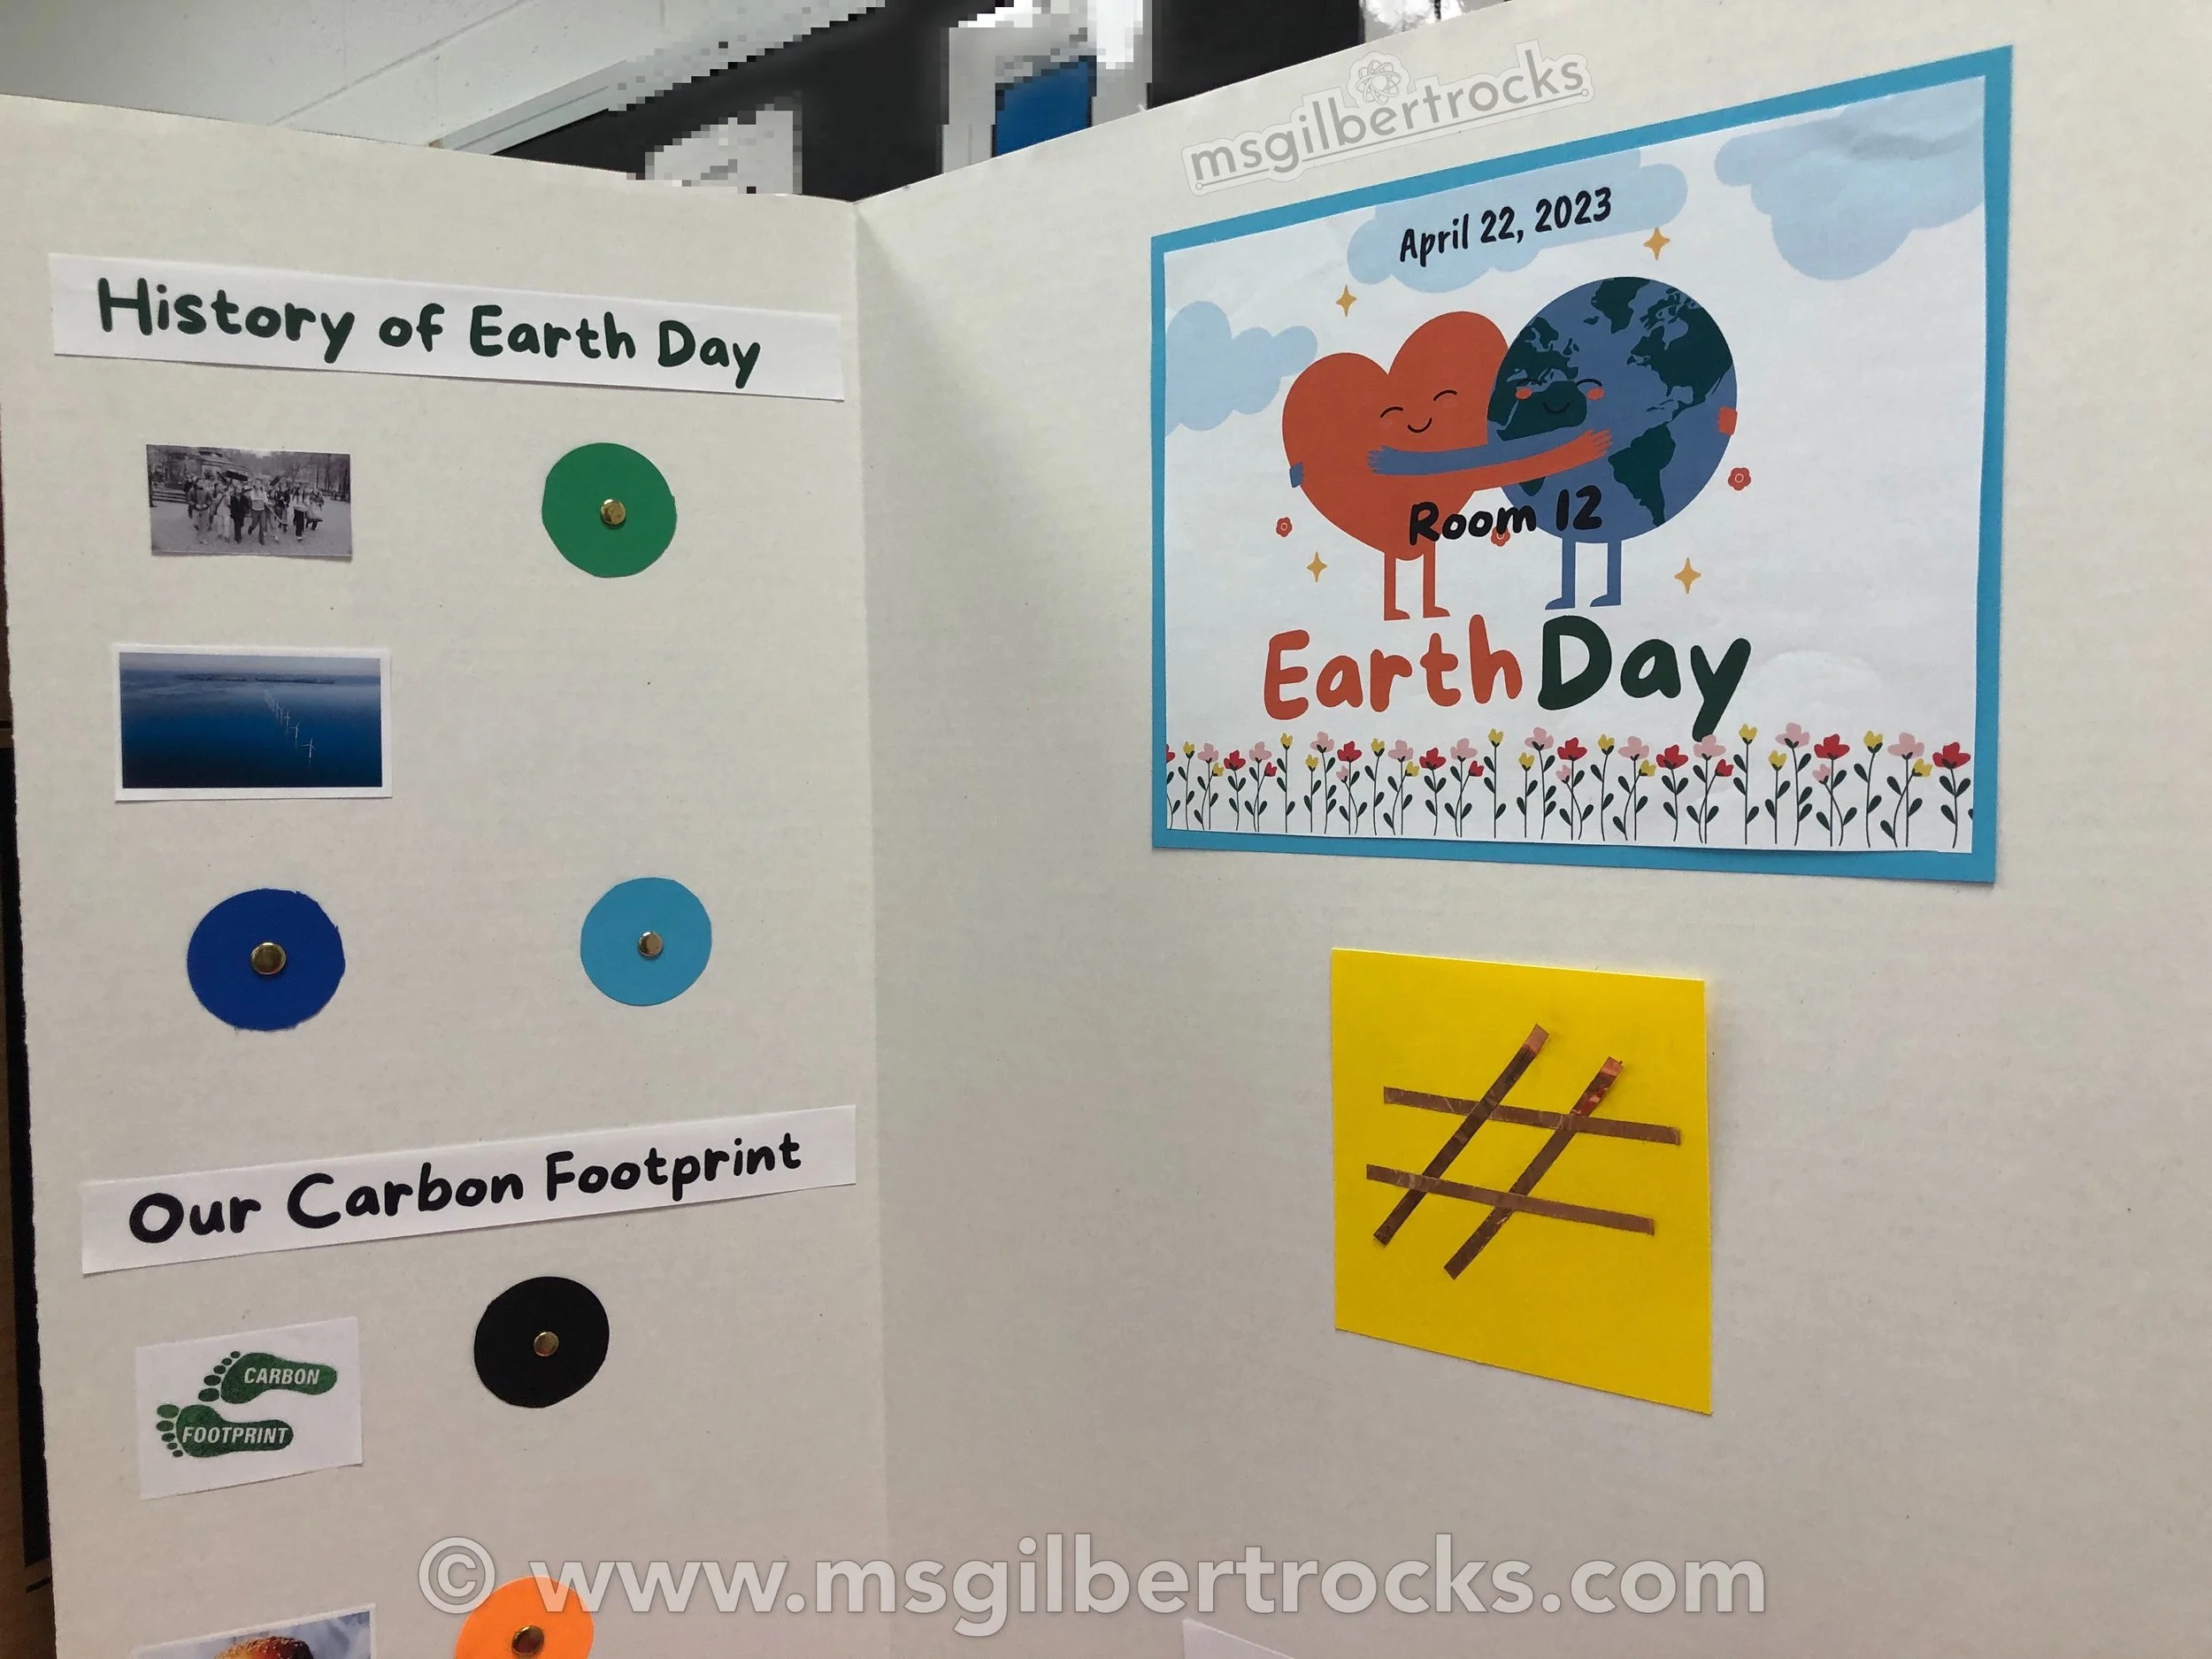
The project used a tri-fold display board, brads, copper tape, and wires connected to a Makey Makey programmed in Scratch. Each student recorded audio with Earth Day information and conservation/sustainability facts. The different areas covered in the display were: History of Earth Day, Our Carbon Footprint, Landfills and Recycling, Sustainability, Our Natural Resources, Air Pollution, Water, and Habitat Destruction. Student names were present on the displays, but were removed from the pictures for posting.

We built on the ideas from other Makey Makey projects I (Jen) have completed over the years, such as the Makey Makey Guitar Remix Project and the Global Programming Wall. In the past, I have also used a mini tri-fold display at conferences (see photo on the left) to share about Makey Makey projects, so it was fun to make a full size version with each homeroom this year. These projects demonstrate the potential of the Makey Makey to turn everyday objects into interactive tools for learning.
The first step in our project was to create the display board. We used a tri-fold display board, which provided three panels for us to work with. We then printed out our Earth Day information using Canva and attached them to the board. Personally, I love using adhesive glue tape to ensure items stick well without bubbling/peeling. This is the brand (permanent version) I have used lately, but shop around for the best deal. I also use it at home for paper crafting, so I find it economical to just keep getting refills for the few runner cases I have on hand.
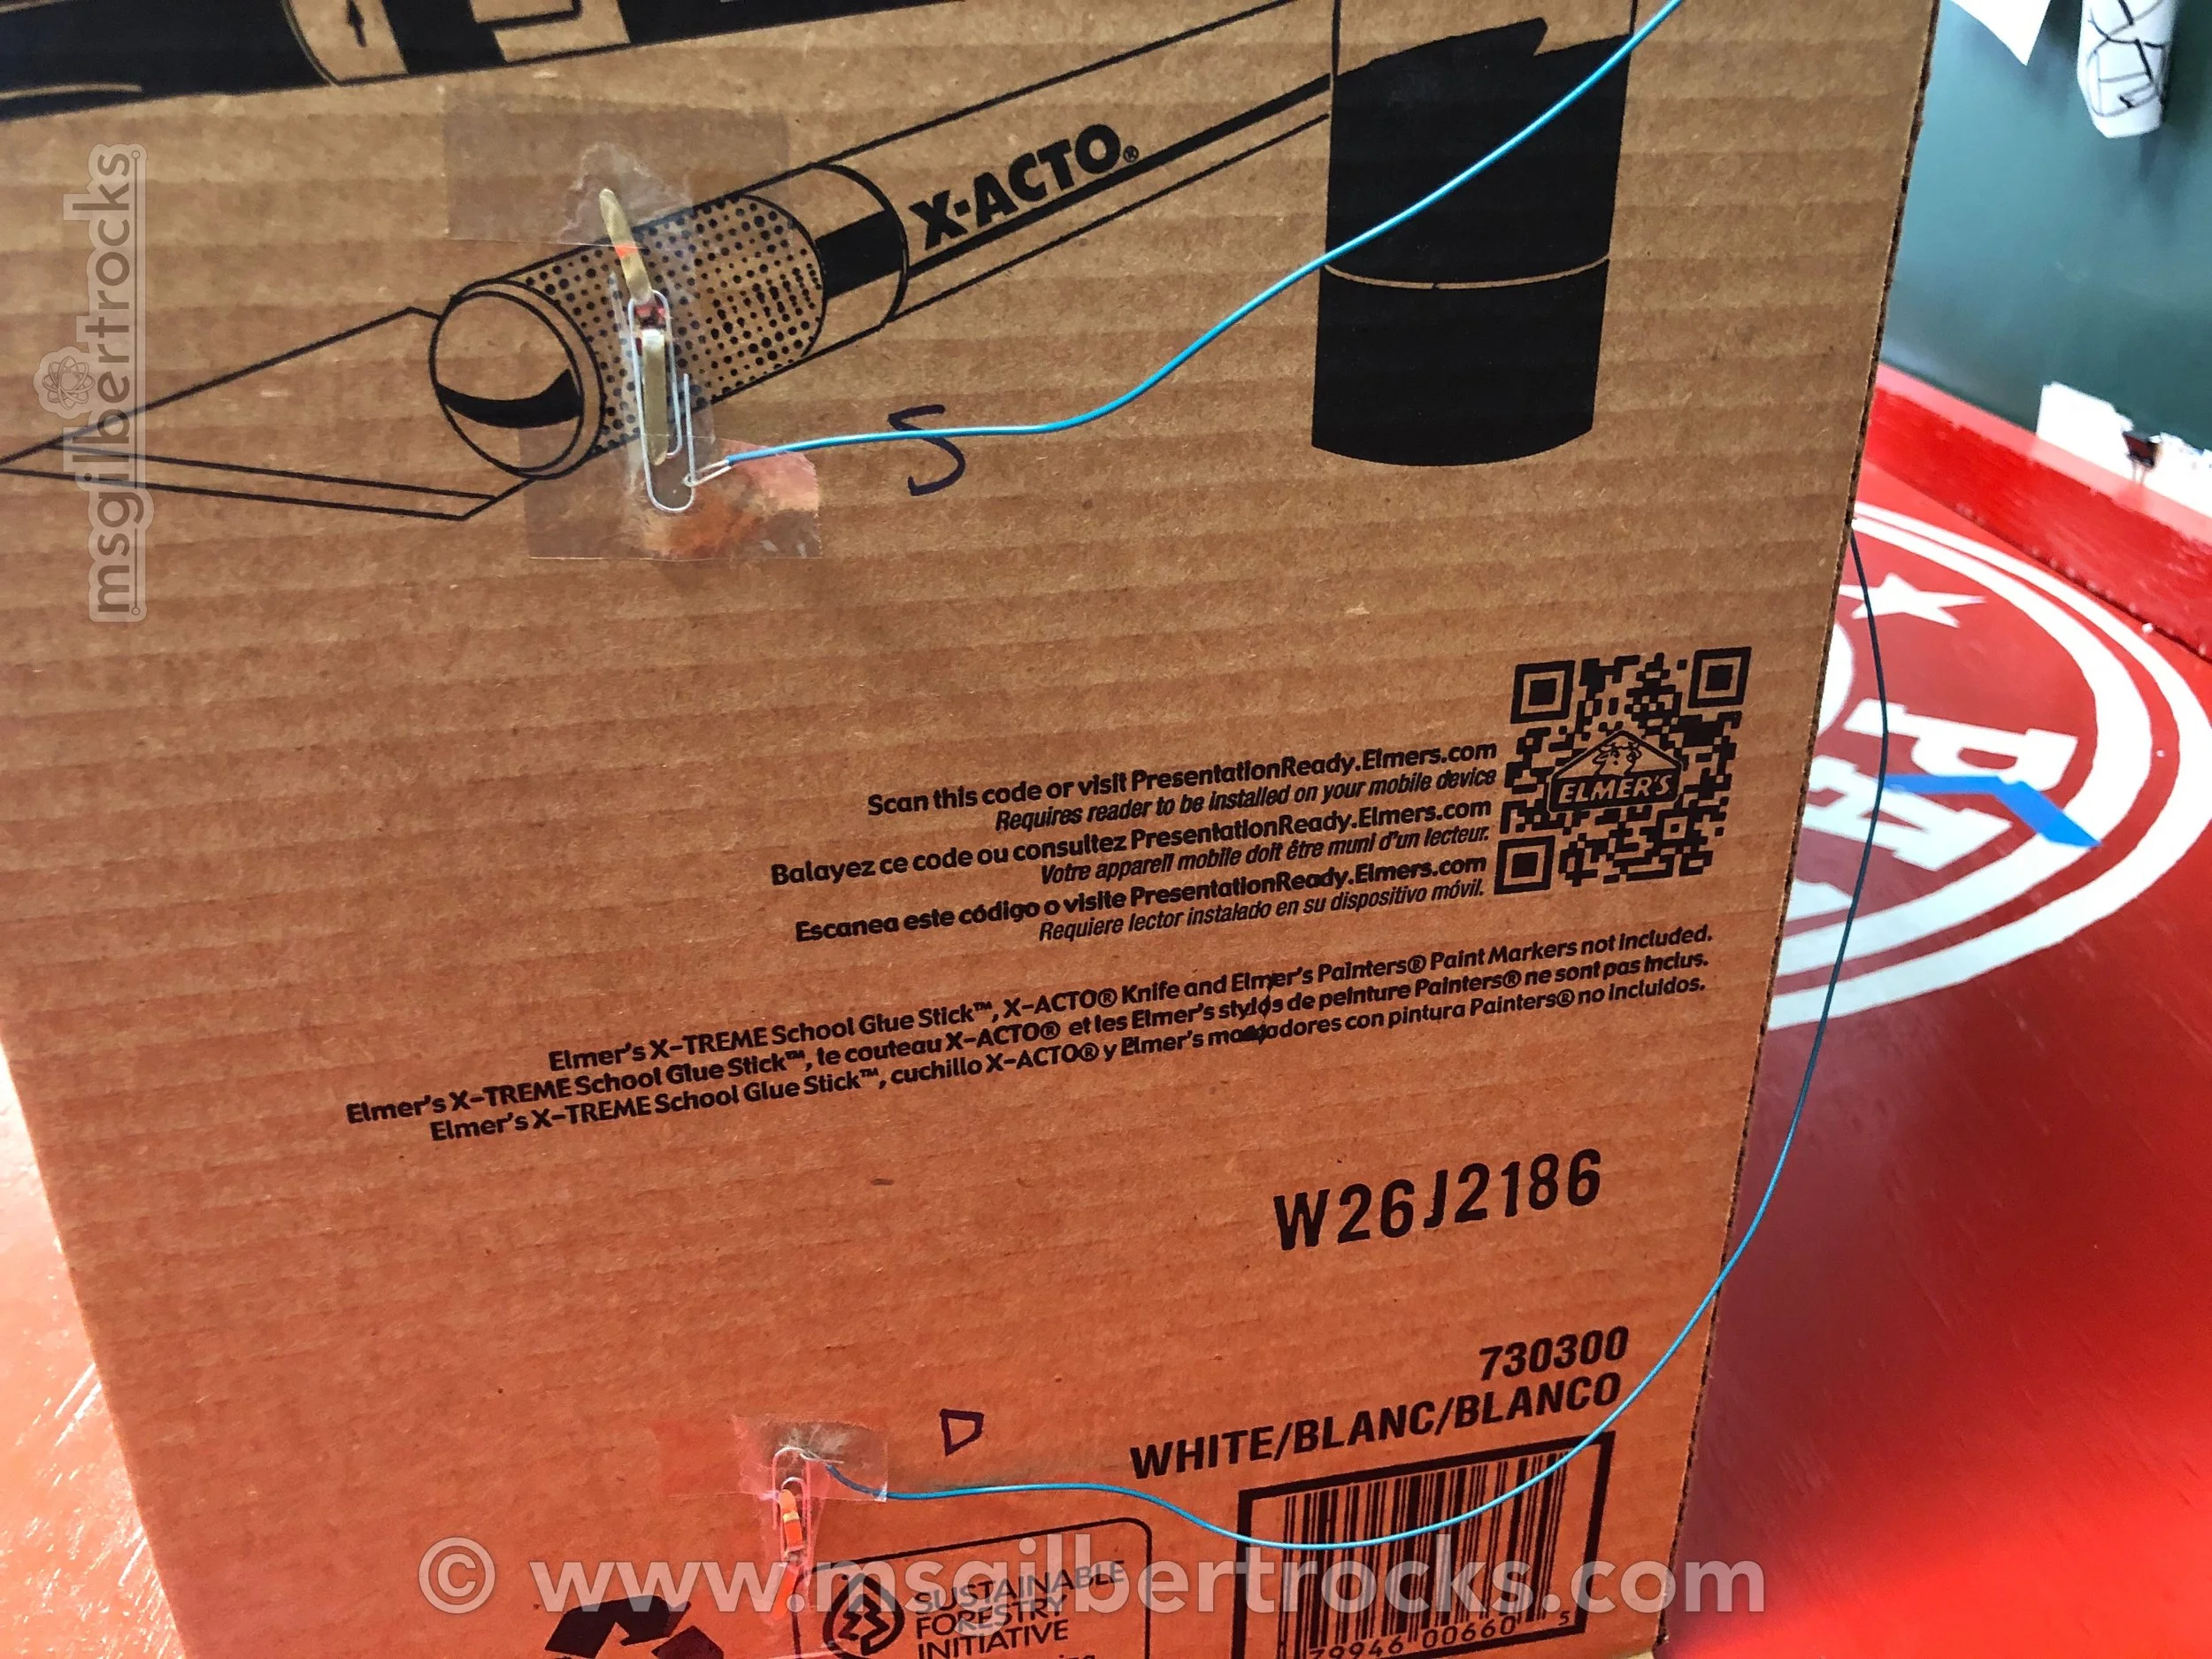
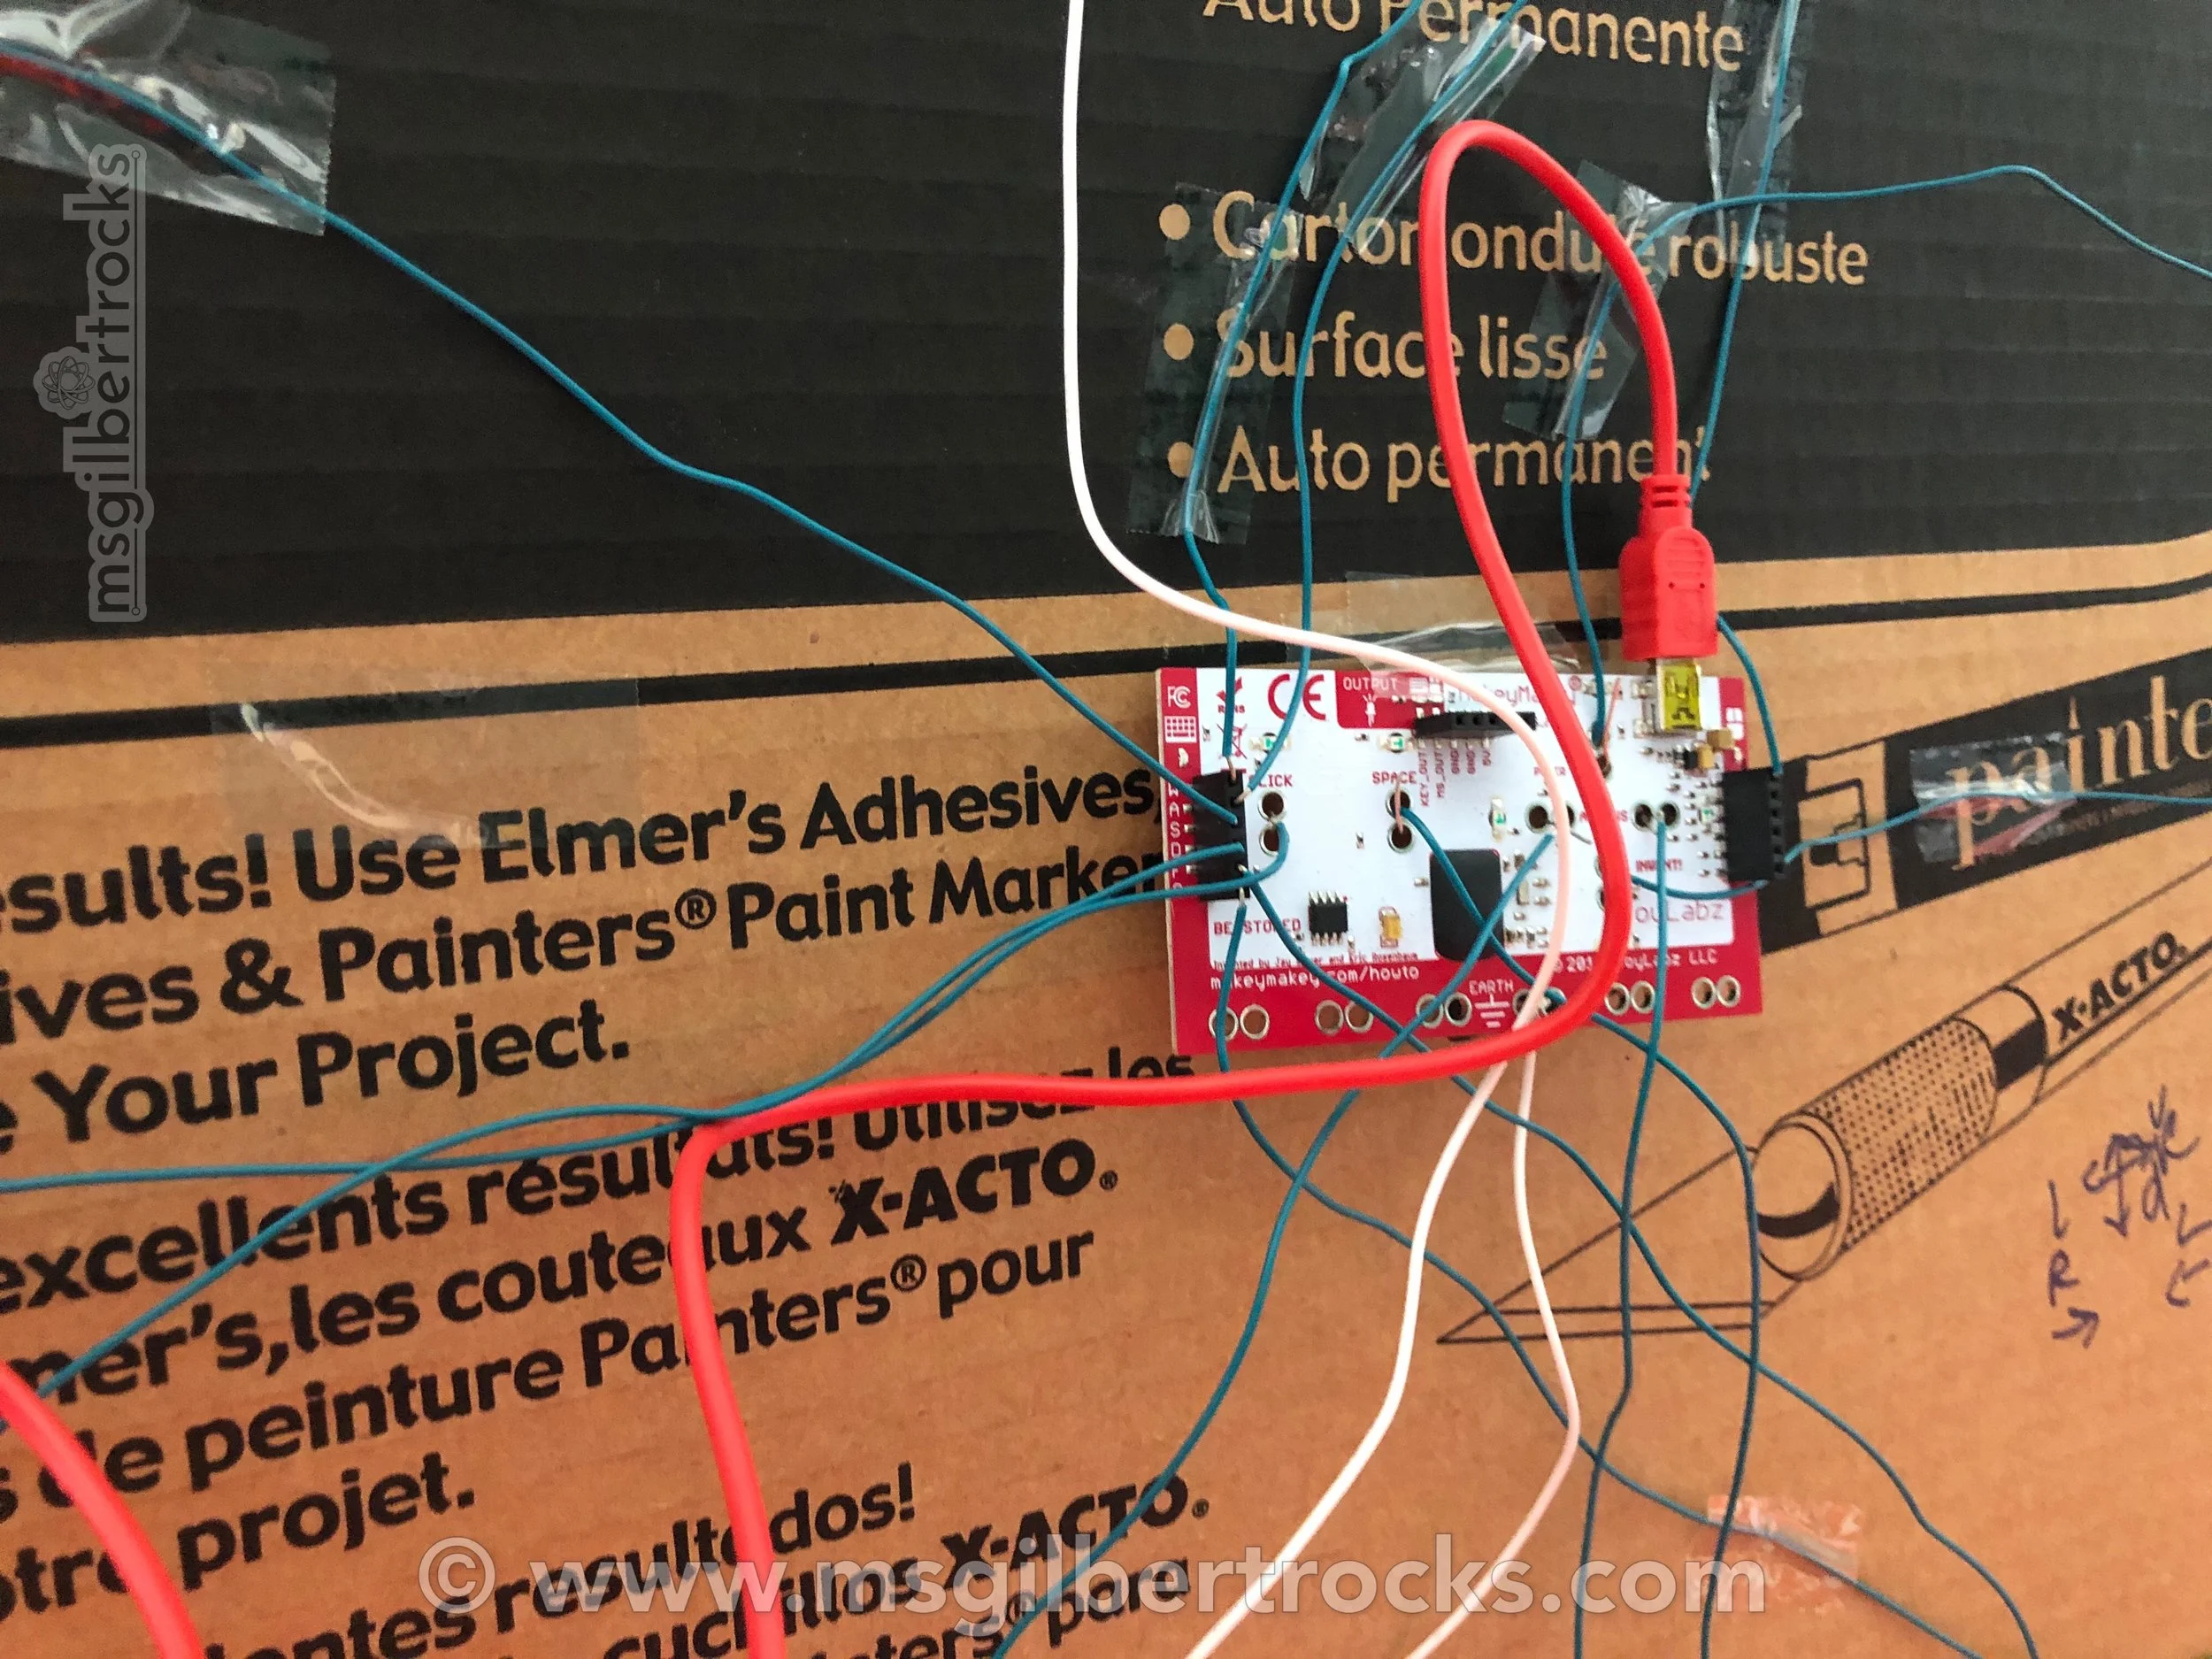
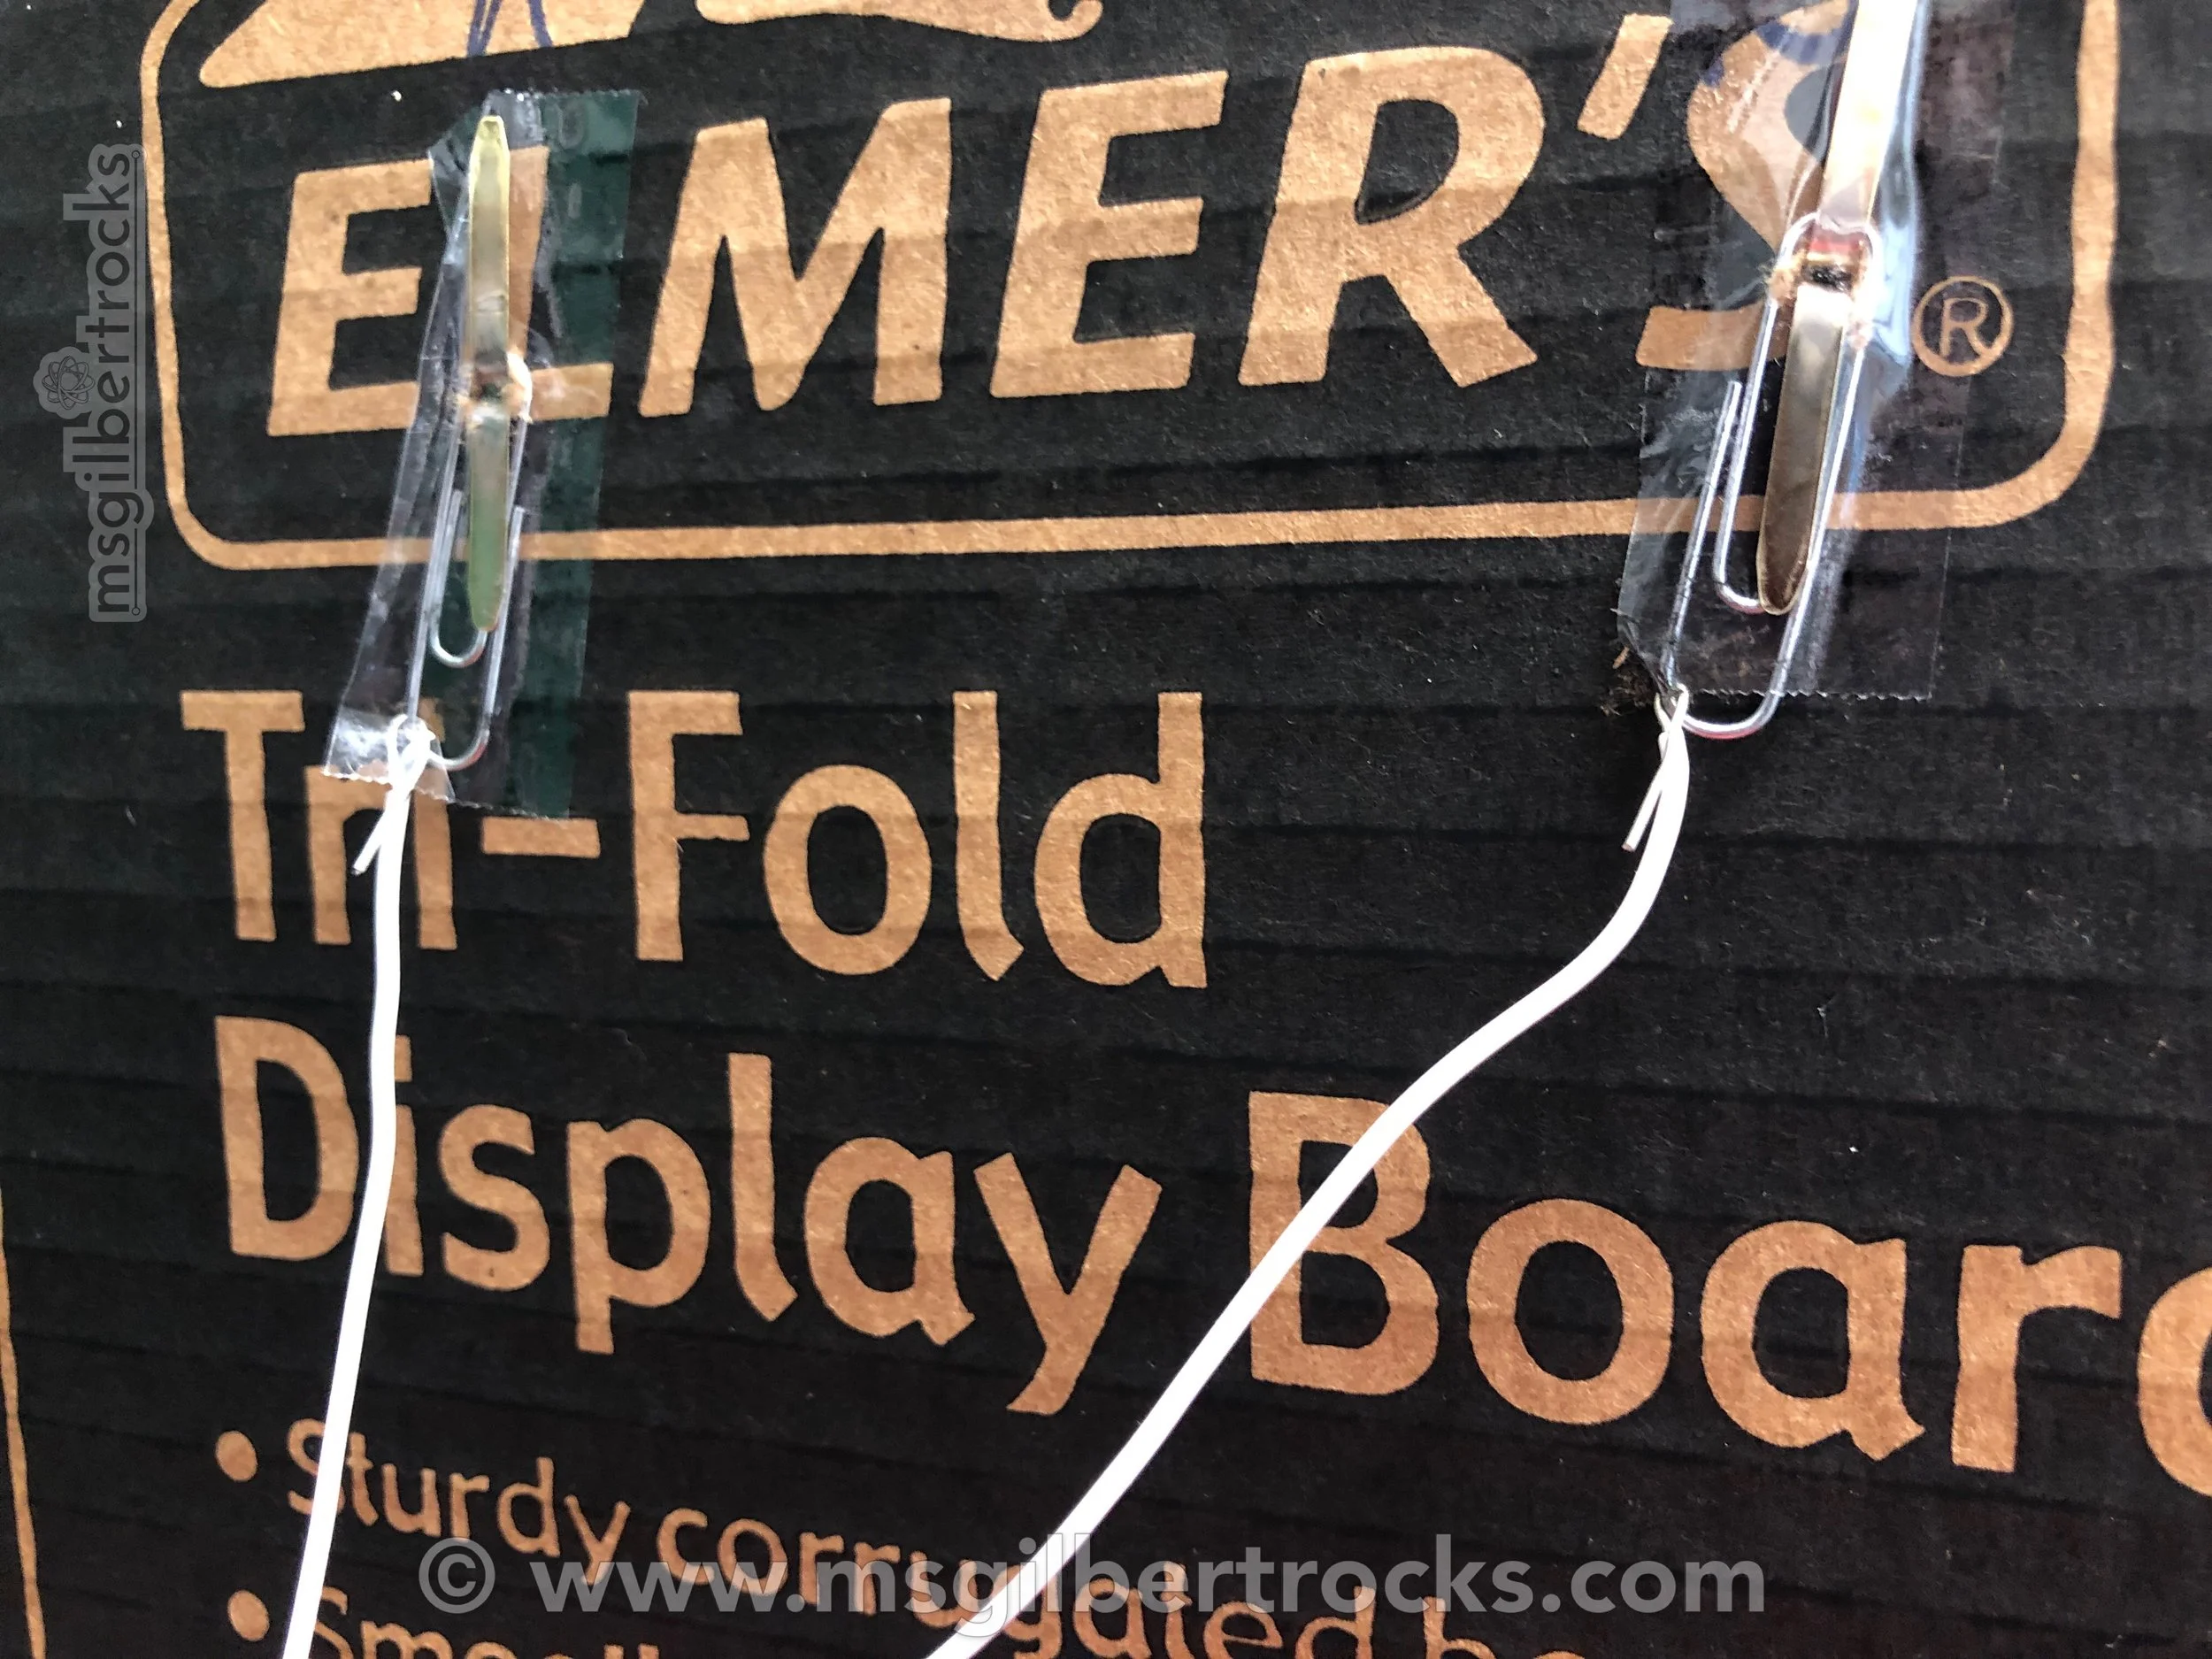
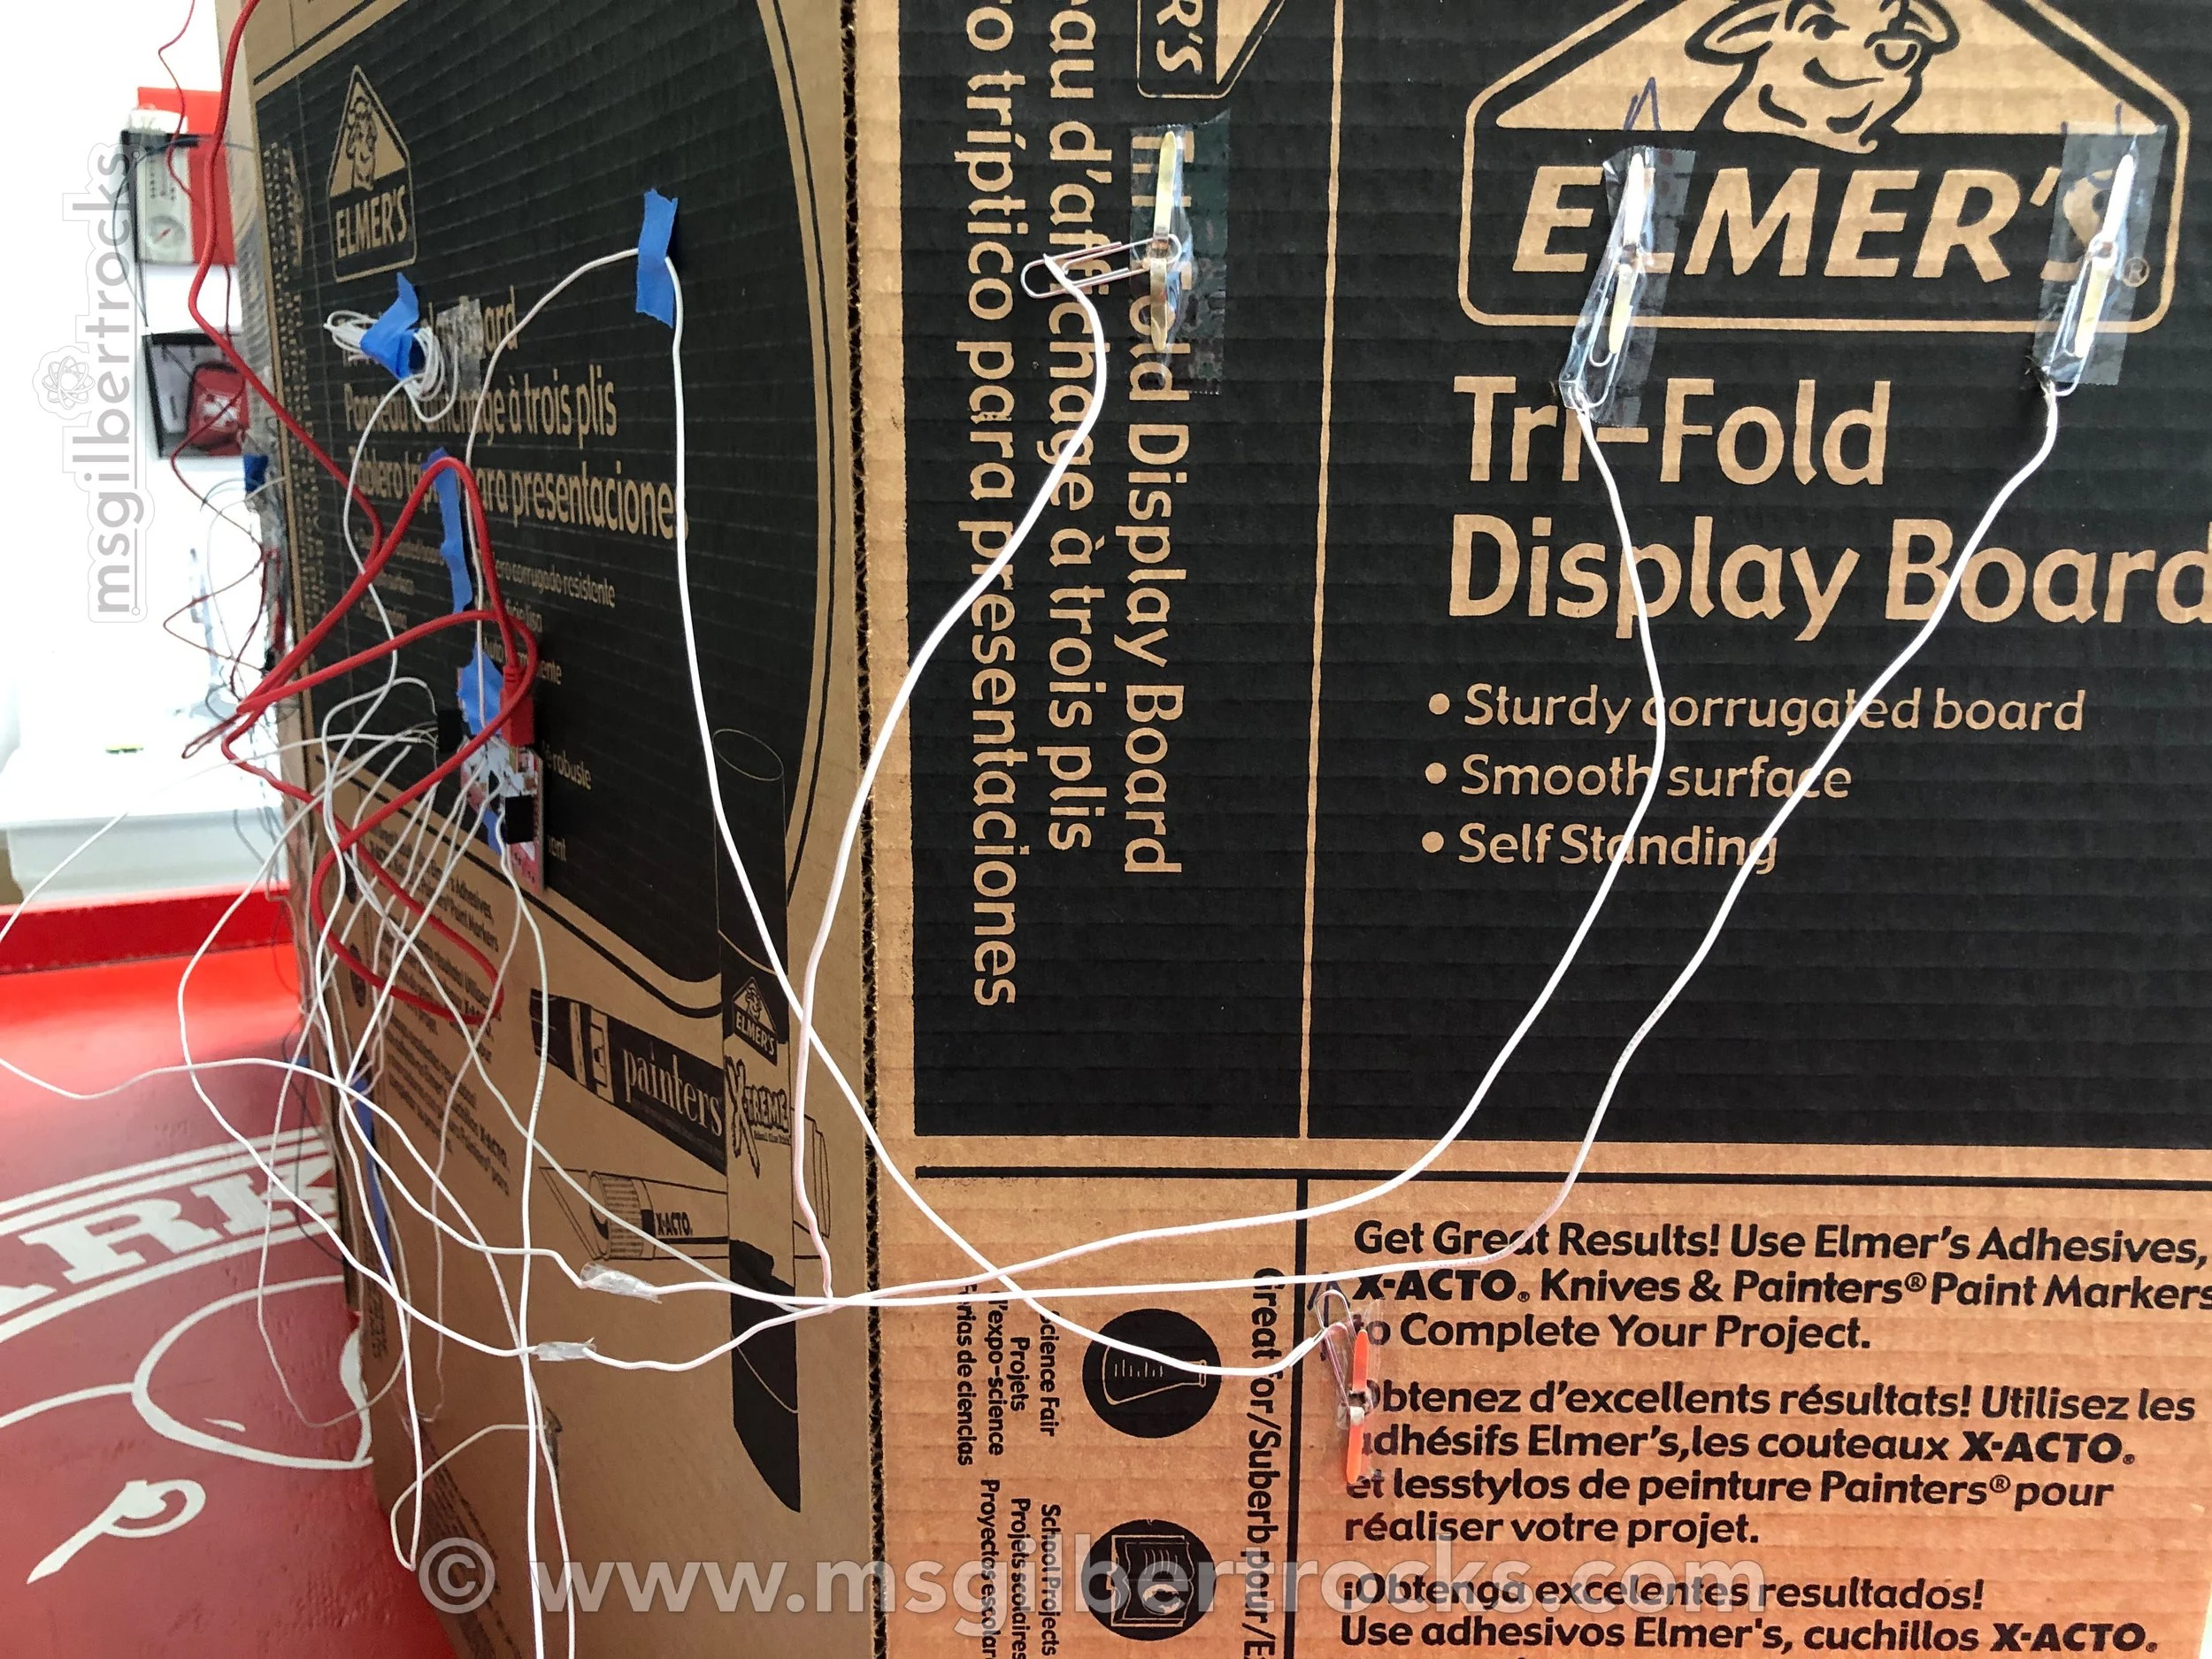
We used copper tape and brads to create circuits on the board. We attached brads to the wires to act as buttons. When students touched the buttons and the copper tape (Earth/ground - styled as a hashtag), they completed the circuit and sent a signal to the Makey Makey. We used wires to connect the Makey Makey to the buttons and included some paper clips to help with conductive surface area on the back of the brad. With the number of buttons we had we did end up remapping each Makey Makey (we used separate Makey Makey’s for each board to ensure portability) to make the “click” button the “0” key which functions better in this use-case within Scratch.

We recorded students in Scratch and connected each recording to a different keyboard key available on the Makey Makey to play the different audio recordings when students touched each button. The audio recordings provided additional information about each topic. We encouraged our students to record their own audio in a way that was accessible to younger students to make the project more engaging for our audience (2nd and 3rd graders).
The final result was a fun and interactive poster that our students enjoyed creating and sharing. They were able to learn about Earth Day in a hands-on way that kept them engaged and interested. We were thrilled to share the project with the younger students and it was a highlight to host them for a class period this spring.
Photos of the wiring setup and Makey Makey connections can be seen below. A video demonstrating how the circuit is completed using the copper tape hashtag (Earth/ground) is also below.
If you're interested in the other Makey Makey projects, be sure to check out our previous blog posts: