Rockets and Roller Coasters
Studying force and motion has provided outstanding opportunities to use hands-on activities like film canister rockets and marble roller coasters in science class. We used film canister rockets as an opening engage activity prior to reading any content and we are currently working on marble roller coasters. Stay tuned for more as students finish their roller coaster builds!

Film Canister Rockets
Over the summer, I gathered canisters through donations from area camera stores (yes, you can still find a few). The best canister to use is the one shown in the picture. The lid has to sit inside and form a tight, secure seal. Of course, you can also buy these canisters anywhere from a teacher supply website to Amazon or even Steve Spangler Science. A quick Google search will provide a plethora of options. I was fortunate to find enough for all of seventh and eighth grade to complete the activity through donations from two camera stores. The canisters are not consumable and the Alka-Seltzer tablets are relatively inexpensive. We bought this pack from Target and have quite a few left (1/4 to 1/2 a tablet per launch). We used the template on page 6 from the Educational Innovations lesson. For the first group (room 12) we used about 1/3 a canister of water, and for the second group (room 6) we used about 1/2 a canister of water. Data collection was done via this Google Doc. Check out the results for yourself in the compilation video!
October 2023 Update: Canister rockets
There are many variations for this activity and we had a great time using the canisters alone with 5th grade students. Using just the canister (no paper template) gives the kids the chance to see more of the reaction and also get excellent results for the launch (or “explosion” as they like to say 😉). My new school uses PhD Science from Great Minds and the modified activity works well during the investigation of states of matter/properties of matter. It will also give a good foundational hands-on experience to talk about chemical reactions.
Try it yourself
If you are interested in trying the stripped down version of the canister rockets, please feel free to use and/or modify these documents to work for you. You have a notice/wonder fill in document for printing (to write on paper) that can be adapted for typing - make a copy here. There is also a teacher document (make your own copy here) with some helpful reminders. In our case we used 10 total canisters with our 20 students in pairs. We are fortunate to have plenty of space outside and used some existing markers on the ground as a visual for launch pads. Multiple reminders were needed so students would not walk across areas where others were launching their rockets, so keep that in mind for safety’s sake!
You can see the example with no paper template on the canister in the video above this text. Notice how far that canister flys! This video was from my last school, but it gives you an idea on how fun it can be even without taking time to cut/tape paper to the canisters.
Marble Roller Coasters
A primary goal with force and motion (or physics in general) is to make the material more meaningful and accessible. We can actually have fun AND learn. There are a number of classic activities that are perfect for middle school and can be easily modified/adapted for any population of learners. As we have looked to include more integrated STEM, and focus on engineering, these activities have become the foundation for science this year.
We are right in the middle of the student build for the marble roller coasters, but wanted to share the materials, prep, and samples. The first thing I did was test several sizes of pipe insulation tubing. There are a number of variations of this activity that you can find online and my goal was to give the kids the opportunity to experiment with more independent data collection for several types of marbles in their roller coaster. The kids will identify what factors impact the different marbles (e.g., mass) and have the chance to re-design their coasters to ensure that all three types of marbles travel safely to the end of the coaster. Note that we did not include a place to record the mass on the lab document, but plan to discuss this and offer the opportunity to explore the mass of each marble. The basis for this lesson was taken from one version on the Teach Engineering website and you can find it at this link. The “big mistakes” list was taken from the LanceMakes Instructable that also has a number of other helpful tips and pictures.

Materials and Samples
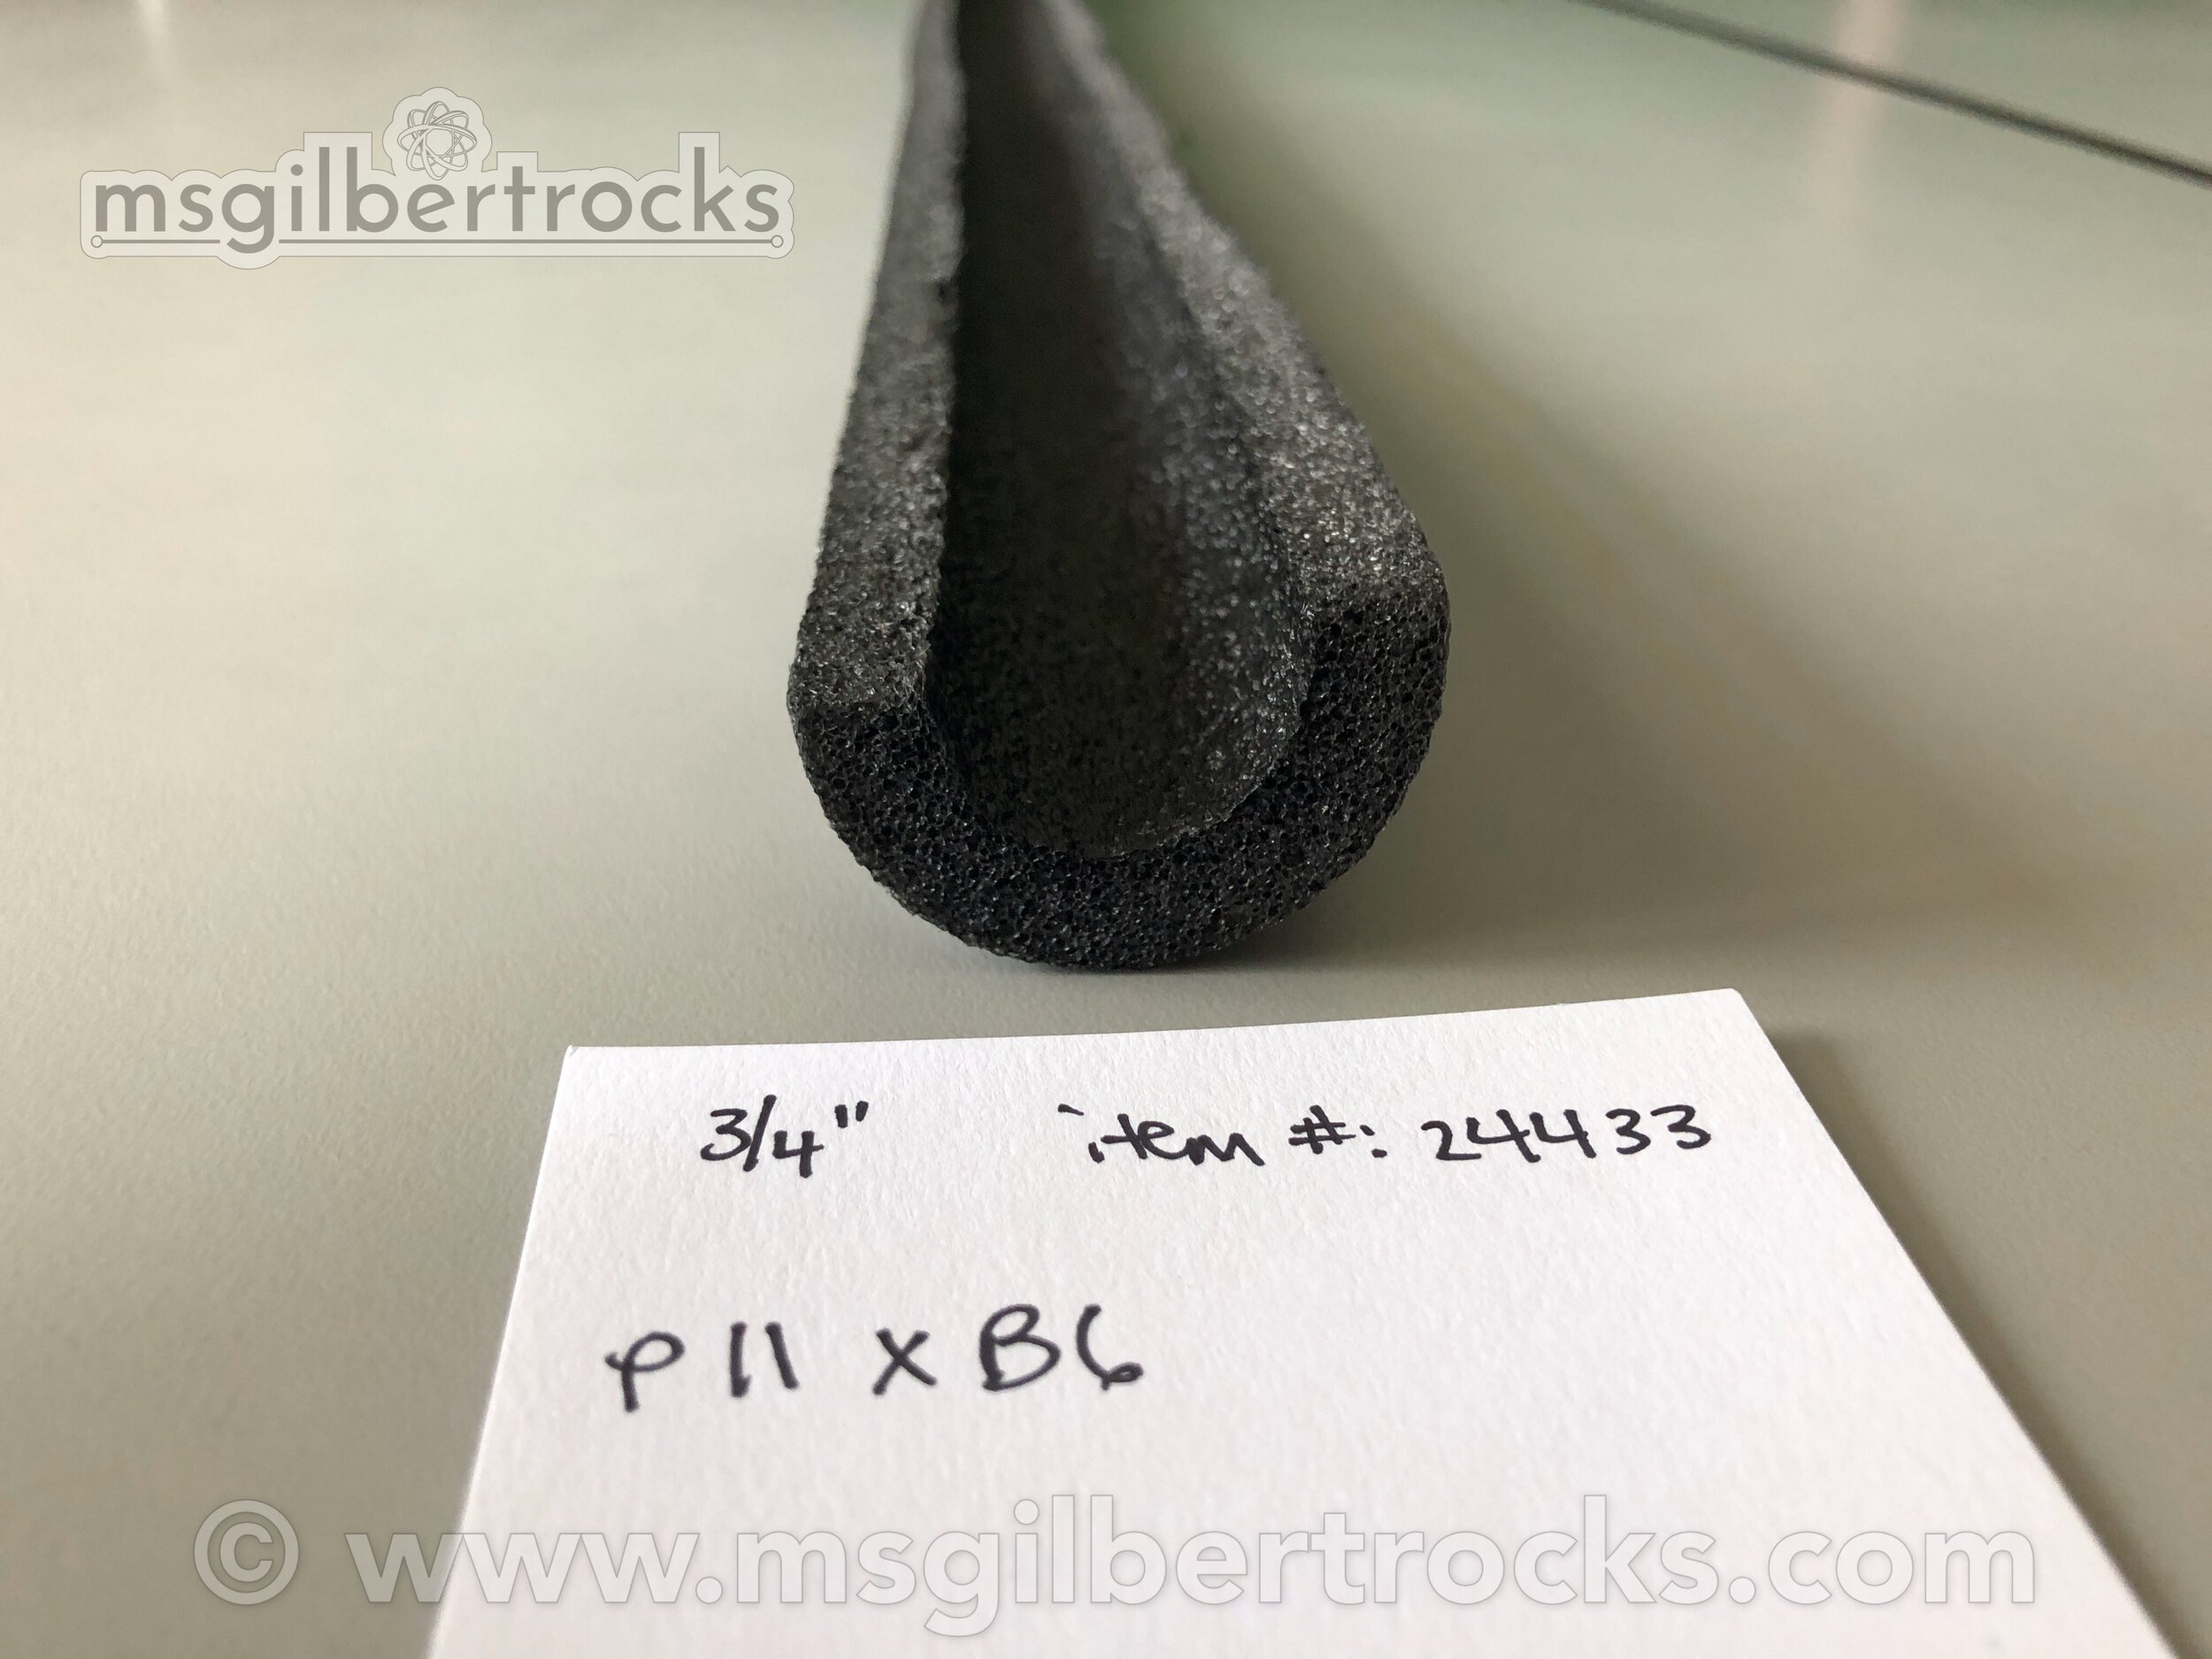
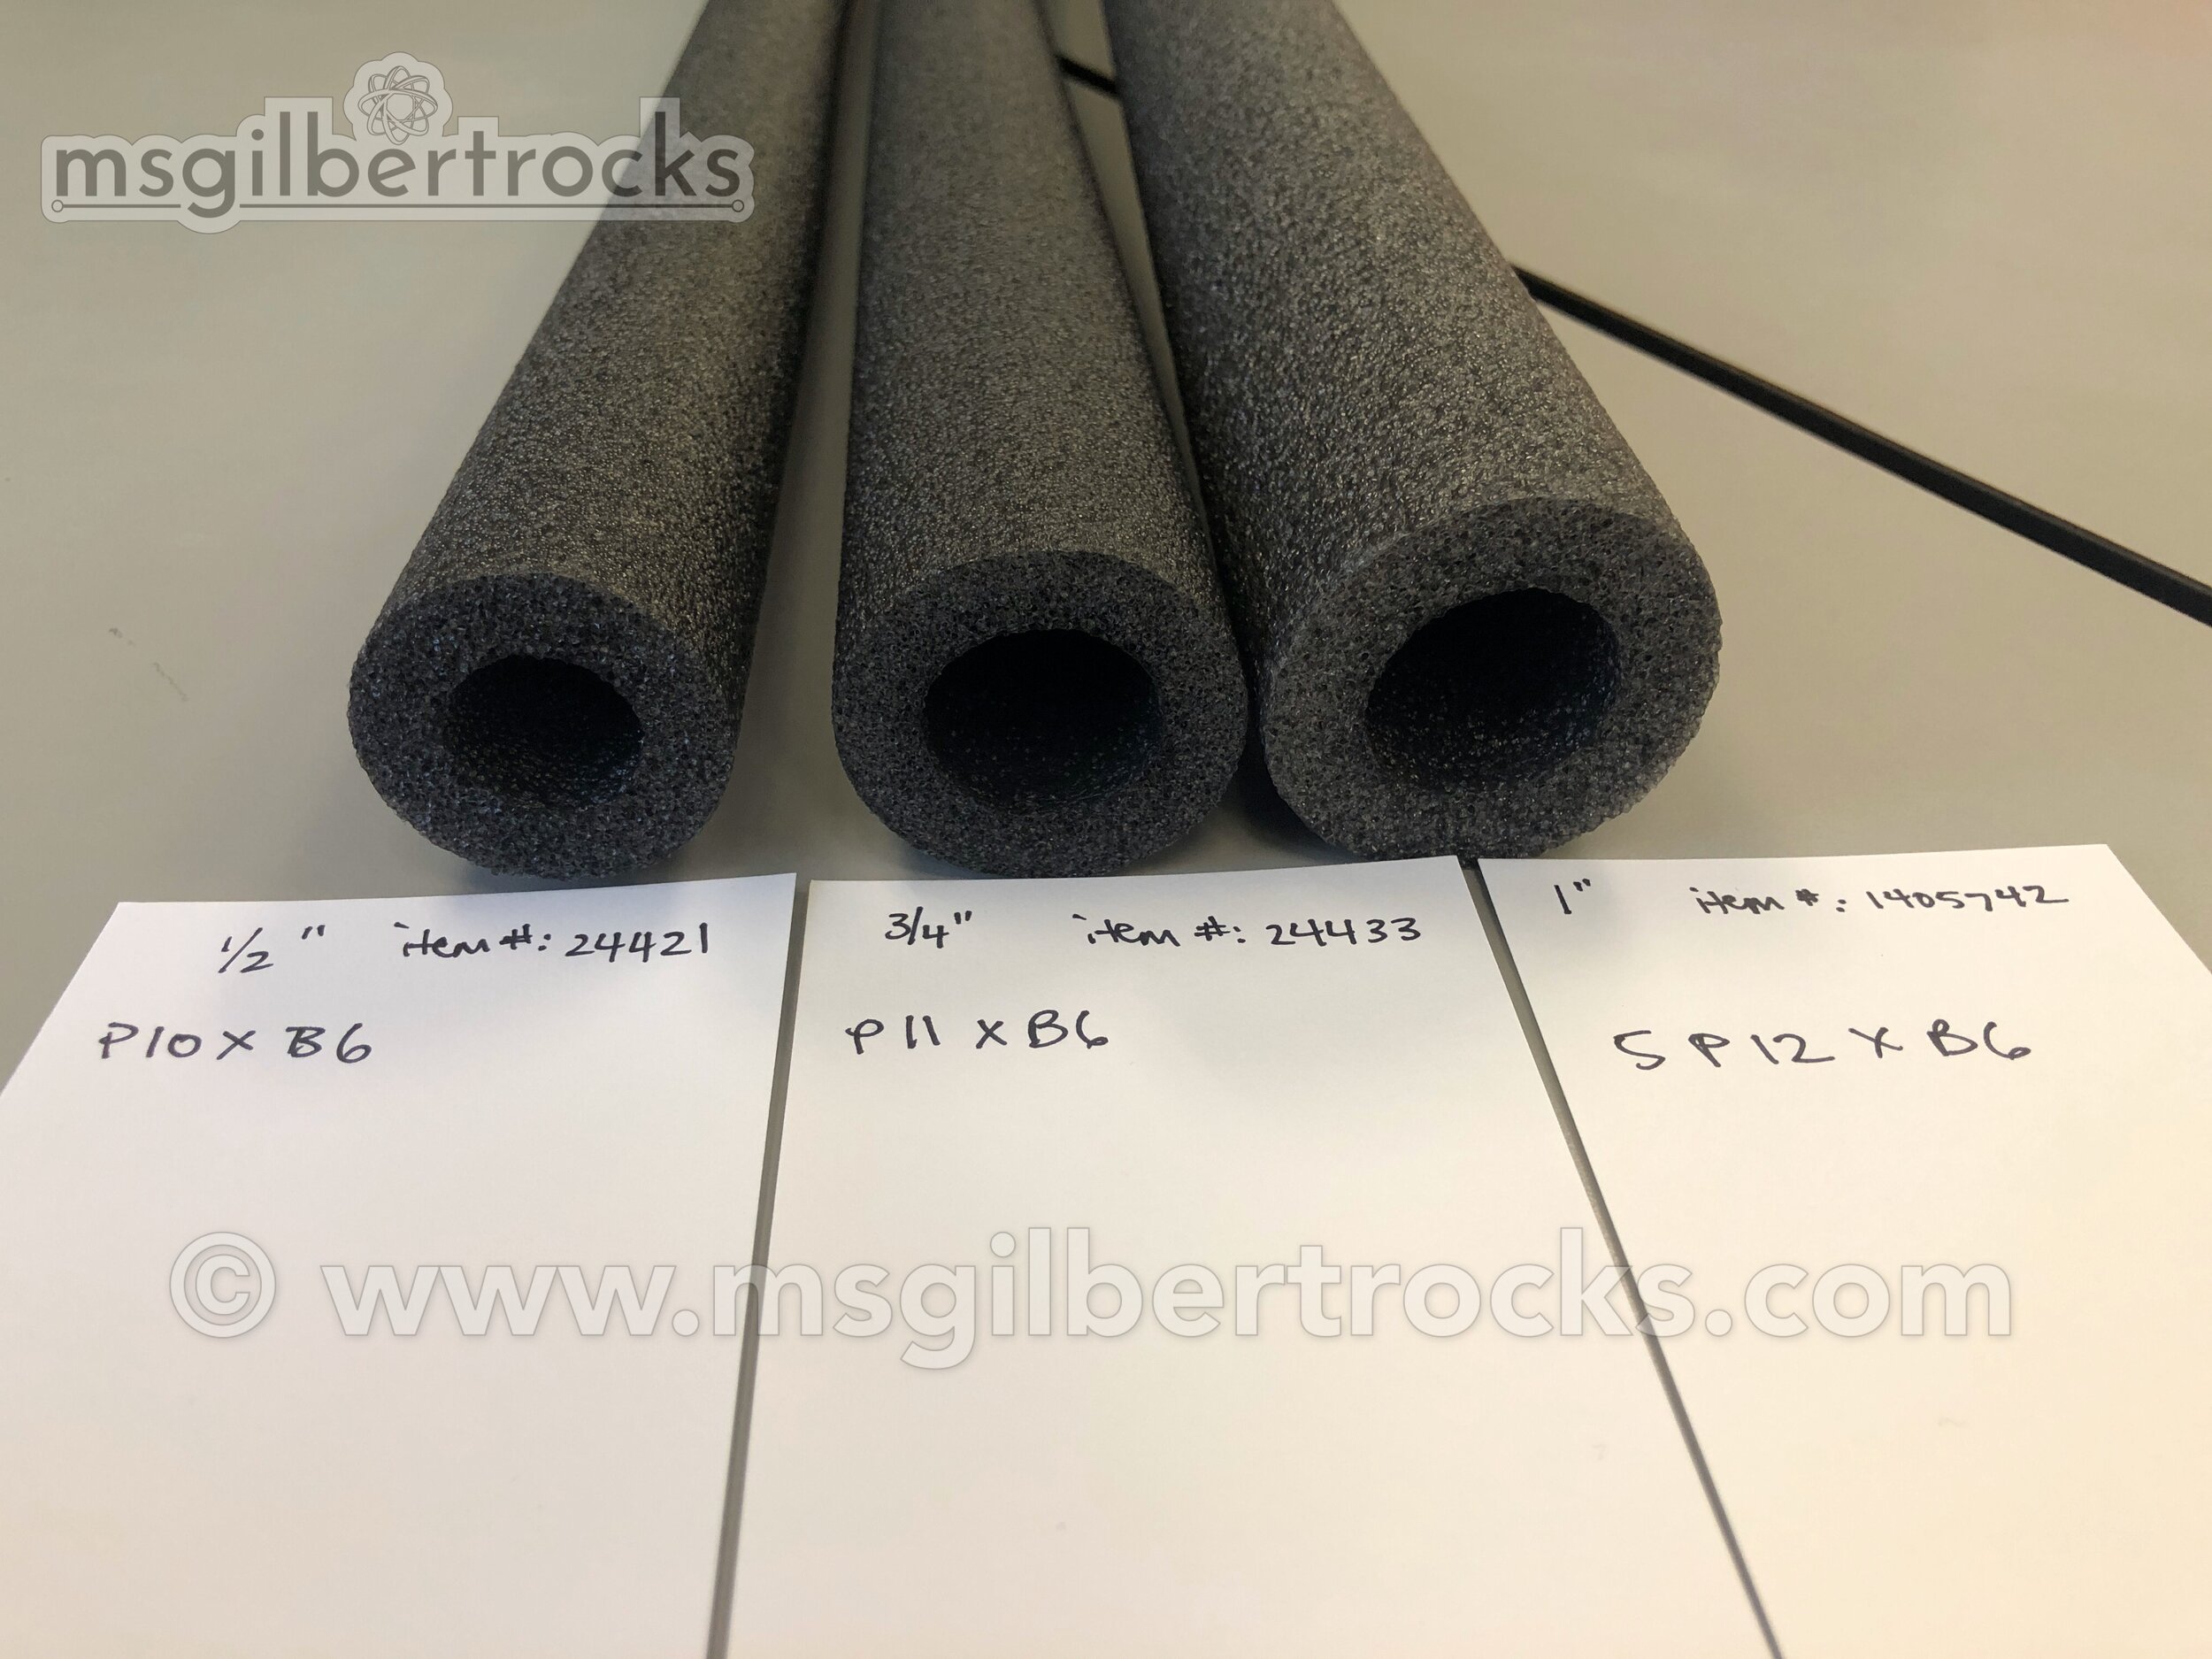
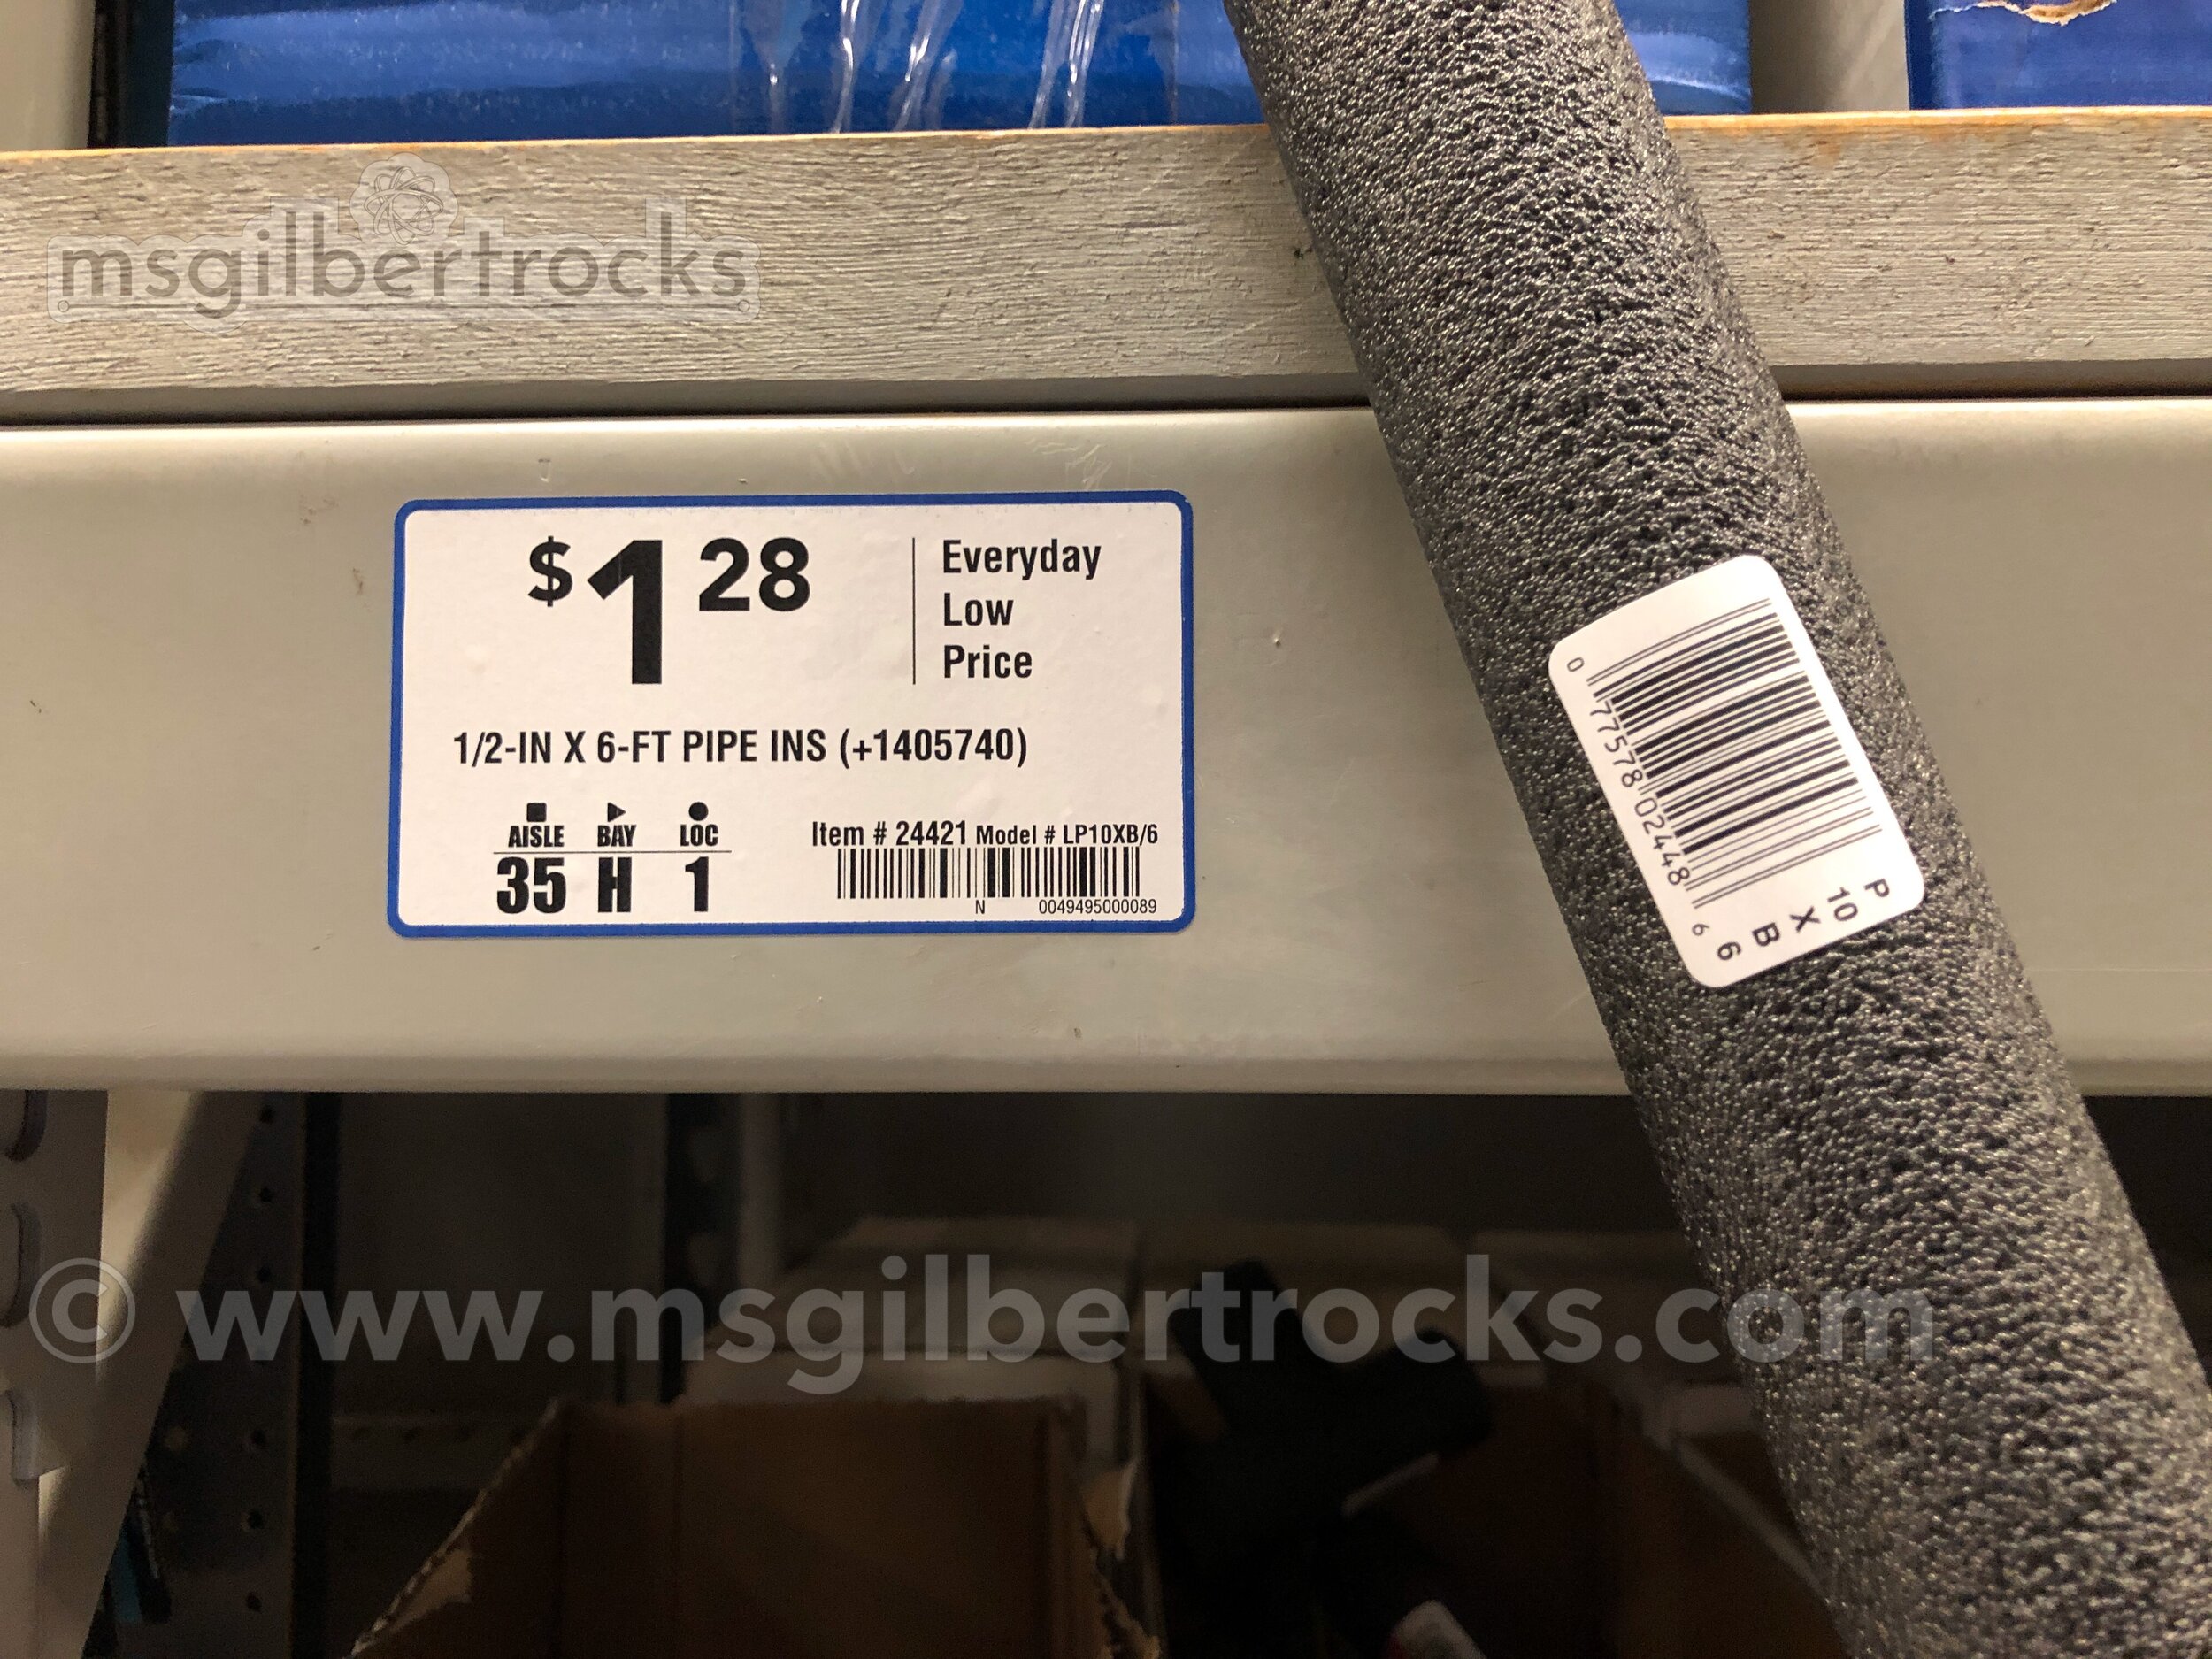
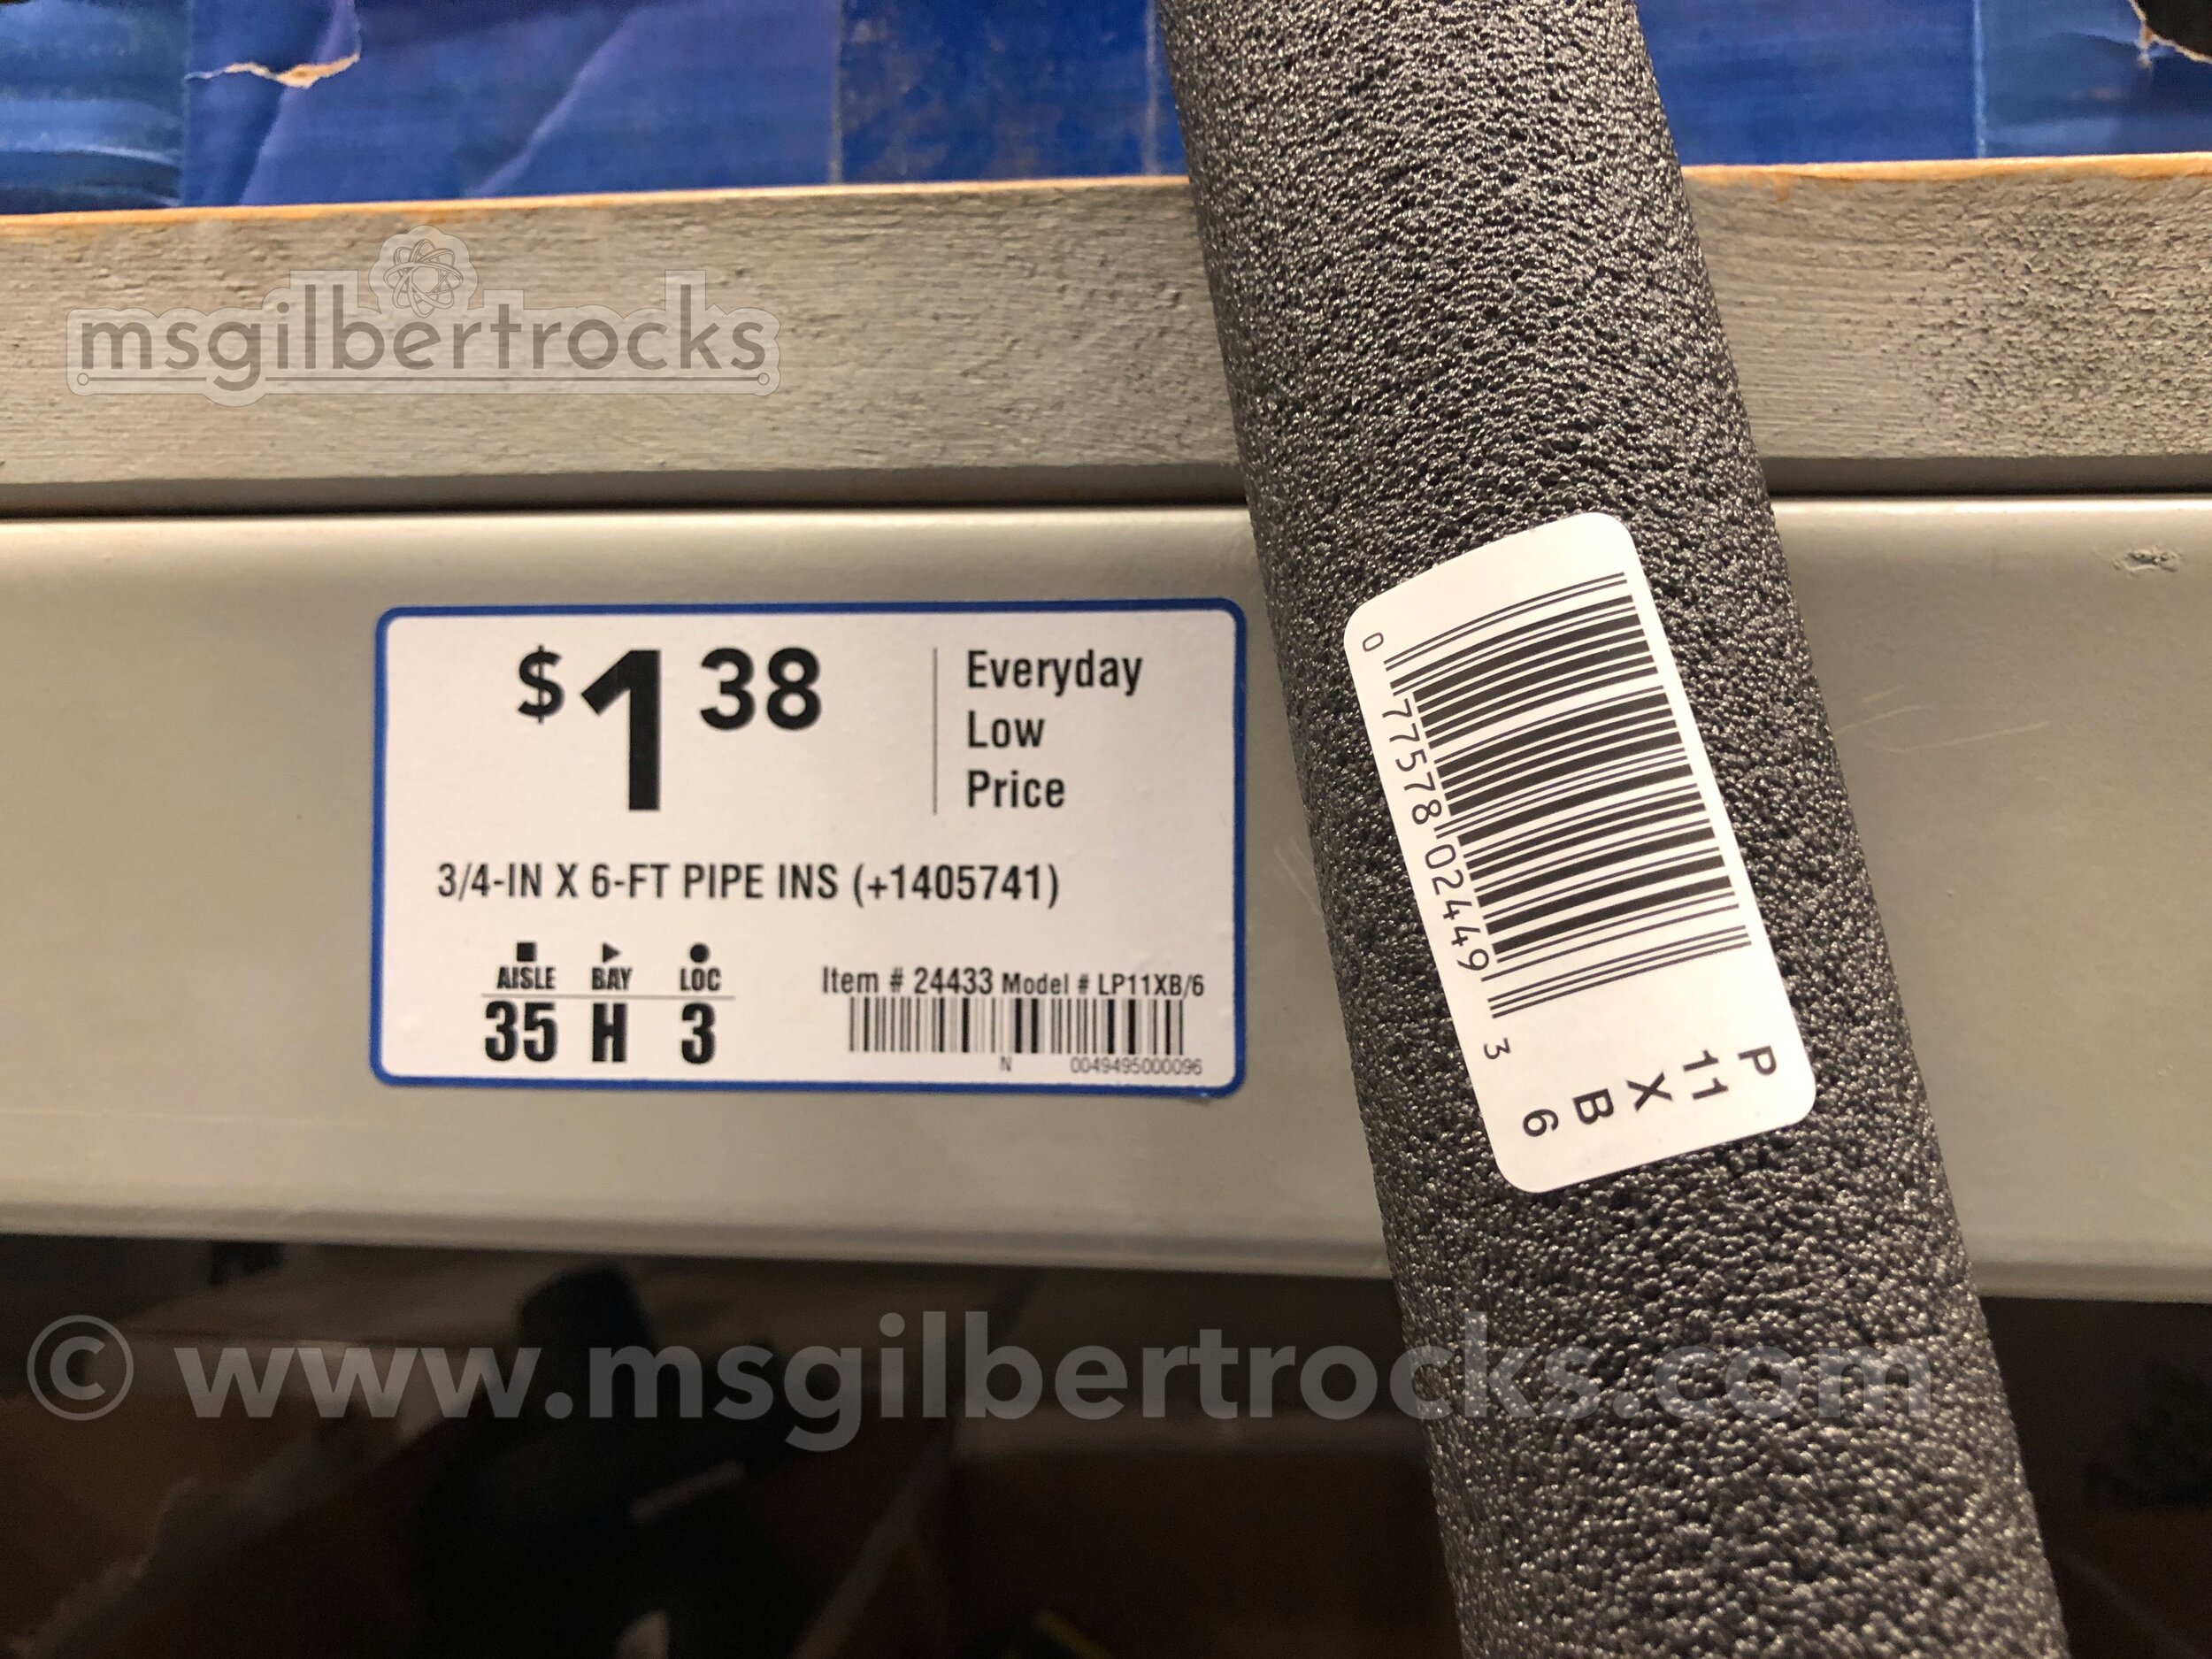
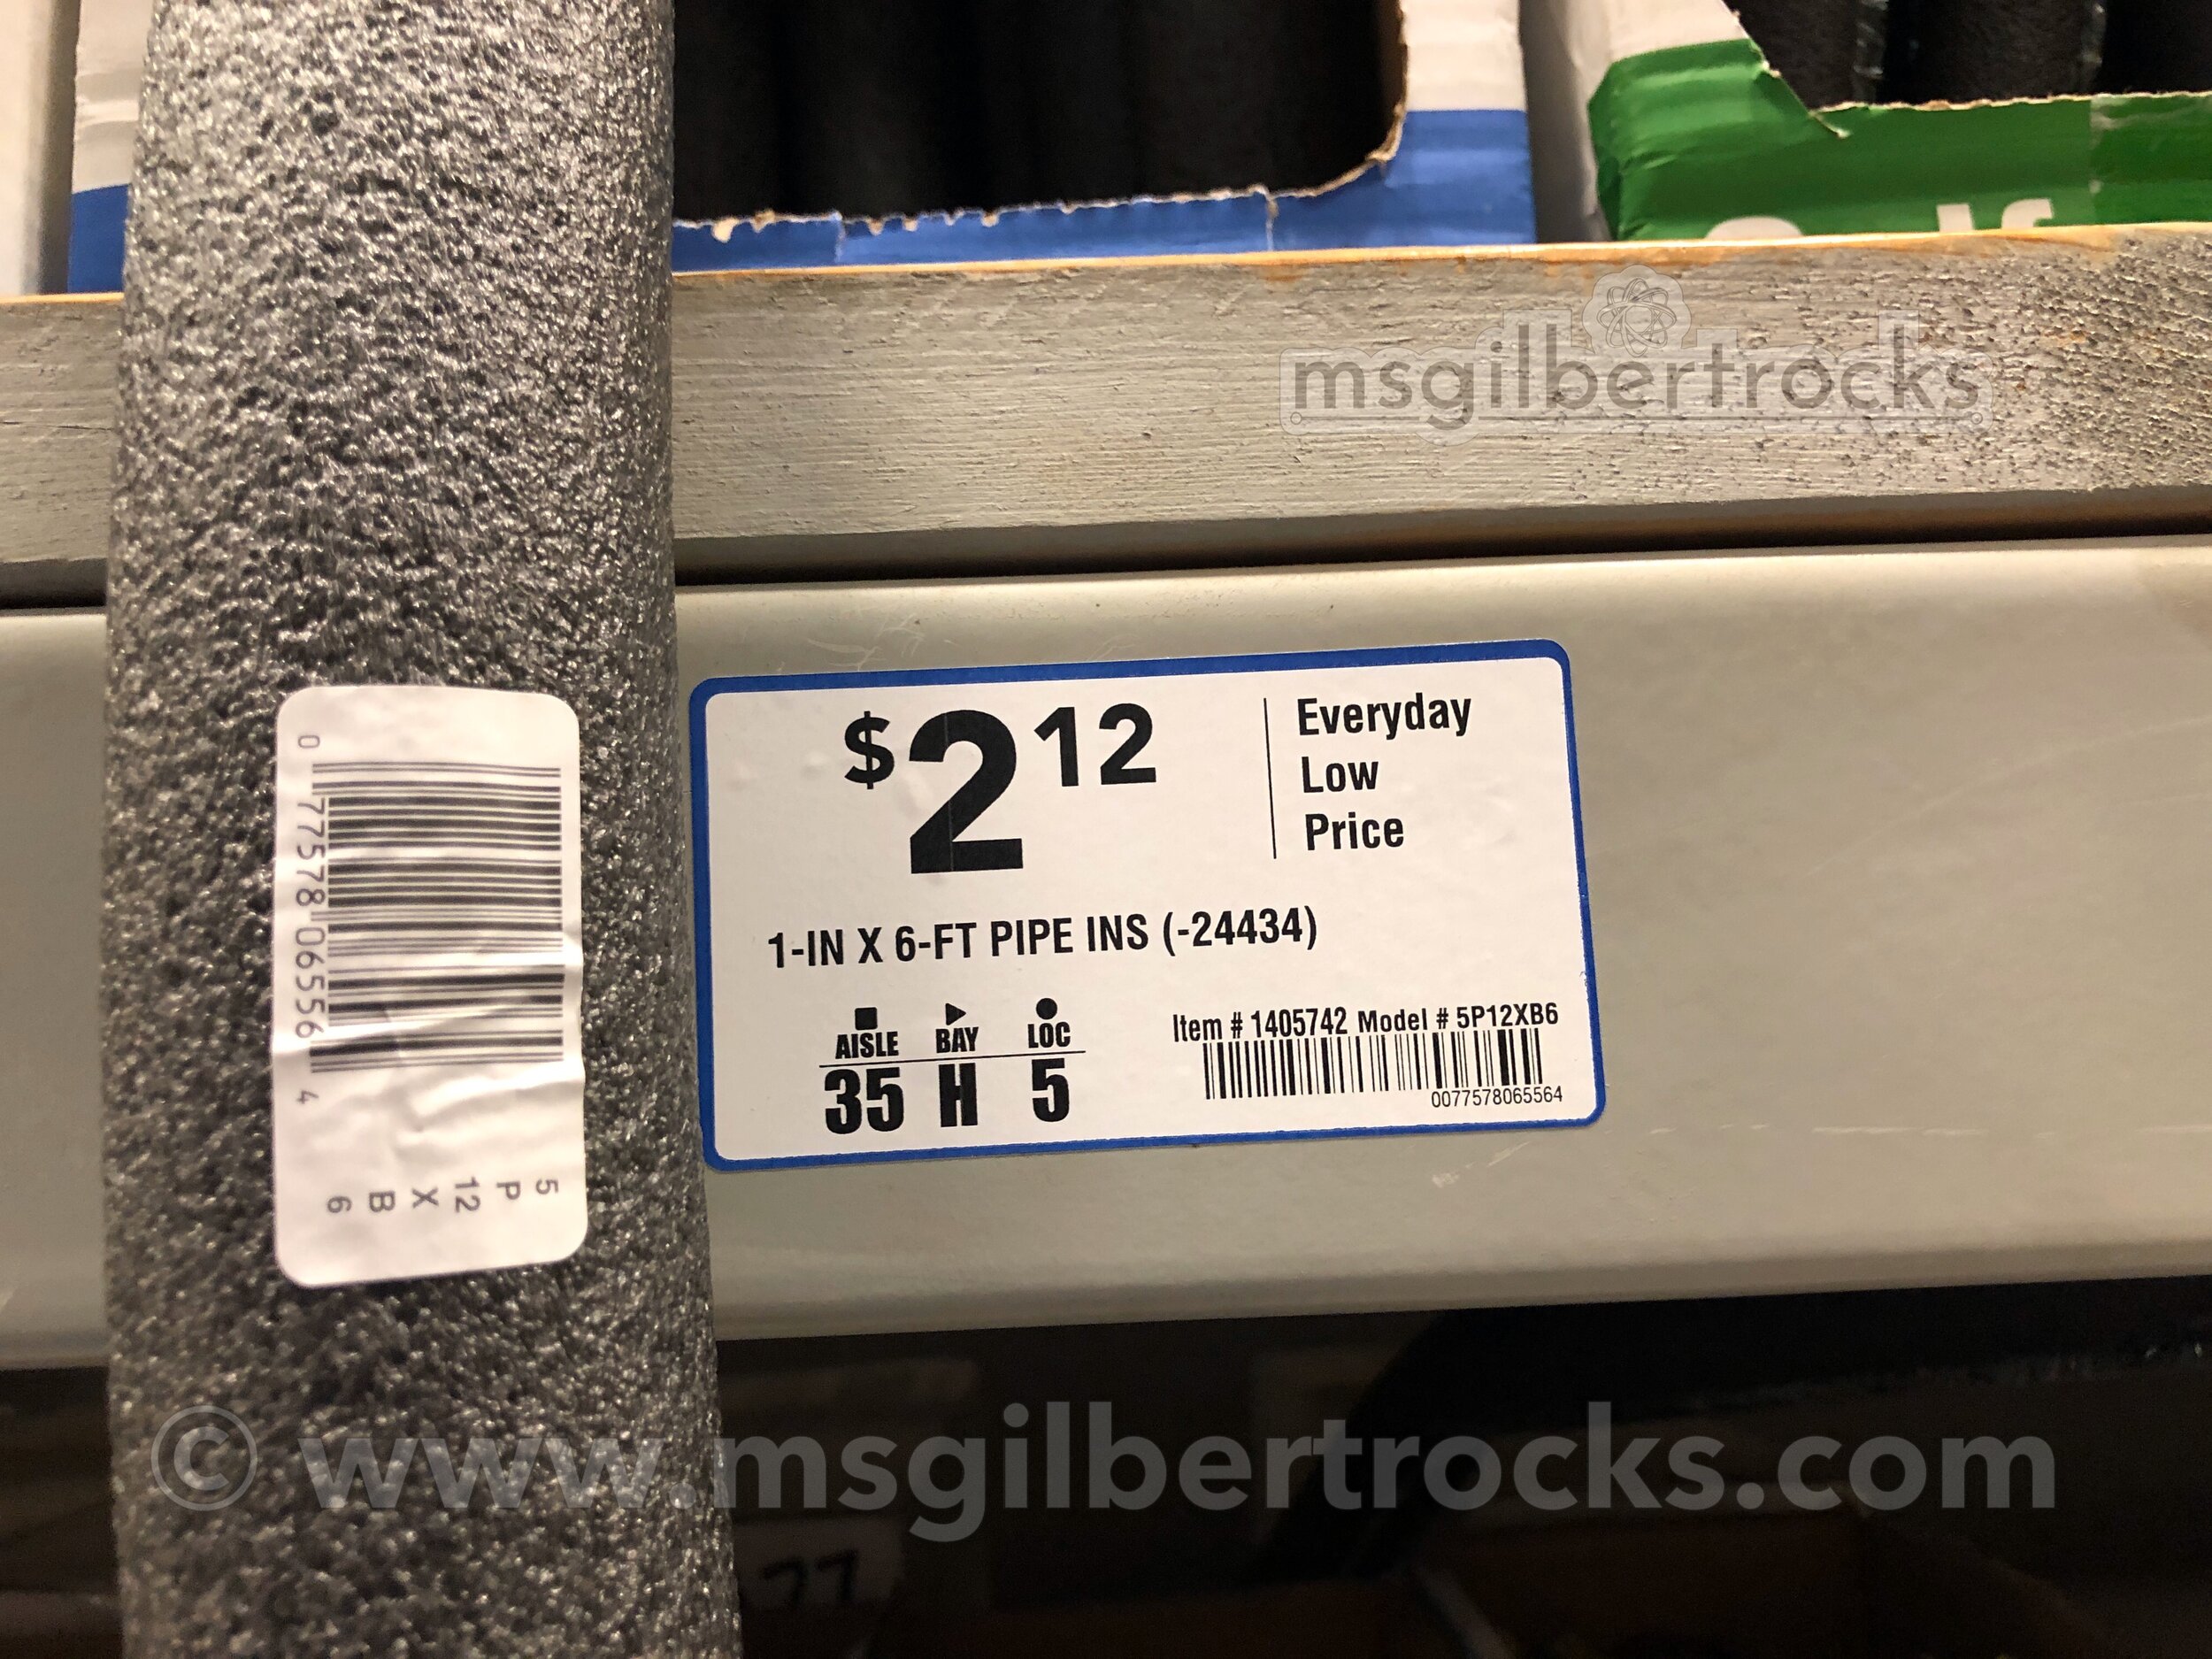
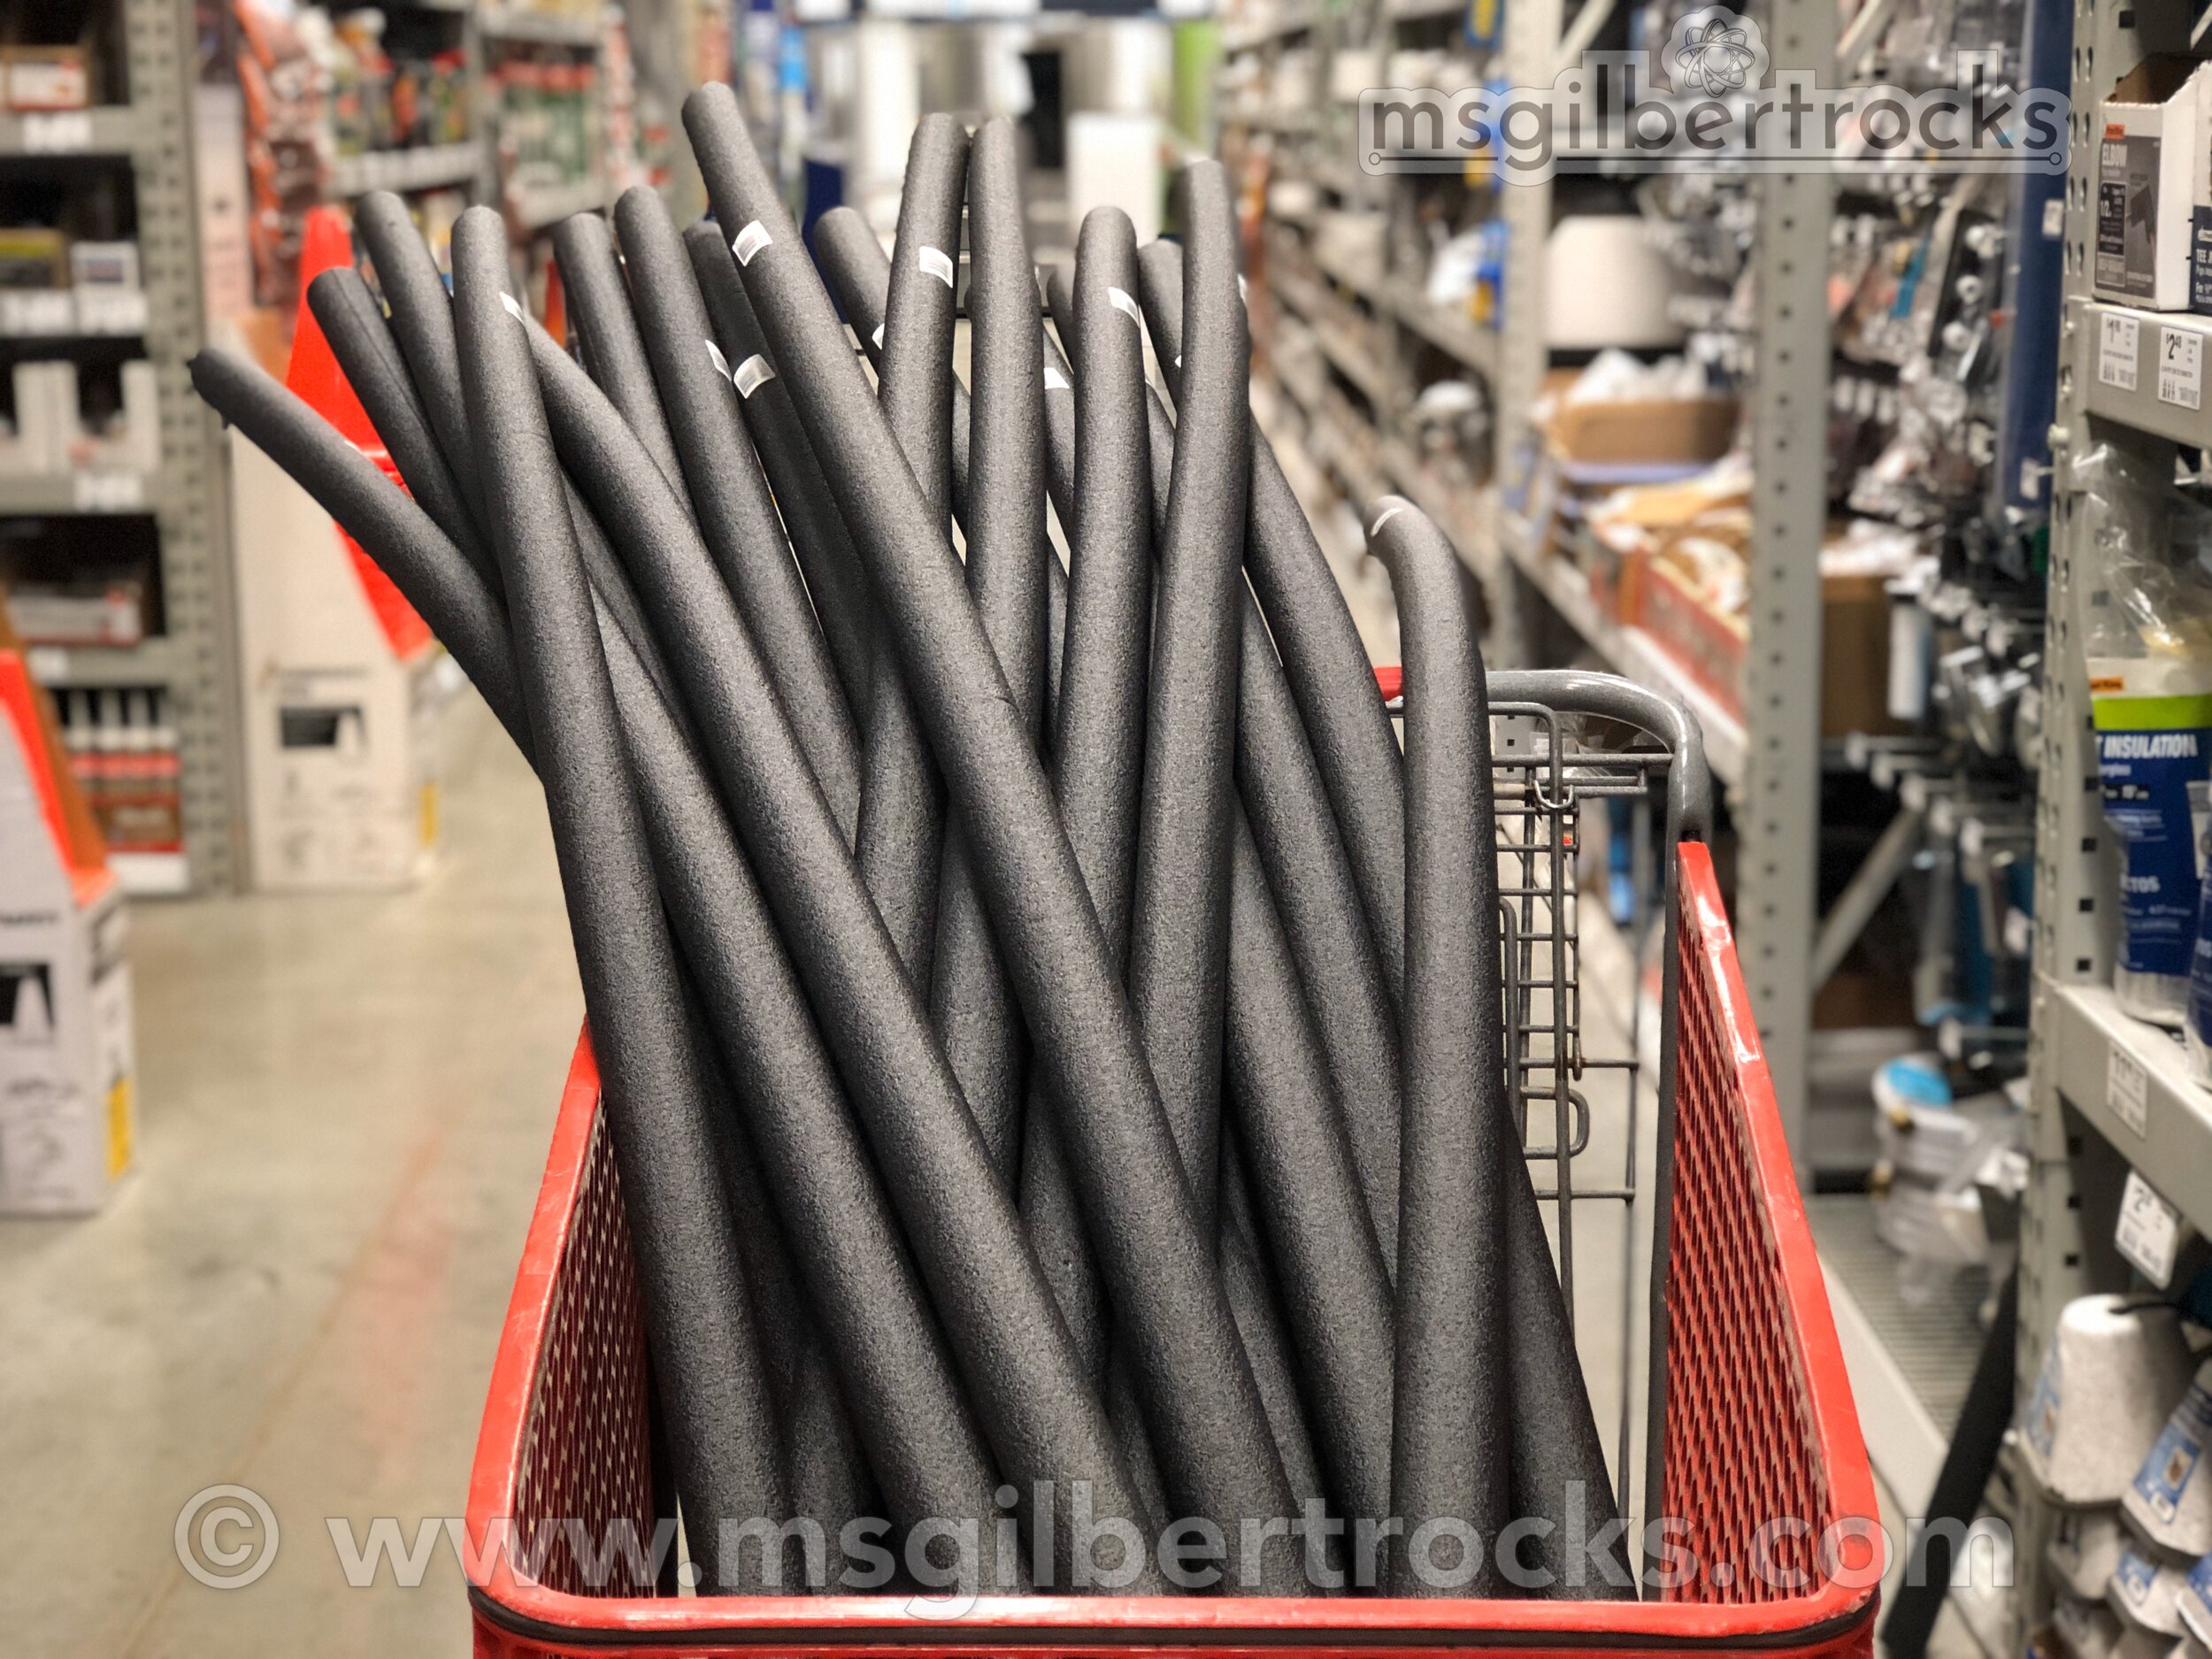
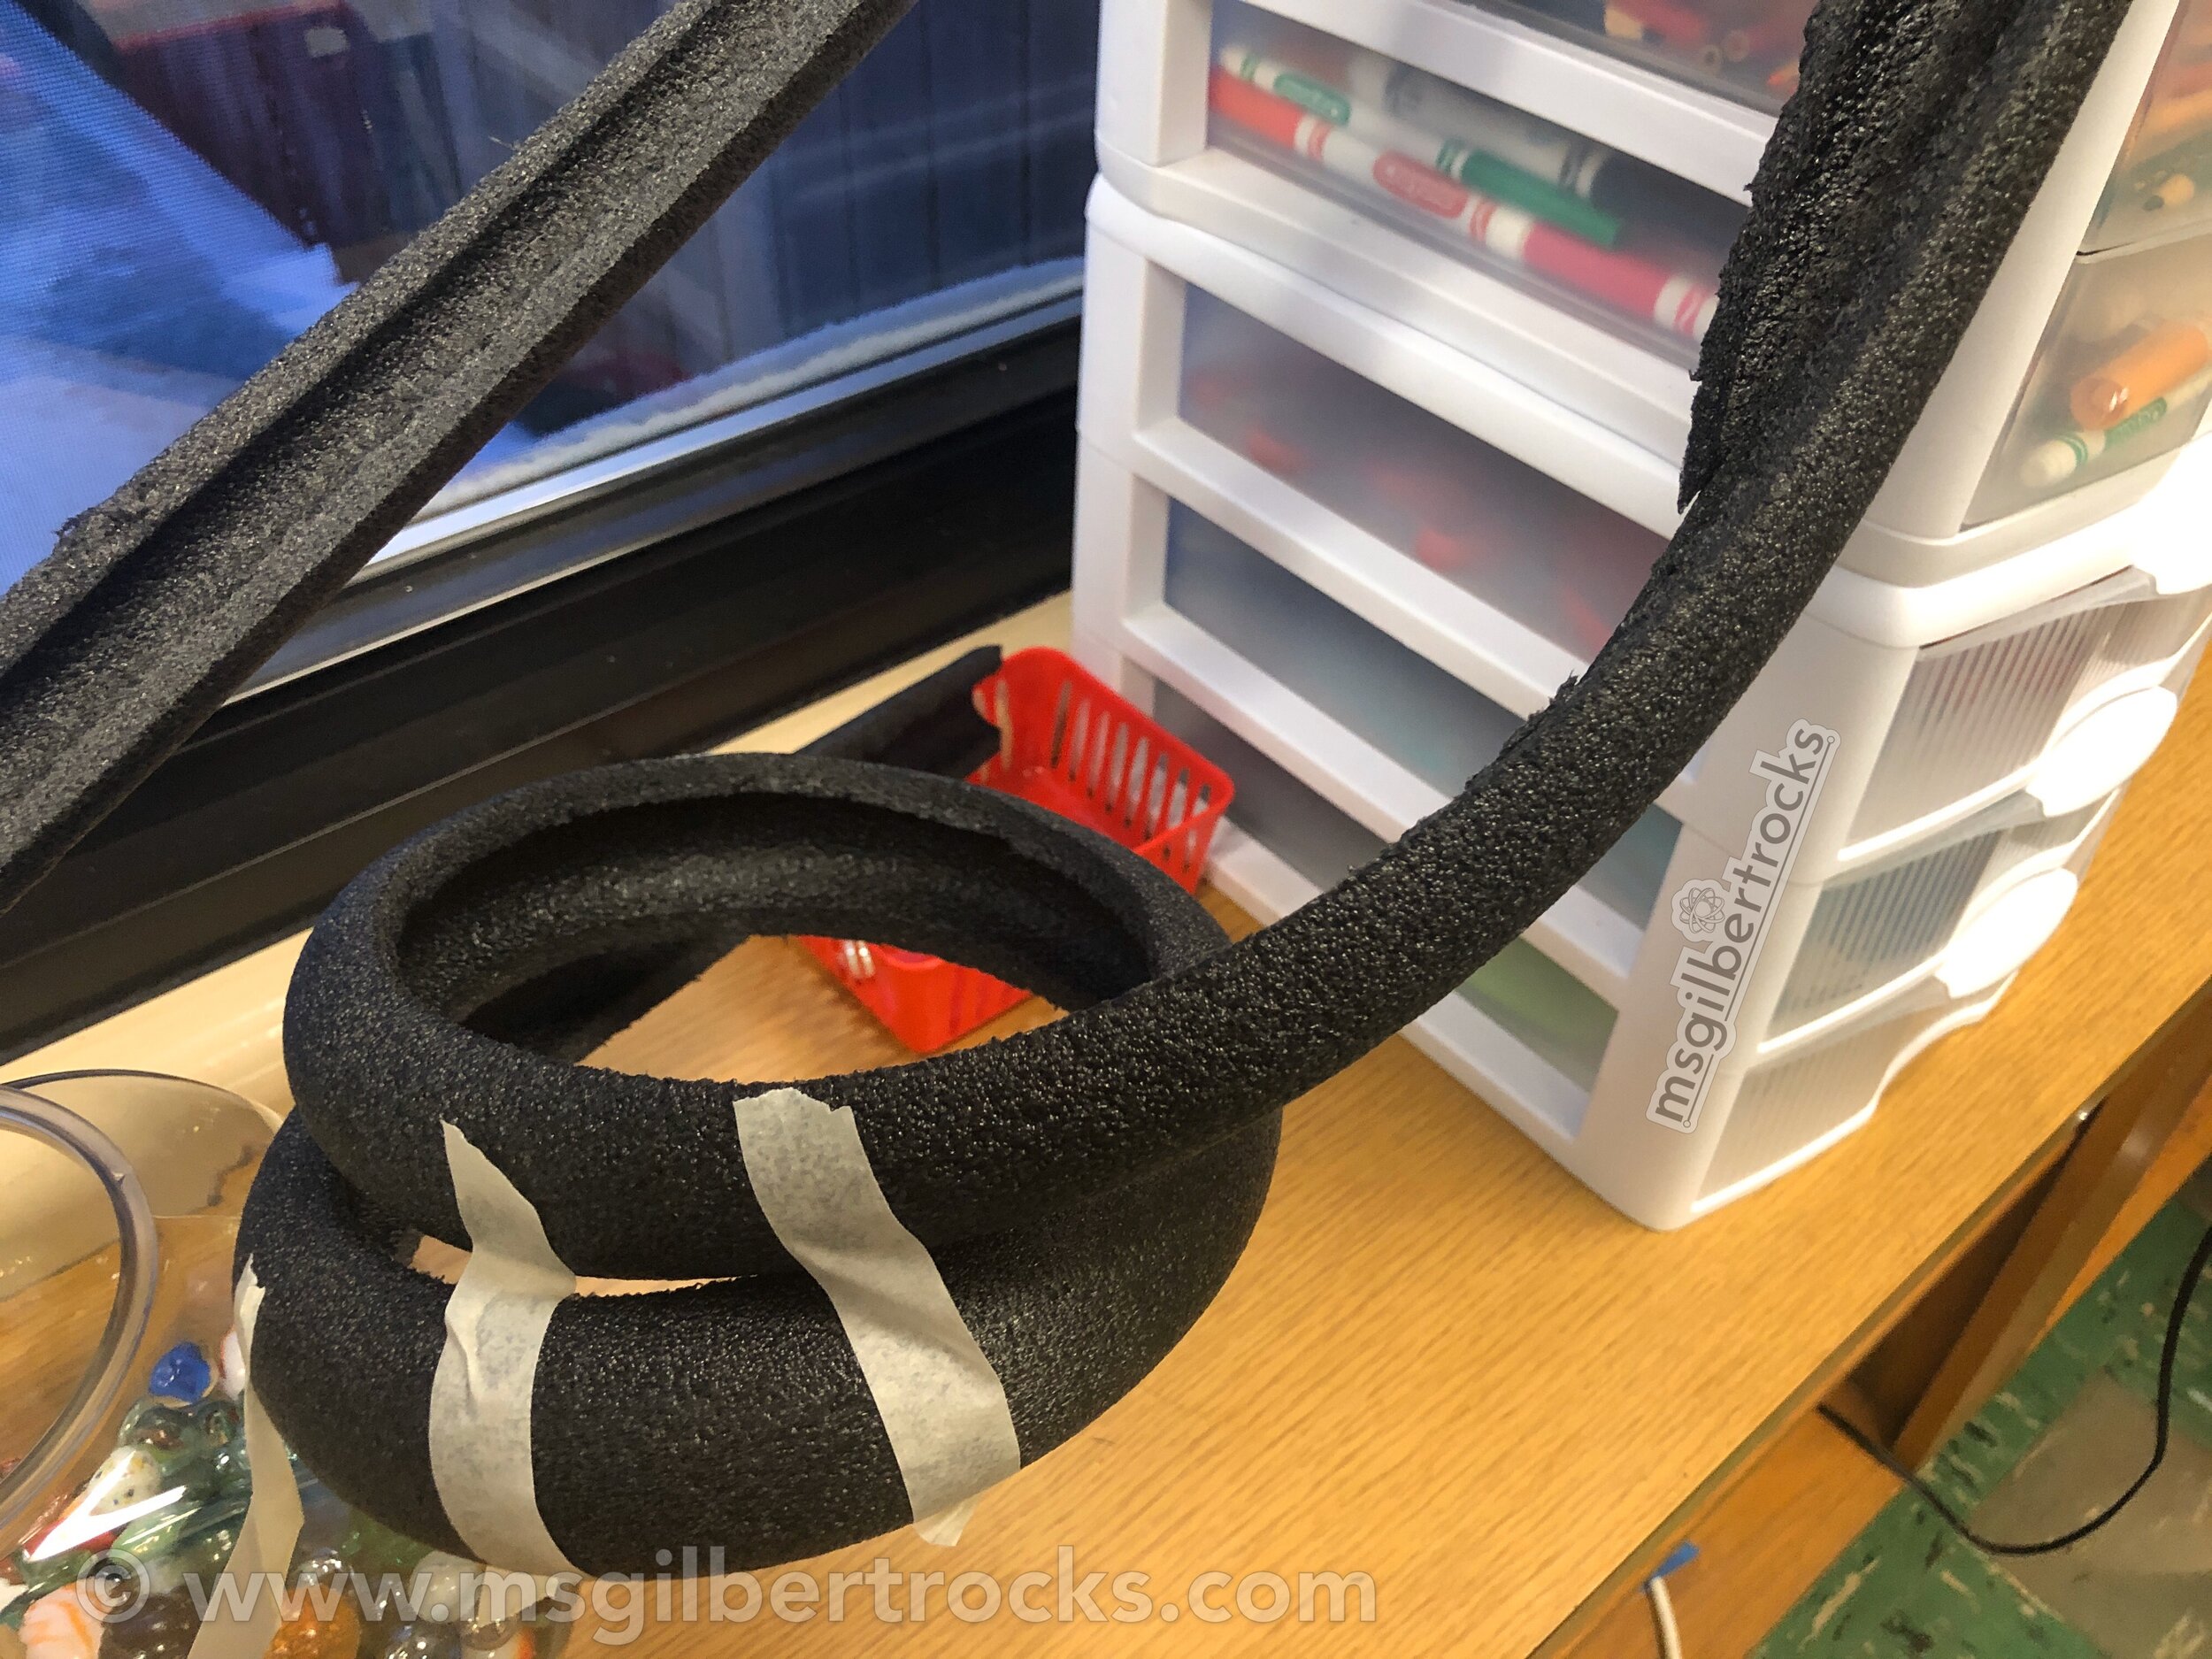
After experimenting with several sizes (1/2”, 3/4”, and 1”) of tubing, I decided that the best fit for all three marble types was the 3/4” tubing. If you use all the same materials, then the tubing should work well for you too. Note that if you use different sizes of marbles then the tubing may not be the best fit. The channel created by the different inside dimensions does make a difference.
The 3/4” tubing allowed us to use 1/2” marbles that were readily available in metal, wood, and glass. The glass marbles are slightly larger at about 0.56” compared to 0.5” for the others. Other materials include masking tape and some type of cup/basket to catch the marble at the end of the coaster. Not pictured are the options we provided from Dollar Tree so students can now have the choice between a cup, or two different small plastic baskets, and the basic stop watches used to collect data. If you would like a copy of the lab document, you can access it here.
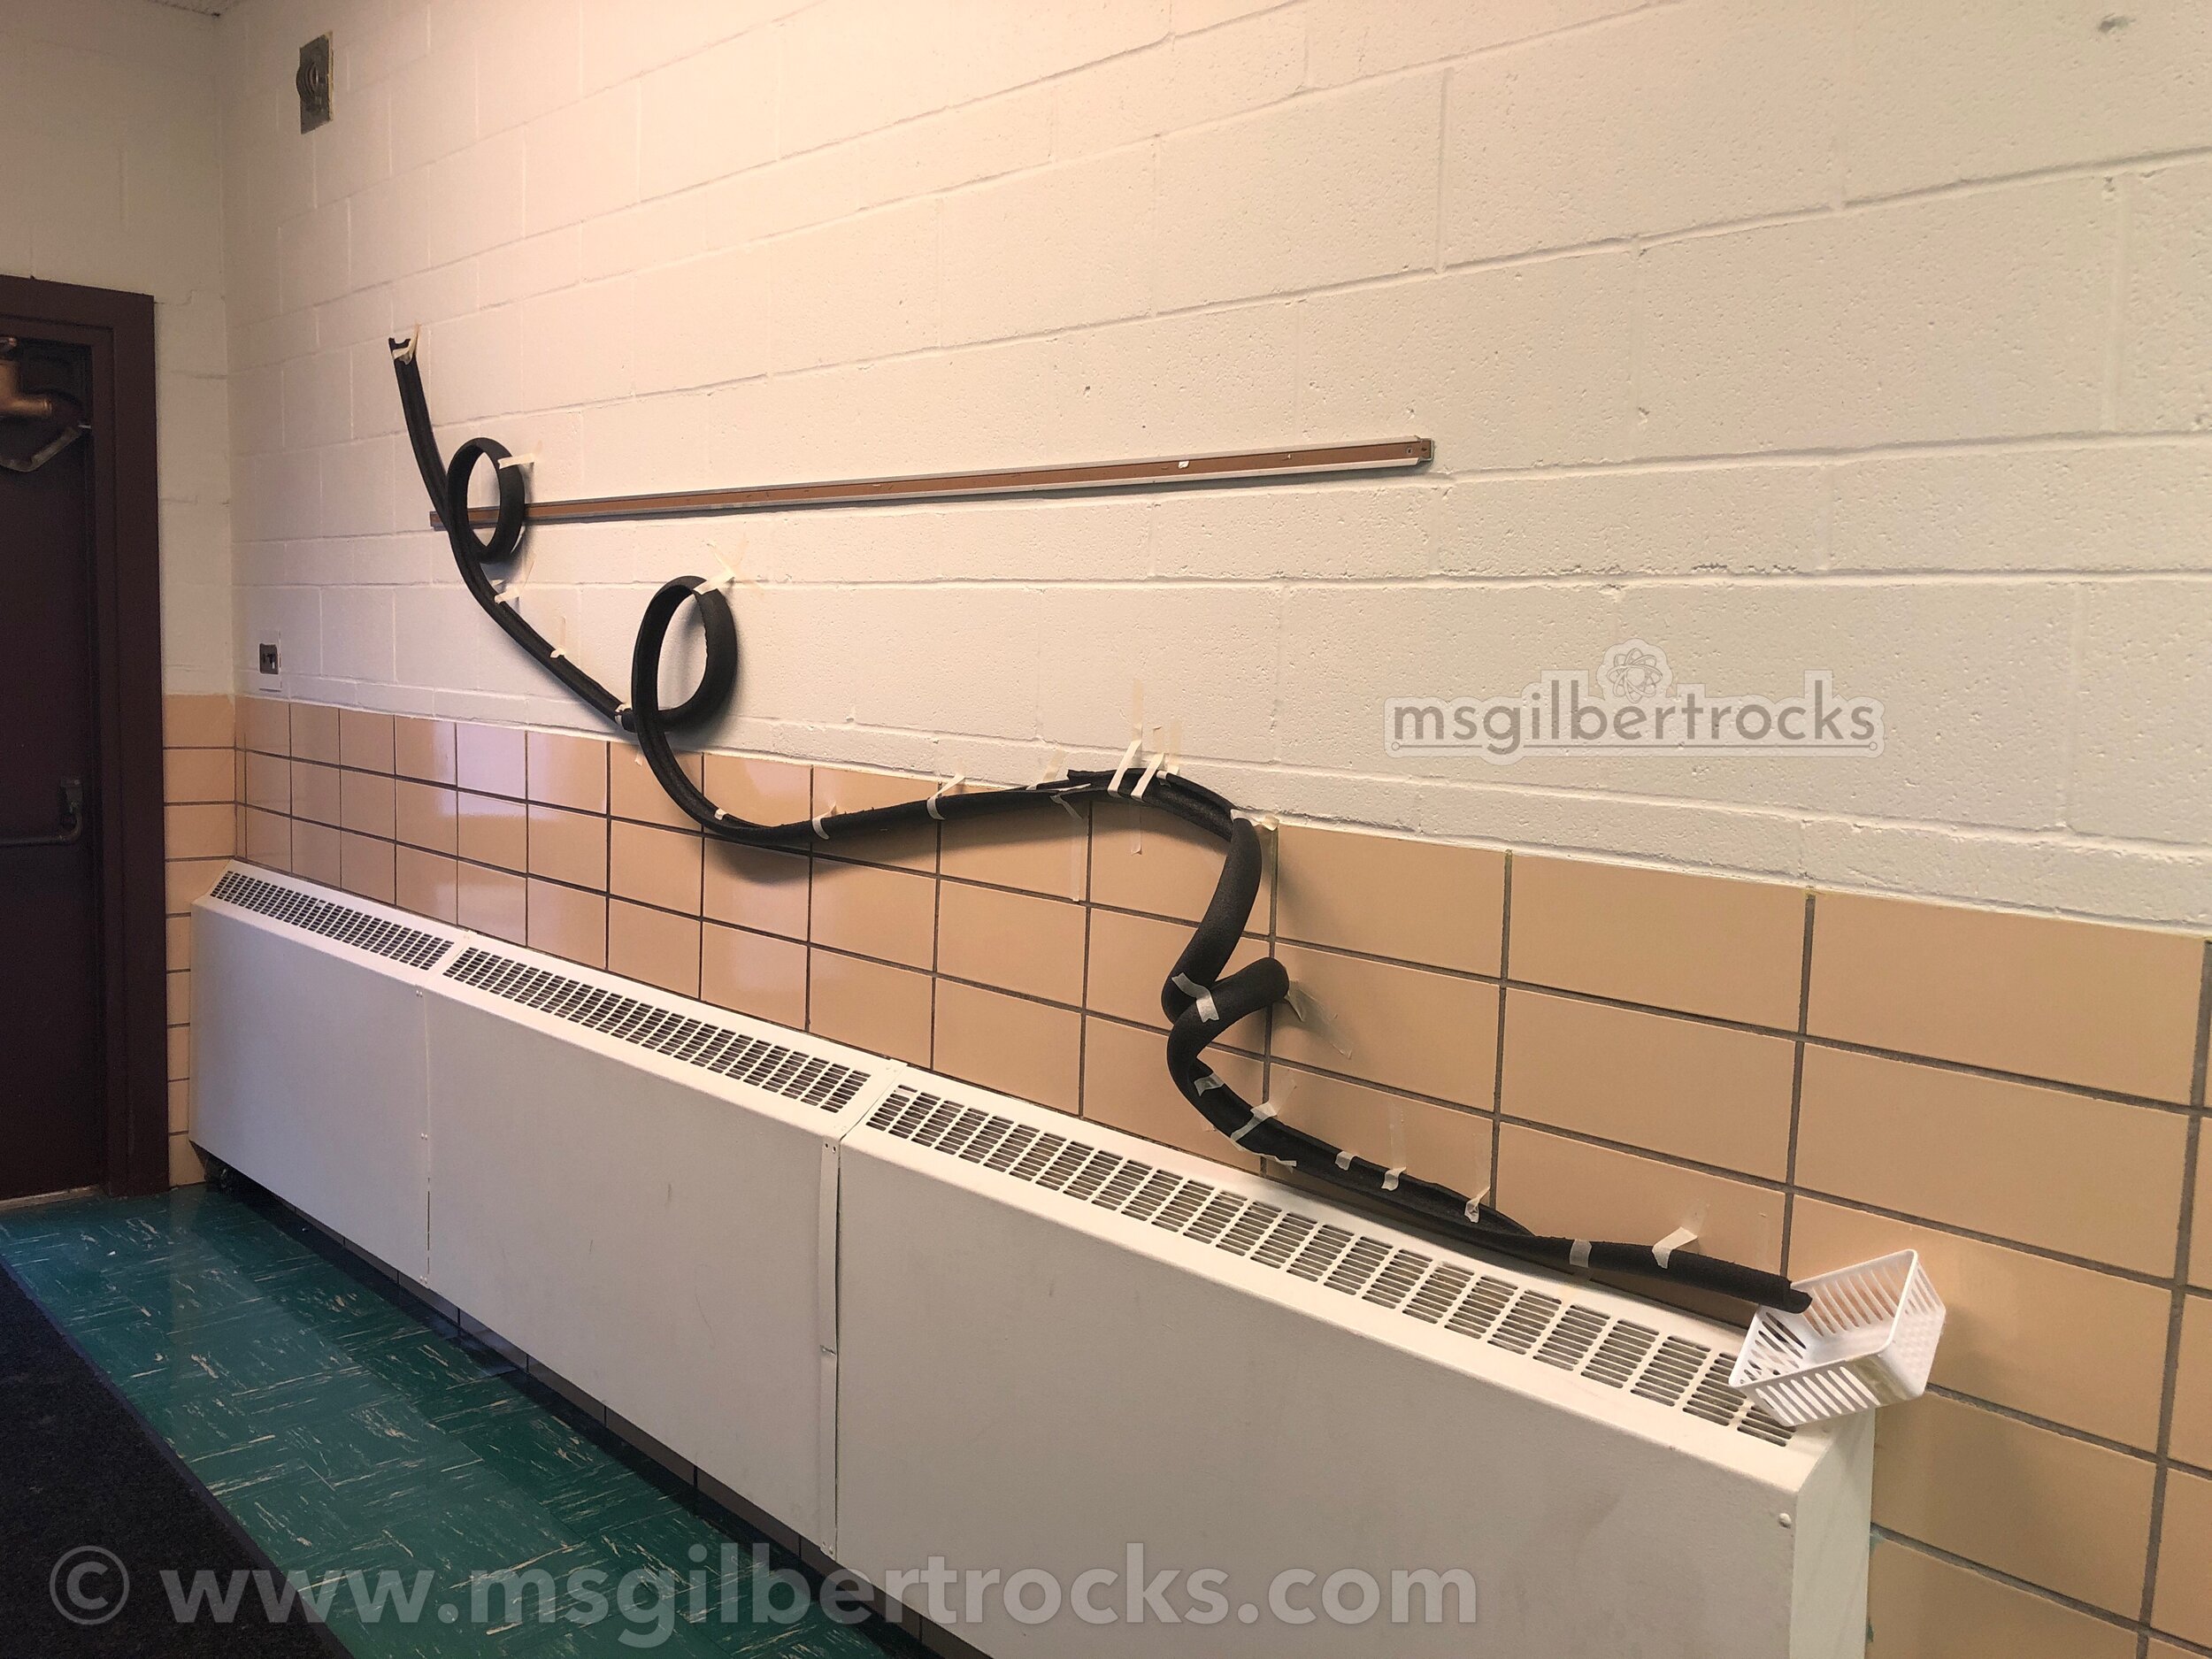
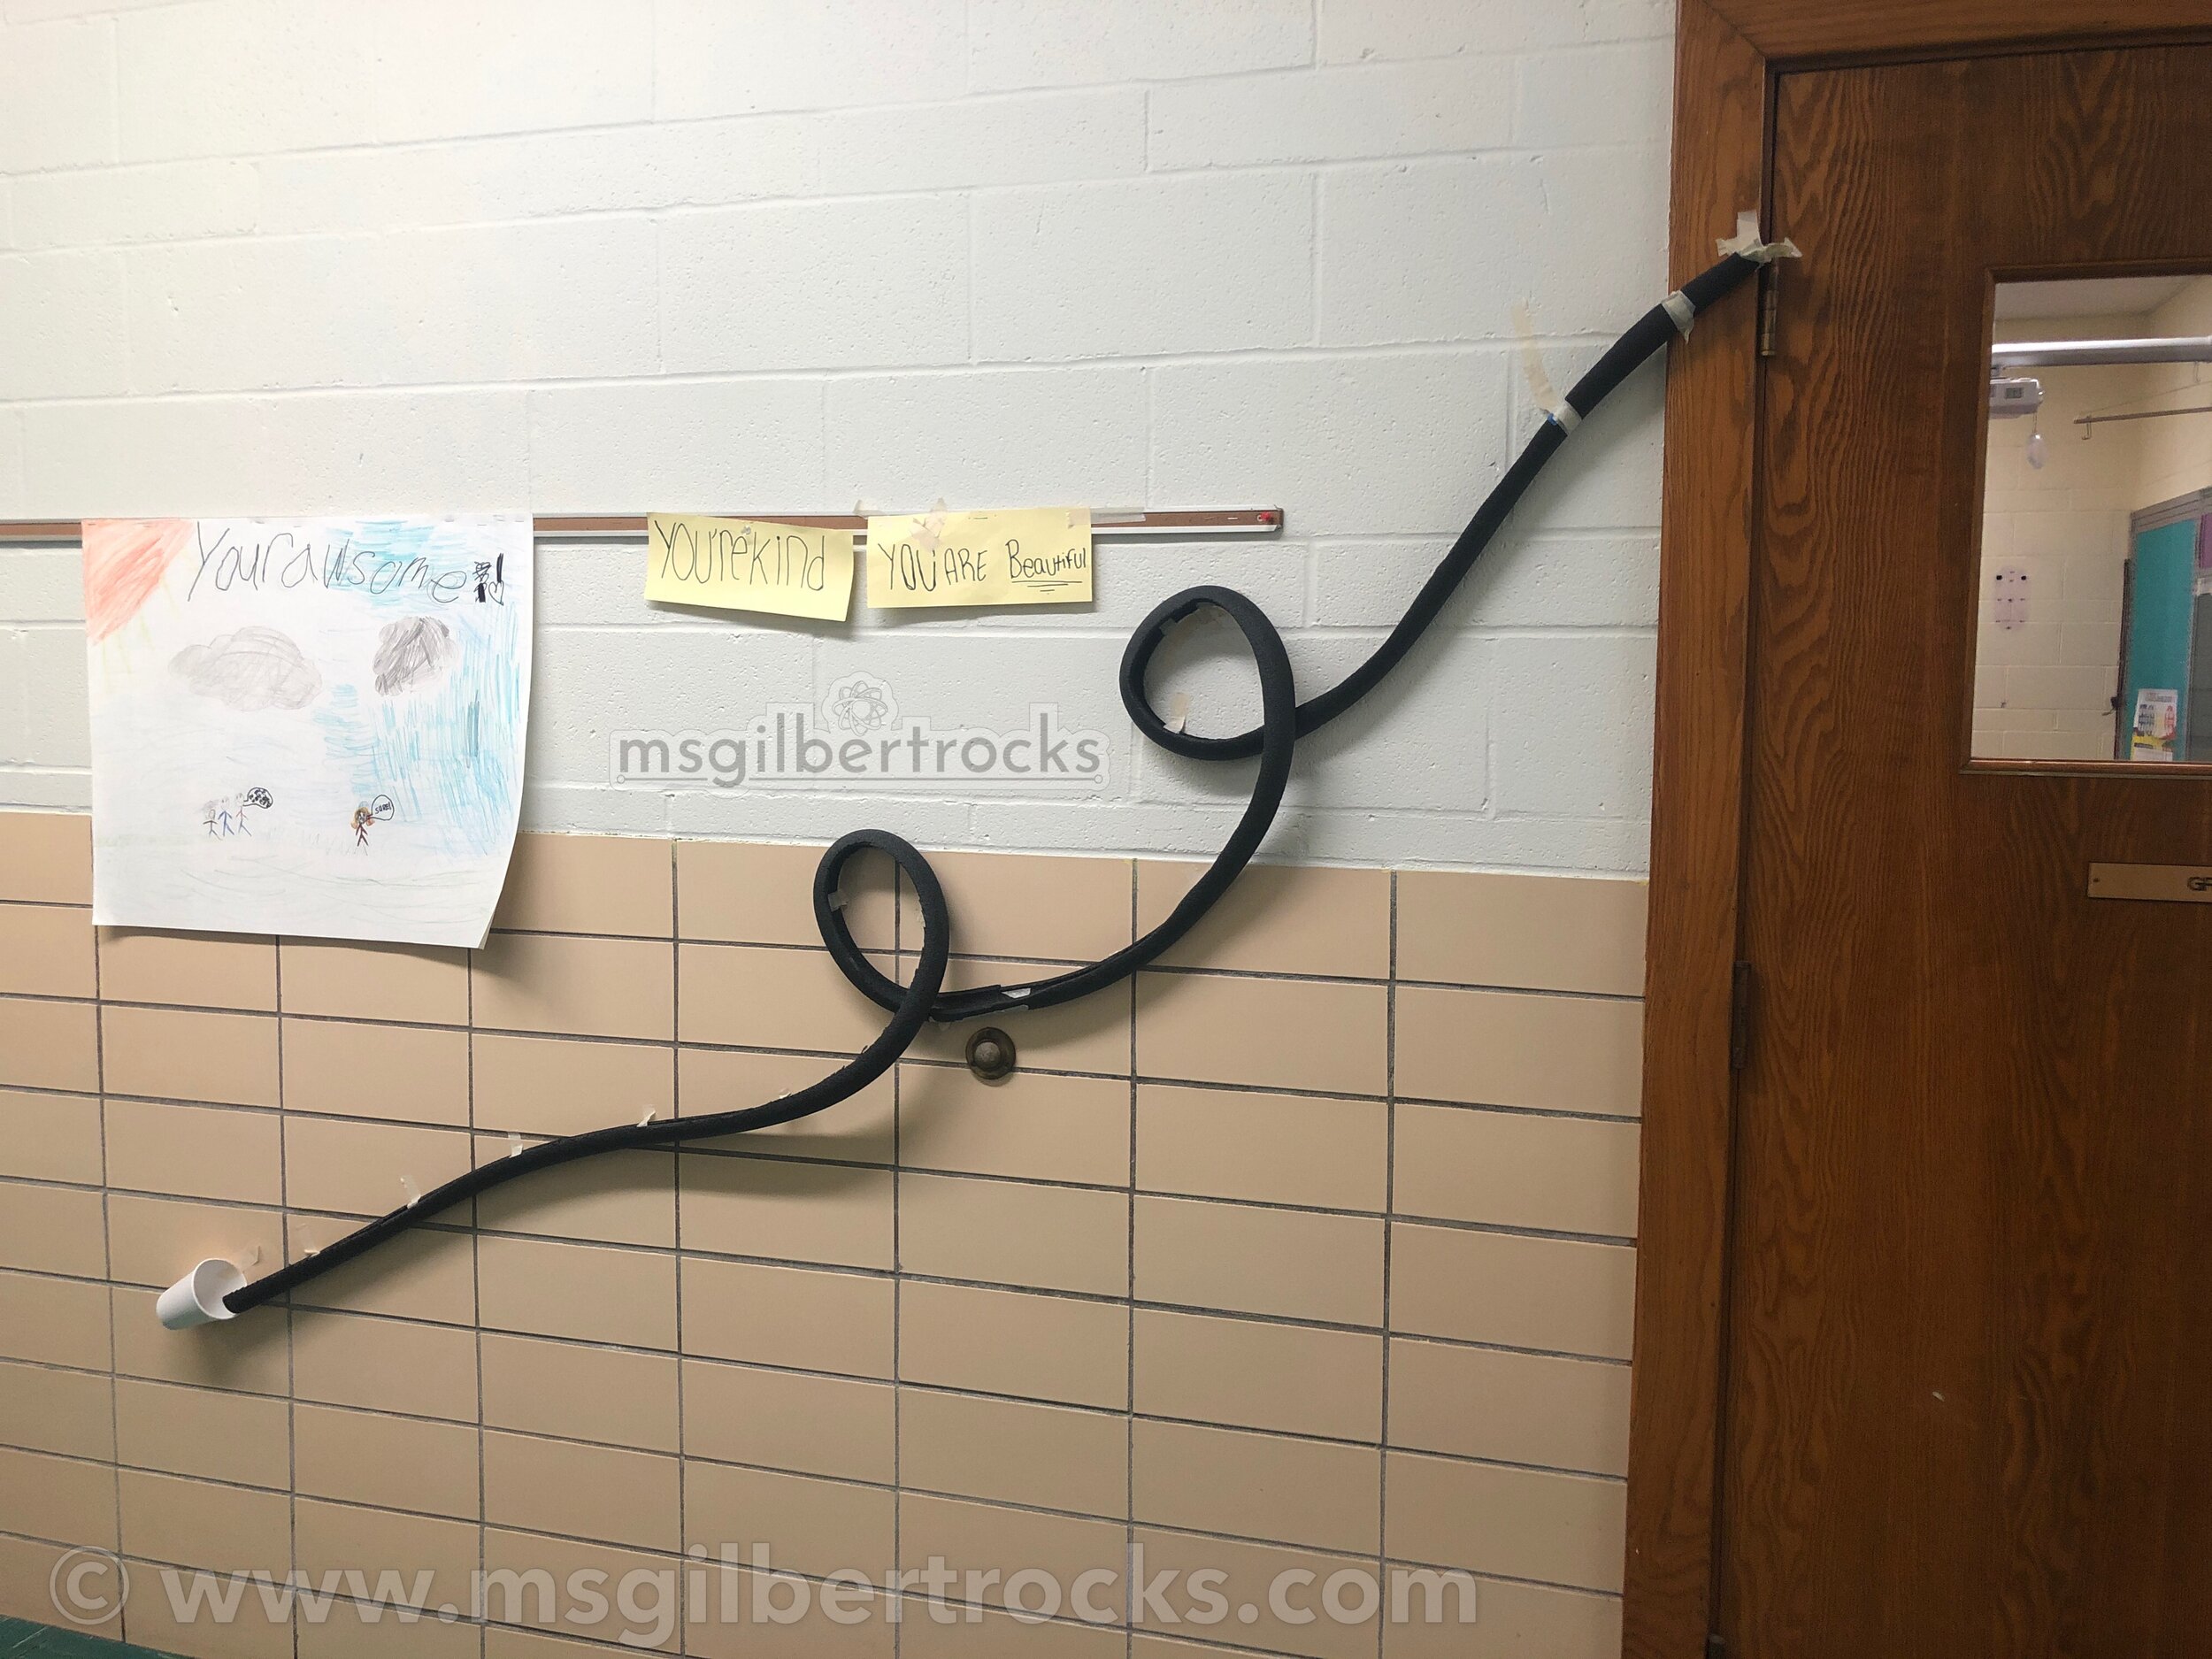
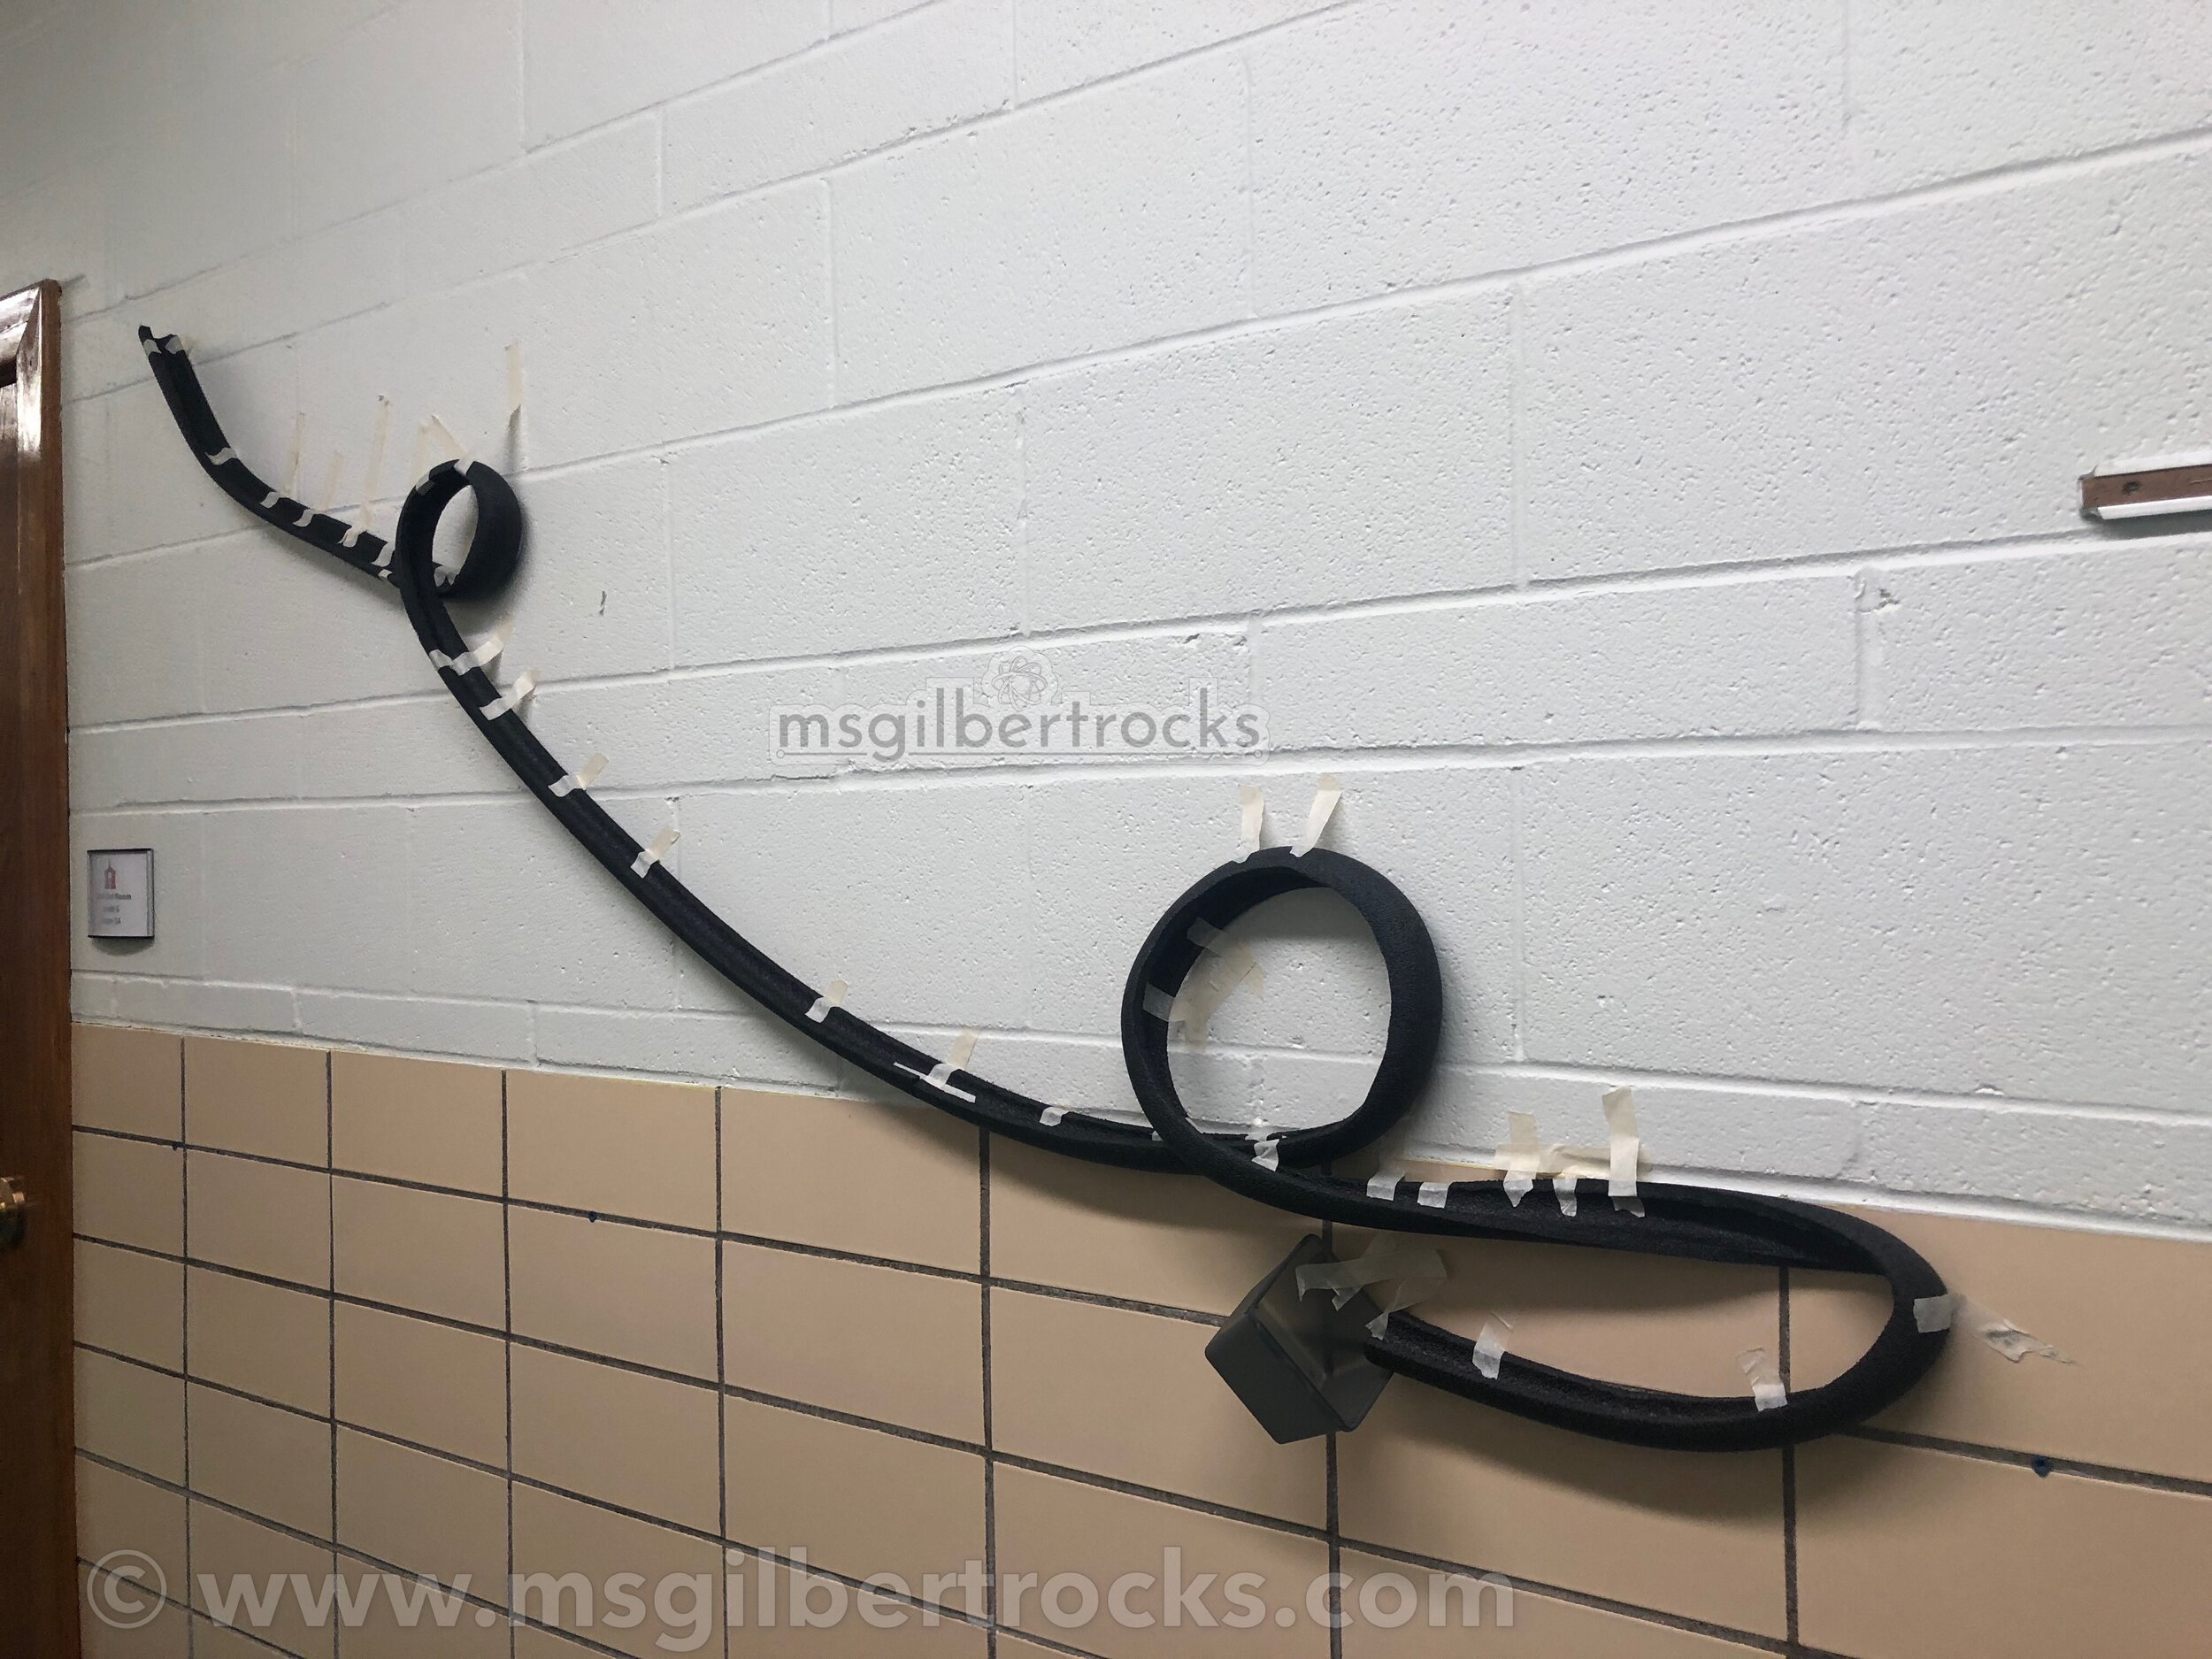
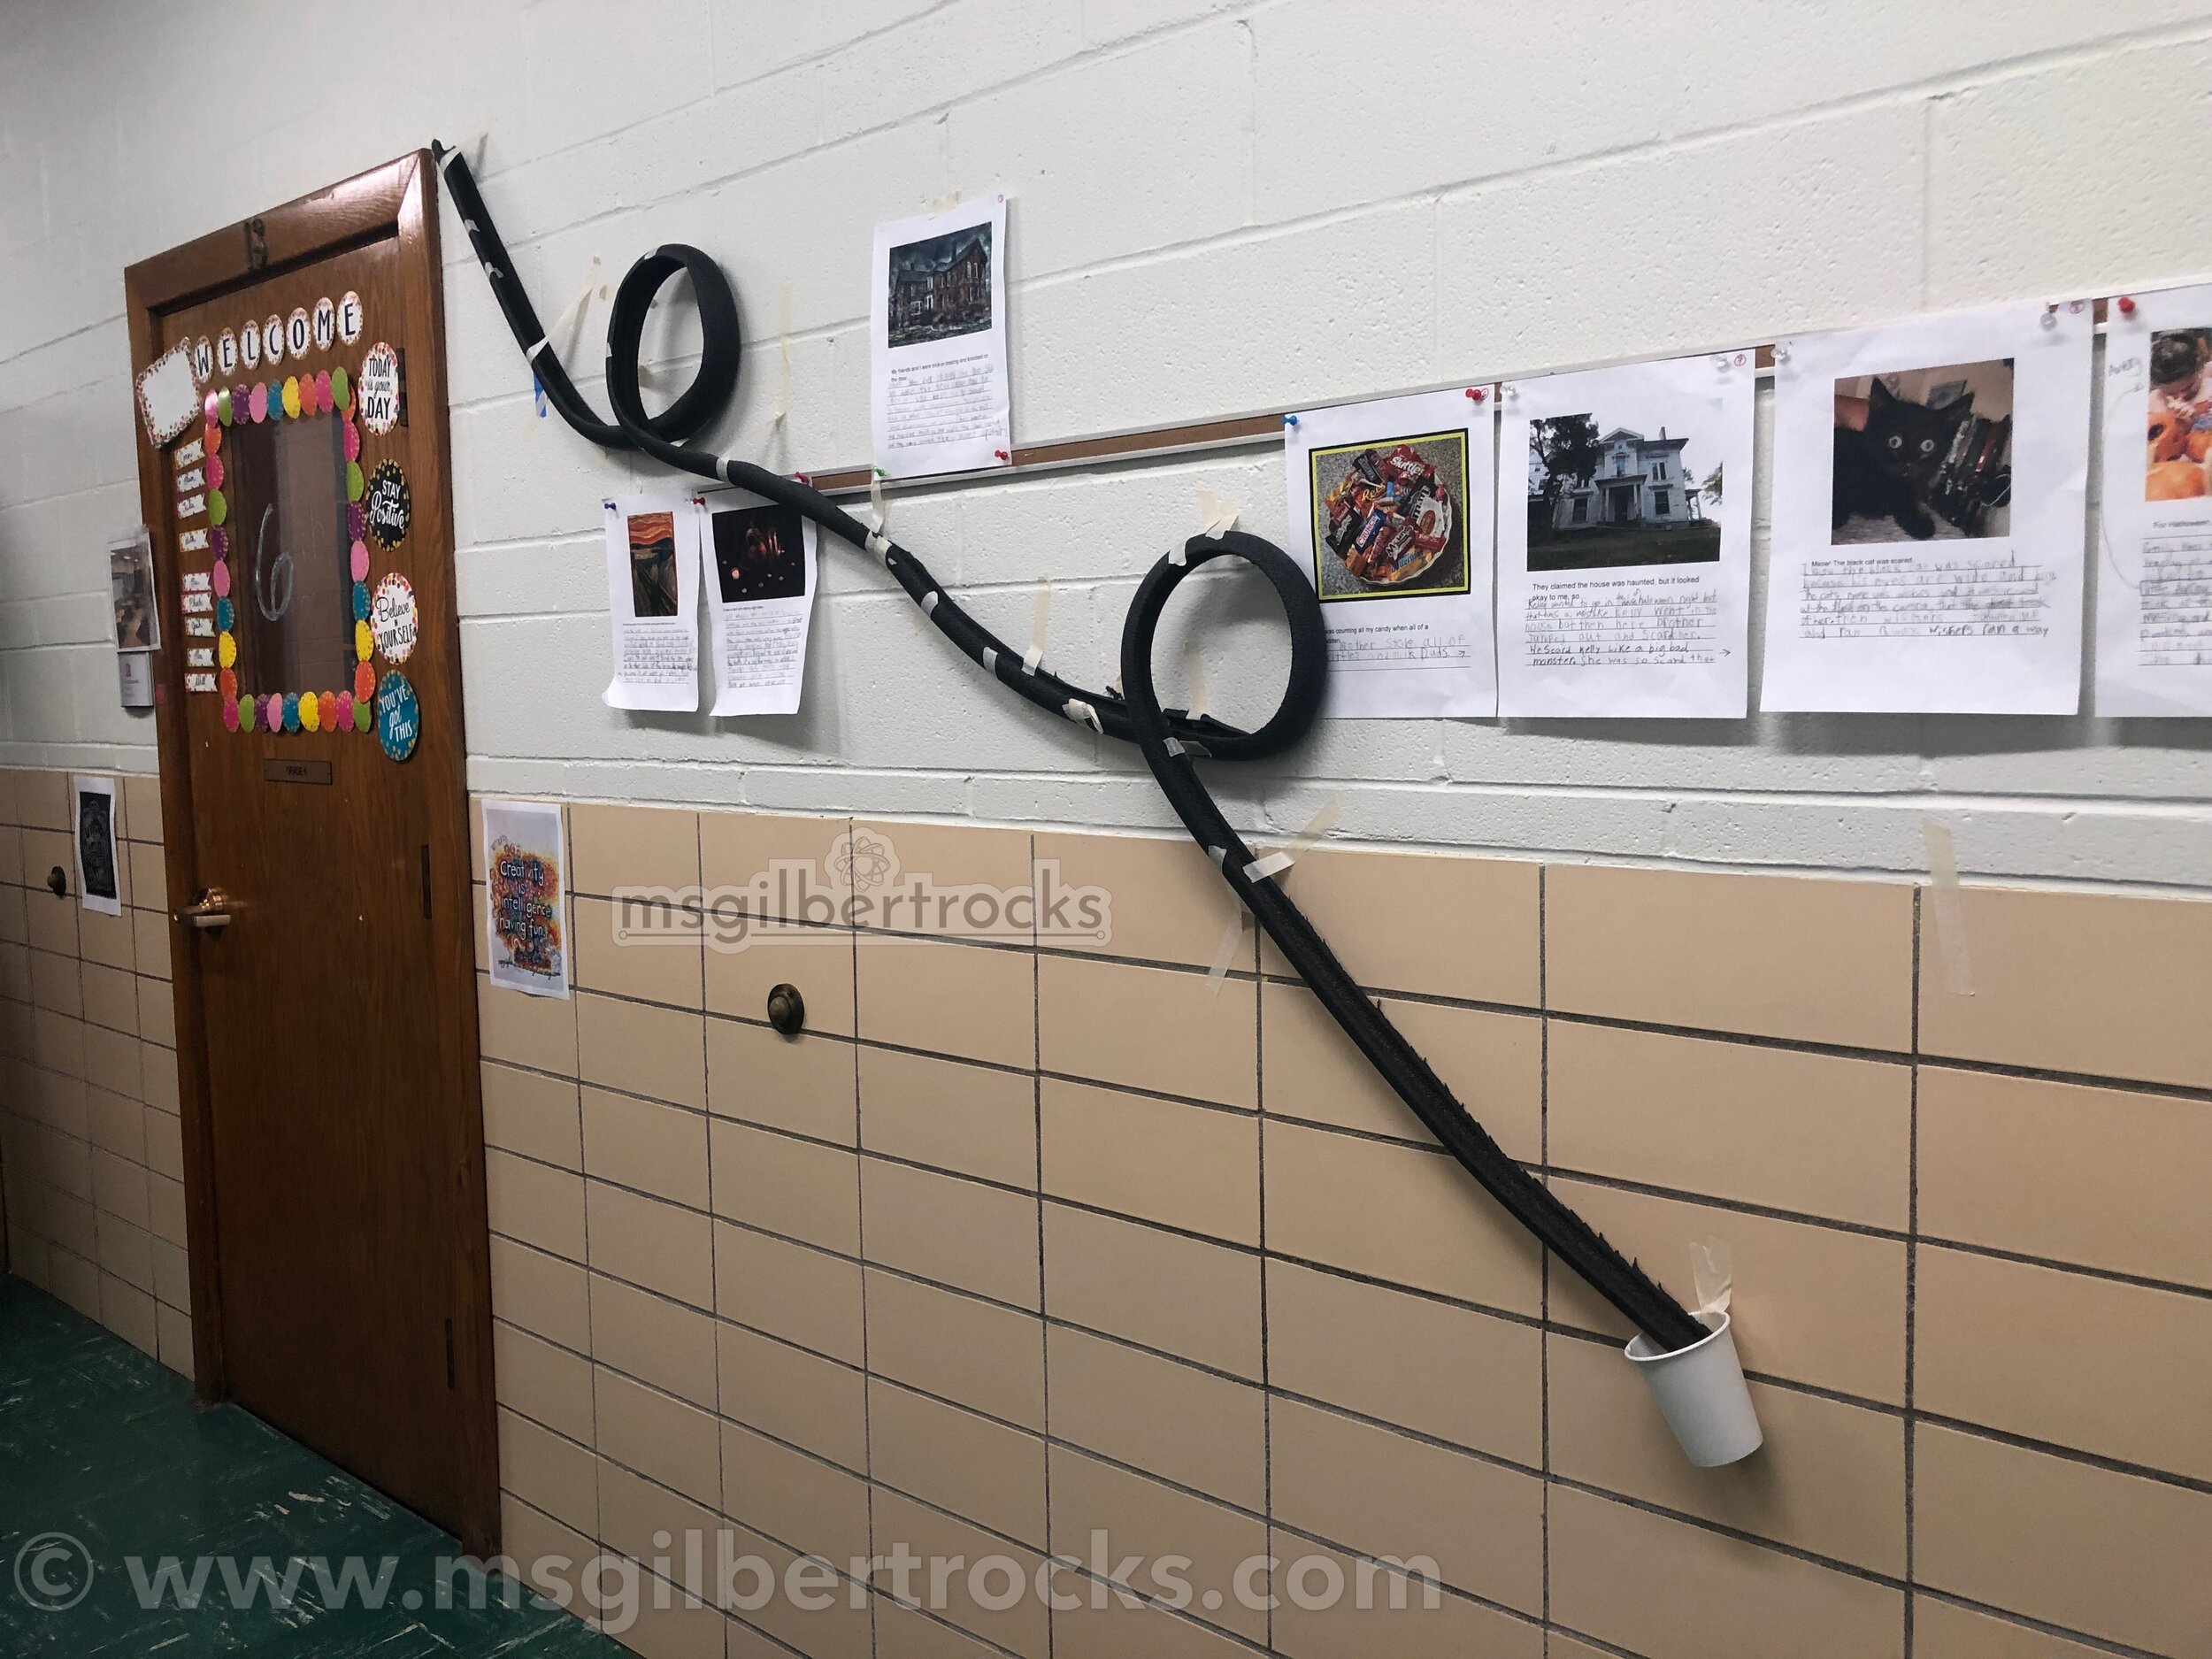
Methods
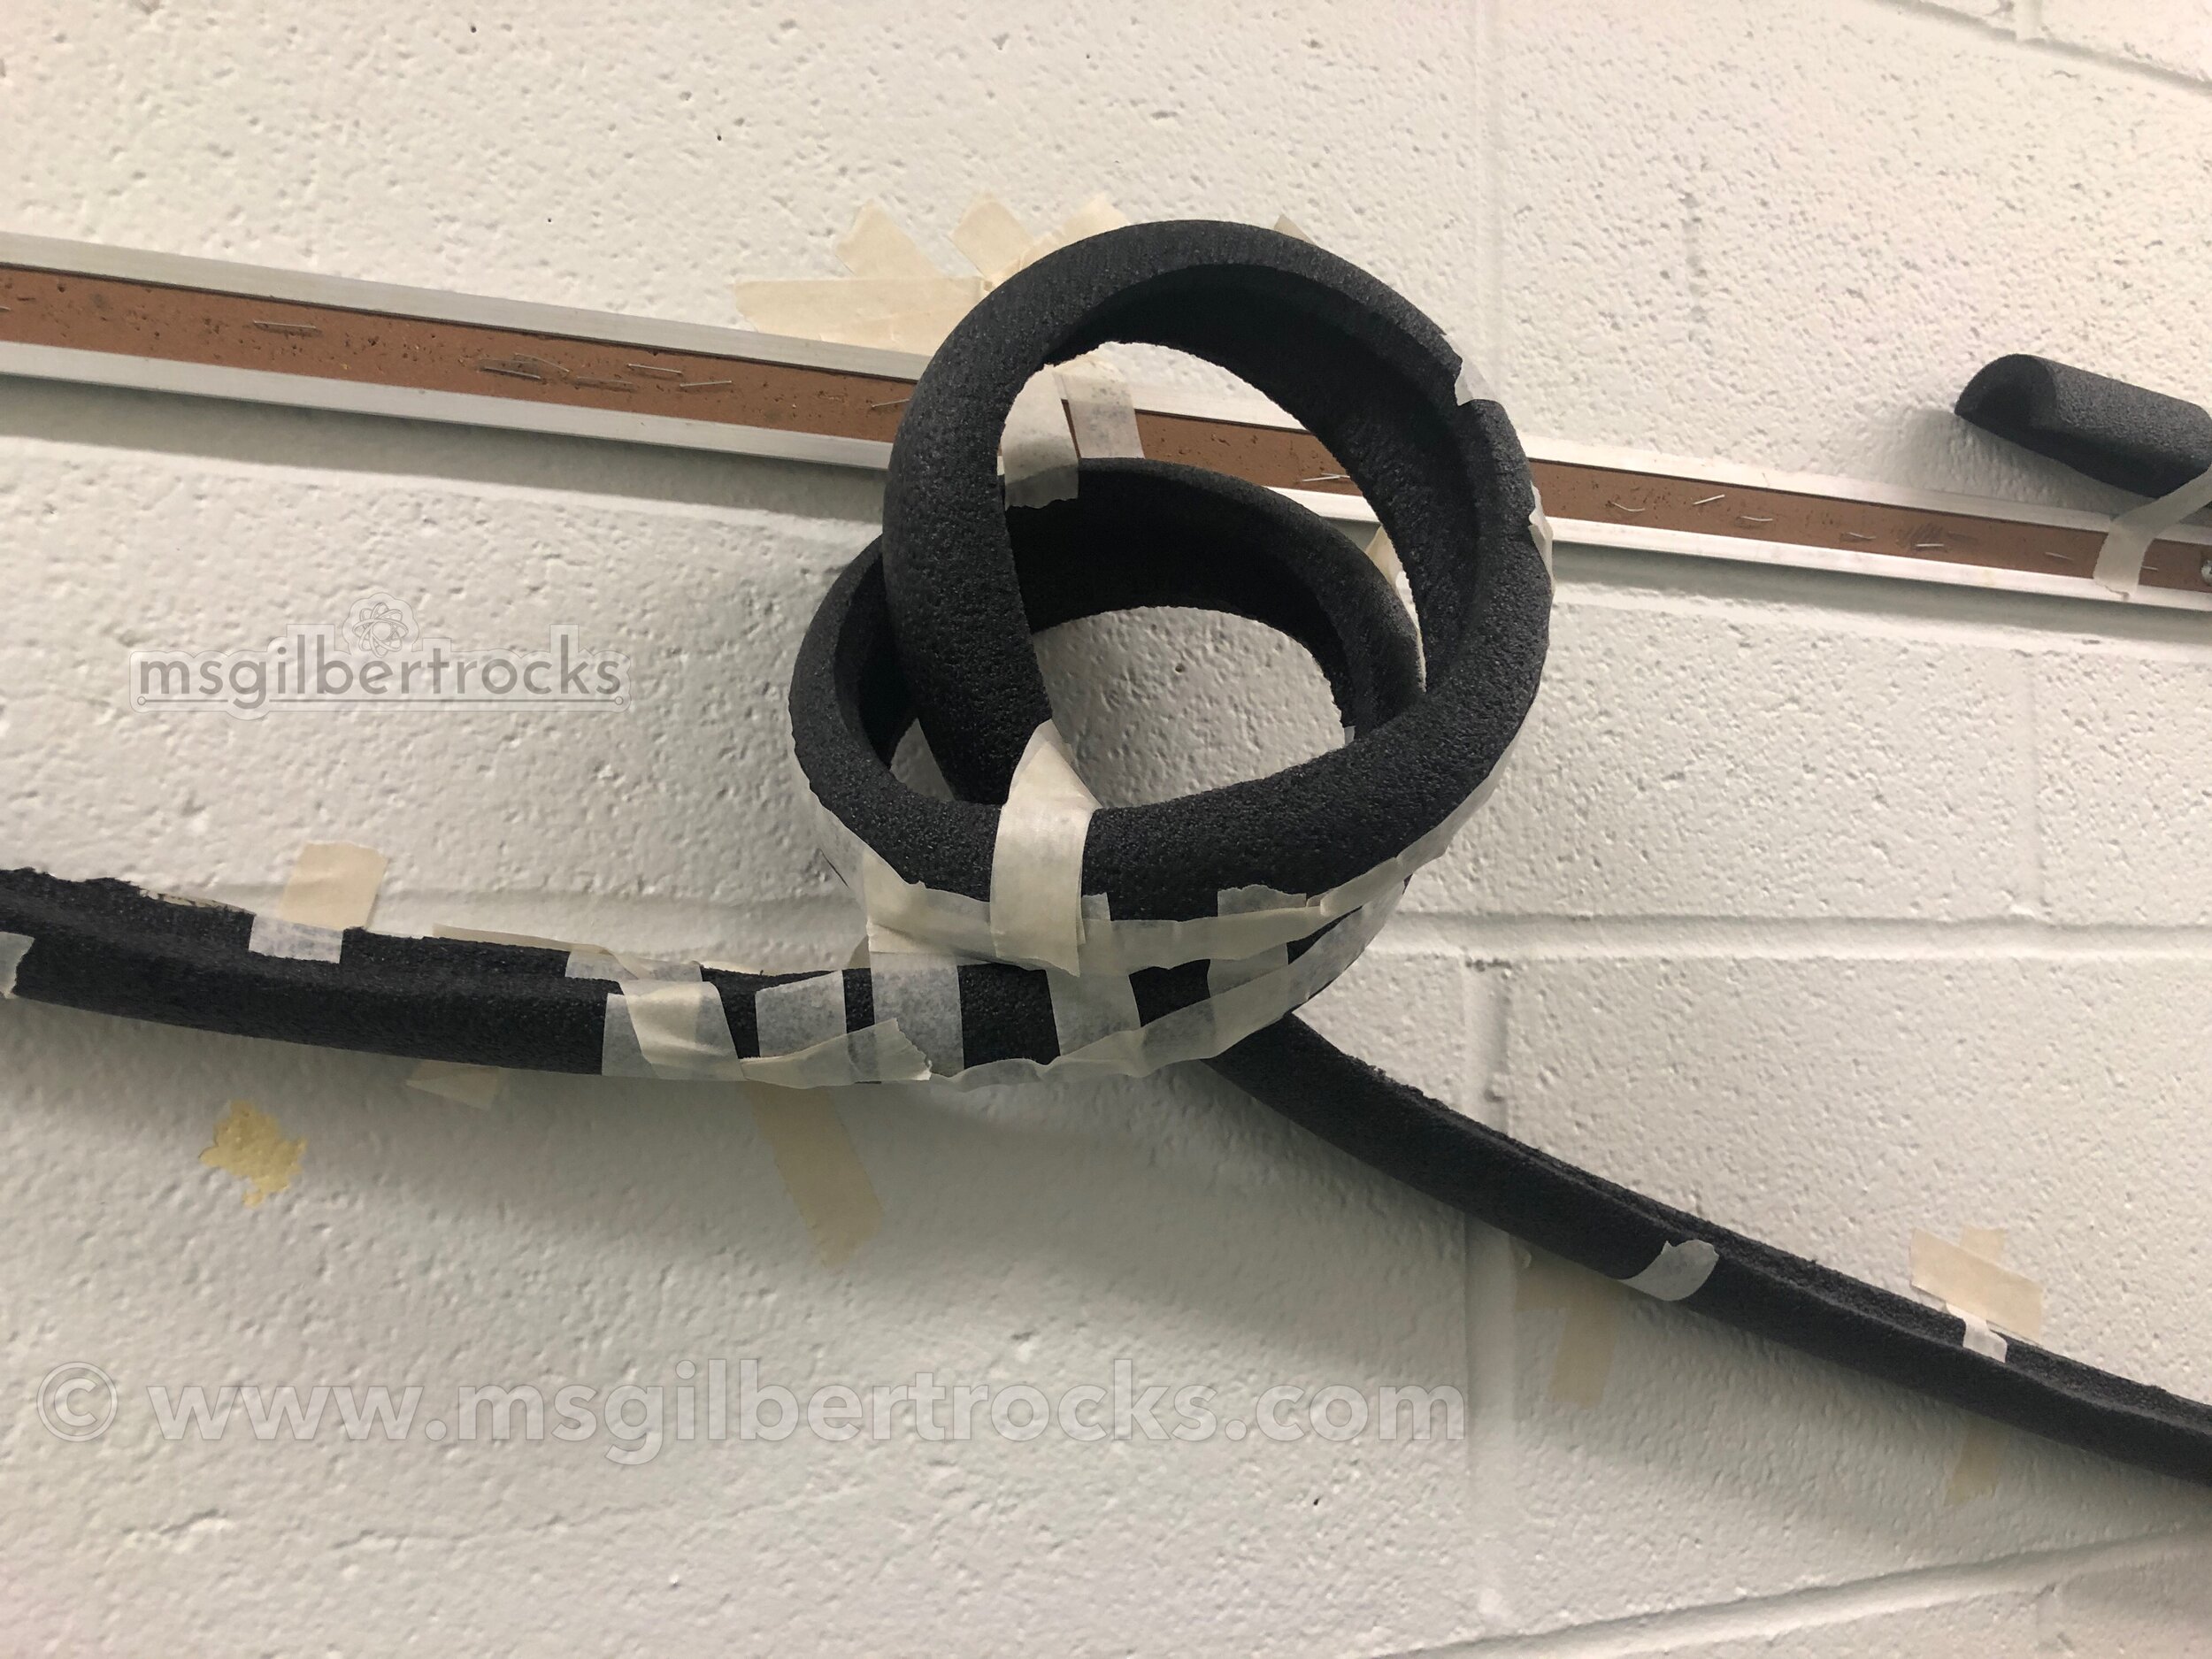
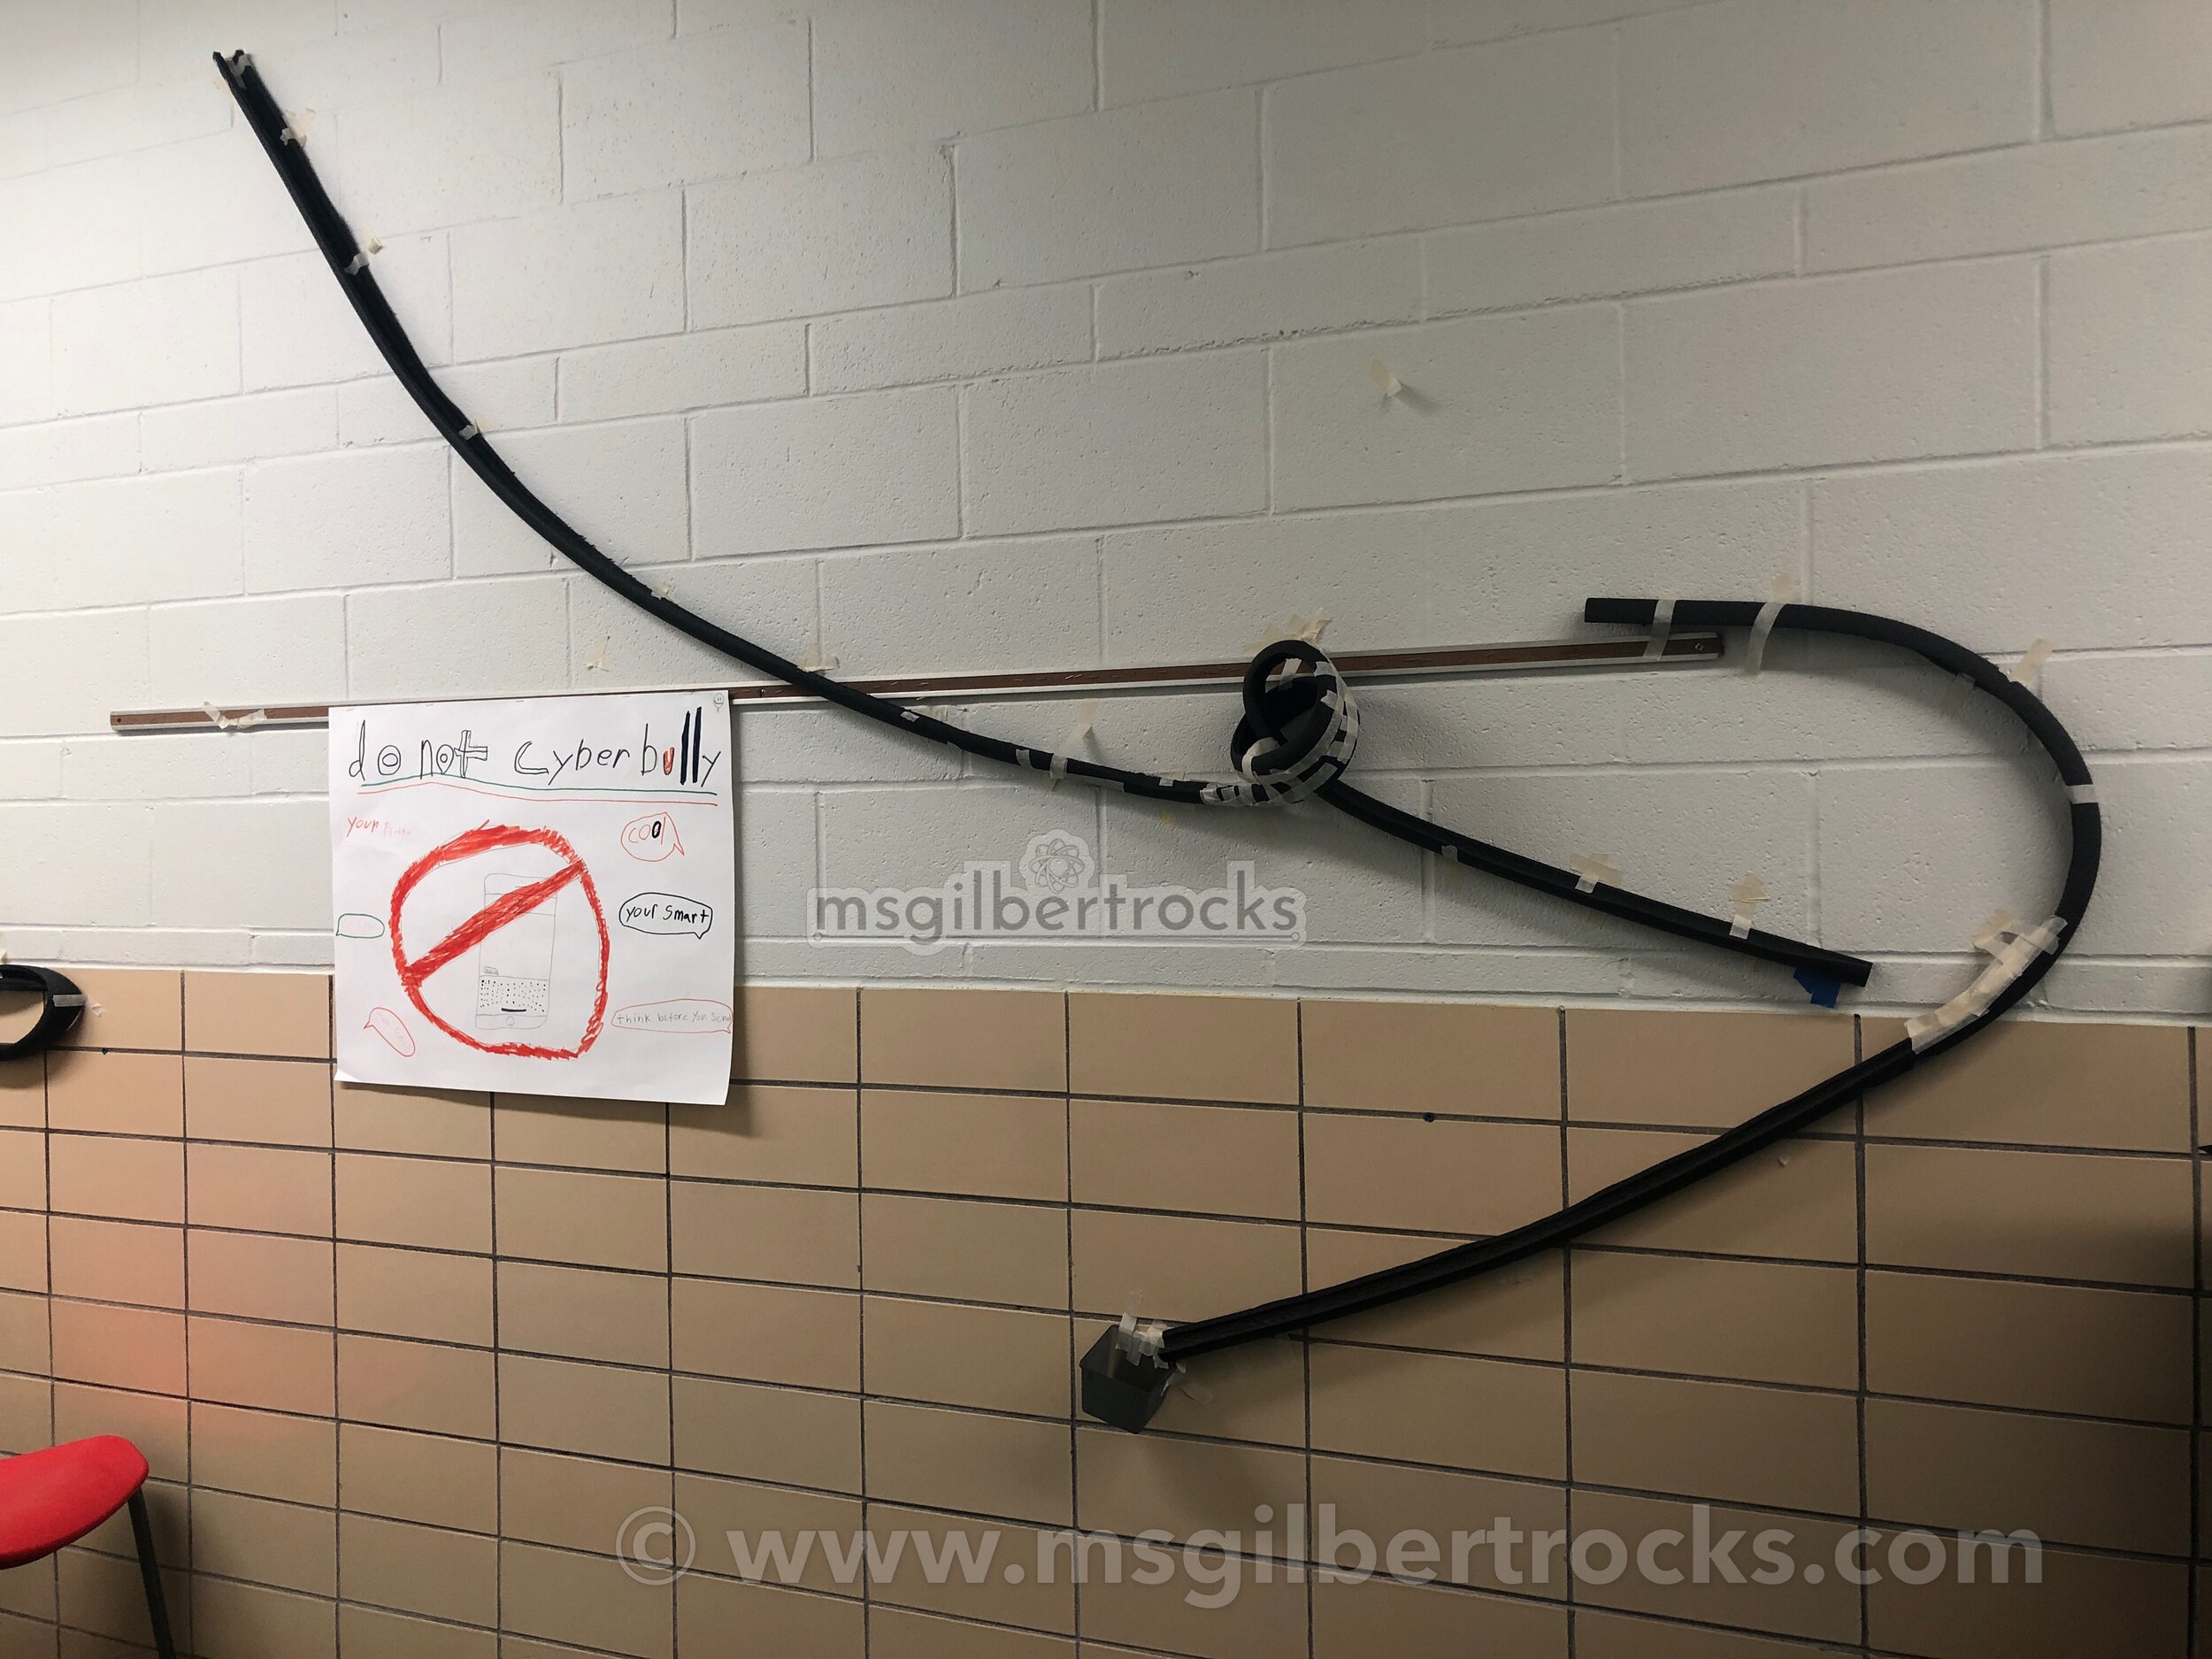
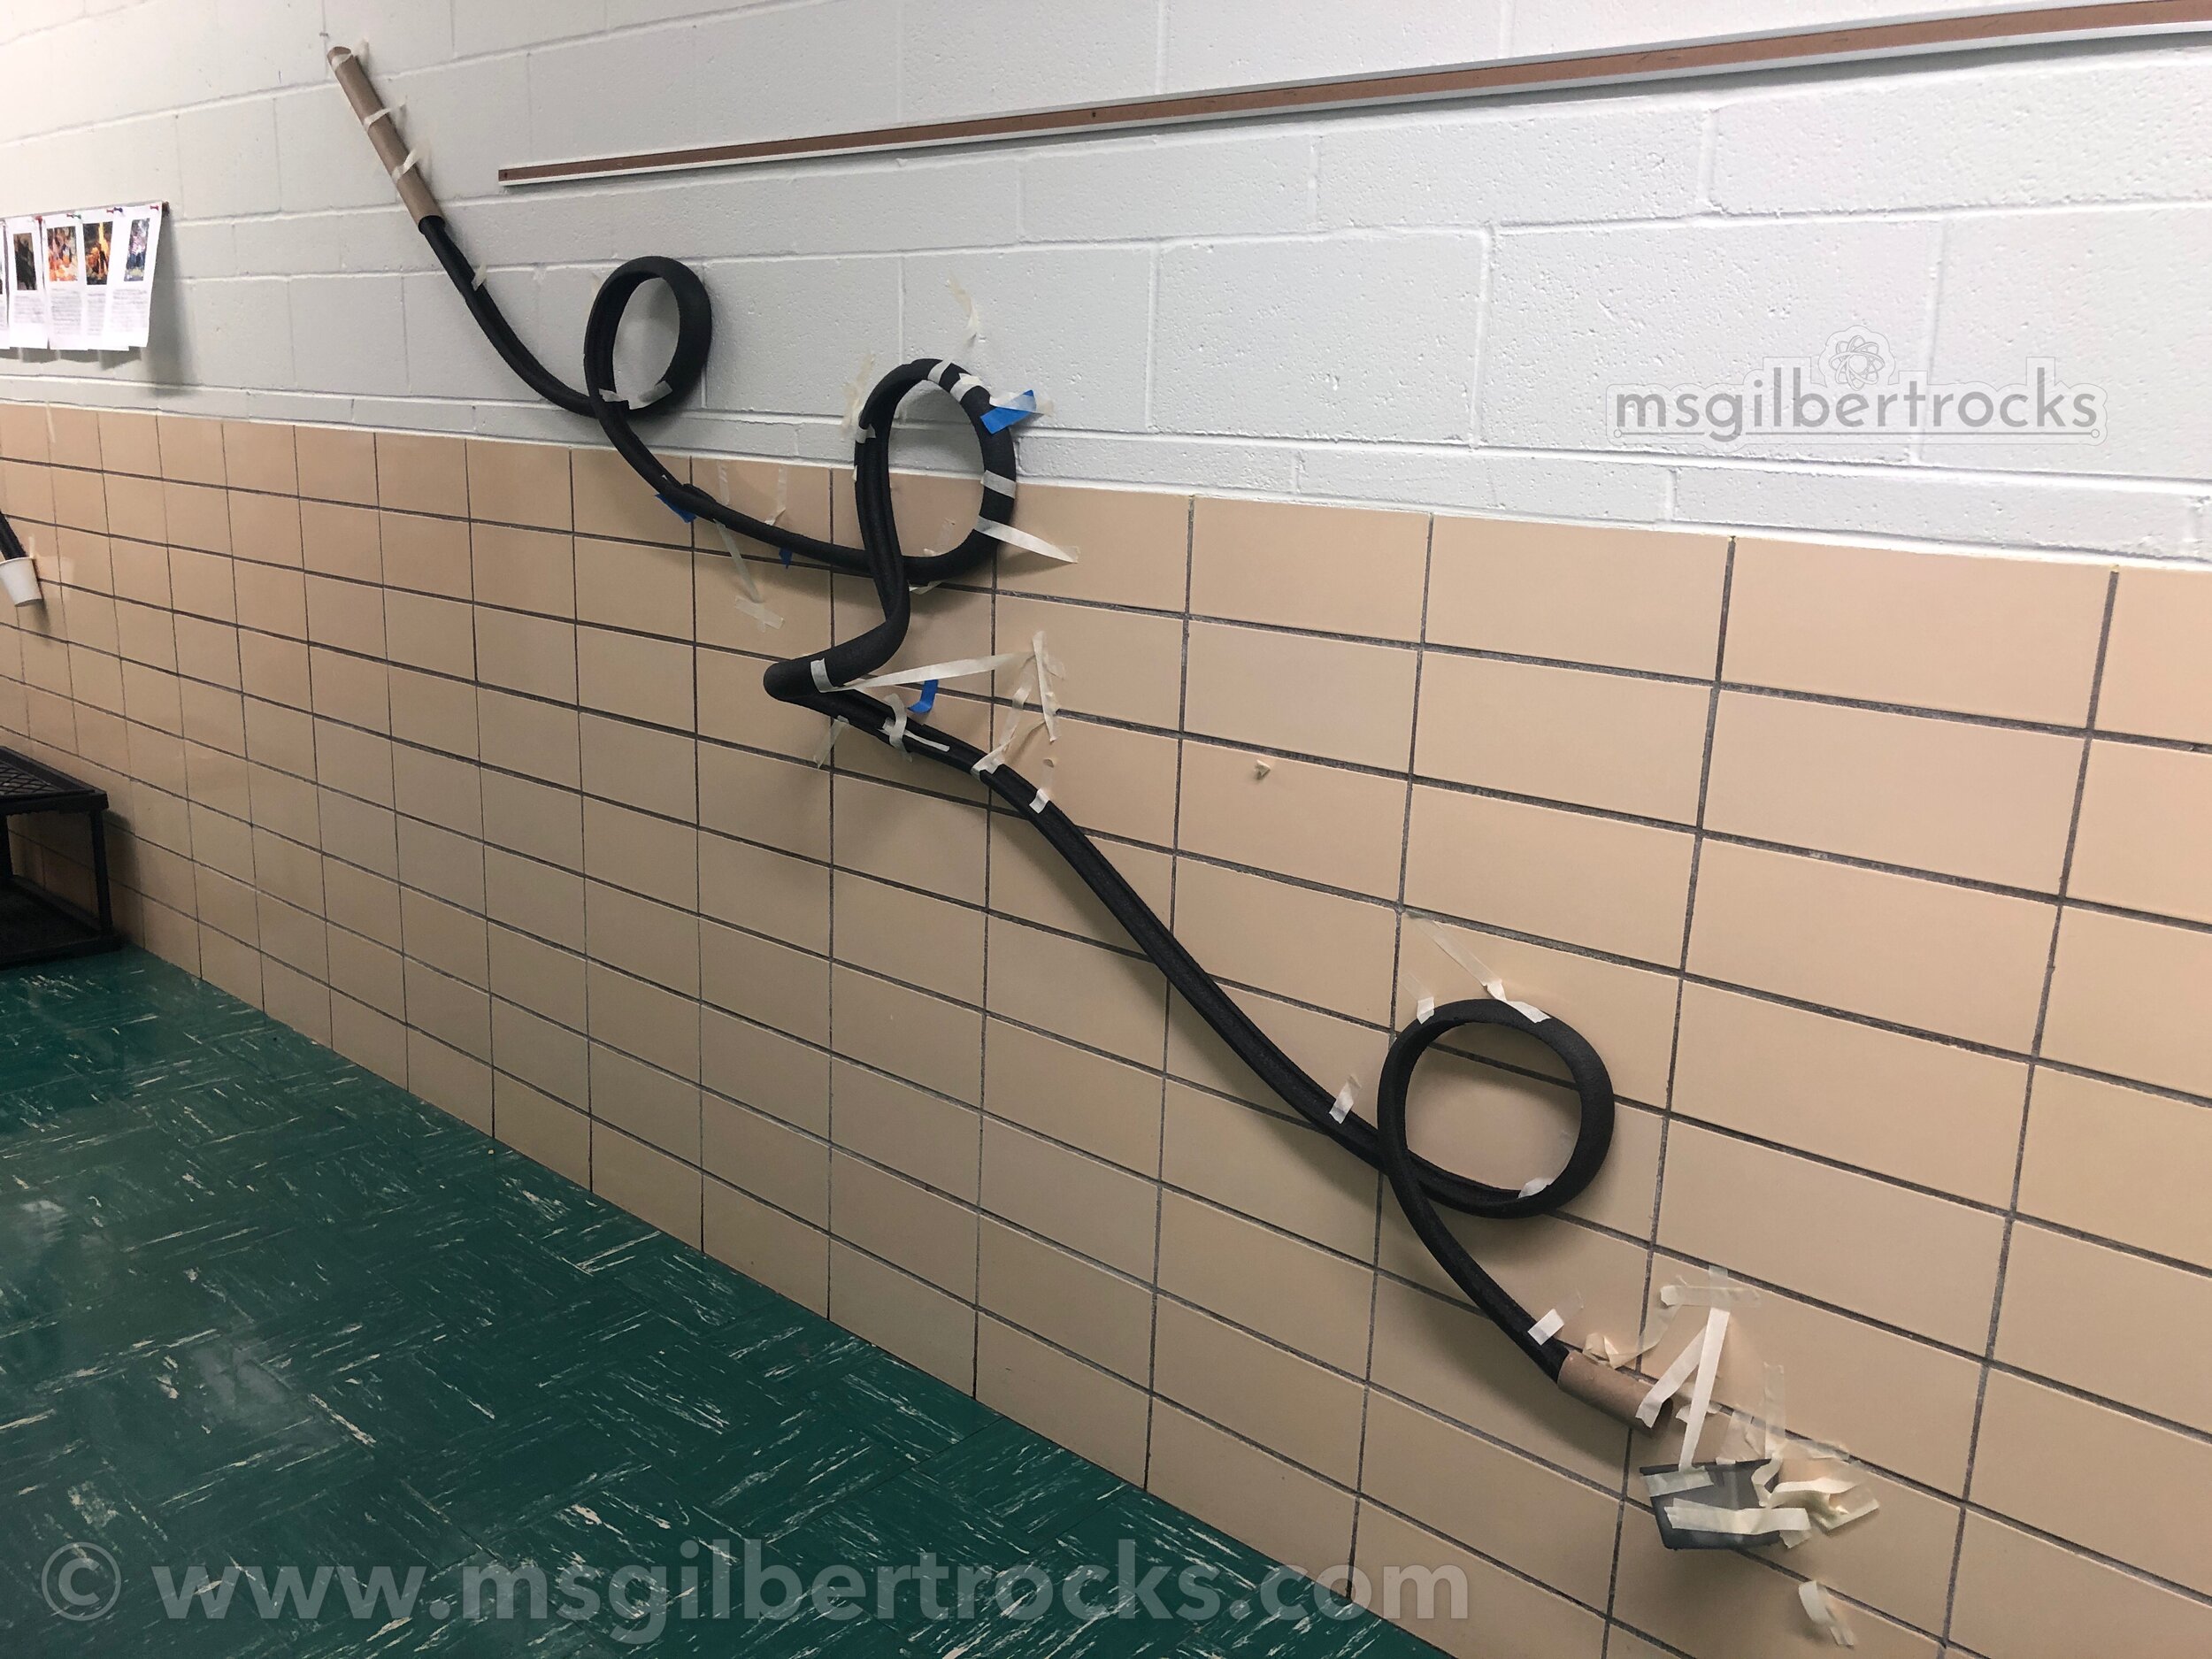
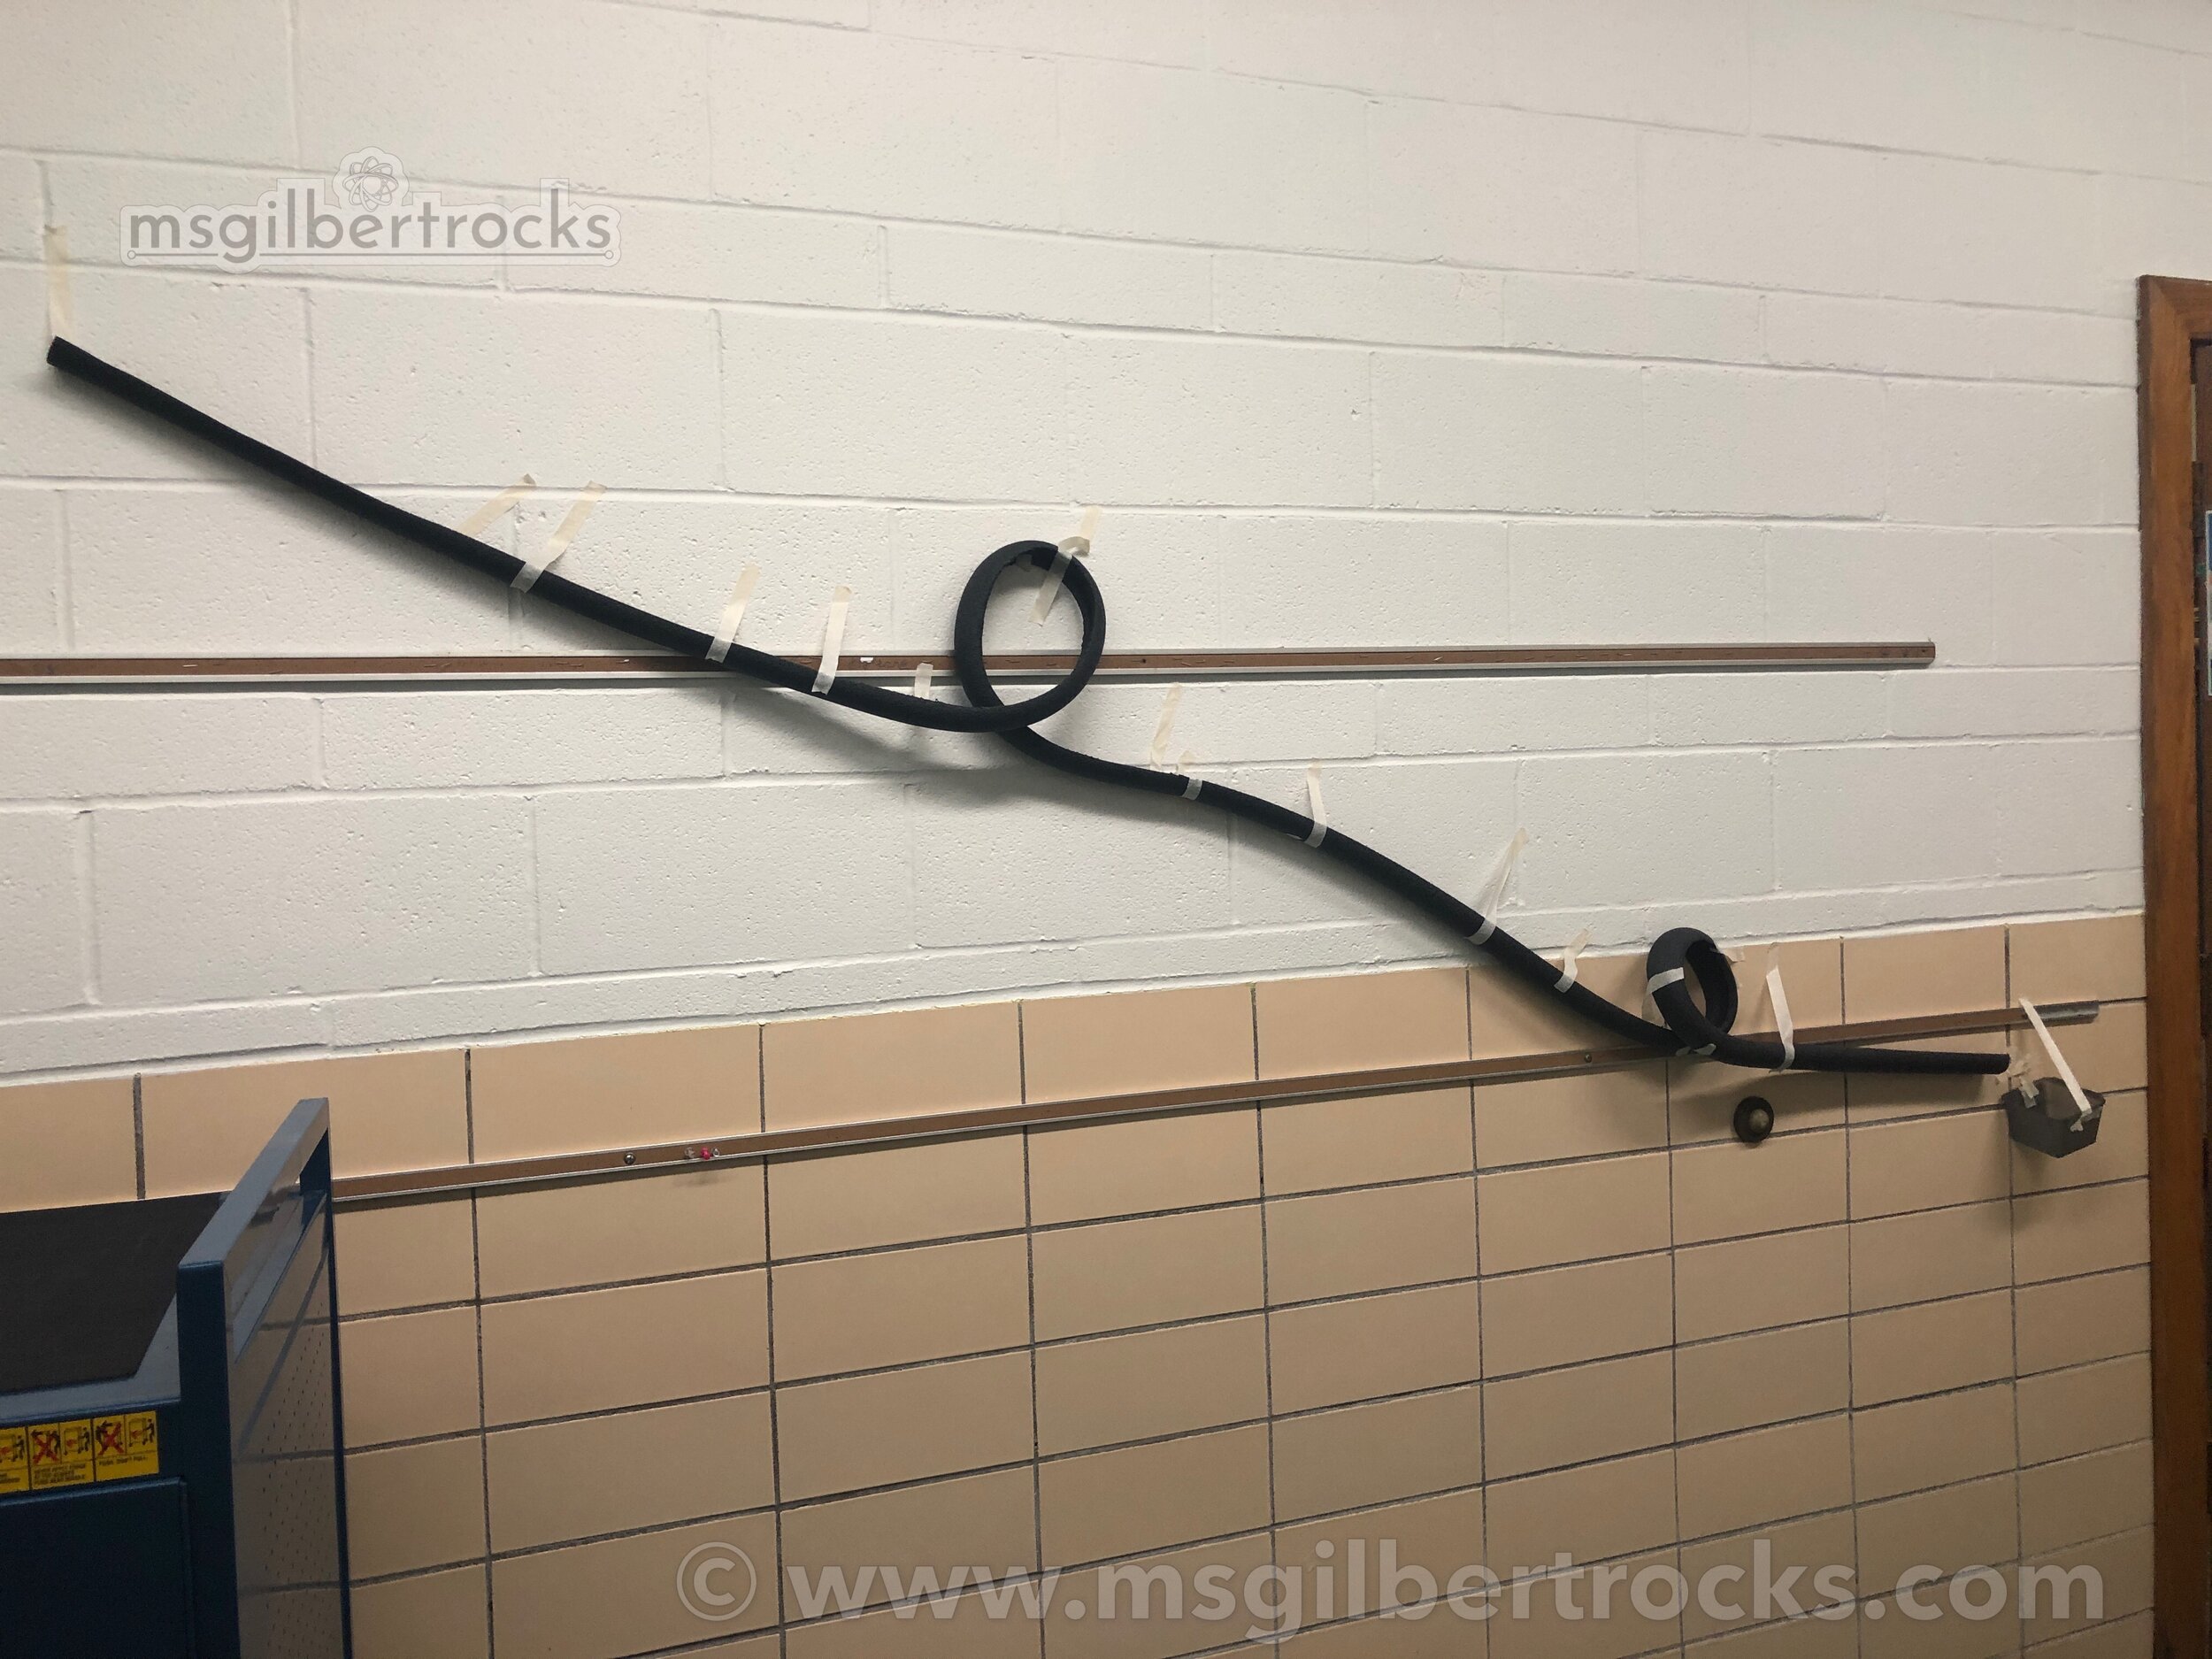
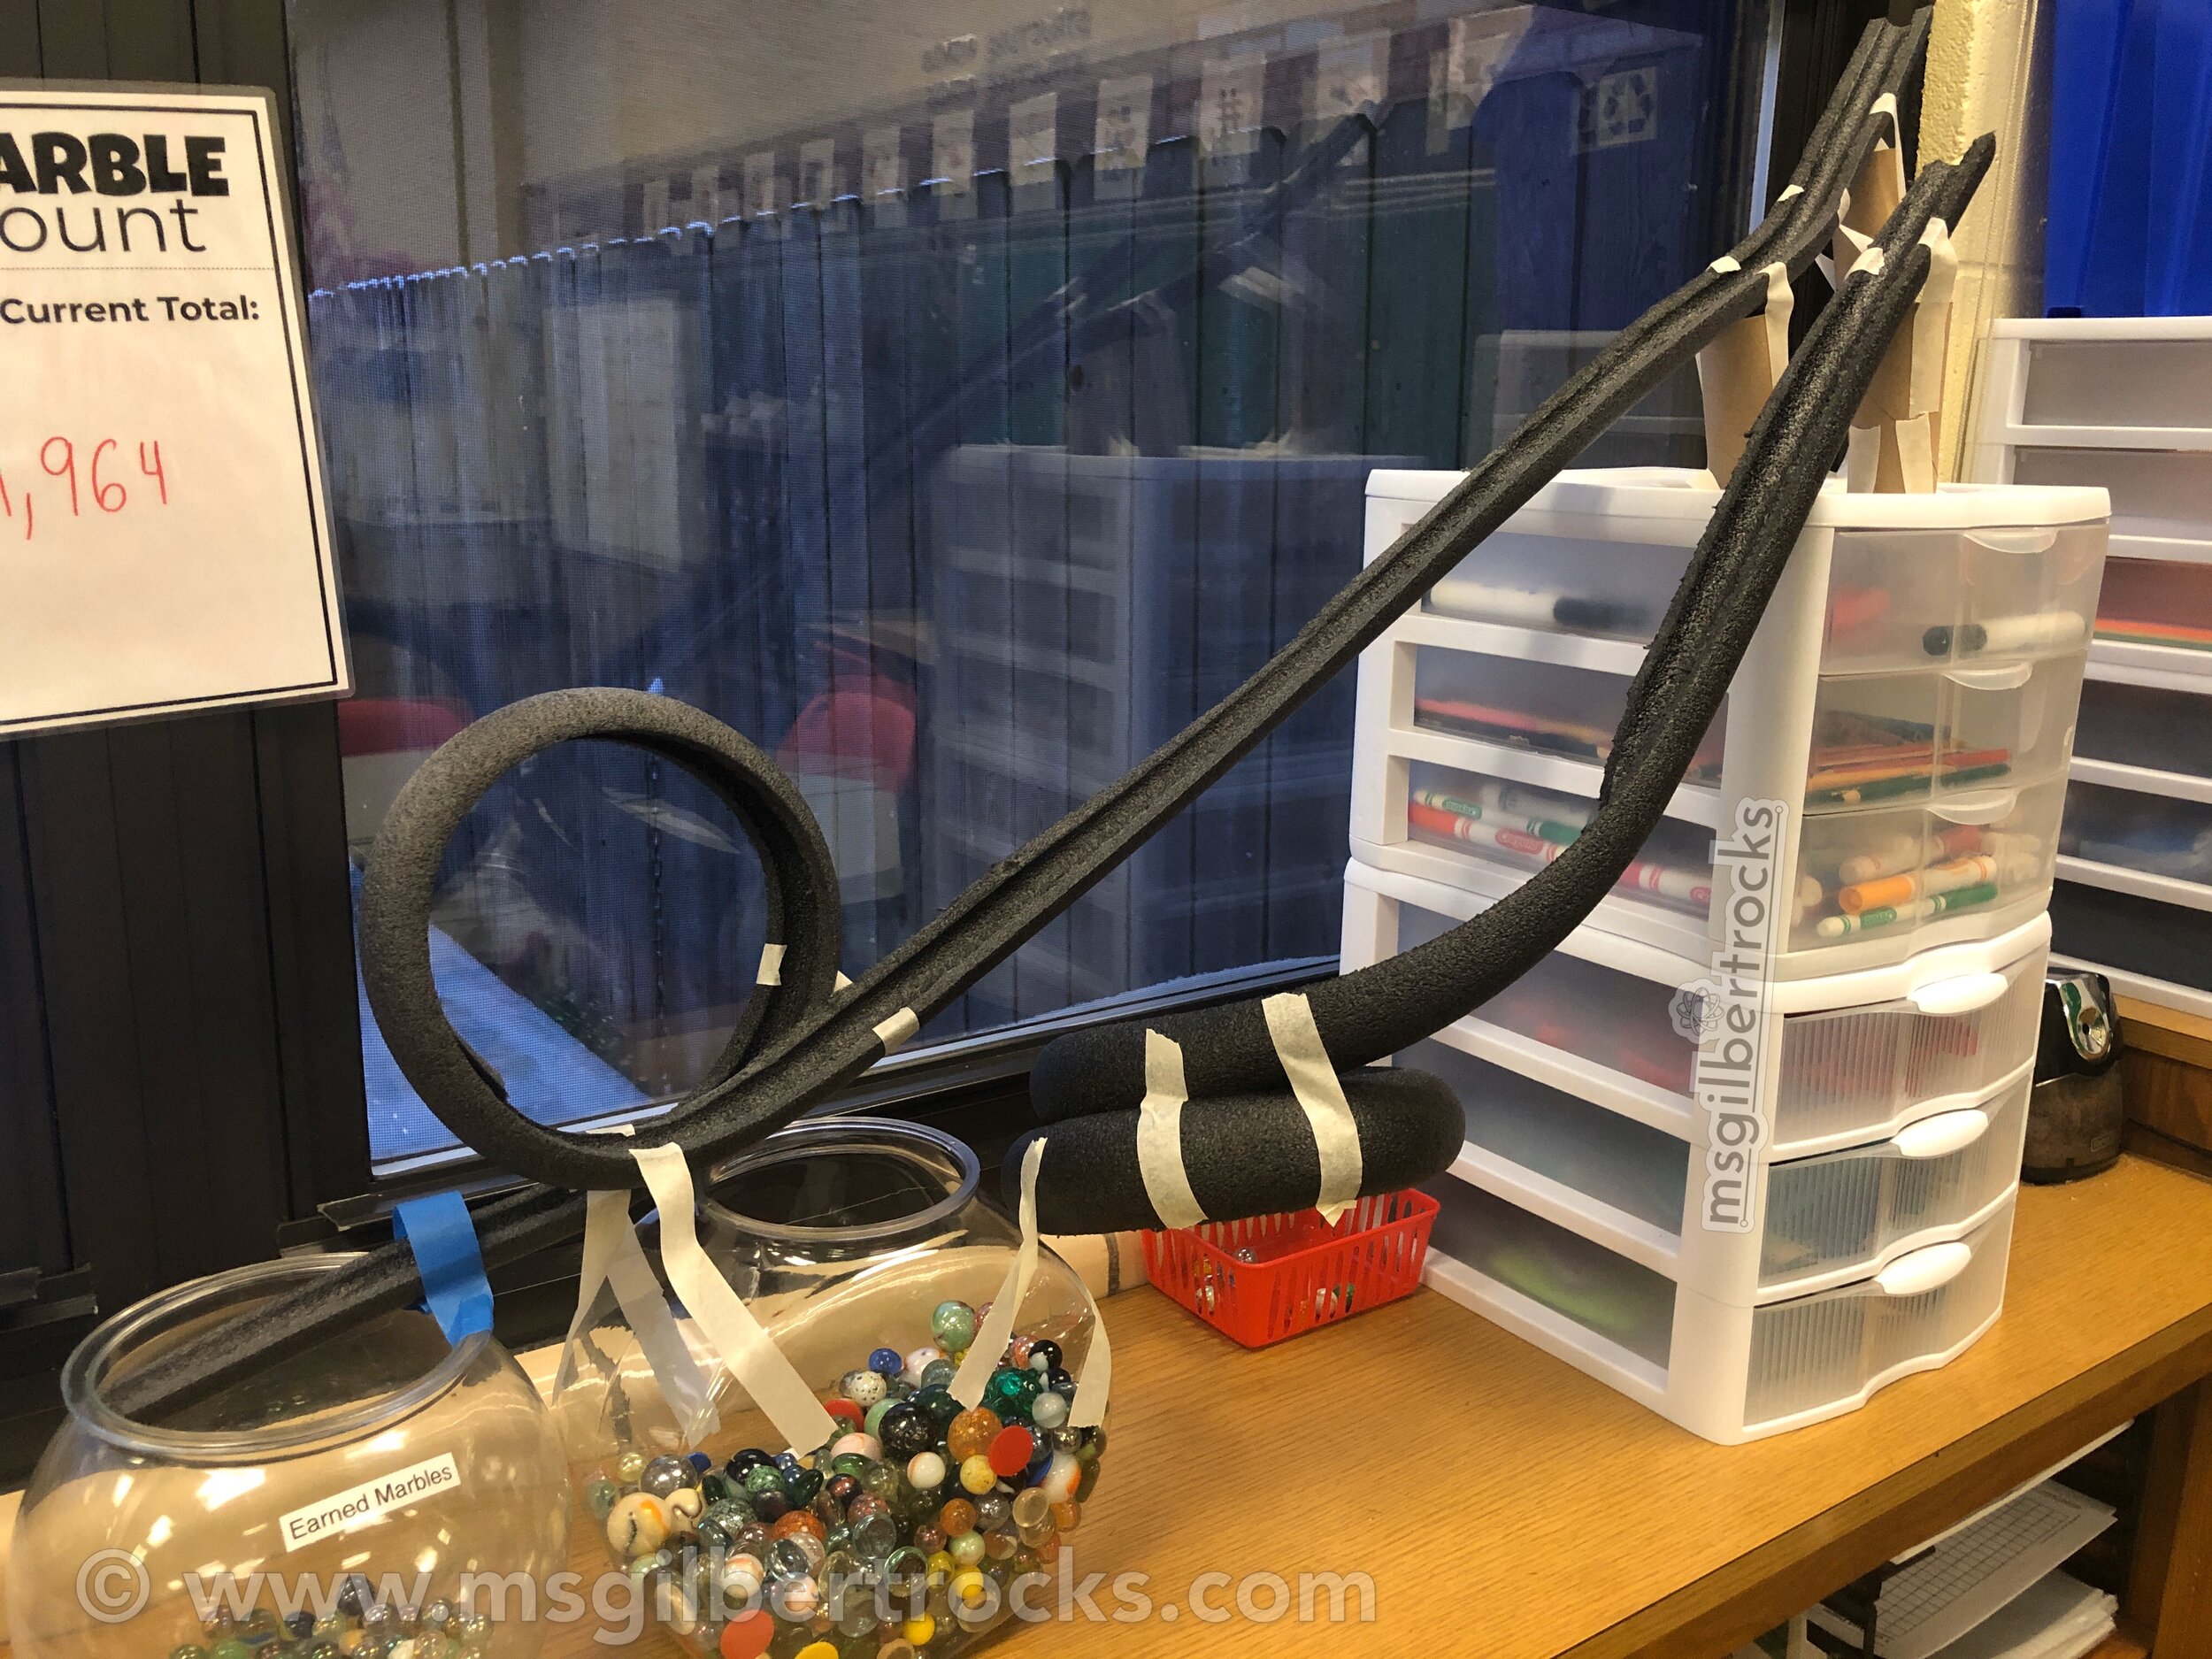
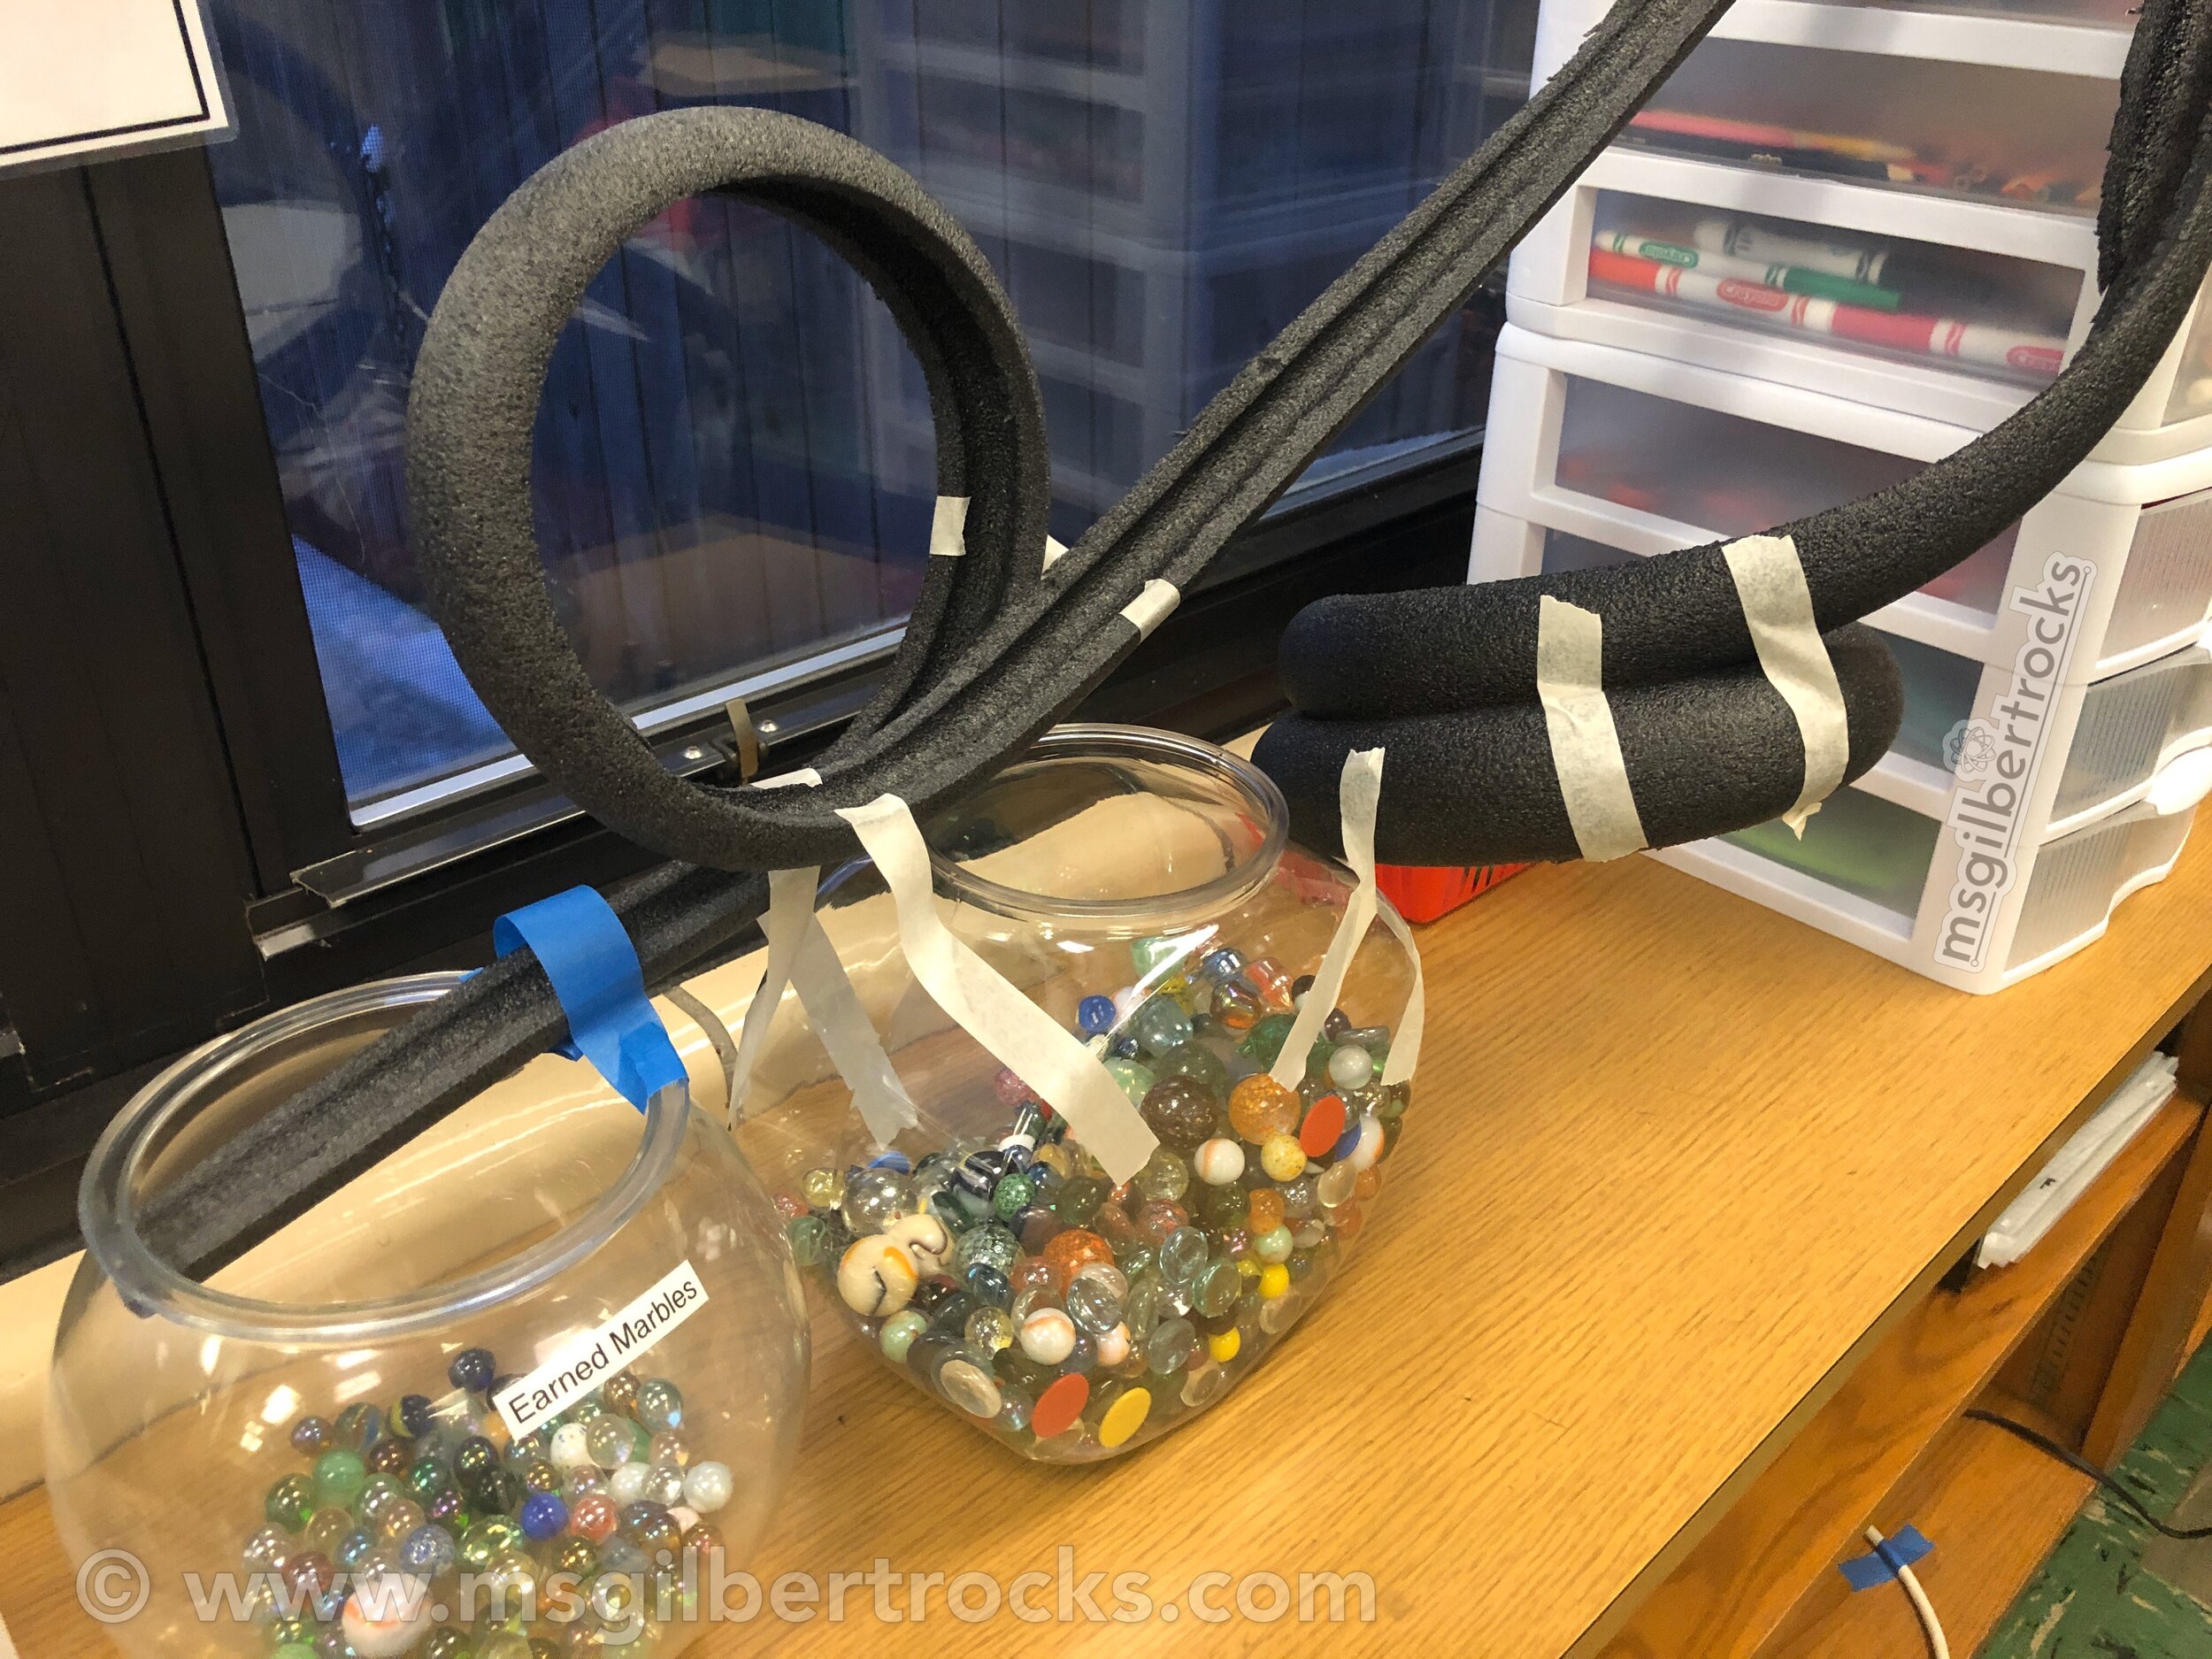
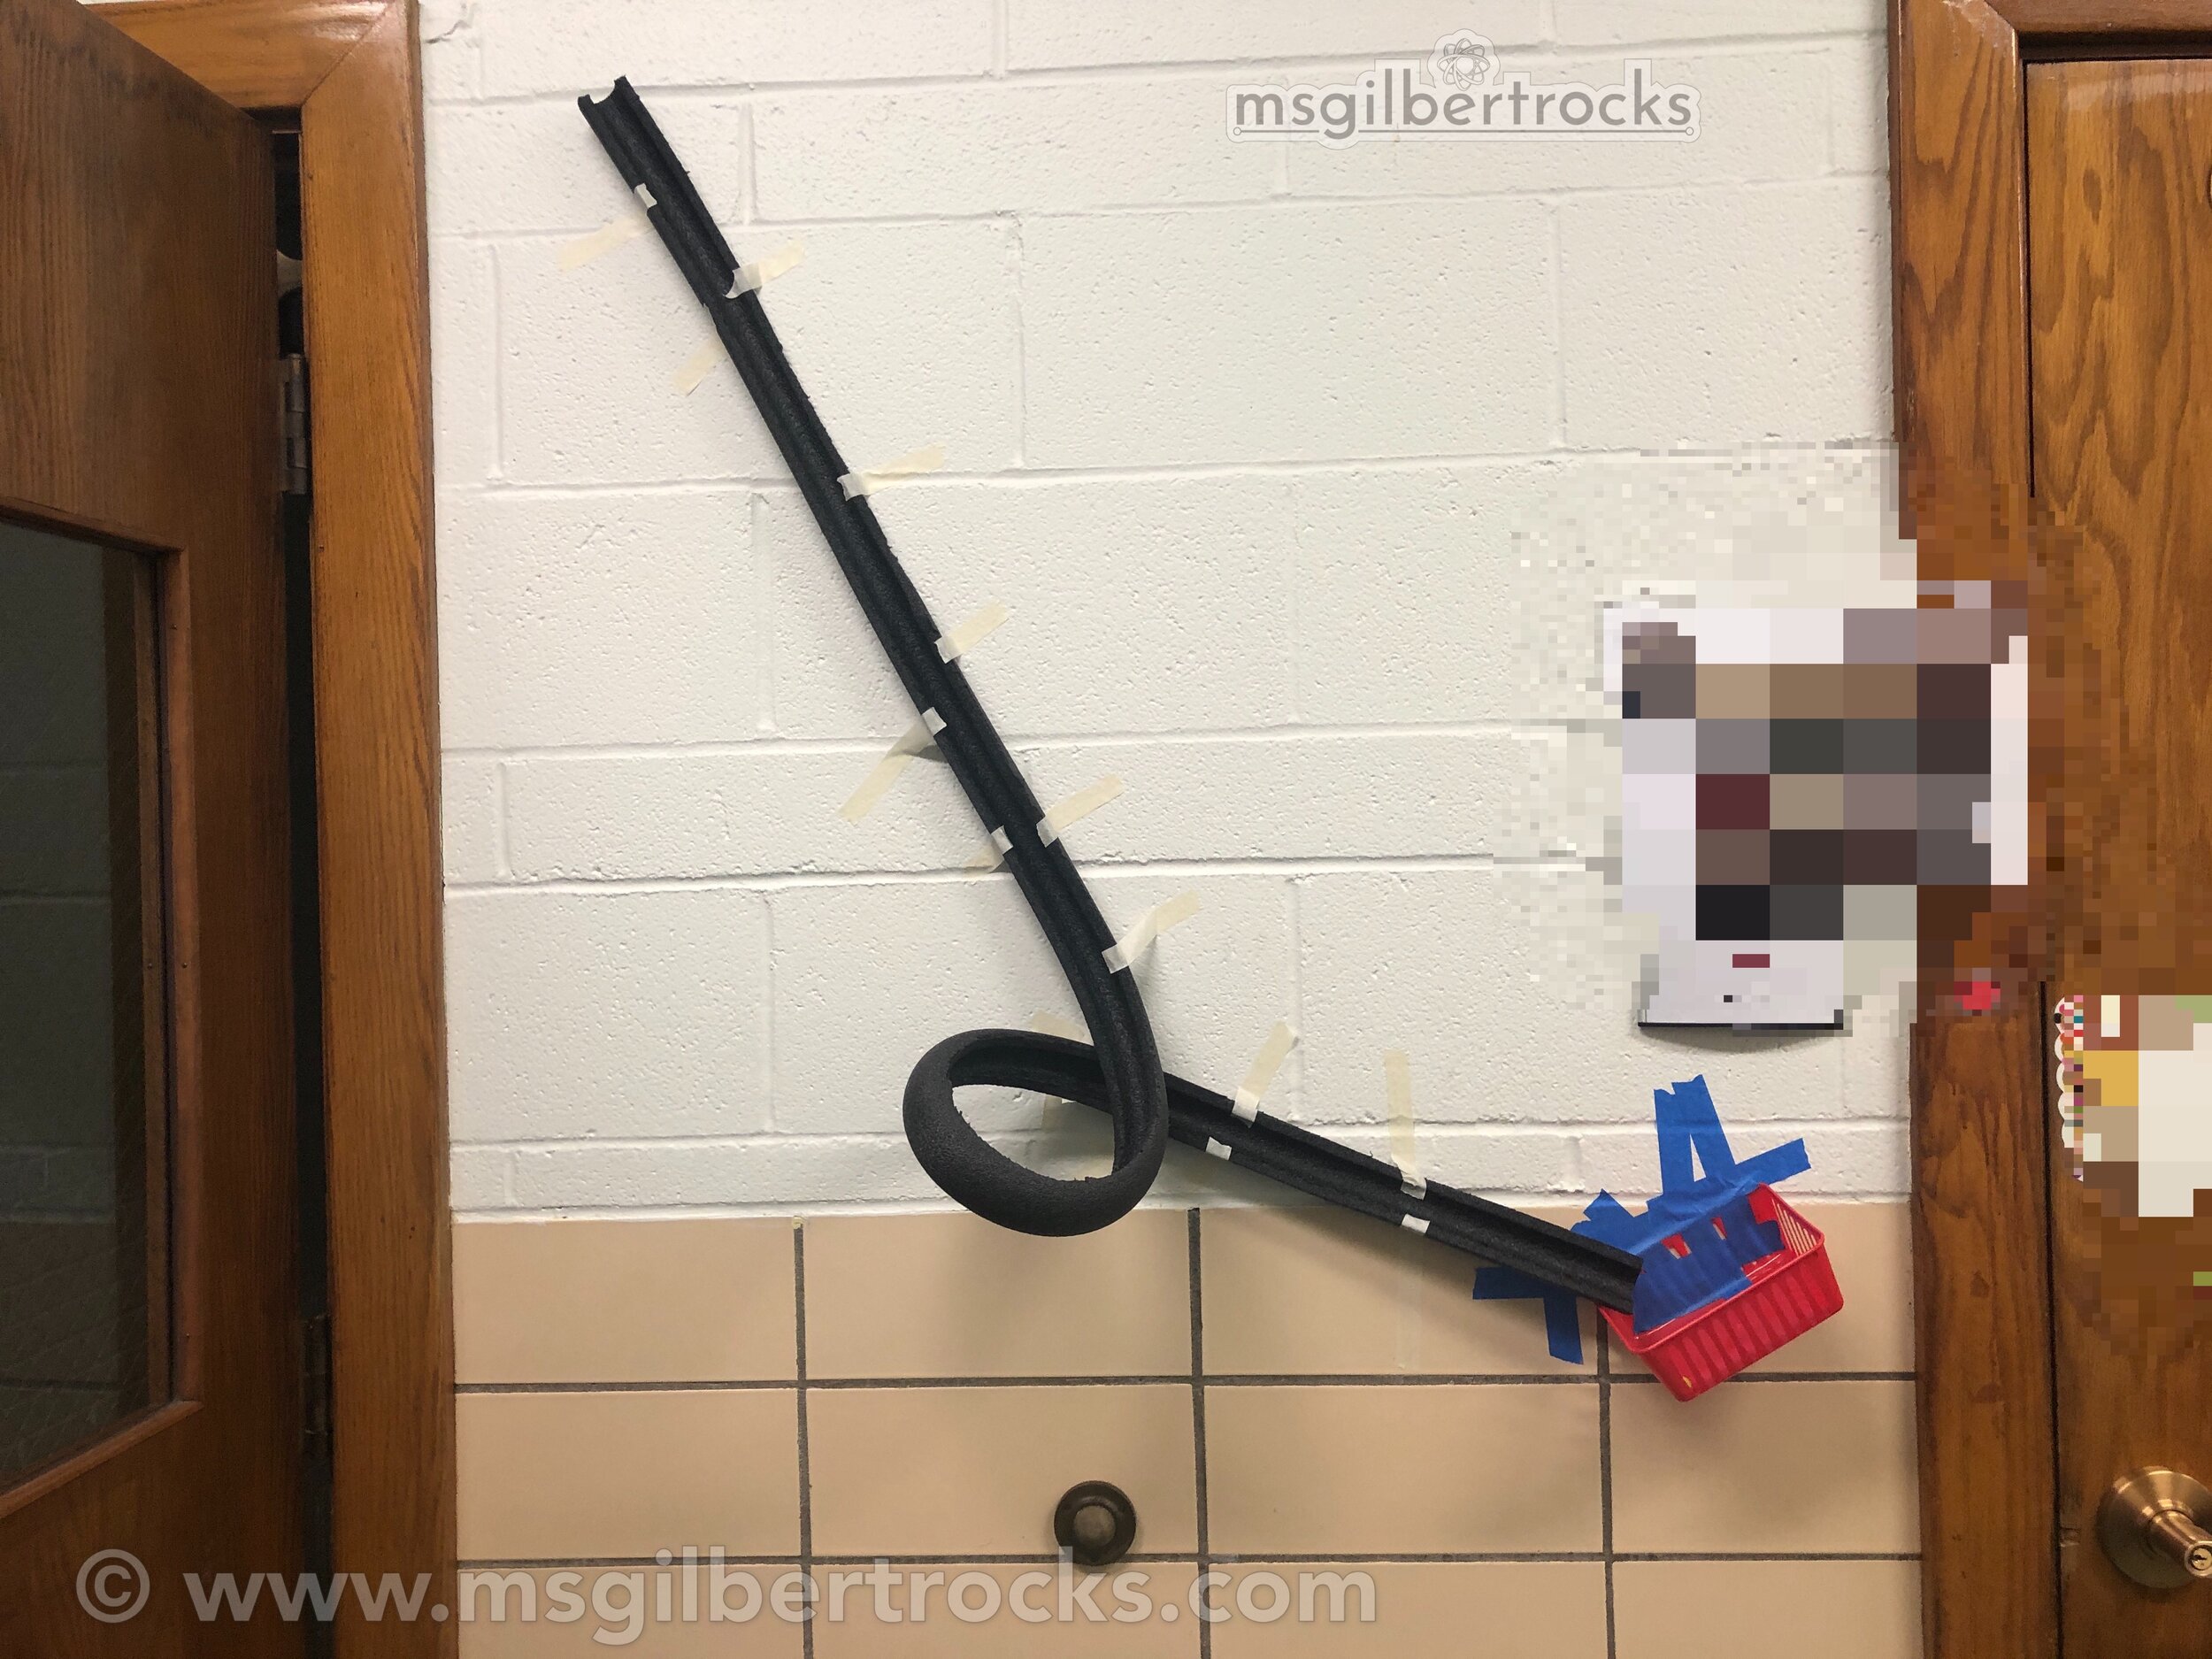
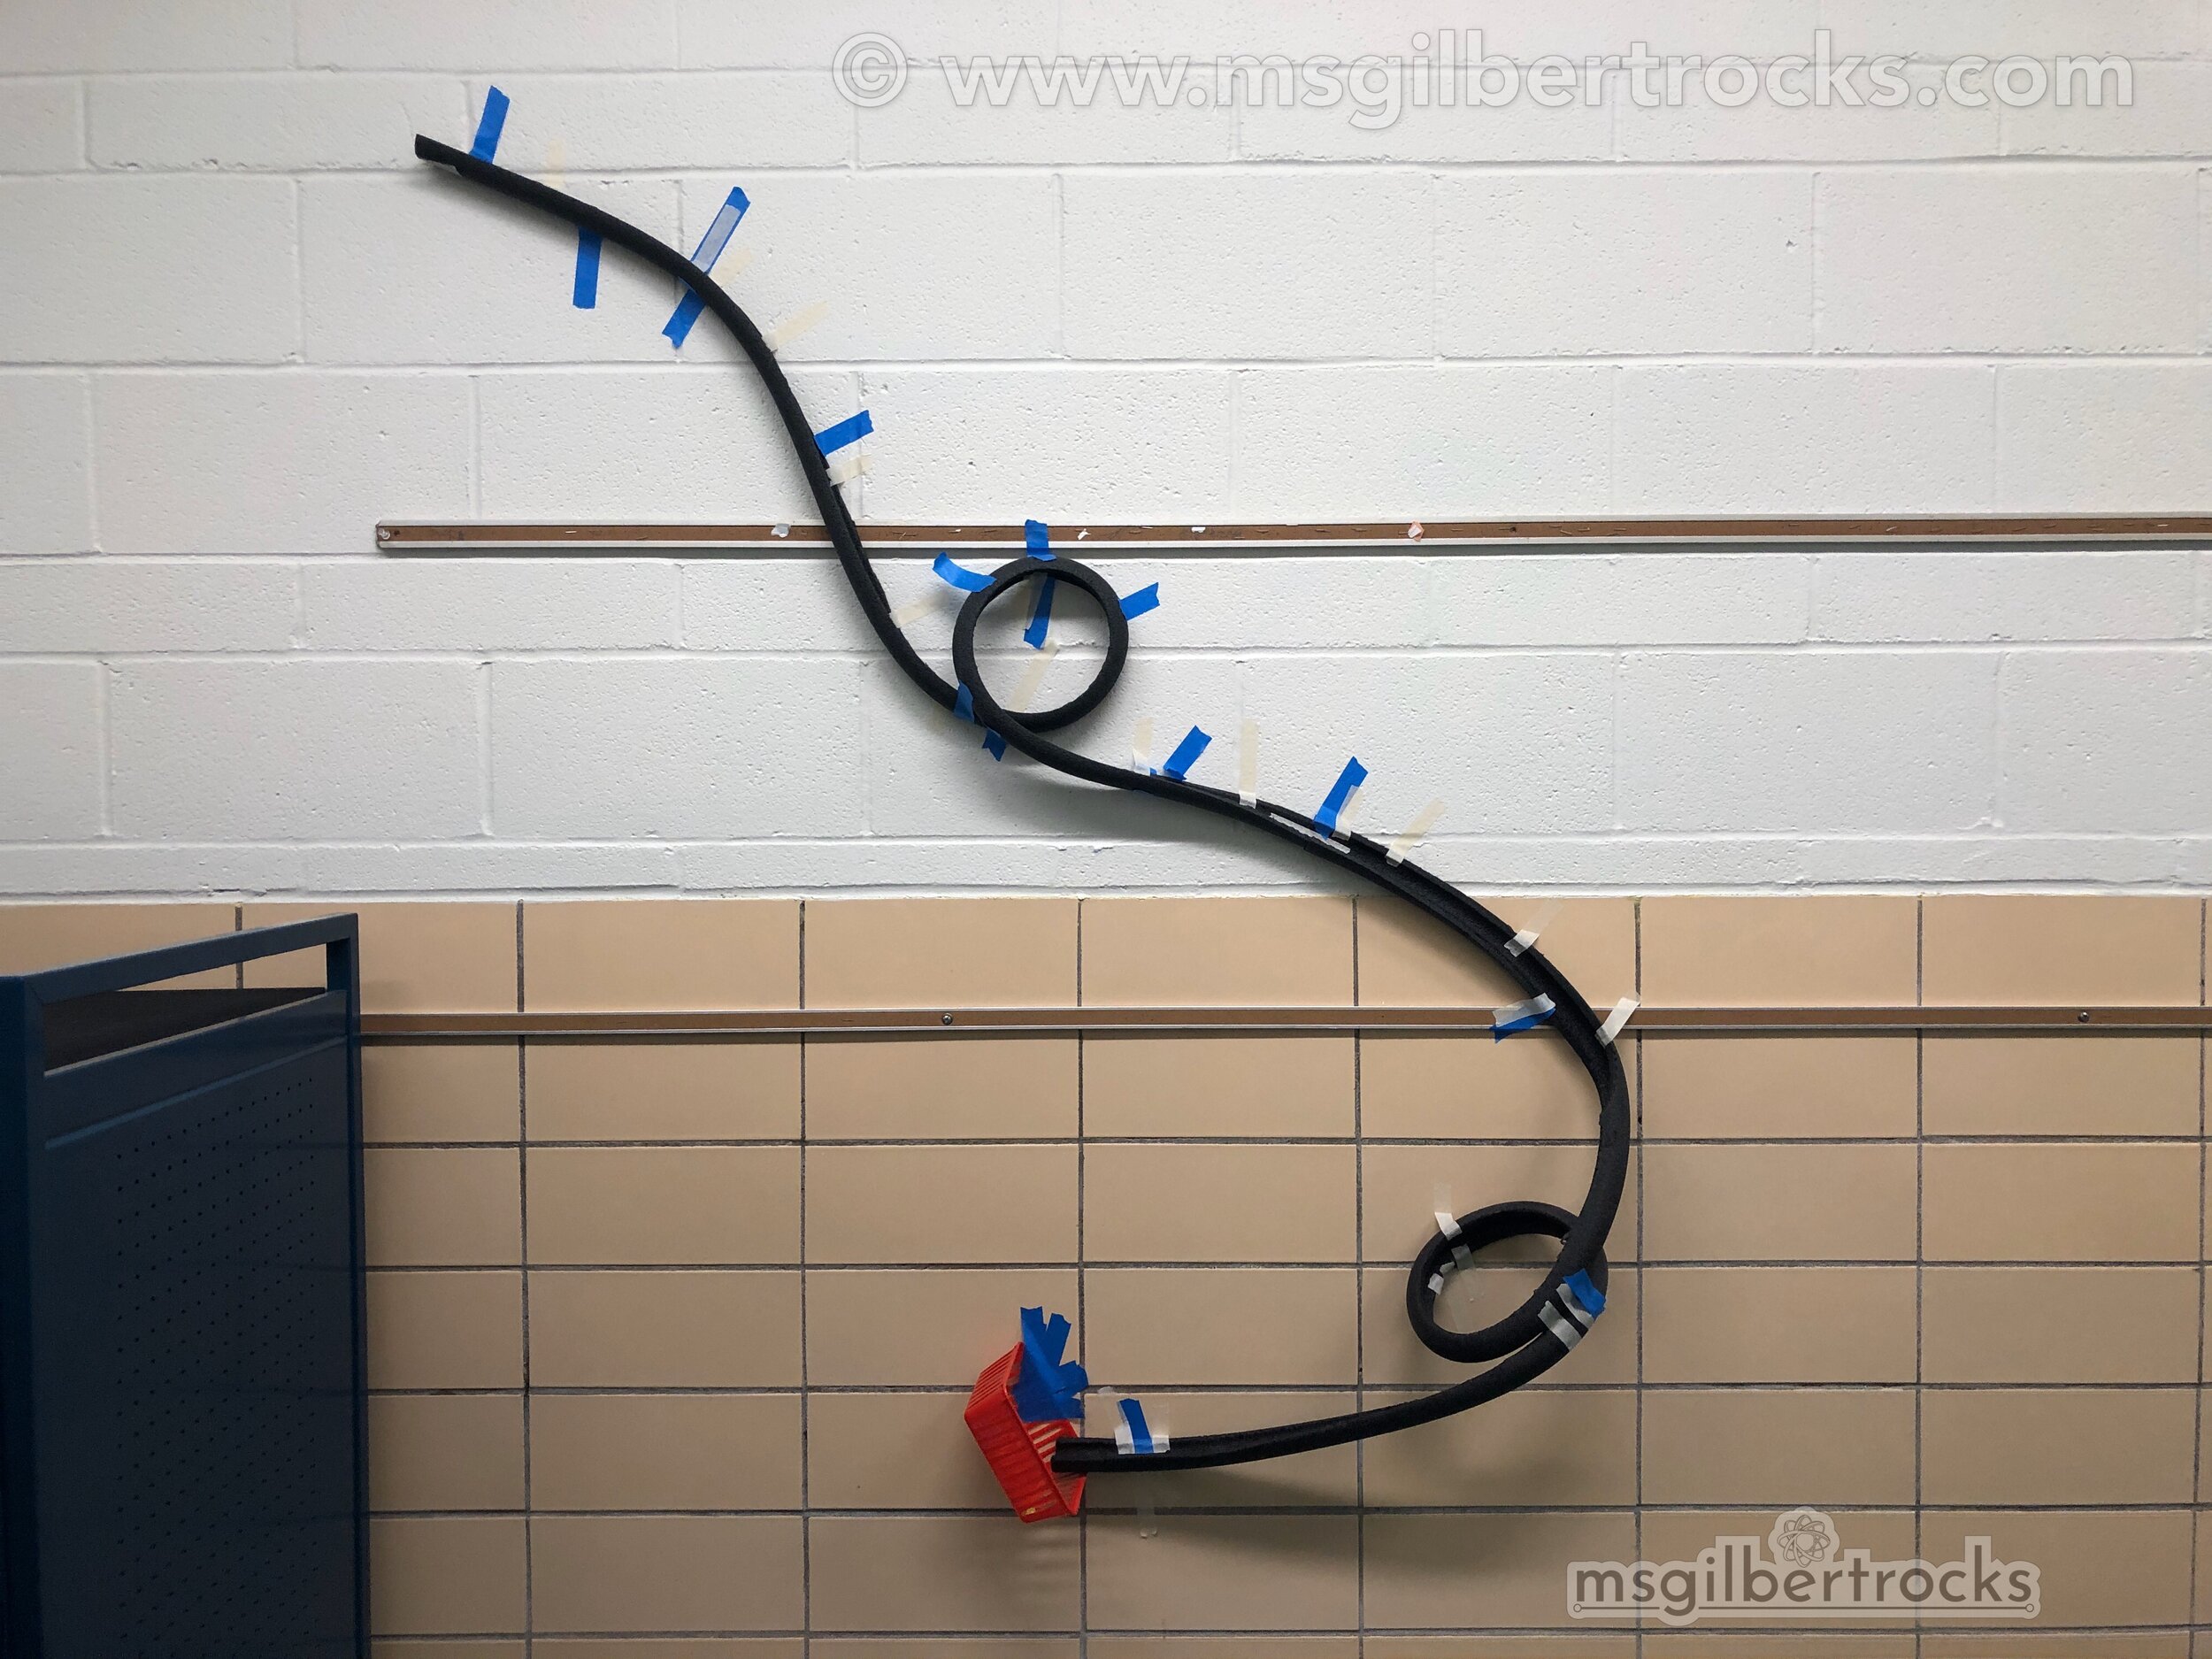
Prior to introducing the activity we starting placing samples for the students to explore throughout the classroom and in the hallway. We used three free-standing options (basic turn, loop and corkscrew) with a single piece of track, and then two wall mounted options with two pieces of track to show how the transition works between pieces. Several students were able to put up samples that used all three pieces of track (amount that would have during the activity) and incorporated loops, corkscrews, and turns. Having the tangible samples for students to explore helped spark their creativity. Contrary to popular belief, it is not a bad thing to show students a “completed” version of an activity prior to a lesson. For our students with learning disabilities, they may not be able to make a picture in their head and come up with designs unless they have that opportunity to explore the ideas prior to the activity. Check out the samples below shown in photos and video compilations.
It’s no secret that I love finding ways to make physics content come to life for students. Much of the credit for the interest I have goes to my favorite graduate school professor who introduced me to the highly engaging and hands-on side of physics more than a decade ago. Thanks, Professor!
UPDATE:
Coasters by the students are shown in the images below. Please click through using the arrows or select different thumbnails to see all 9 pictures of the amazing student work! You can also check out a video of the double loop that shows it functioning. Outstanding designs by the students for our Hall of Rockin’ Roller Coasters this school year!