(STEAM)² and Engineering in the Classroom
If you have not had the chance to work with Northeastern Illinois University’s Center for College Access and Success (CCAS), you should plan to attend this (STEAM)² conference. CCAS has done a wonderful job highlighting the teachers and programs around STEM education, particularly in the Chicago Public Schools. Previously known as “iMATHination,” this conference now features a Friday evening Maker Fair and a little more than a half day Saturday with 3 break out sessions. The conference is held at The Q Center in St. Charles which is a fun adventure in and of itself. If you haven’t gotten lost at The Q Center yet, then you haven’t really lived! Learn more about (STEAM)² on their website. The CenterSpace also holds workshops and has monthly “open make” nights for teachers.


Returning presenter
This year was my third year presenting at the (STEAM)² conference. I once again facilitated a table (Makey Makey) at the Maker Fair on Friday evening and did a breakout session (Engineering in the Classroom) on Saturday. Both experiences are equally rewarding, but the Friday evening Maker Fair is one of the highlights of the year for me. I enjoy chatting with people and introducing them to the very basics of a Makey Makey. Watching someone experience the banana piano for the first time…it just never gets old! It is wonderful to share both old and new samples to help inspire others to try using a Makey Makey in their classroom. There are so many different ways you can use them as a tool for learning and students always have fun when they are involved. If you are curious about some of the samples shown, please reach out to me to ask for more information!
How To Maker Fair with Makey Makey
Over the years I have learned that less is more with an introduction to Makey Makey. I thought people might get tired of the banana piano after a while. Spoiler alert: they do not. Once you become adept at using a Makey Makey then you delve into more complex or involved projects. The challenge is getting over that initial connection between how a banana piano can be a teaching tool. Fortunately, Makey Makey has done a good job of training us (I am certified in Invention Literacy and a Makey Makey Teacher Ambassador). The key for me has been to choose a variety of samples and be able to connect that experience of playing bananas to relevant classroom applications. Having fun is always great, but we want to always get at the “why” and how it facilitates learning with students. I have a minimum of two devices to run programs that are already created. I have the option of highlighting programs through the Makey Makey website (e.g., their piano), Scratch, or Soundplant if I have my Mac with it installed.
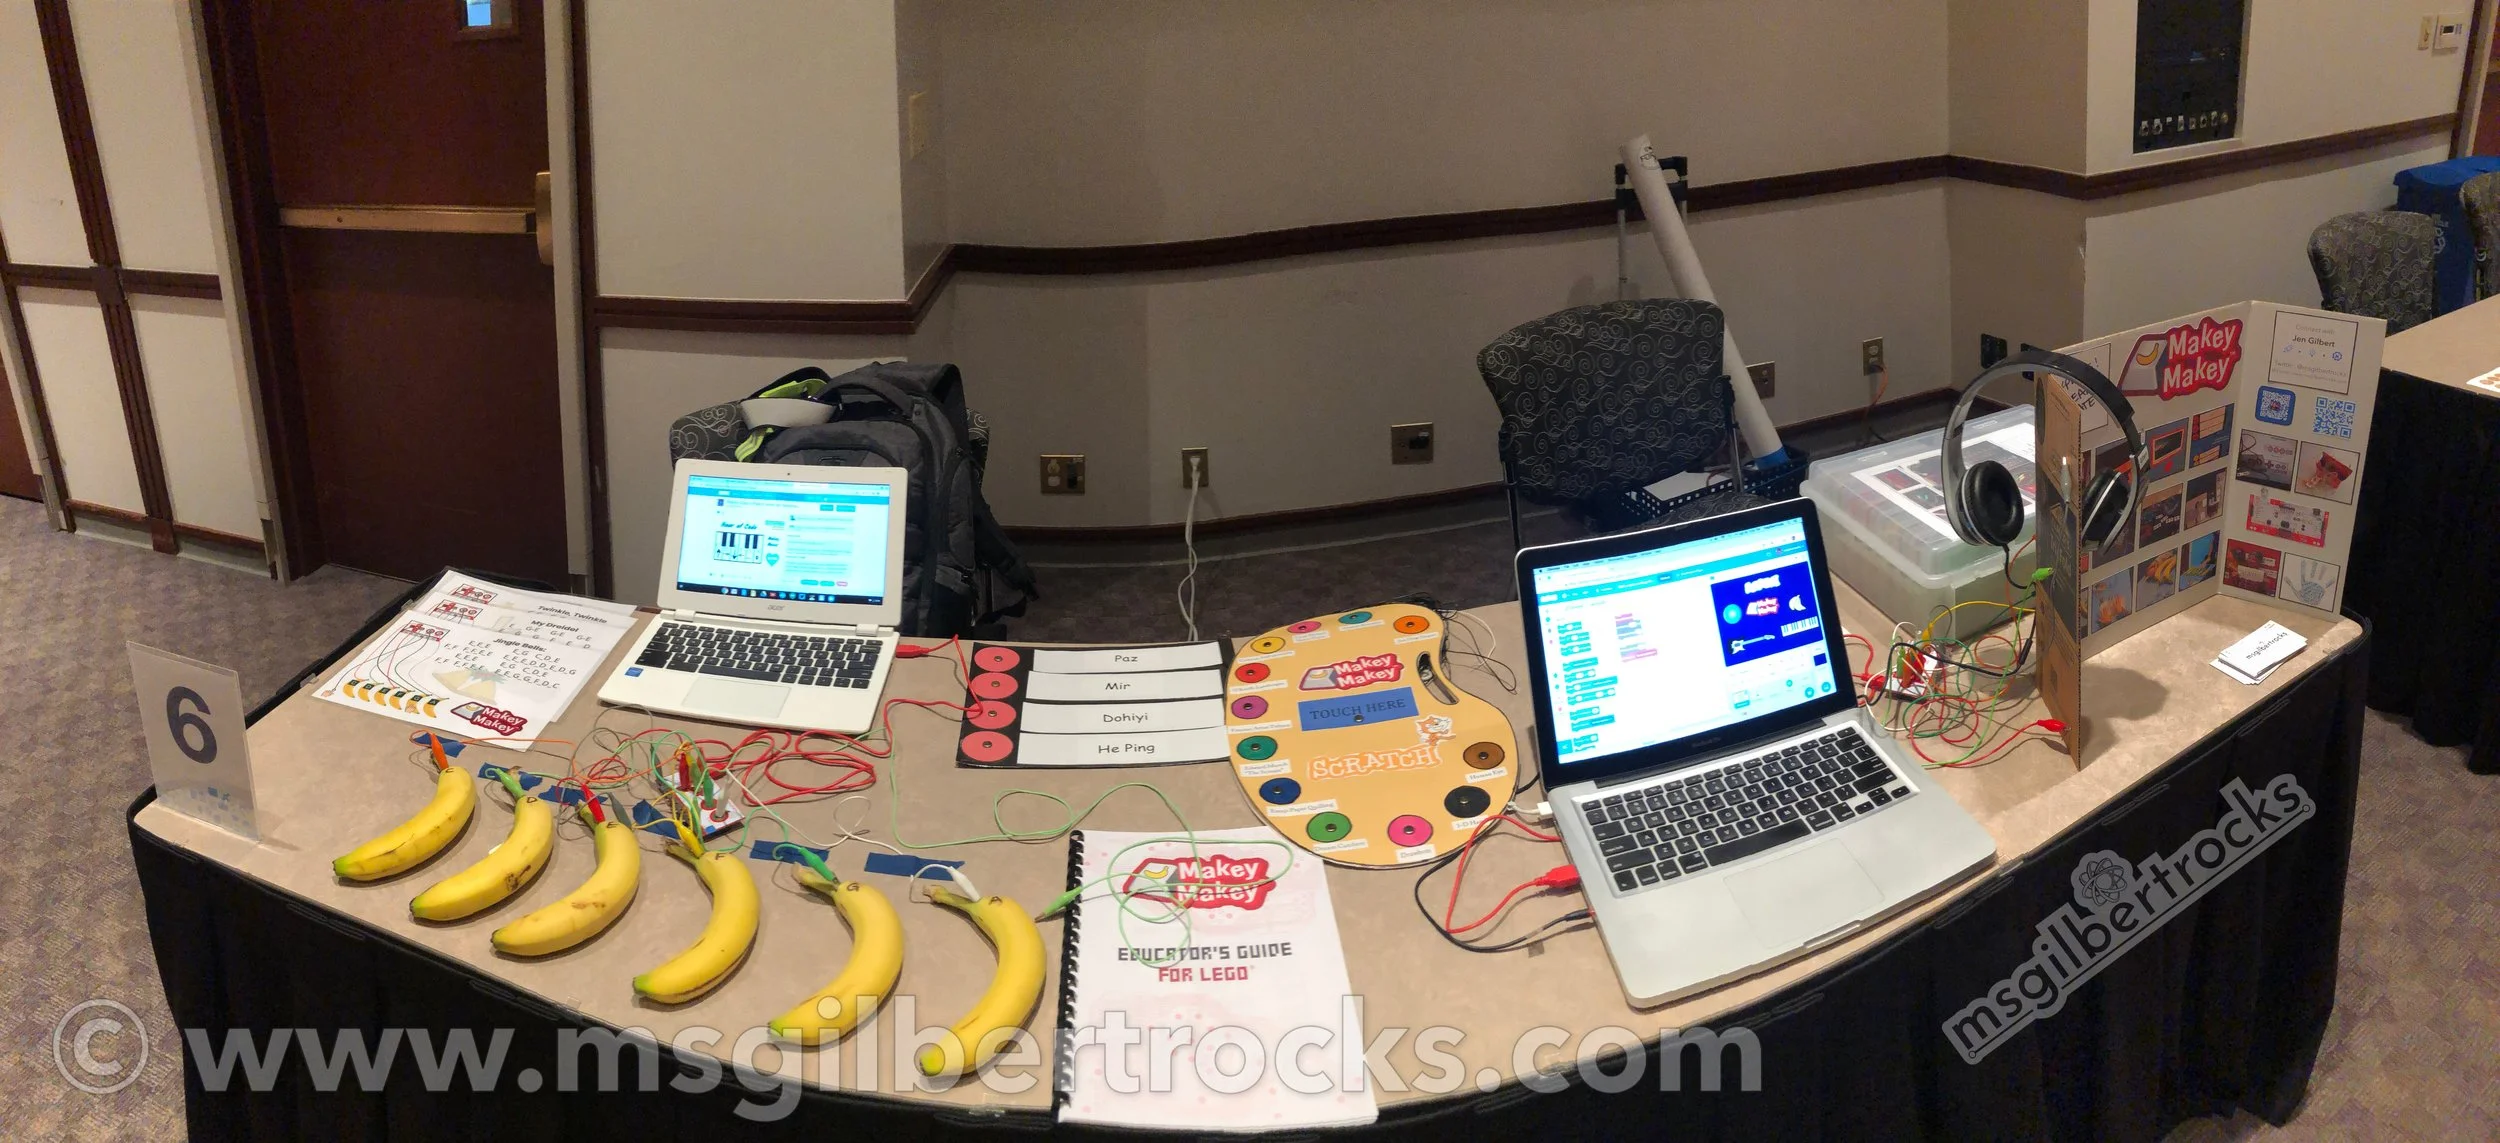

This year I chose to connect up my display board (shown on the right corner of the table) and the banana piano. That’s it. Keep it simple. Both projects had programs in Scratch, but I do discuss the other options for programming. Don’t forget that Tynker can handle a Makey Makey as well! There are 3-4 other projects out on the table that I can put my hands on as a tangible piece to explain other use cases for Makey Makey, but I only needed those two examples as the interactive pieces. Headphones for the interactive display board are key in a noisy environment. I actually recorded myself talking through the examples (6 different buttons on the board), so in theory you do not even need to see me in person. Just put on the headphones and press some buttons on the board to learn about the Makey Makey and a variety of projects!

Saturday Session
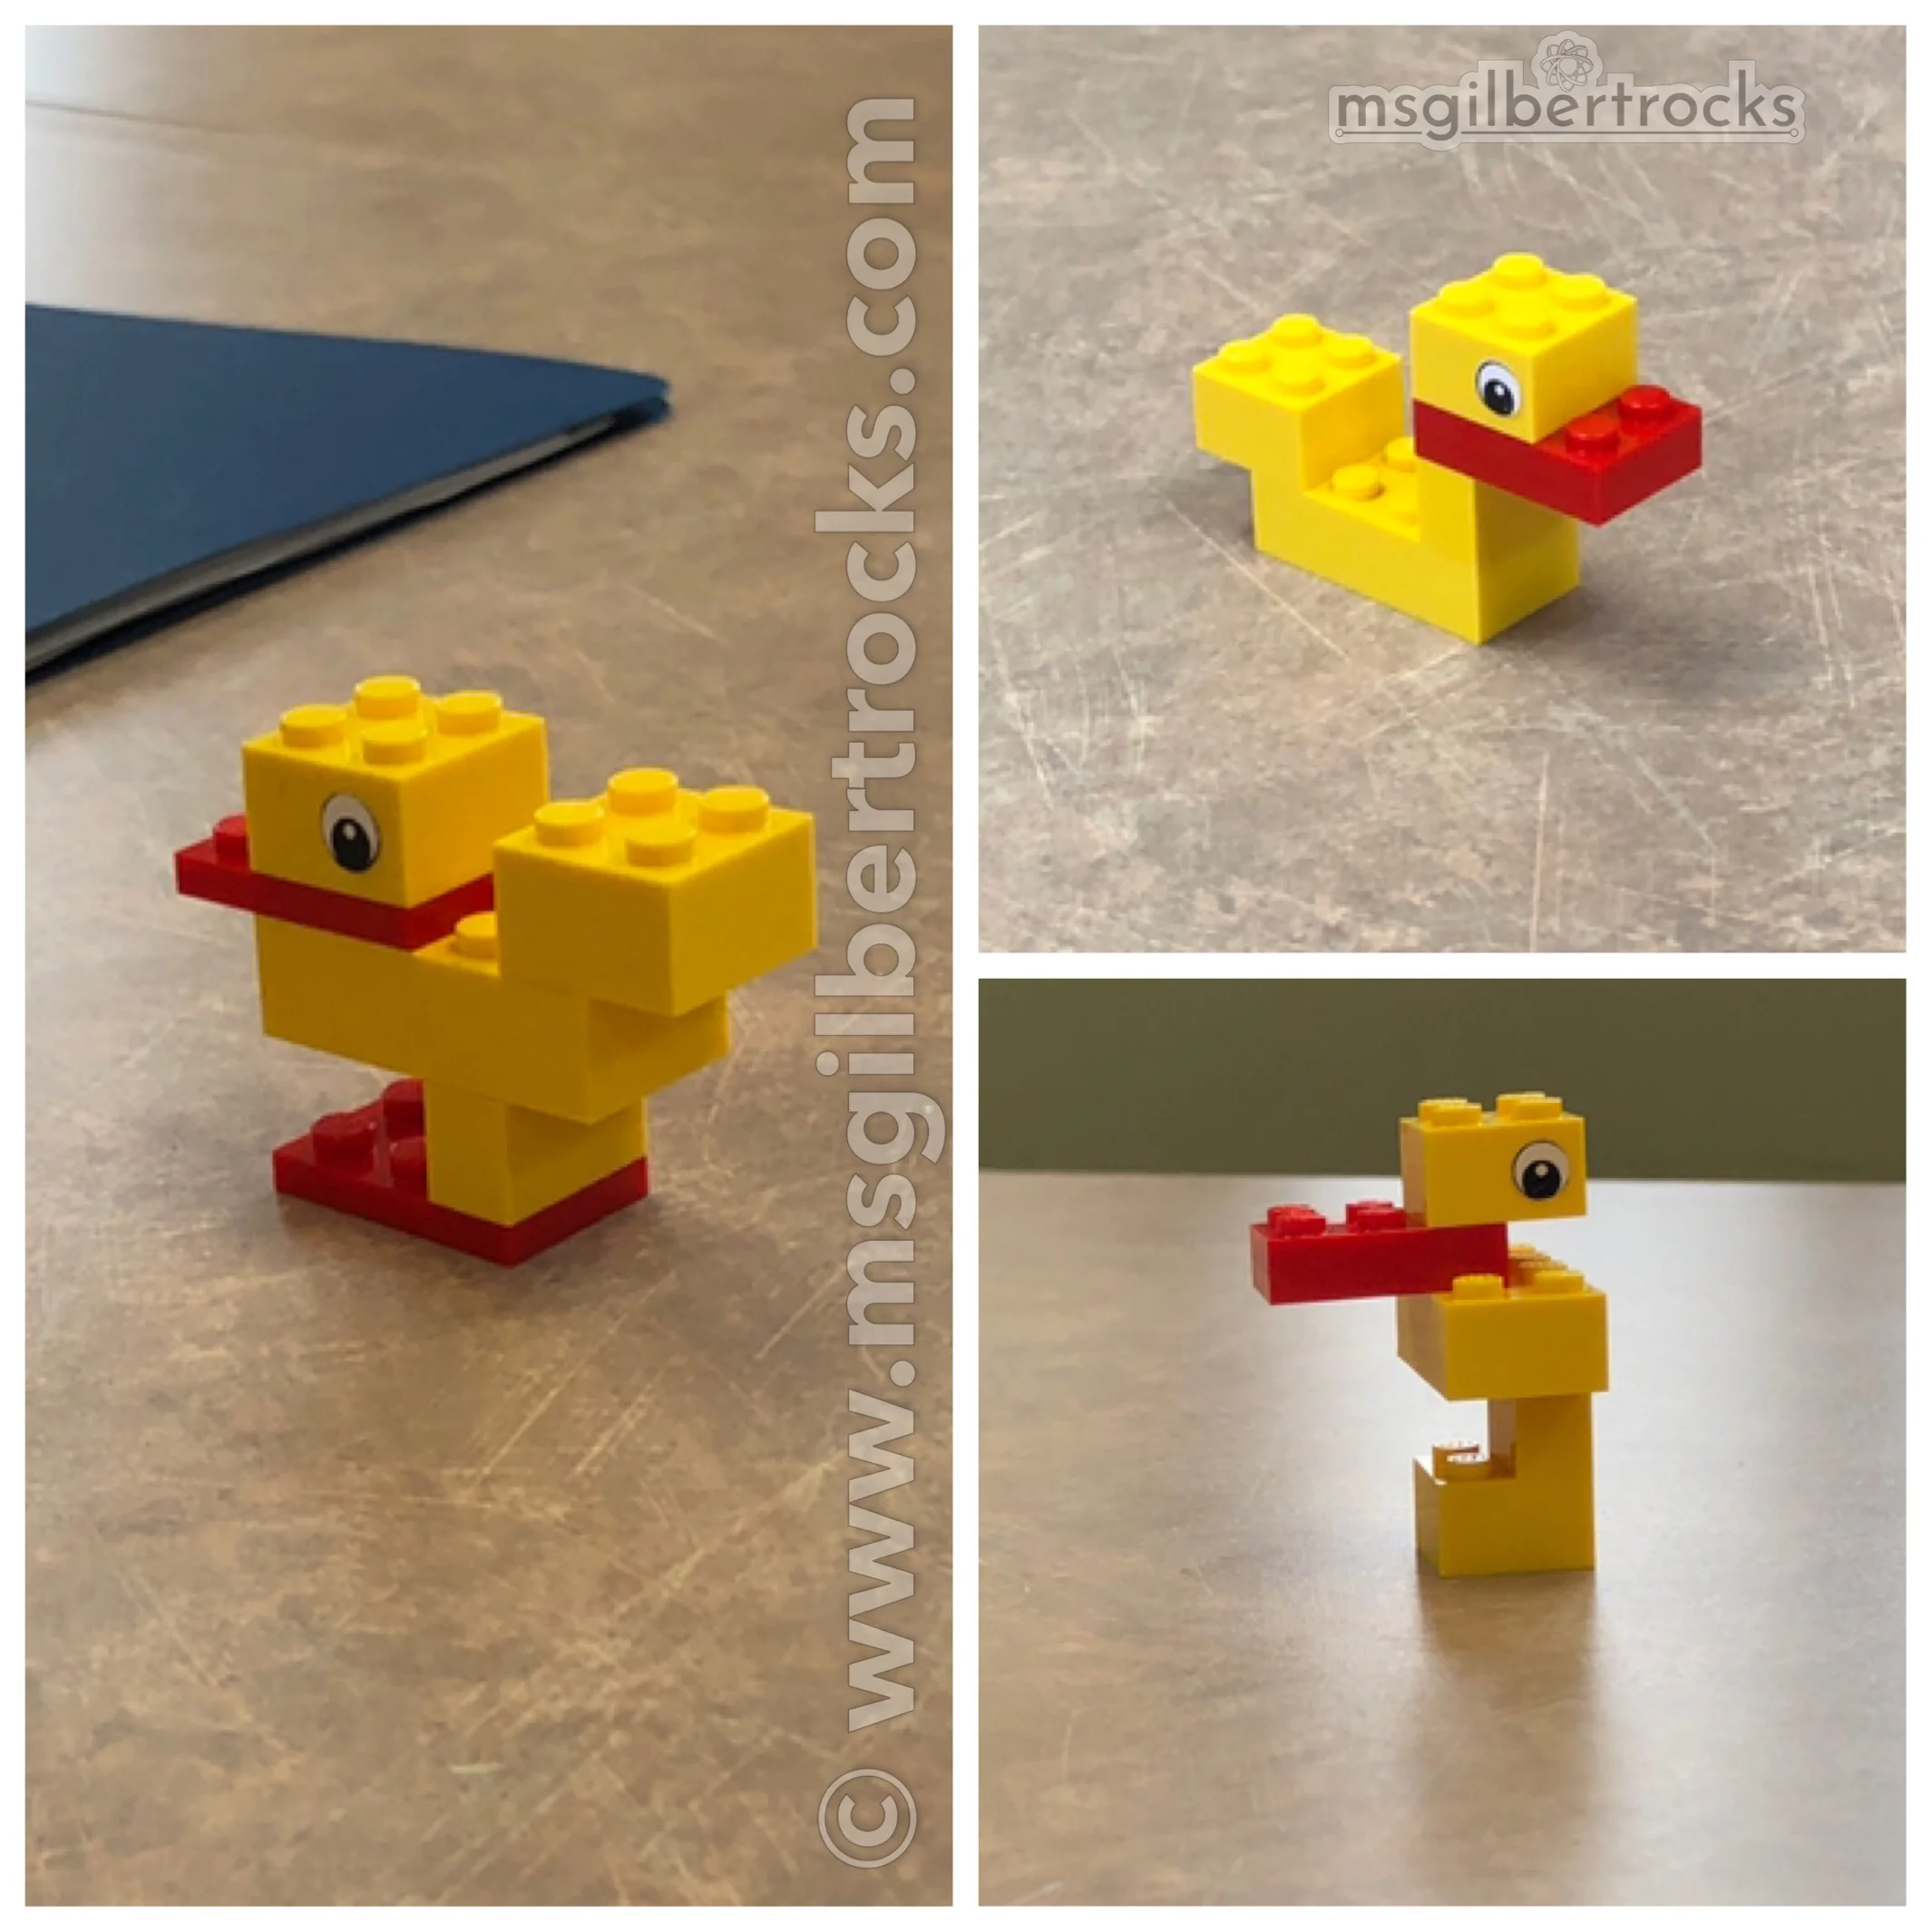
The breakout session I facilitated was cut a bit short due to weather (remember all that snow in late April?!) when the conference end time was moved up. The goal was to share about how we used a short flex time in our schedule to bring more STEM into our classroom. Our focus was on problem solving and engineering challenges whenever possible. I was able to have groups work through a LEGO® Build A Duck activity (one of my favorites) and build marble runs using only paper towel/toilet paper tubes and painter’s tape. Their goal was to go from the top of the VENT WALL to the bottom and where the marble had a soft landing (no flying out or crashing). This was very similar to the way we ran the activity in our classroom with 7th and 8th graders. They were able to use multiple surfaces in the classroom and had two separate flex times to complete them.
Why build a duck?
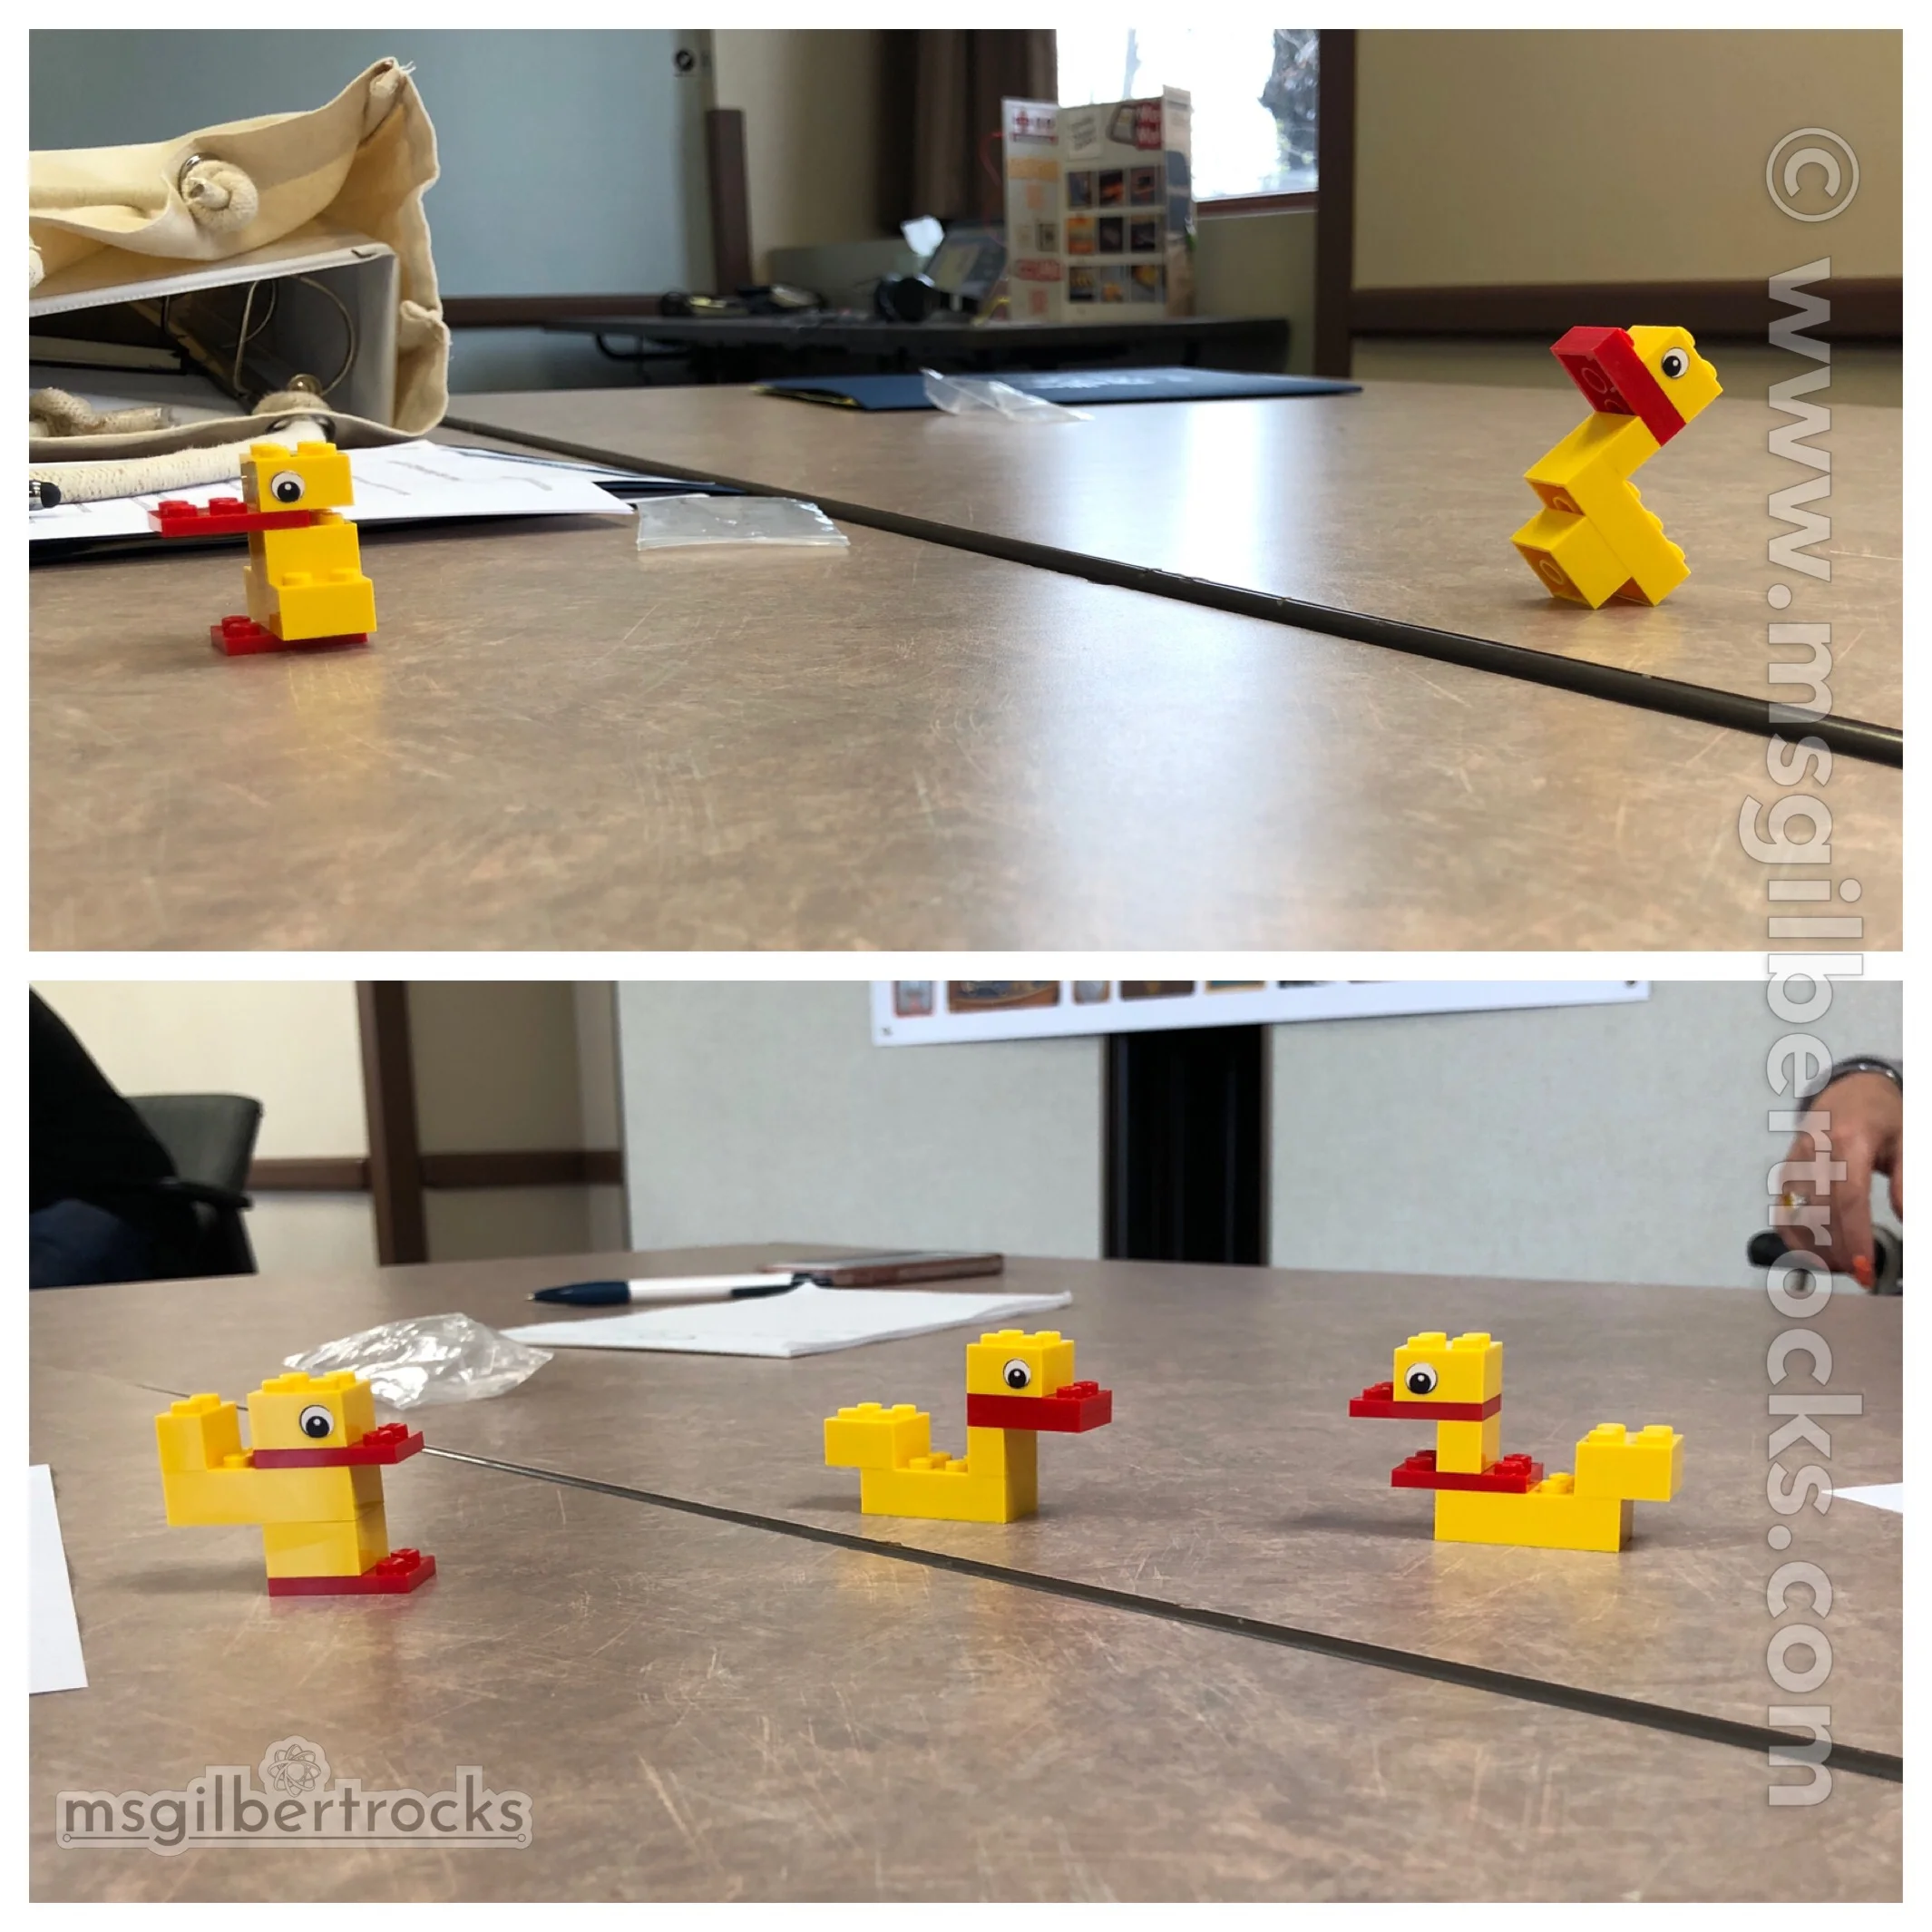
The “Build A Duck” activity came directly from LEGO® Education. The first time I completed it was at our the inaugural educator meet-up for our US LEGO® Master Educators Program that took place before #ISTE18 in Chicago (Read More Here). The person who facilitated the activity for us was Mitch Resnick. Yep. You read that right: MITCH RESNICK! How cool is that? In the version I did with adults during my session the only directions I gave were to use the six bricks provided to build a duck. I let them know we would share the designs at the end and talk over the experience of building a duck. As you can imagine there is often some questioning about “how” to build a duck. What are the directions for building a duck? There are none! The duck can be anything you want it to be and eventually people start to understand that everyone is going through the same process of figuring it all out. This group was amazing and several people immediately looked around to check in on what others were doing. I did point out that folks were doing that and praised them for it. It tends to relieve some tension. I will say that with students I run it a bit differently - I actually put privacy shields up the first time we did this at the beginning of the year. The goal is to help the kids understand that it is actually beneficial to take in what other ideas people have that may help you with your own design. Don’t worry, we get there eventually! Back to the amazing group at this conference. The attendees at this session also helped pass out and clean up the materials for each activity. I mean, come on! They were awesome!!
Completed student marble runs from the classroom activity:
Marble run number 1, soft landing! 👏🏻 pic.twitter.com/B8j9qAIkcW
— Jen Gilbert (@msgilbertrocks) March 1, 2019
Marble run number 2, backstop to stop a speeding marble 🛑 ✋ pic.twitter.com/OMz1d3z7Zo
— Jen Gilbert (@msgilbertrocks) March 1, 2019
Marble run number 3, direct hit landing in the cup! 🎯 pic.twitter.com/9azitPVMNU
— Jen Gilbert (@msgilbertrocks) March 1, 2019