Crafting with a Silhouette Cameo 3
Silhouette Cameo 3
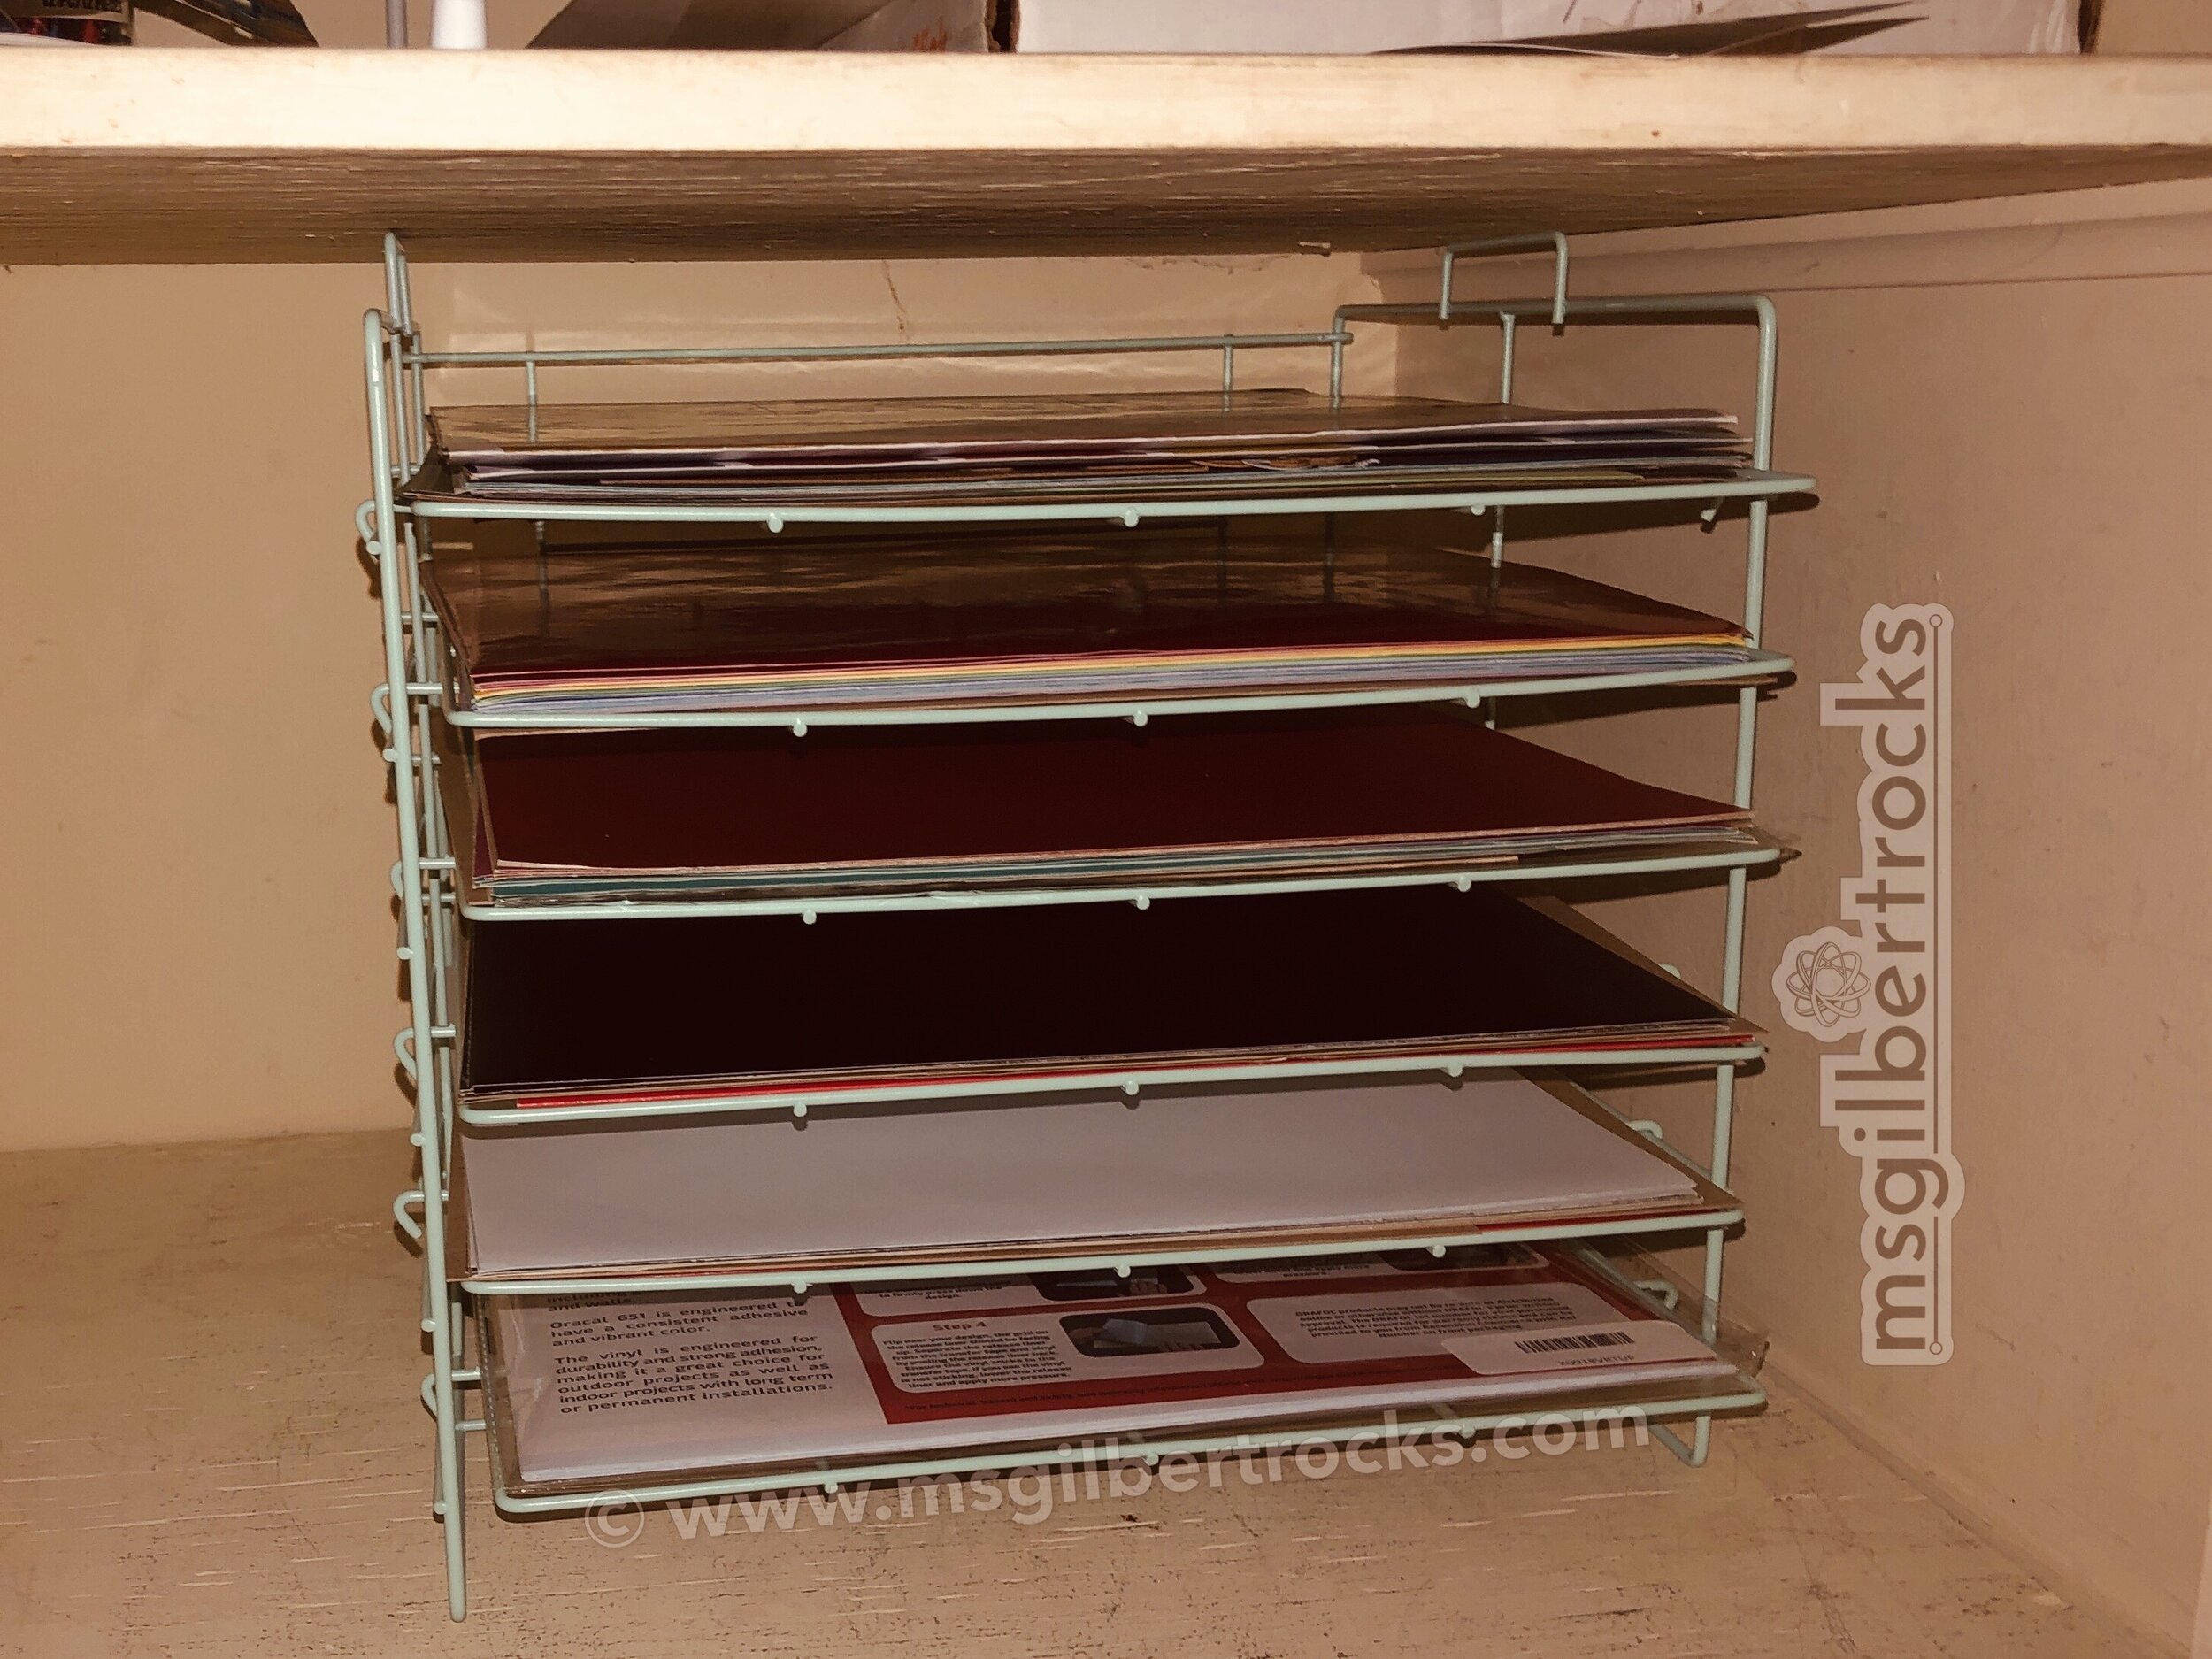
Even though I did not have a lot of time to explore with the machine early on, I am so glad I purchased the Silhouette Cameo 3 when I did. As I have been stuck at home for so long it has given me a lovely outlet to design and create. Over time I have purchased the roll feeder accessory (down to $21 at the time of this post!) and the large scraper (made by Cricut - check around for best prices). For the most part I use standard tools and just recently purchased two more cutting mats to have on hand. Wal-Mart has the best price ($10.49 each or $20.96 for two) that I have found on the original mats made by the company. I preferred sticking with those for now even though they have changed the design slightly. At the price it is reasonable even if they have to be replaced more frequently. Additionally, I use these containers (Iris 12" x 12" Paper Storage Case - SKU#10022759, currently $6.99 each) from The Container Store in conjunction with these shelves (American Crafts Crate Desktop Storage Paper Rack - currently $19.99) in the closet where my materials are stored. The shelves are definitely not perfect (not super stable), but adding a base to them (thin cardboard) made me feel better about materials (vinyl and paper) not flopping down in the corners. There are other varieties that fit 12x12 vinyl or paper, but this was best for my existing space in the closet. The paper storage cases from The Container Store fit paper and vinyl nicely and I am able to keep this fun 12x12 self-healing mat with the materials. I have this funky pink version that was once in clearance at Michaels…it still exists online (here’s a visual) in some places but seems to be unavailable for purchase. Jo-Ann shows a gray version that is the same dimensions and reasonably priced.
Silhouette Studio Software
It has been wonderful to experiment with a number of digital designs through the Silhouette Studio software. I have absolutely no regrets about purchasing the full (business) version of the software since it means I do not always have to go through Adobe Illustrator. Eventually I will get a subscription to the Adobe Creative Suite so I can access that across multiple devices, but this Silhouette software has allowed me to bring a number of creations to life. And if I do pop over to Illustrator or access any older designs that exist in AI formats...Silhouette Studio can usually open them!
VINYL
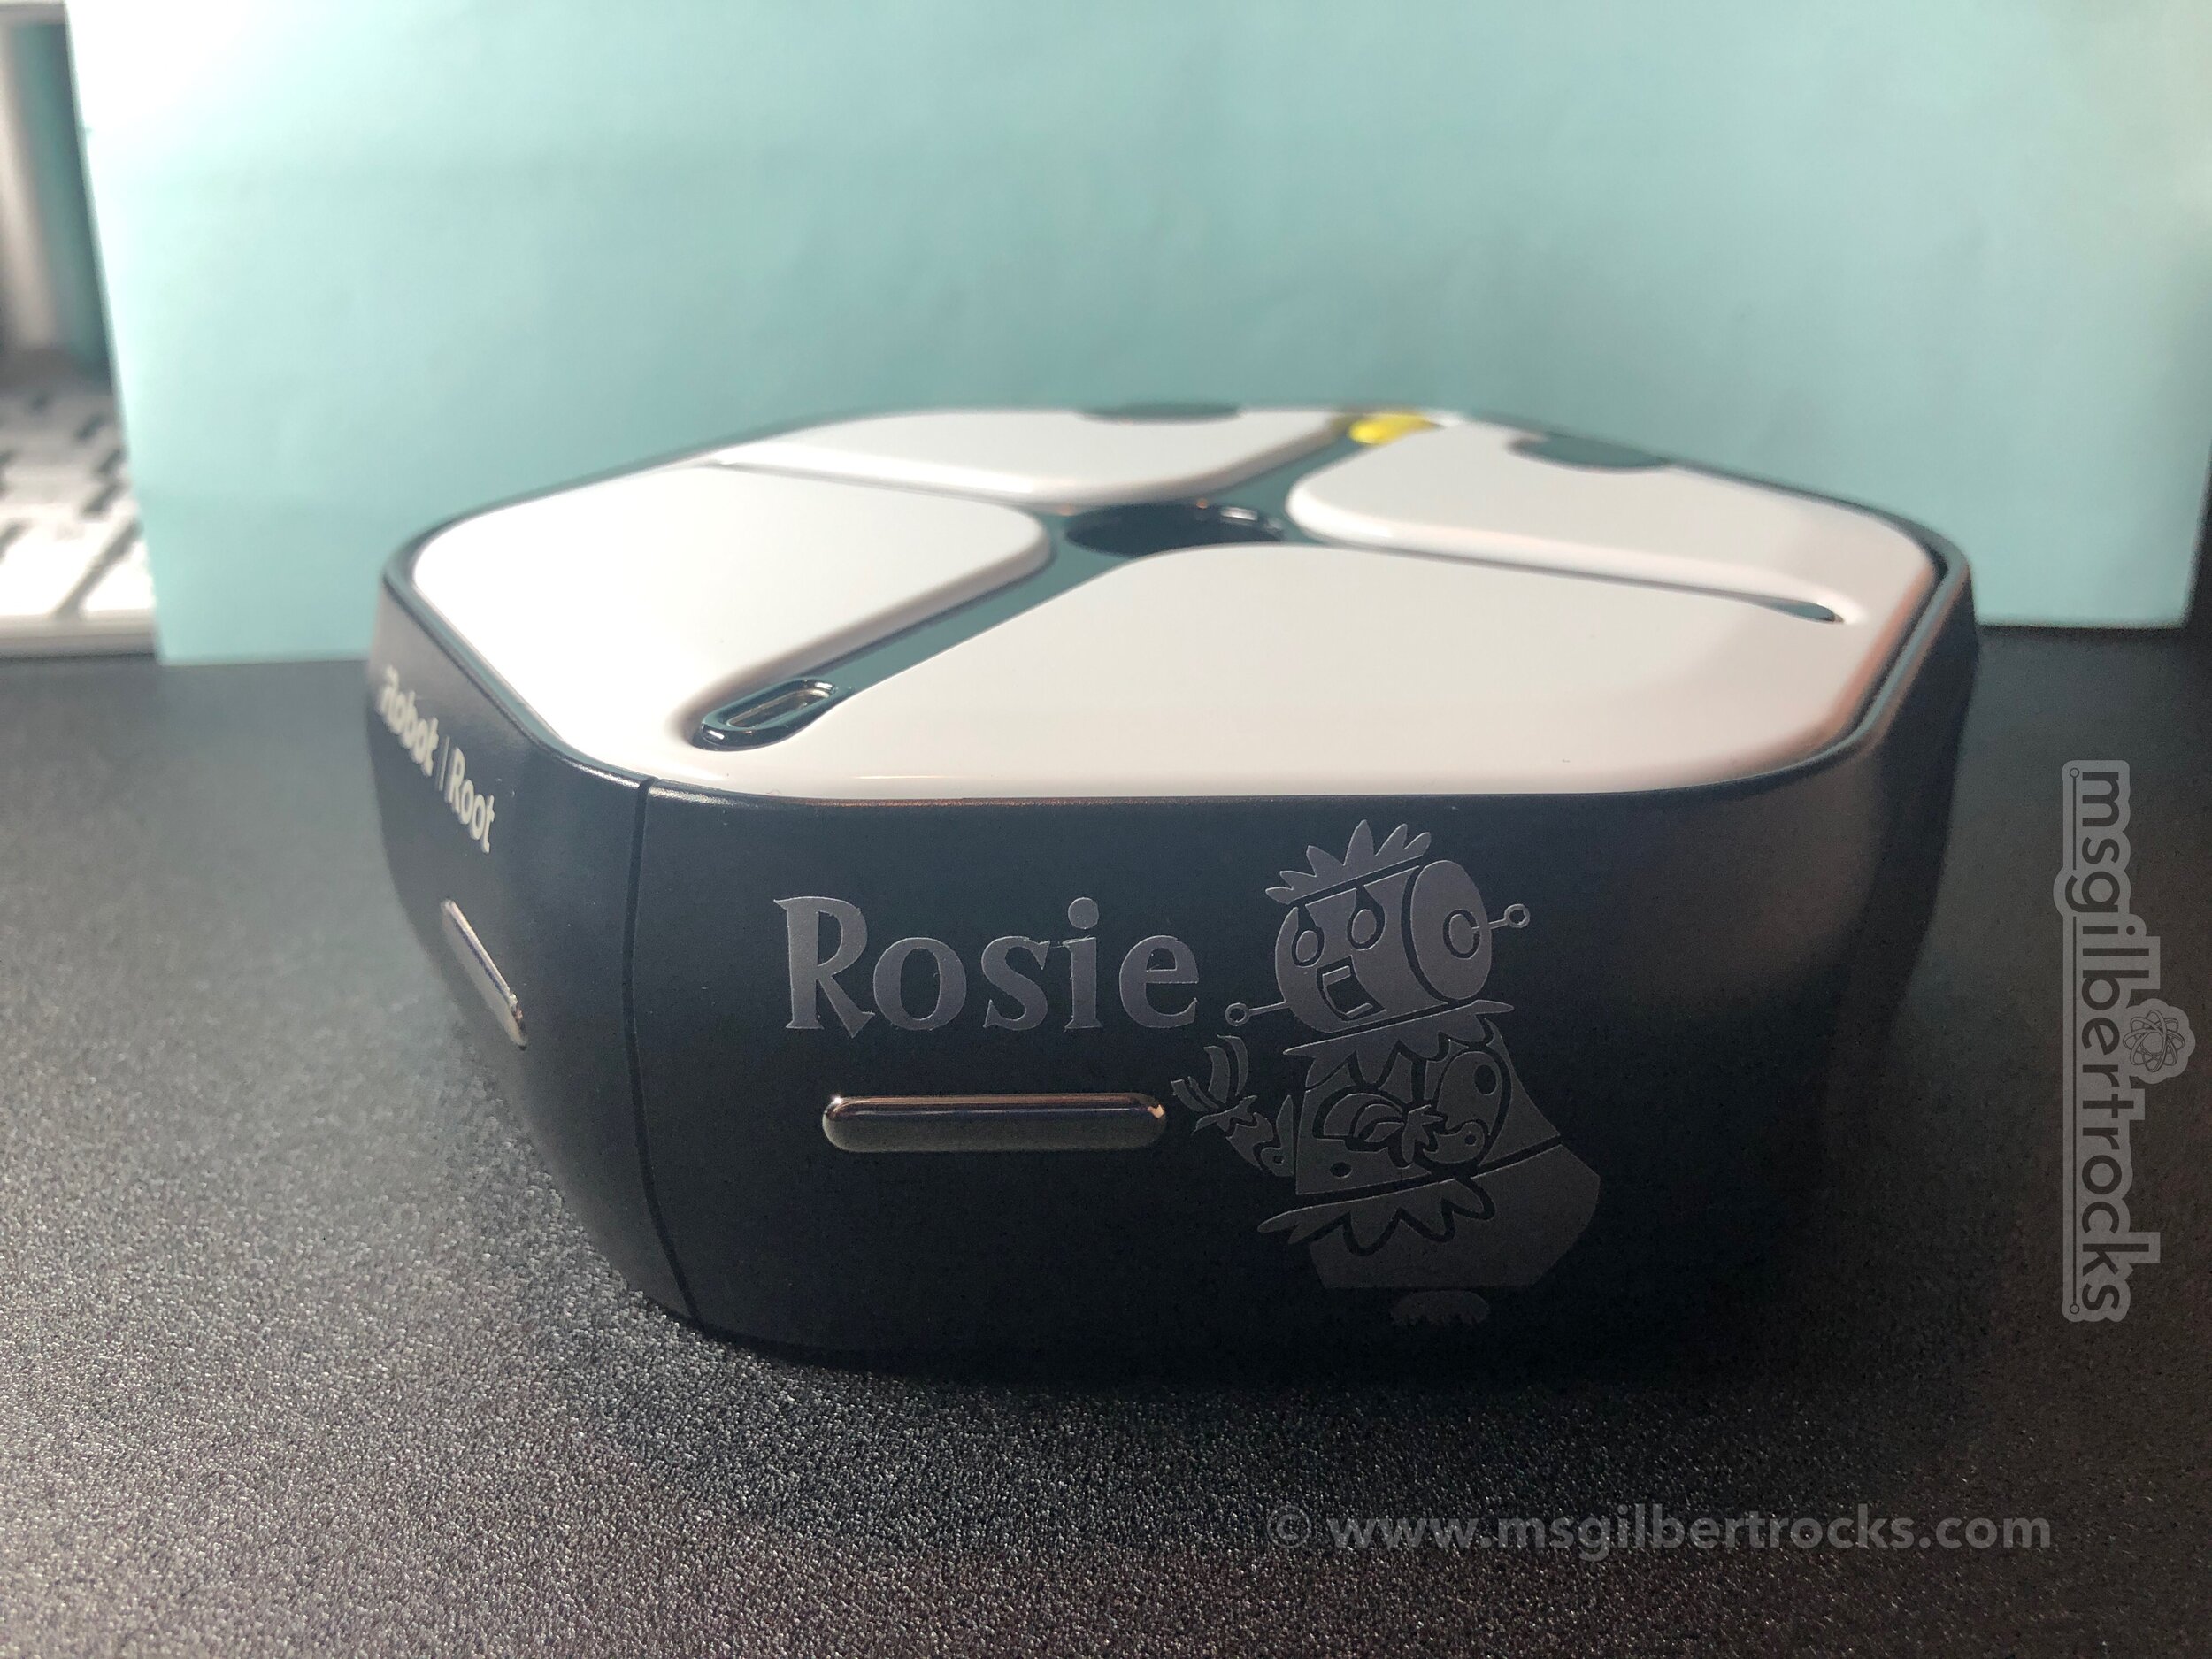
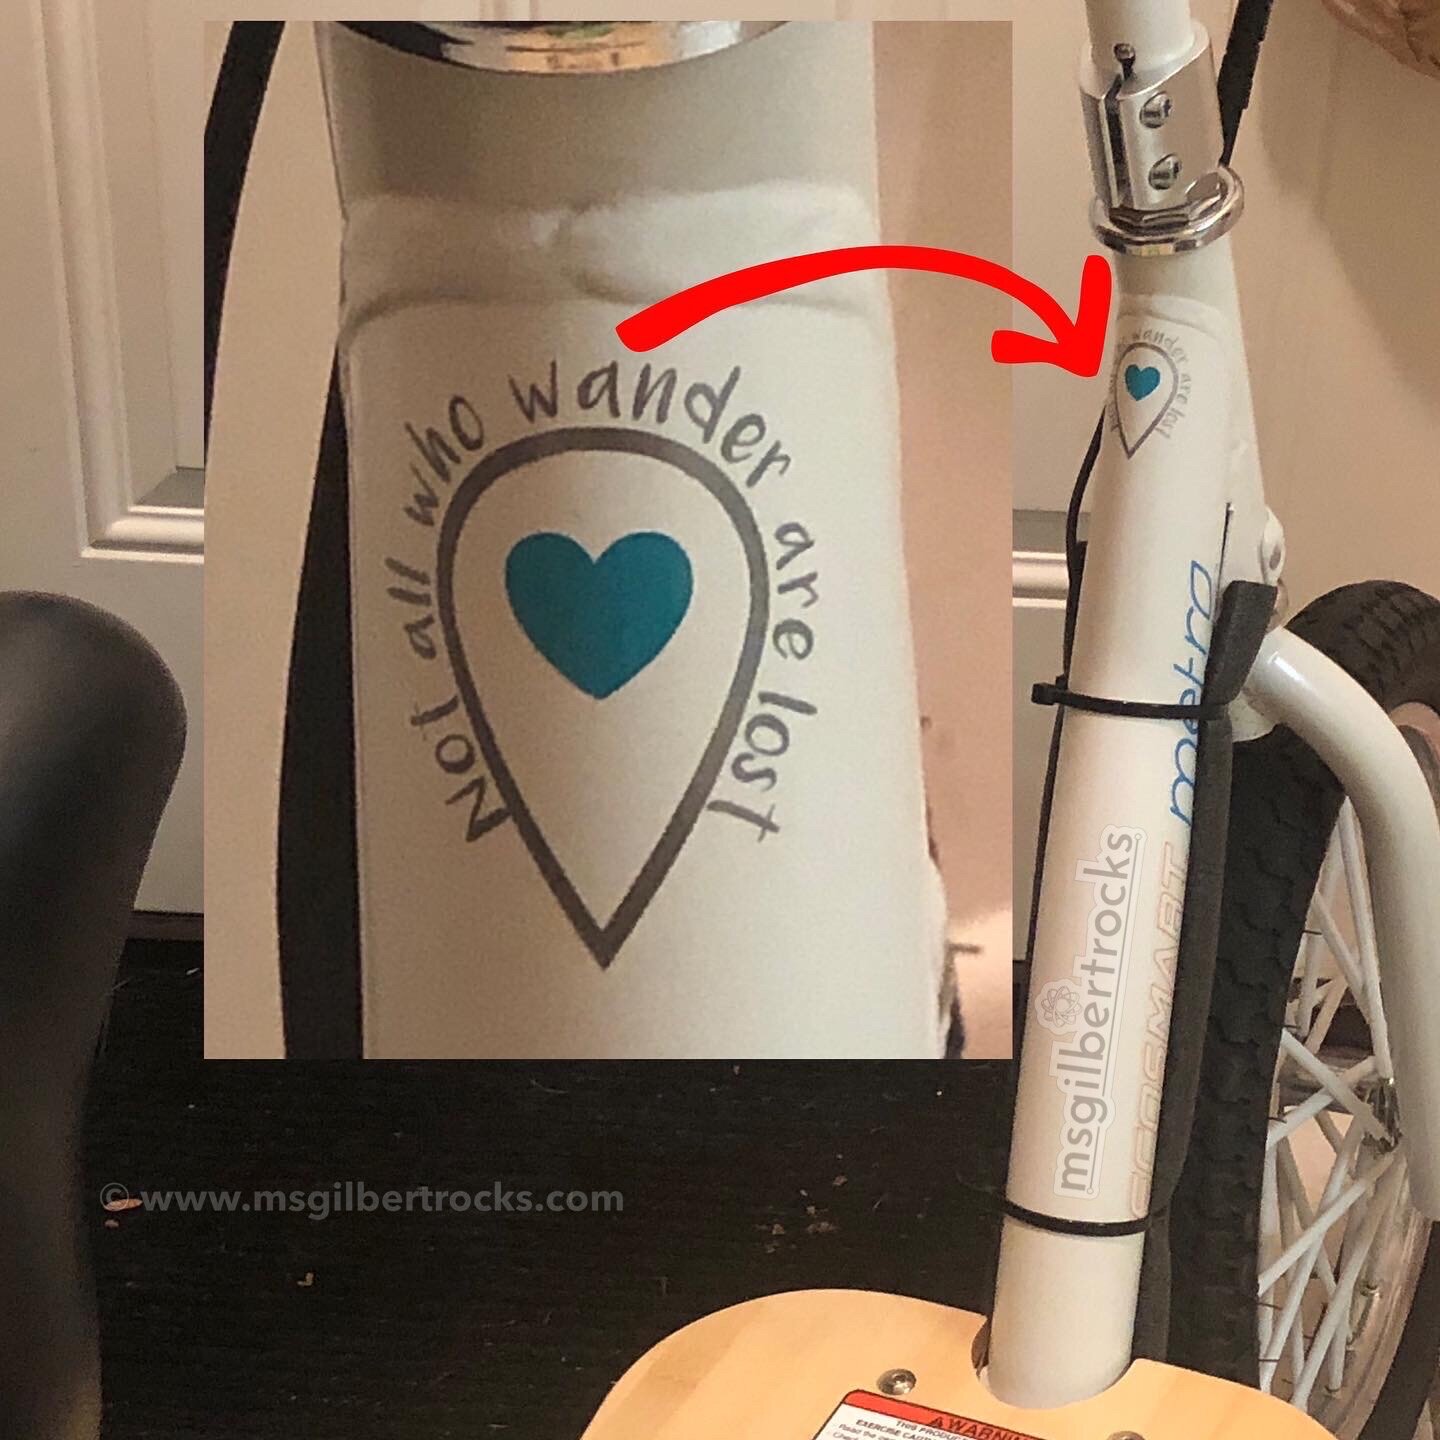
Over time I have leaned towards using Oracal vinyl in sheets or rolls. When Michaels has 12x12 sheets on sale and I can get them for somewhere around $0.80, it is great to stock up on a variety of colors. During these sales I also get a combination of both matte (typically 631) and glossy (typically 651). It is nice to have both on hand even though I rarely distinguish between the two for their different adhesive properties - 631 is lighter adhesion and typically indoor use while 651 is stronger adhesion for outdoor use. In the samples shown the silver-gray vinyl used is glossy (651) in the “Not all who wander are lost” design (map pin and lettering) and matte (631) in the “Rosie” lettering and the robot decal as well. Both the glossy and matte versions of vinyl work well and it is a matter of preference for most personal-use applications. On my work laptop (PC with black matte finish) I prefer matte for those decals. On my Chromebook or older MacBook Pro that both have a smooth finish I have used both matte and glossy options.
Frisco Craft Brand vinyl
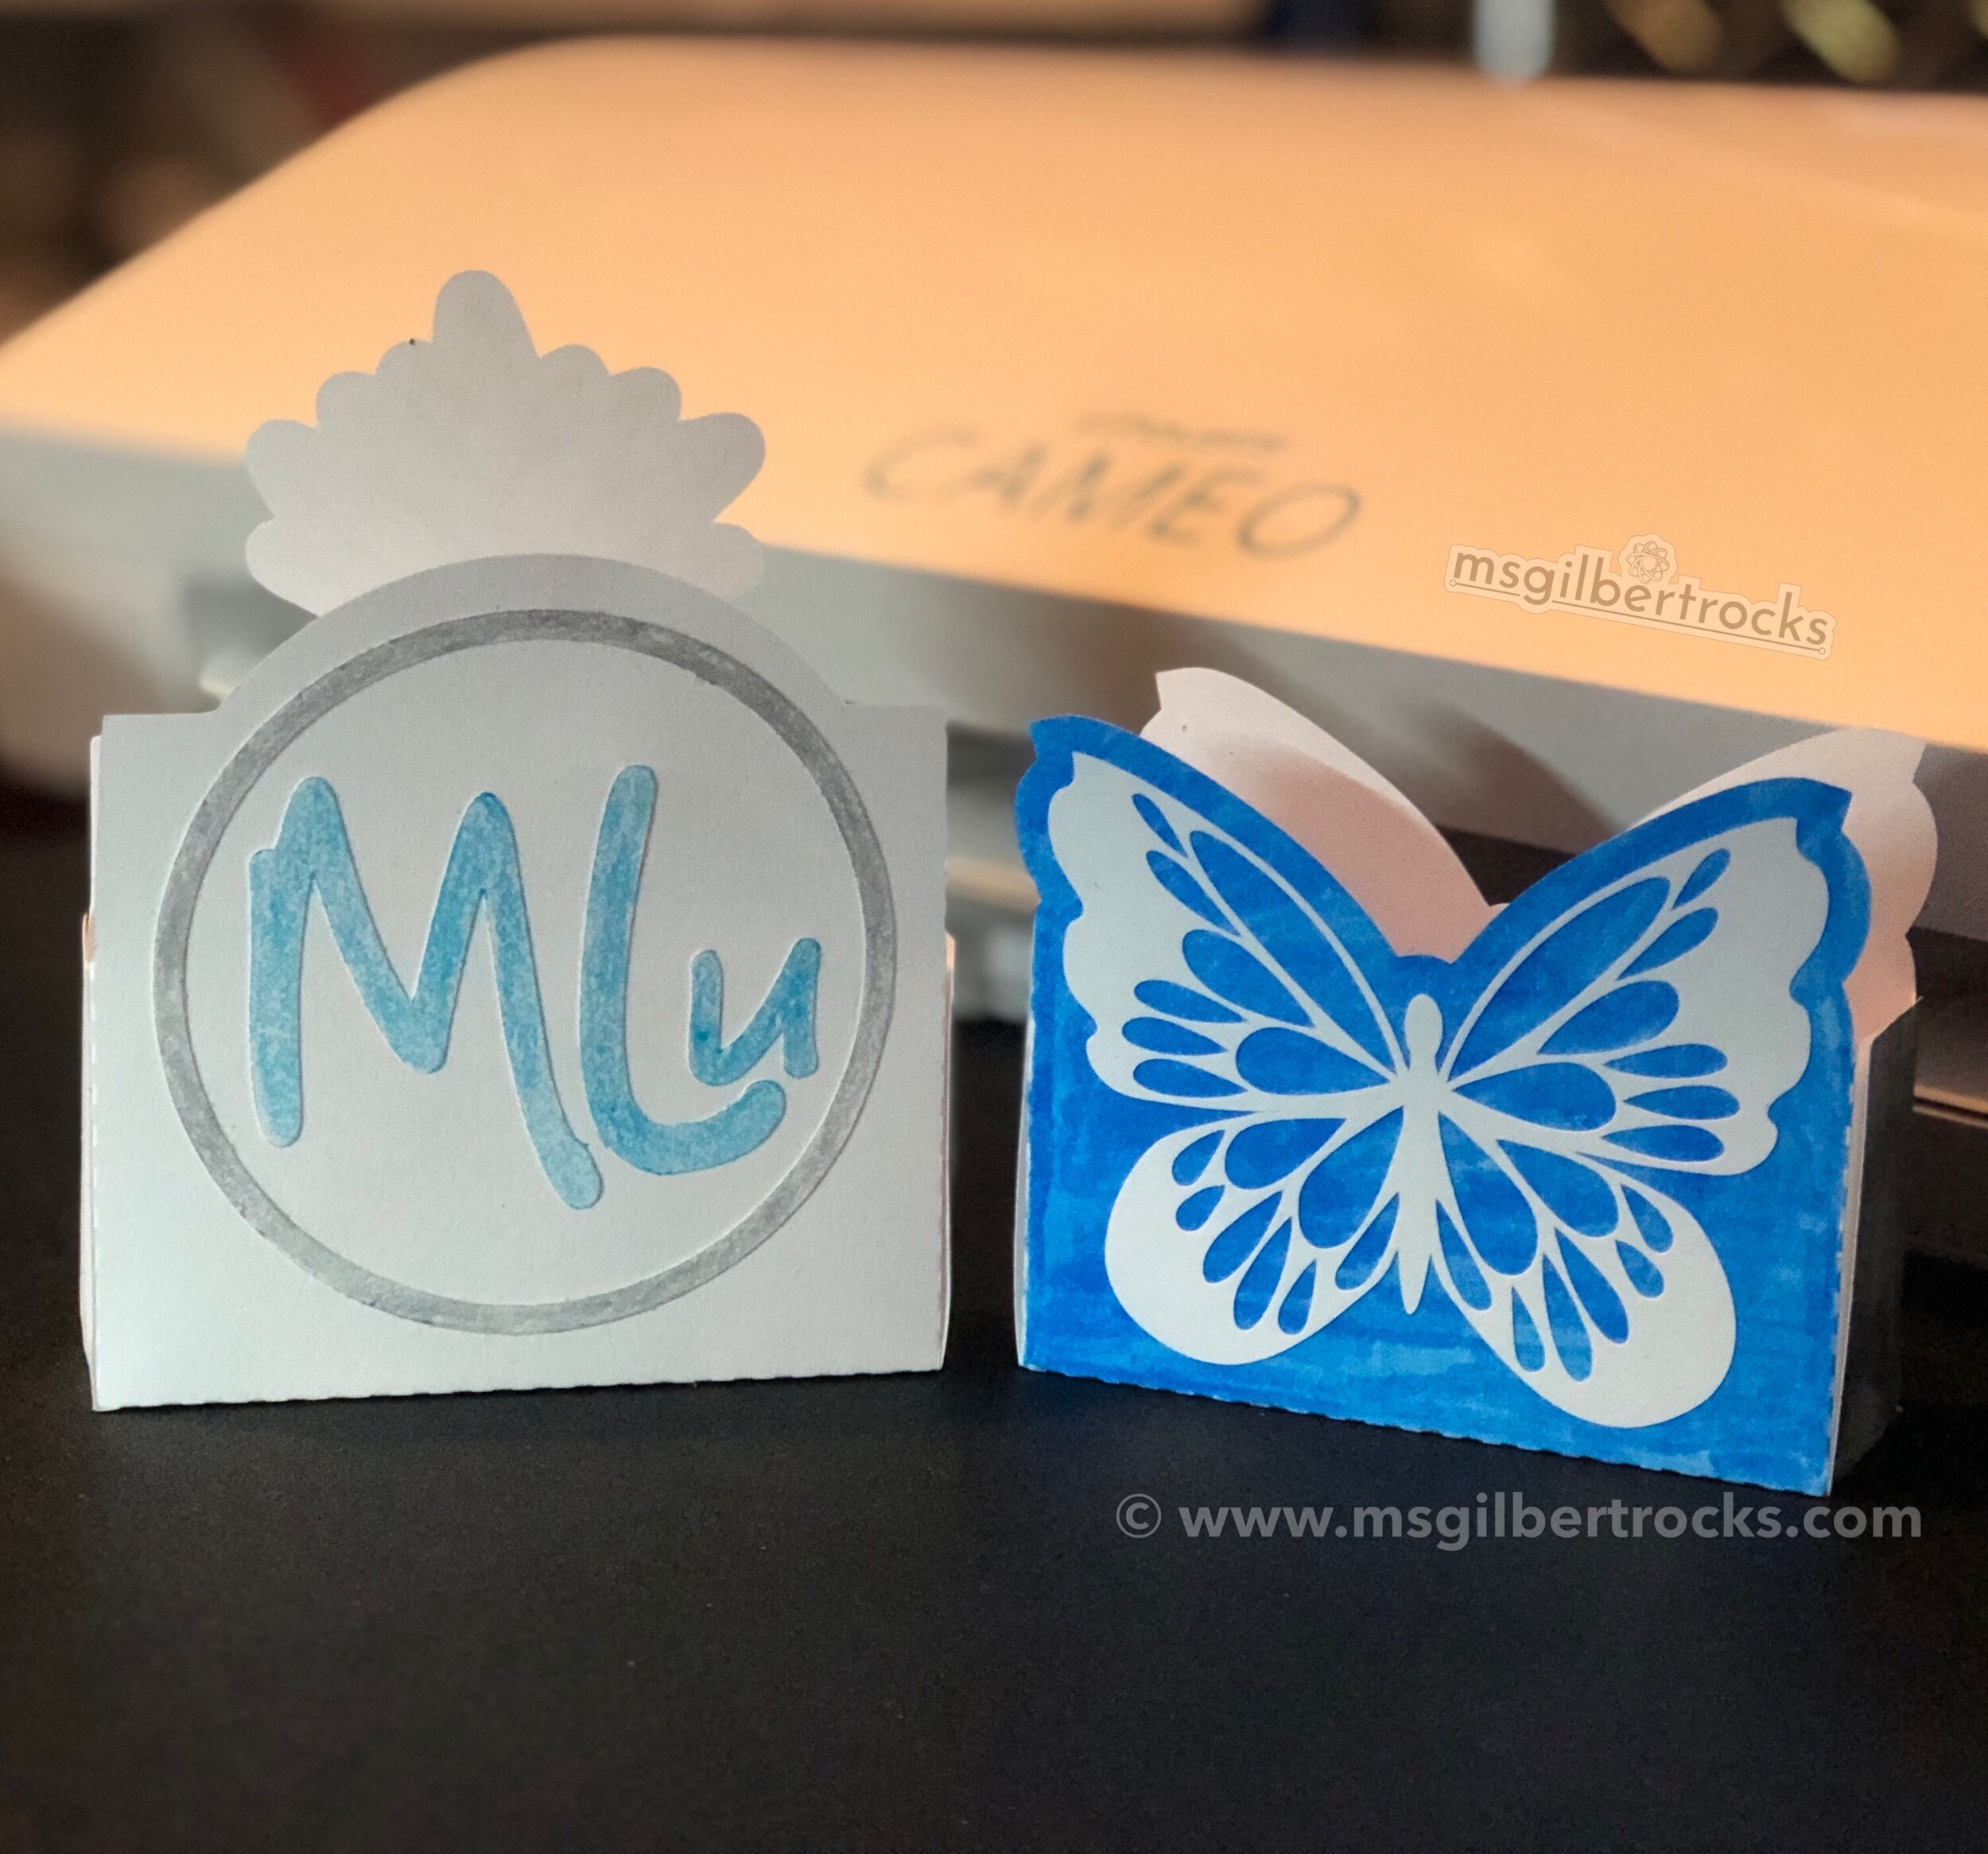
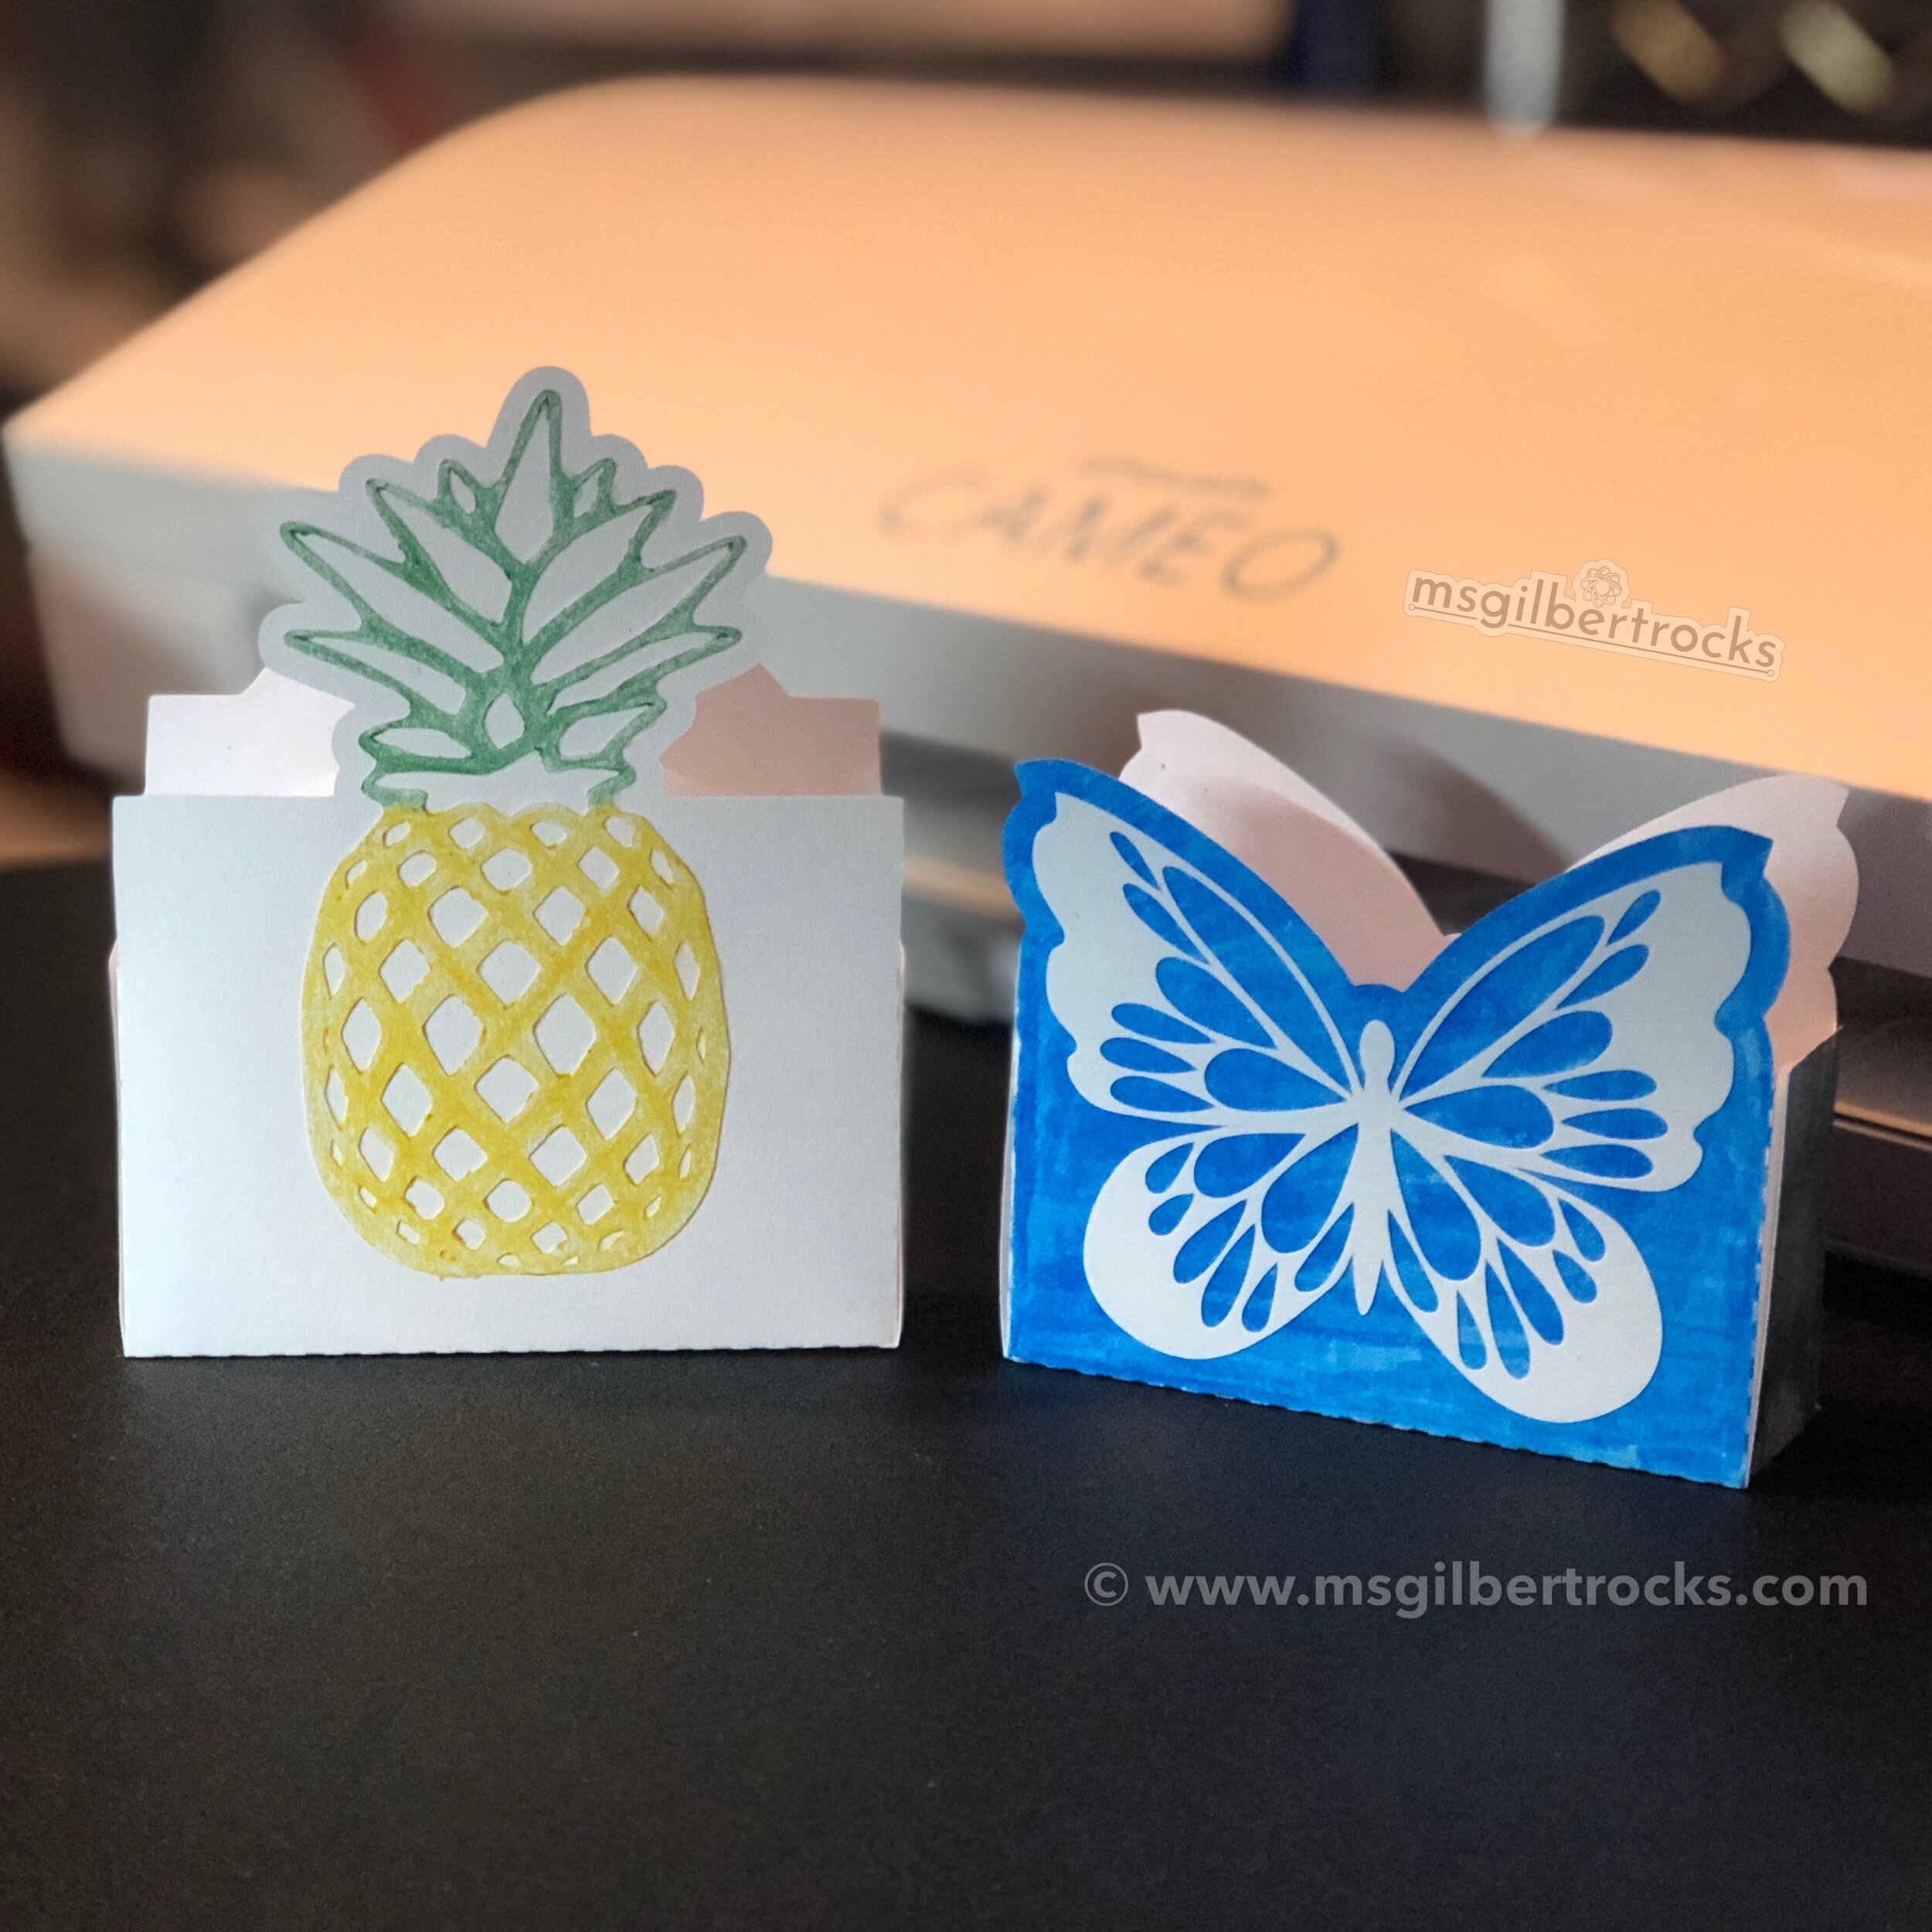
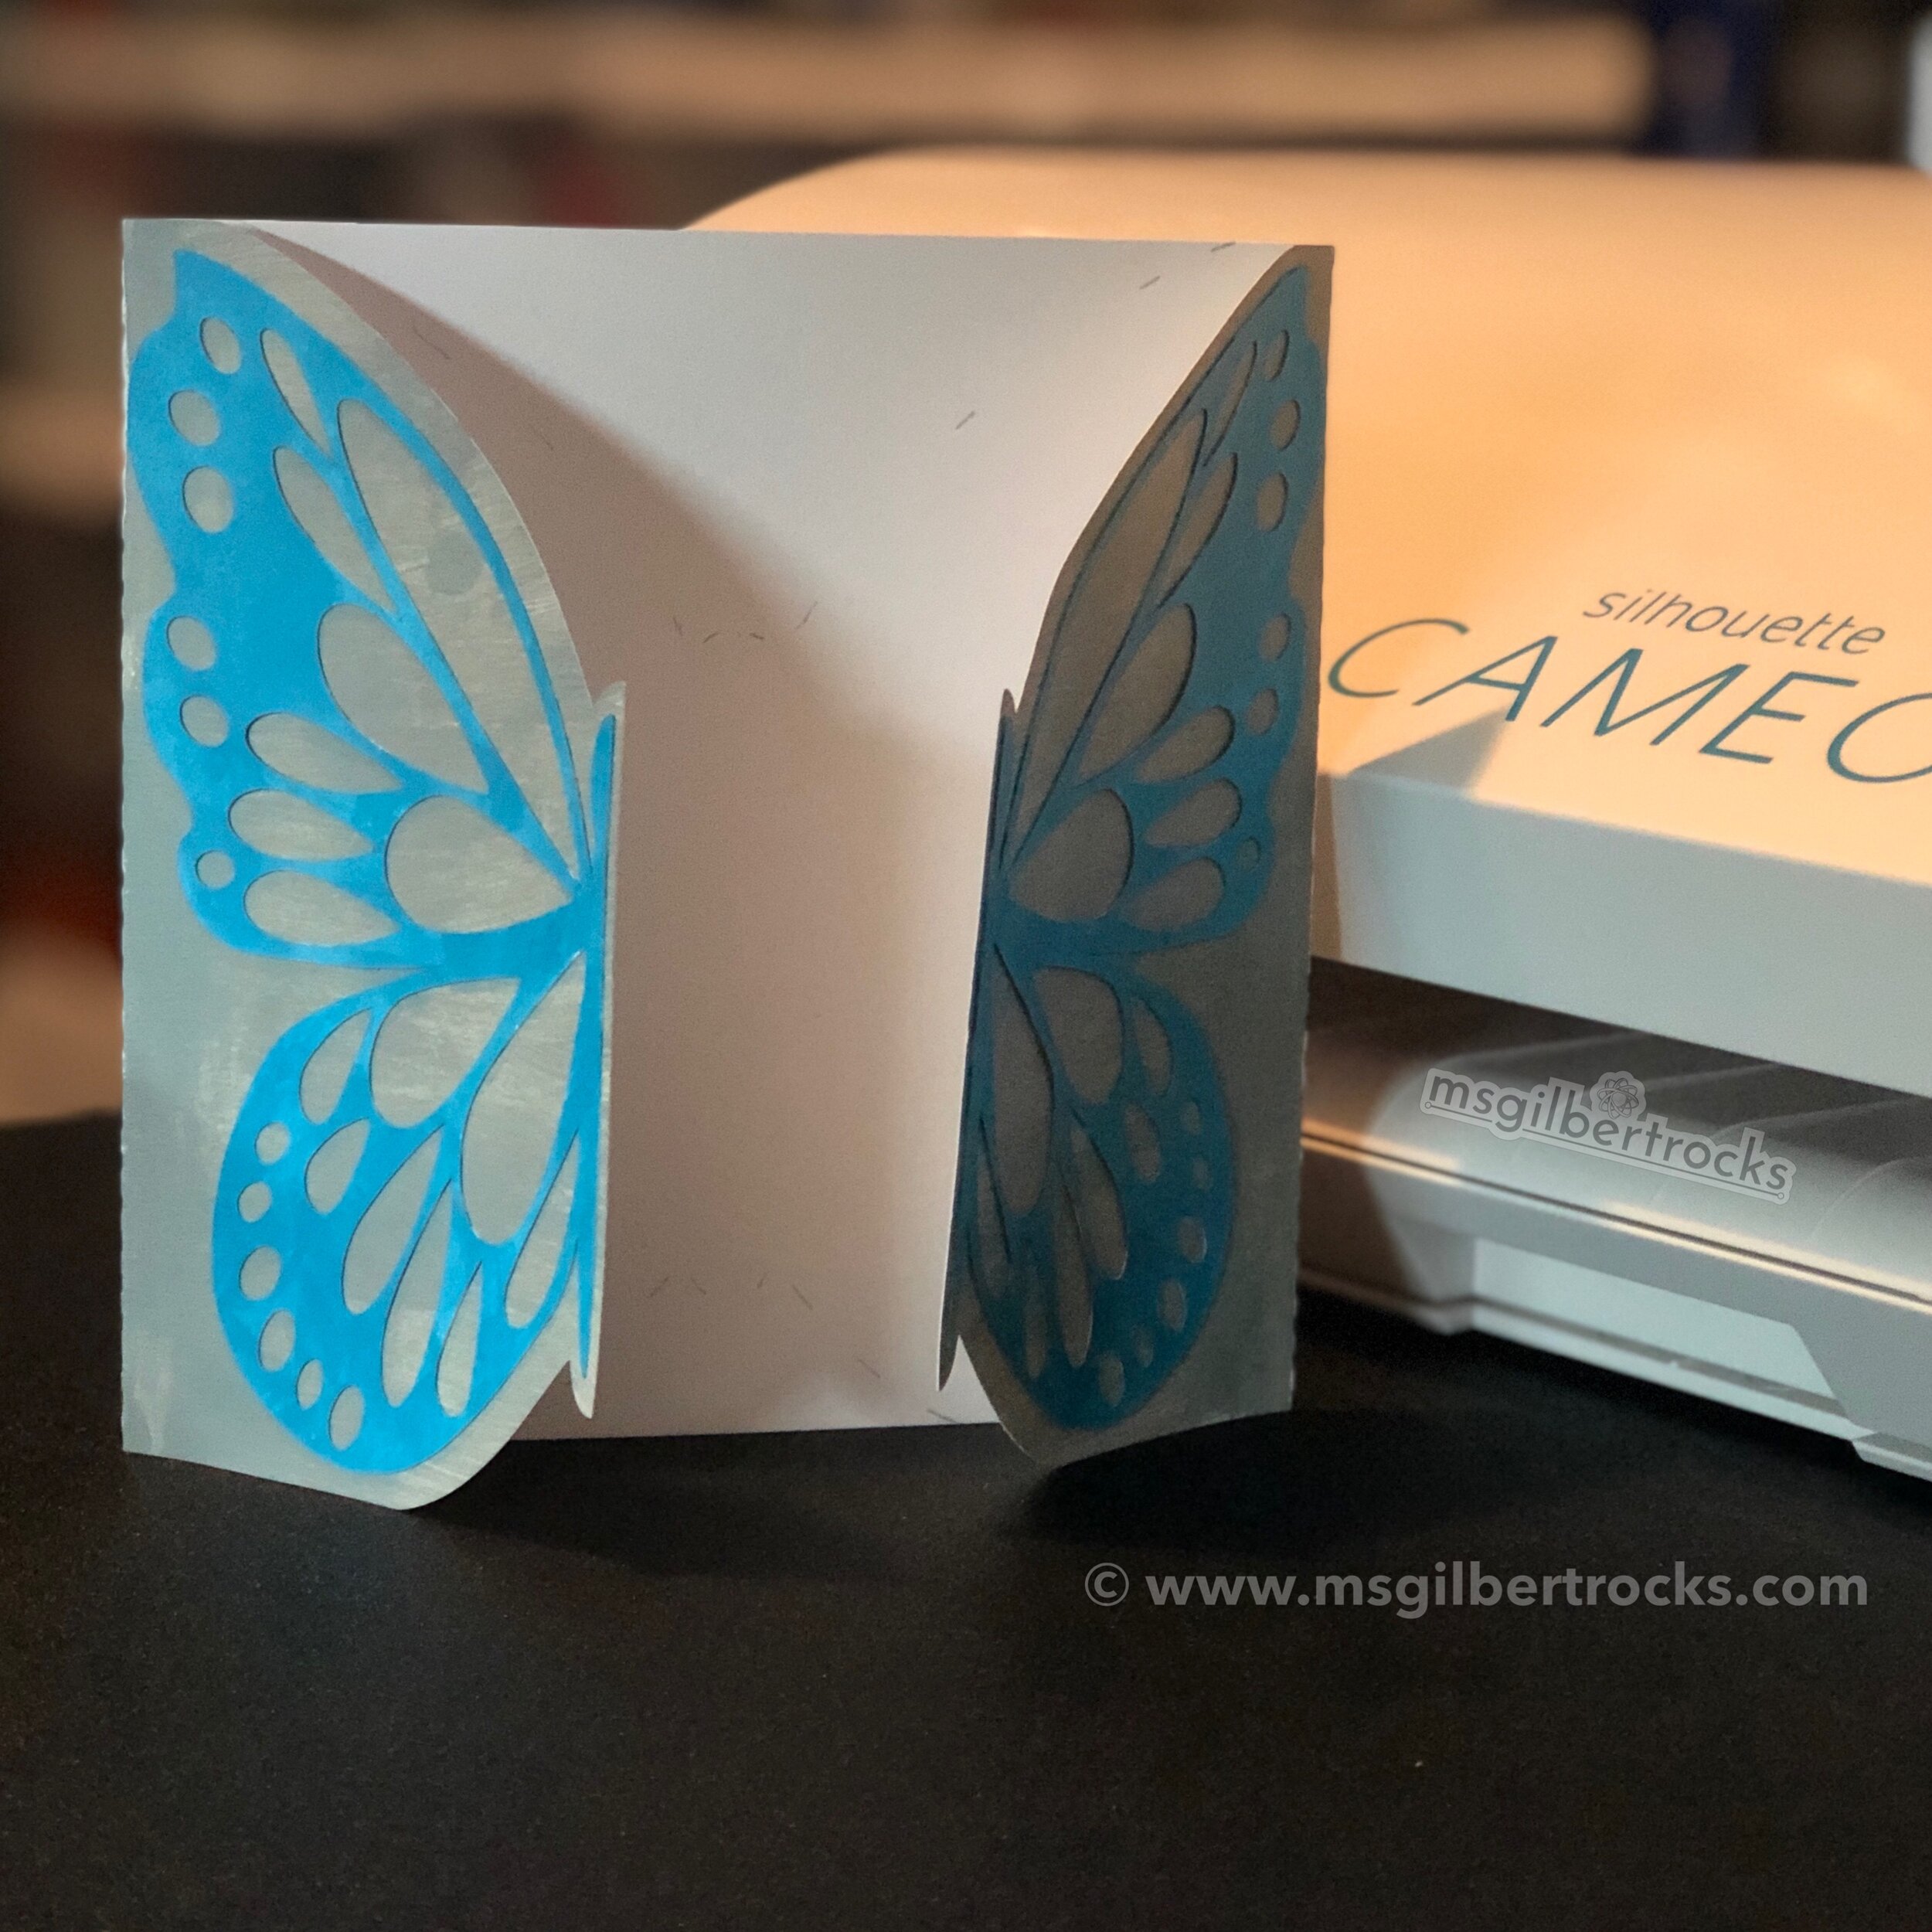
Recently, I had the opportunity to test sample glossy white vinyl on a roll from Frisco Craft. I was pleasantly surprised at how well it did with two different projects. One was done exclusively as a test. Some information about the test projects is included below with the pictures. It is certainly worth considering for your vinyl needs and you can find the glossy white on Amazon (glossy white on a roll similar to this option on Amazon that was unavailable at this time).
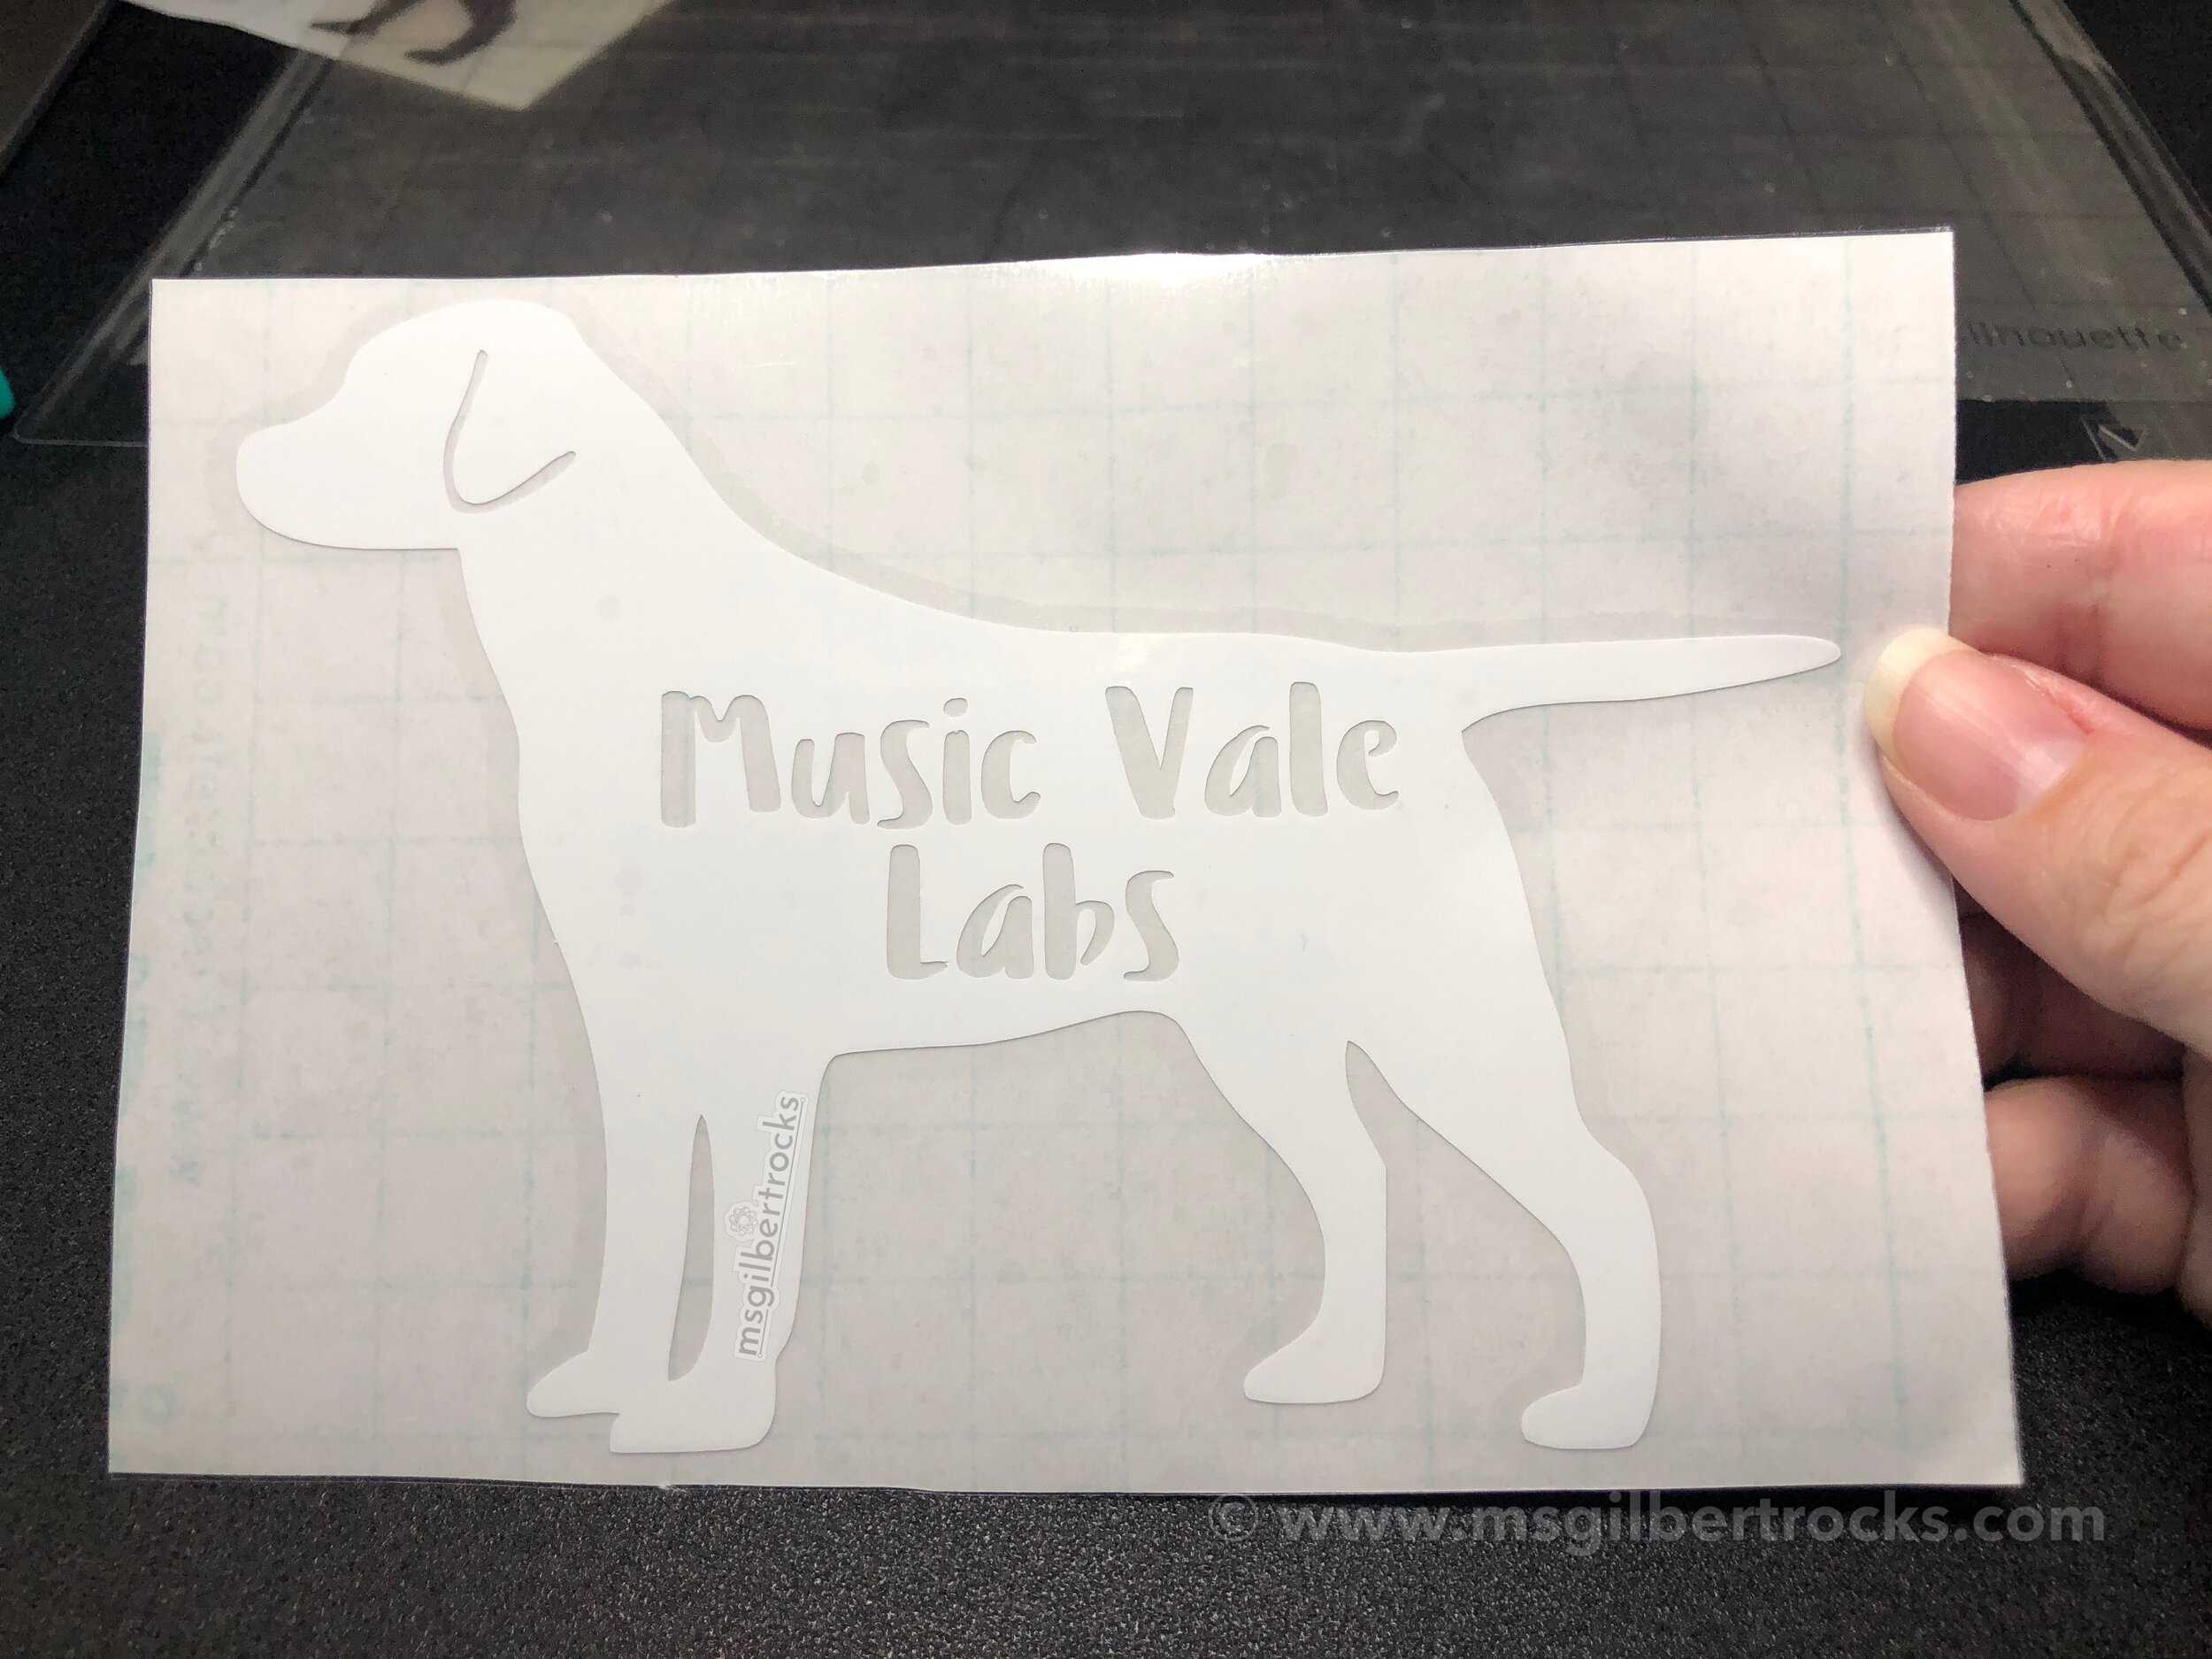
Handles less intricate designs flawlessly so far, weeds nicely and picks up cleanly with transfer tape

Detailed test came out nicely - small issues in other areas of the sample designs, but this was complete

Transferred nicely onto card stock for the cover of a custom card
TRANSFER TAPE
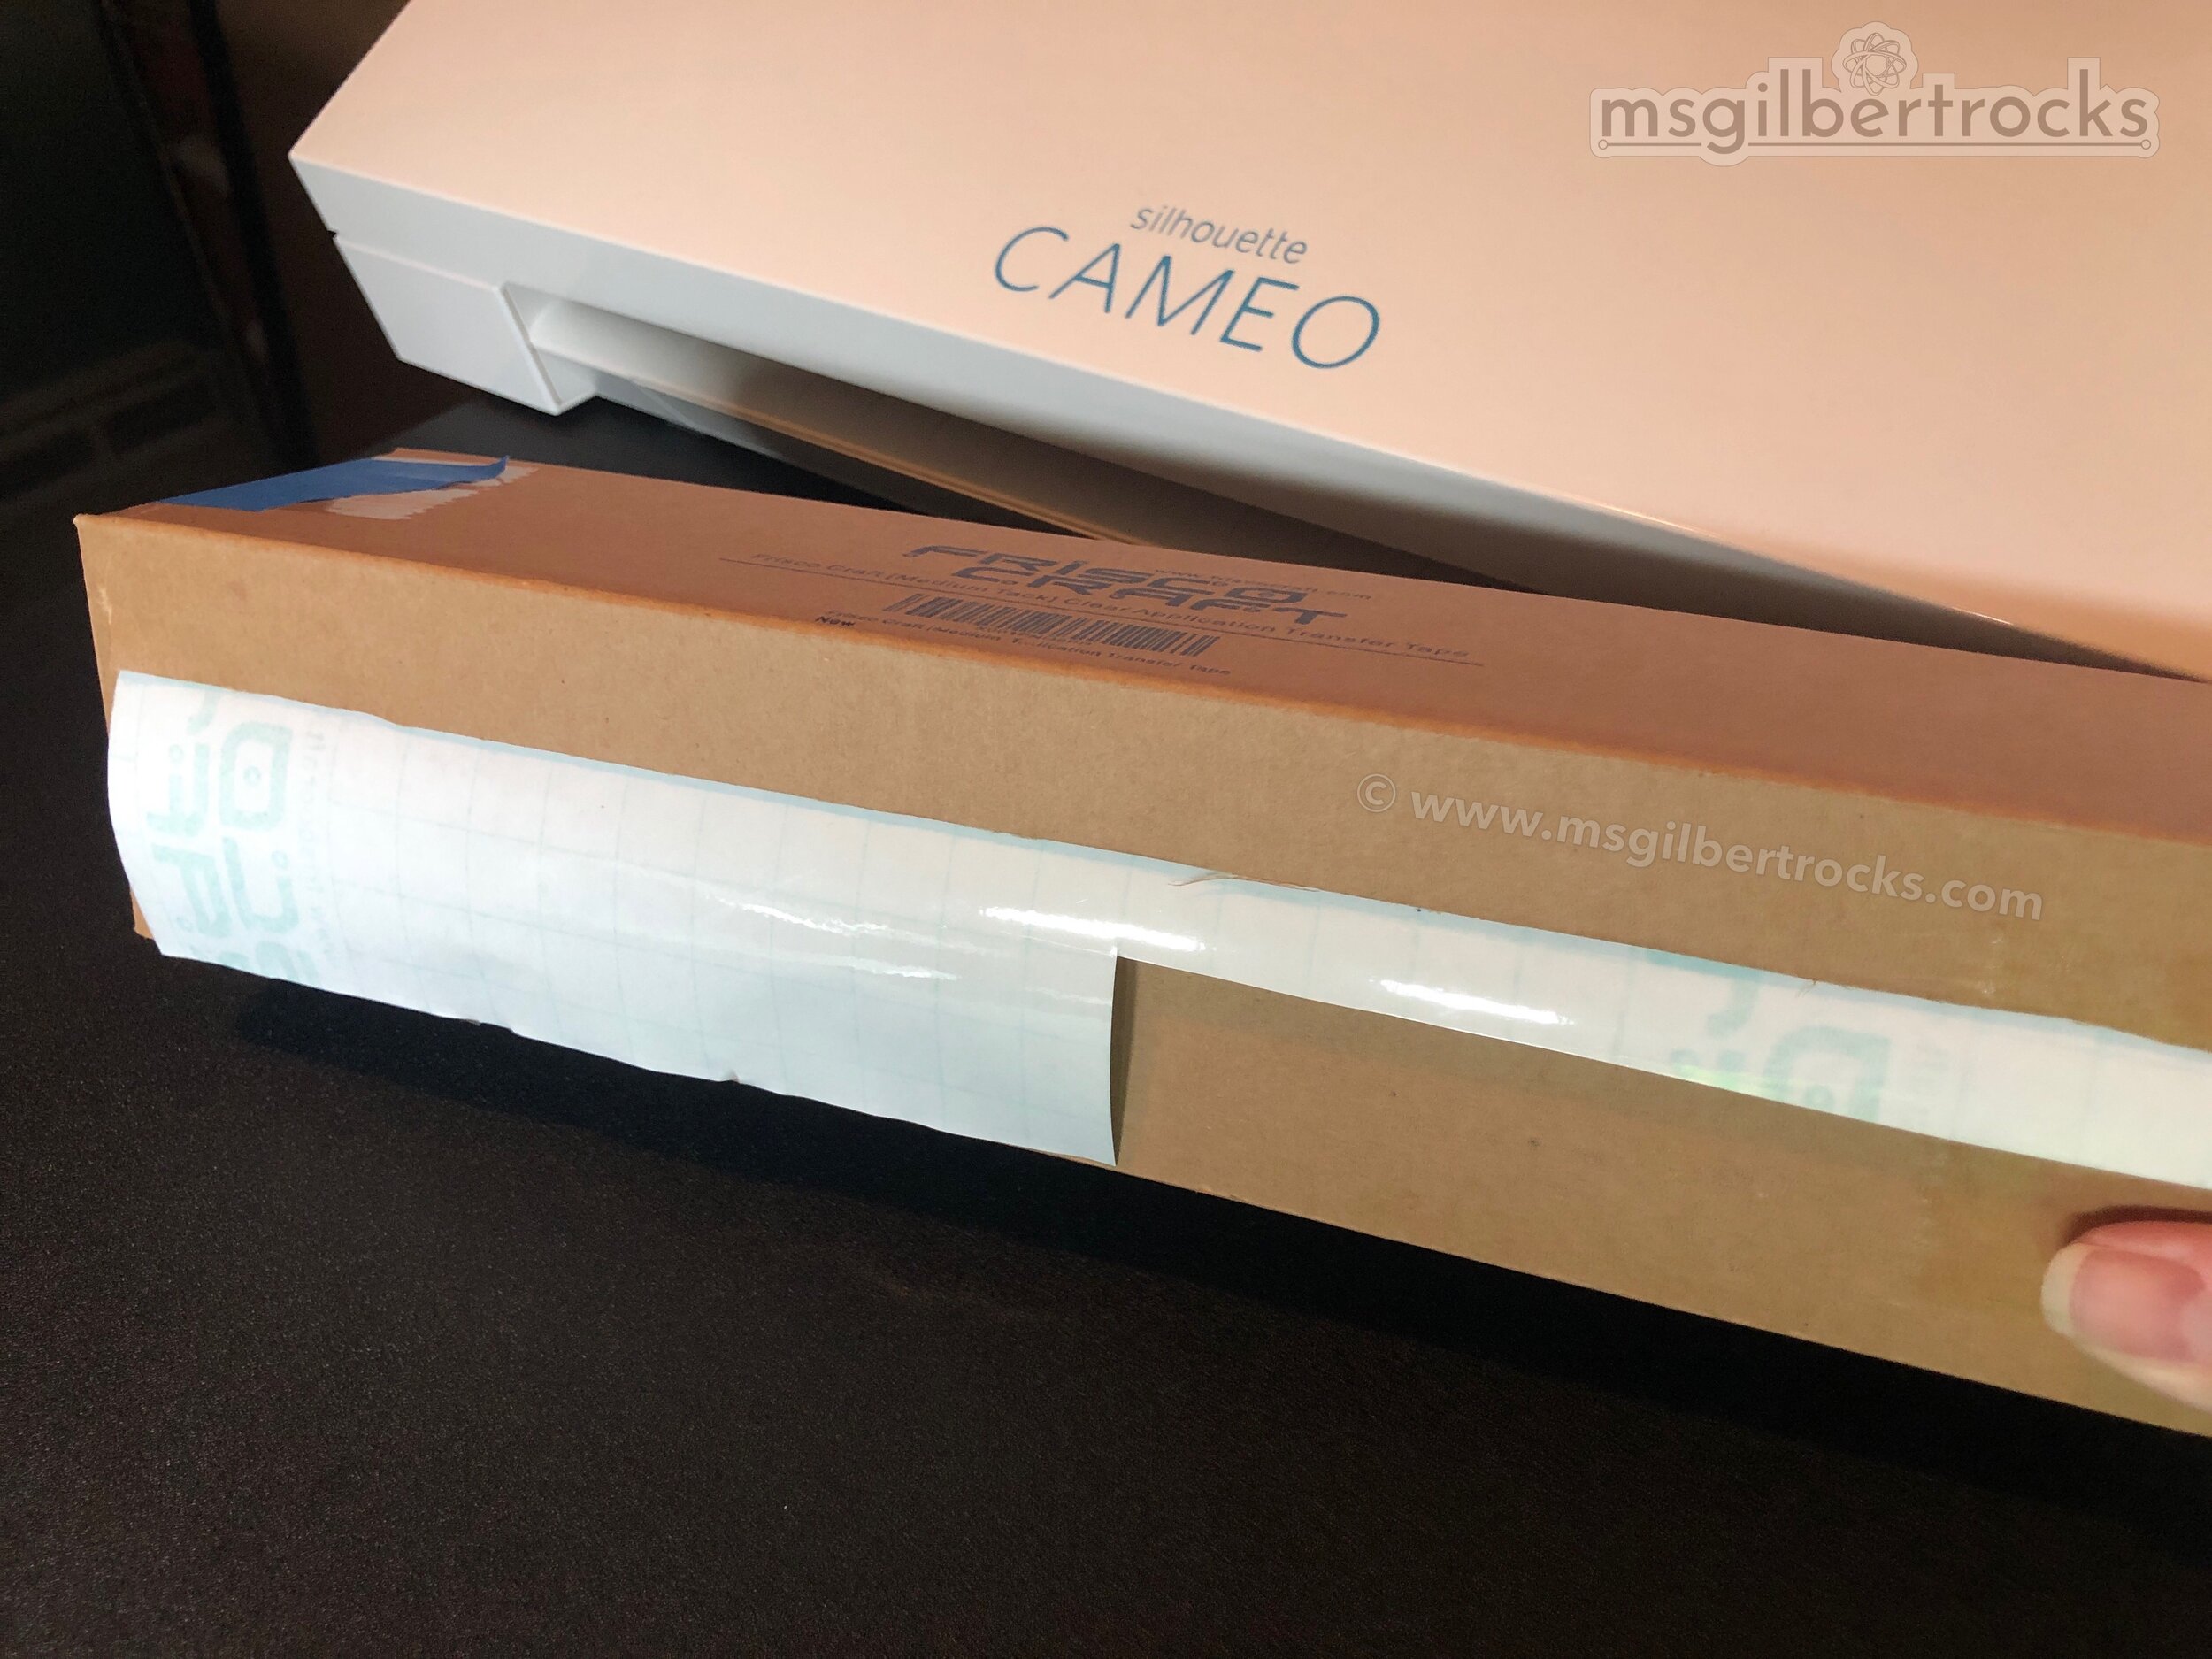
The reason I found the Frisco Craft brand originally was because of their clear transfer tape on a roll with backing paper. Since that is my preference and I was tiring of only having the gridded option (don’t get me wrong - it works well...I’m just terrible at lining things up), I was excited to try the Frisco Craft option (this is the roll I purchased on Amazon - 12”x 50ft - $16.99). Check out the box turned into a kind of dispenser to hold the transfer tape securely when I cut sections as needed (see photo). It has been fantastic so far! Works well for all of the Oracal and with their own glossy white as well. I love that when I send someone a design they can see it clearly and I do not have to use the backing paper from the vinyl sheet. Since I do small projects I often use weeding boxes (just in sections of a sheet) and need to pick up the vinyl and have a temporary place for it as it travels to the final destination for application. I also picked up some chipboard to cut and include in envelopes when mailing out vinyl projects. It has been a real joy to create things while stuck at home that I can send out into the world for family and friends to enjoy.


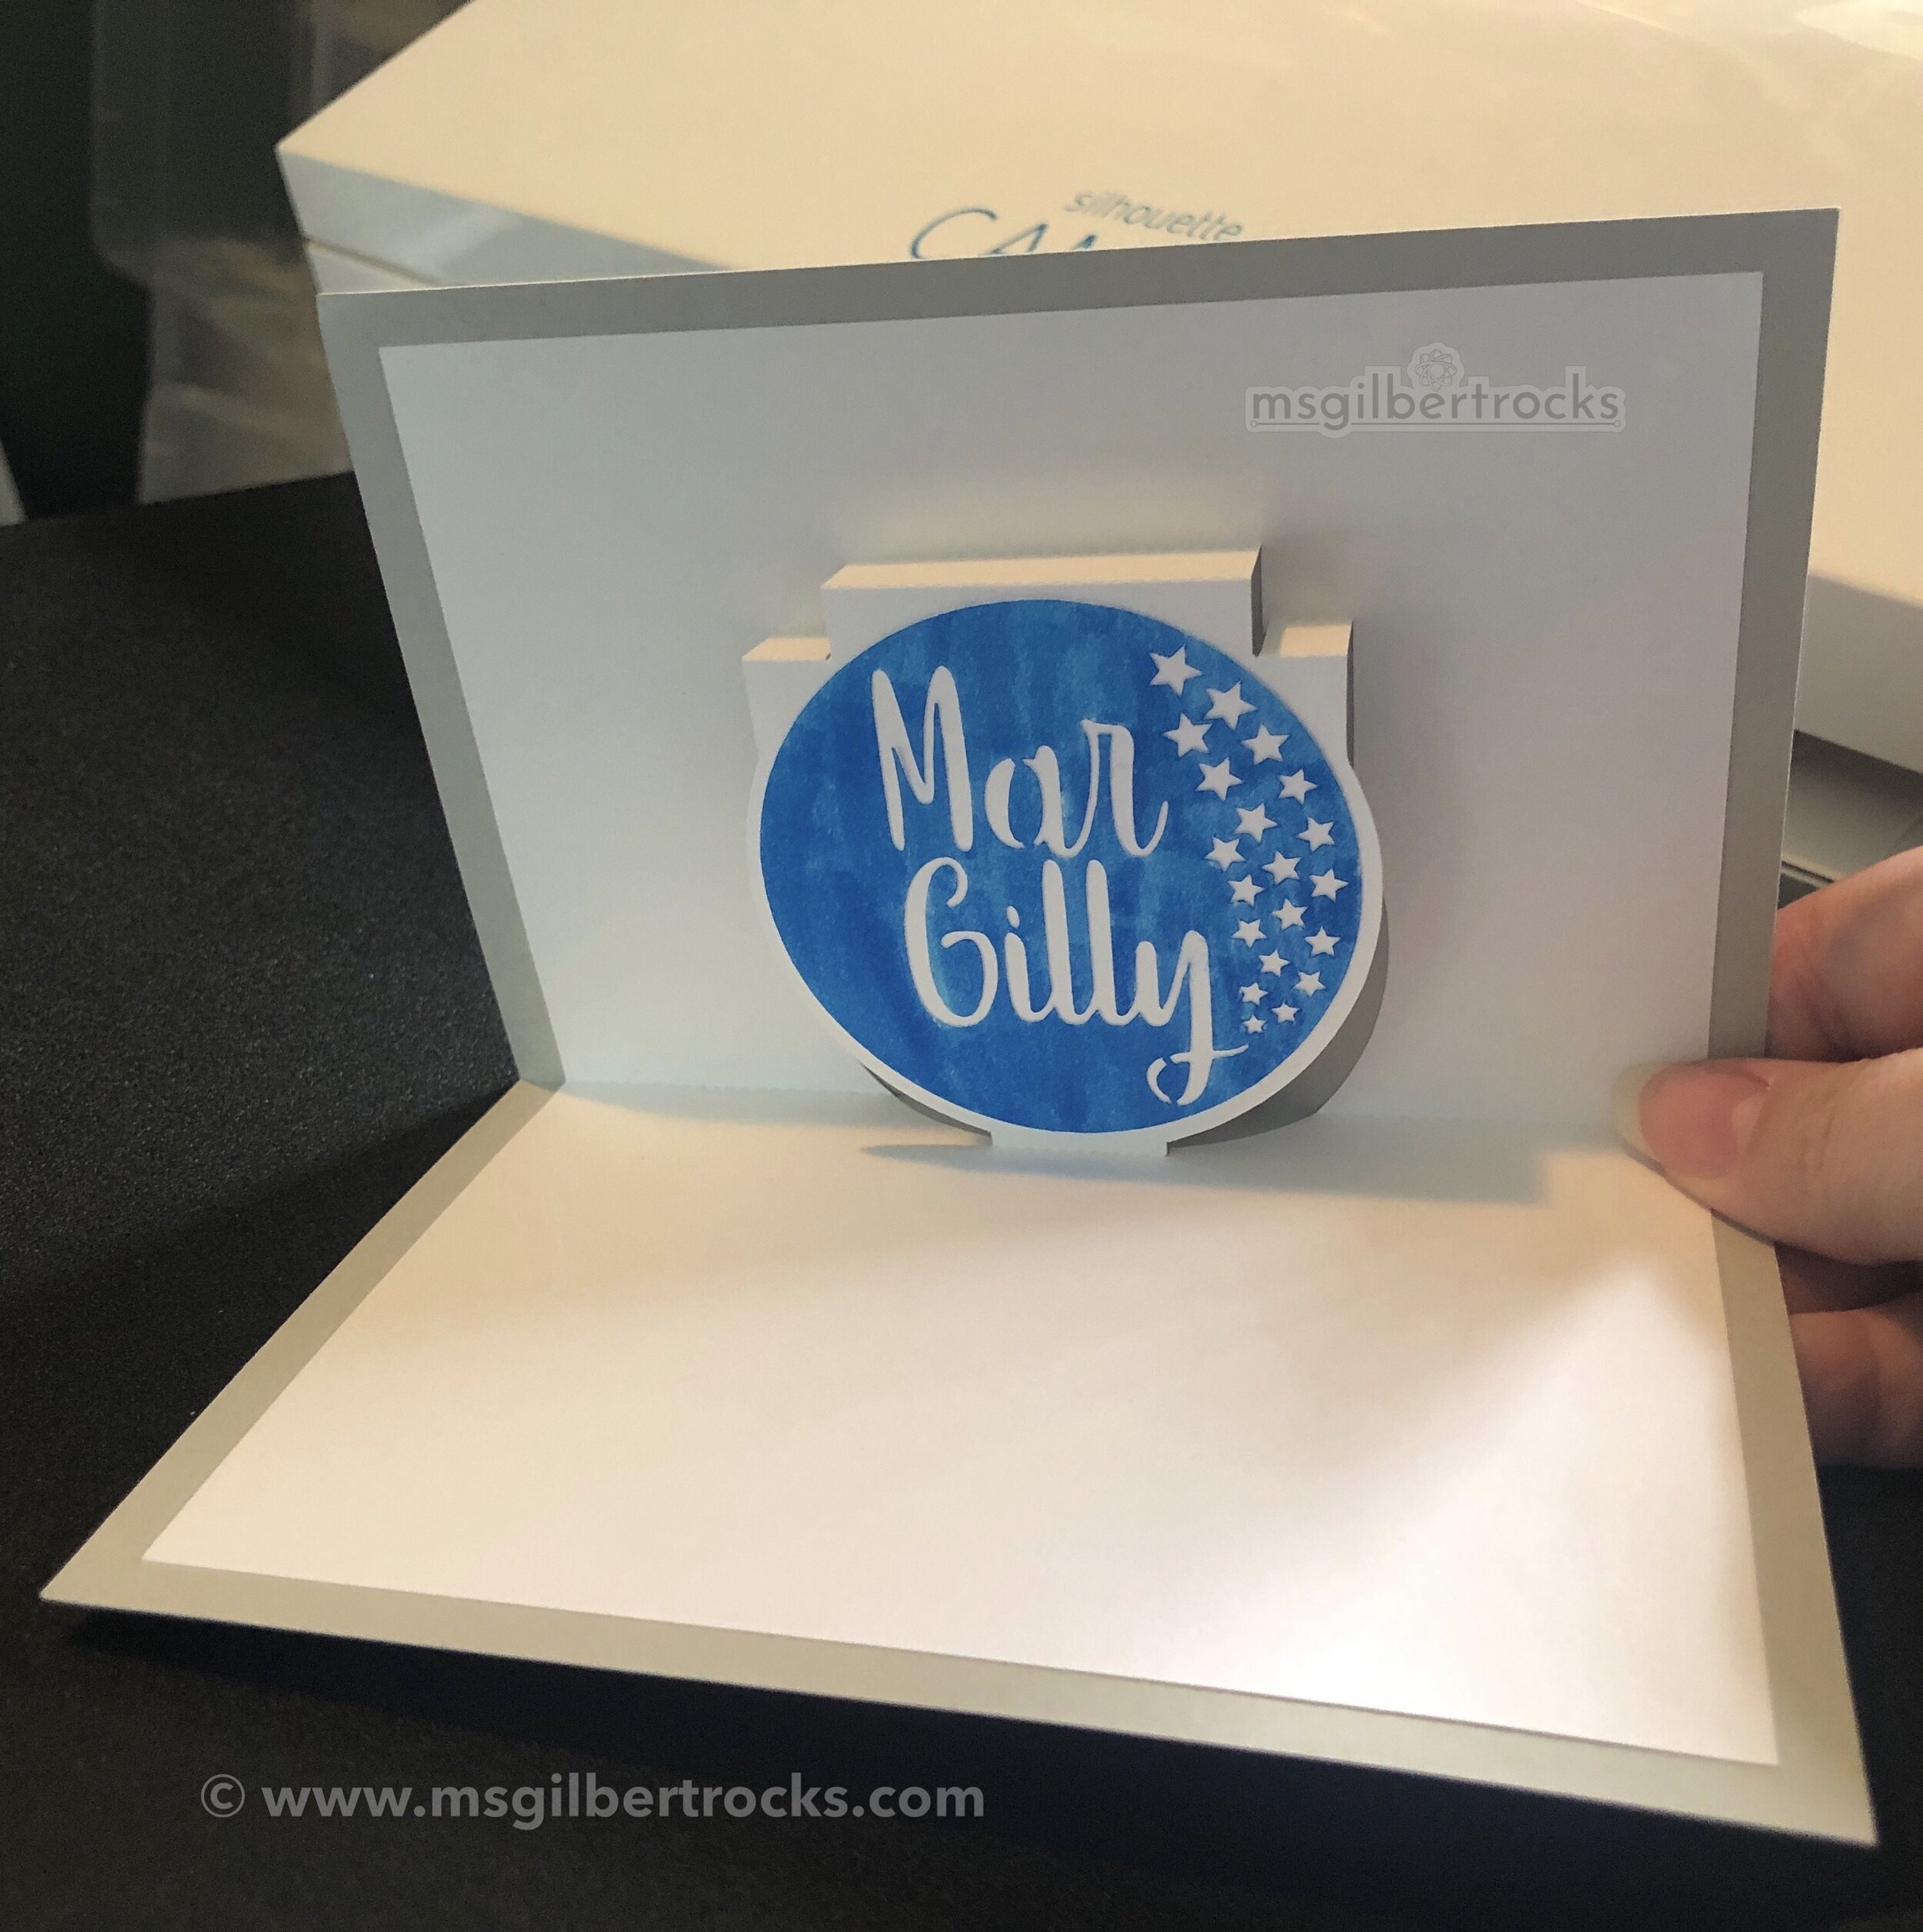
Paper
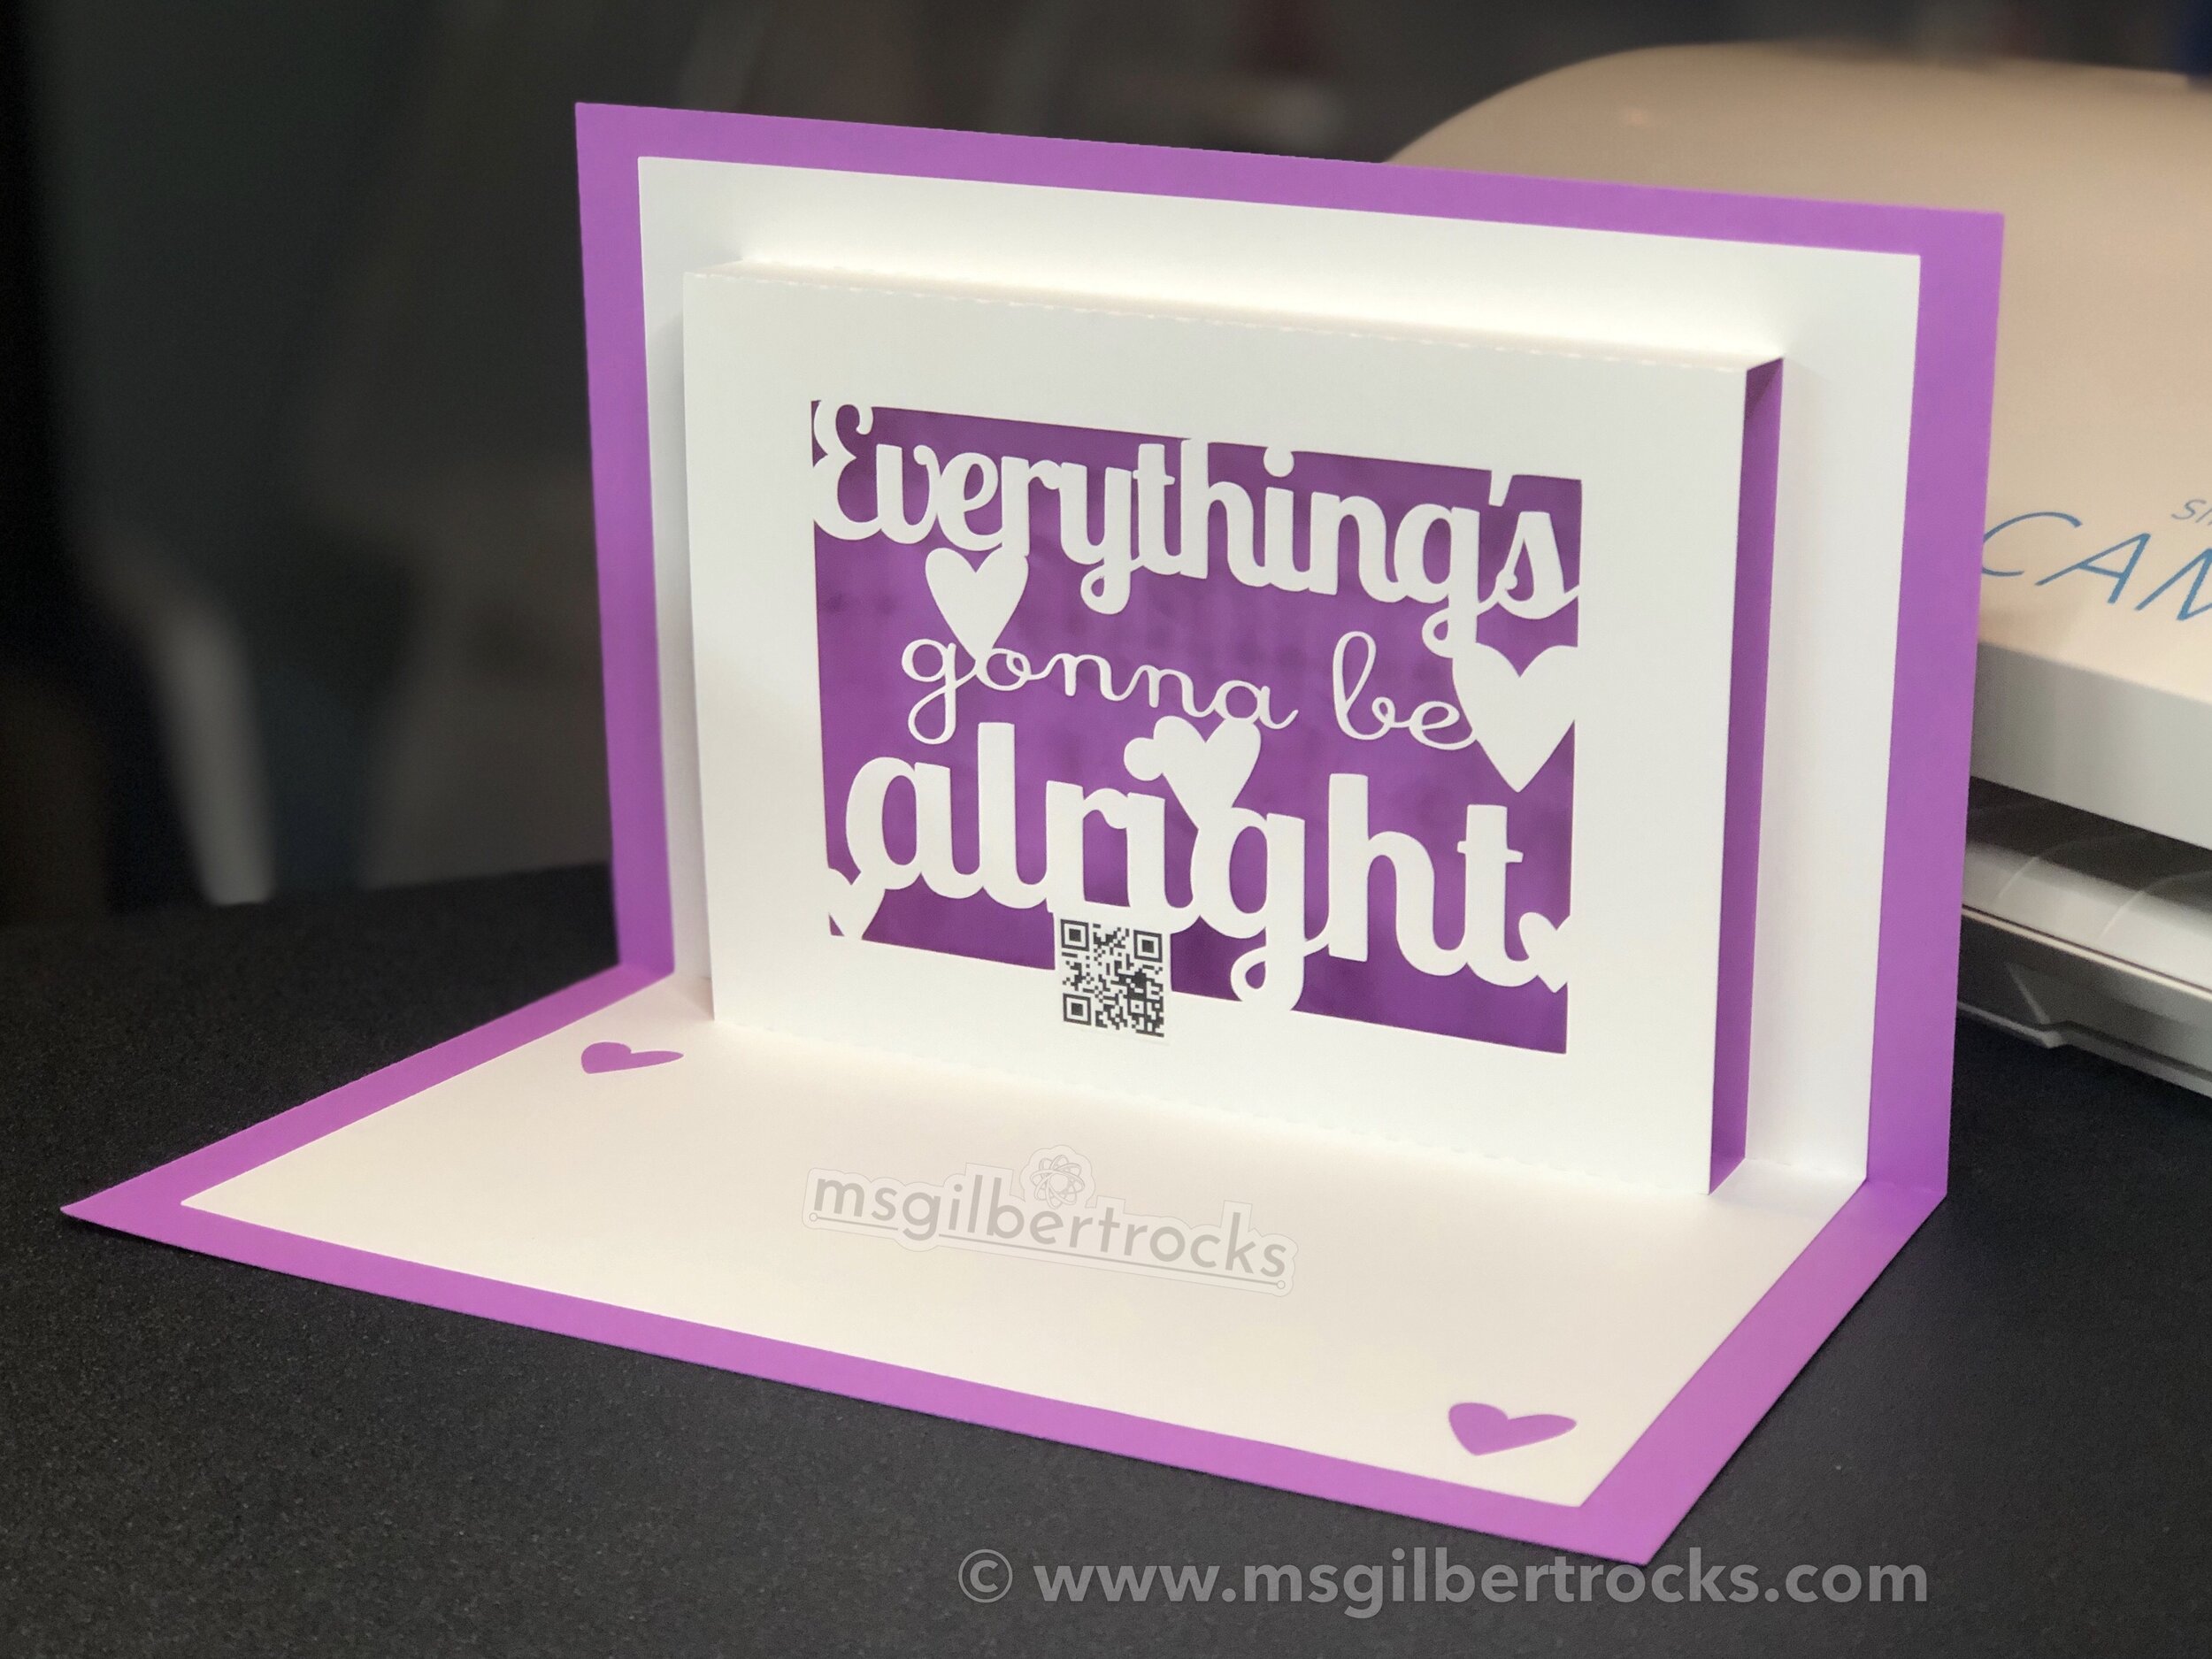
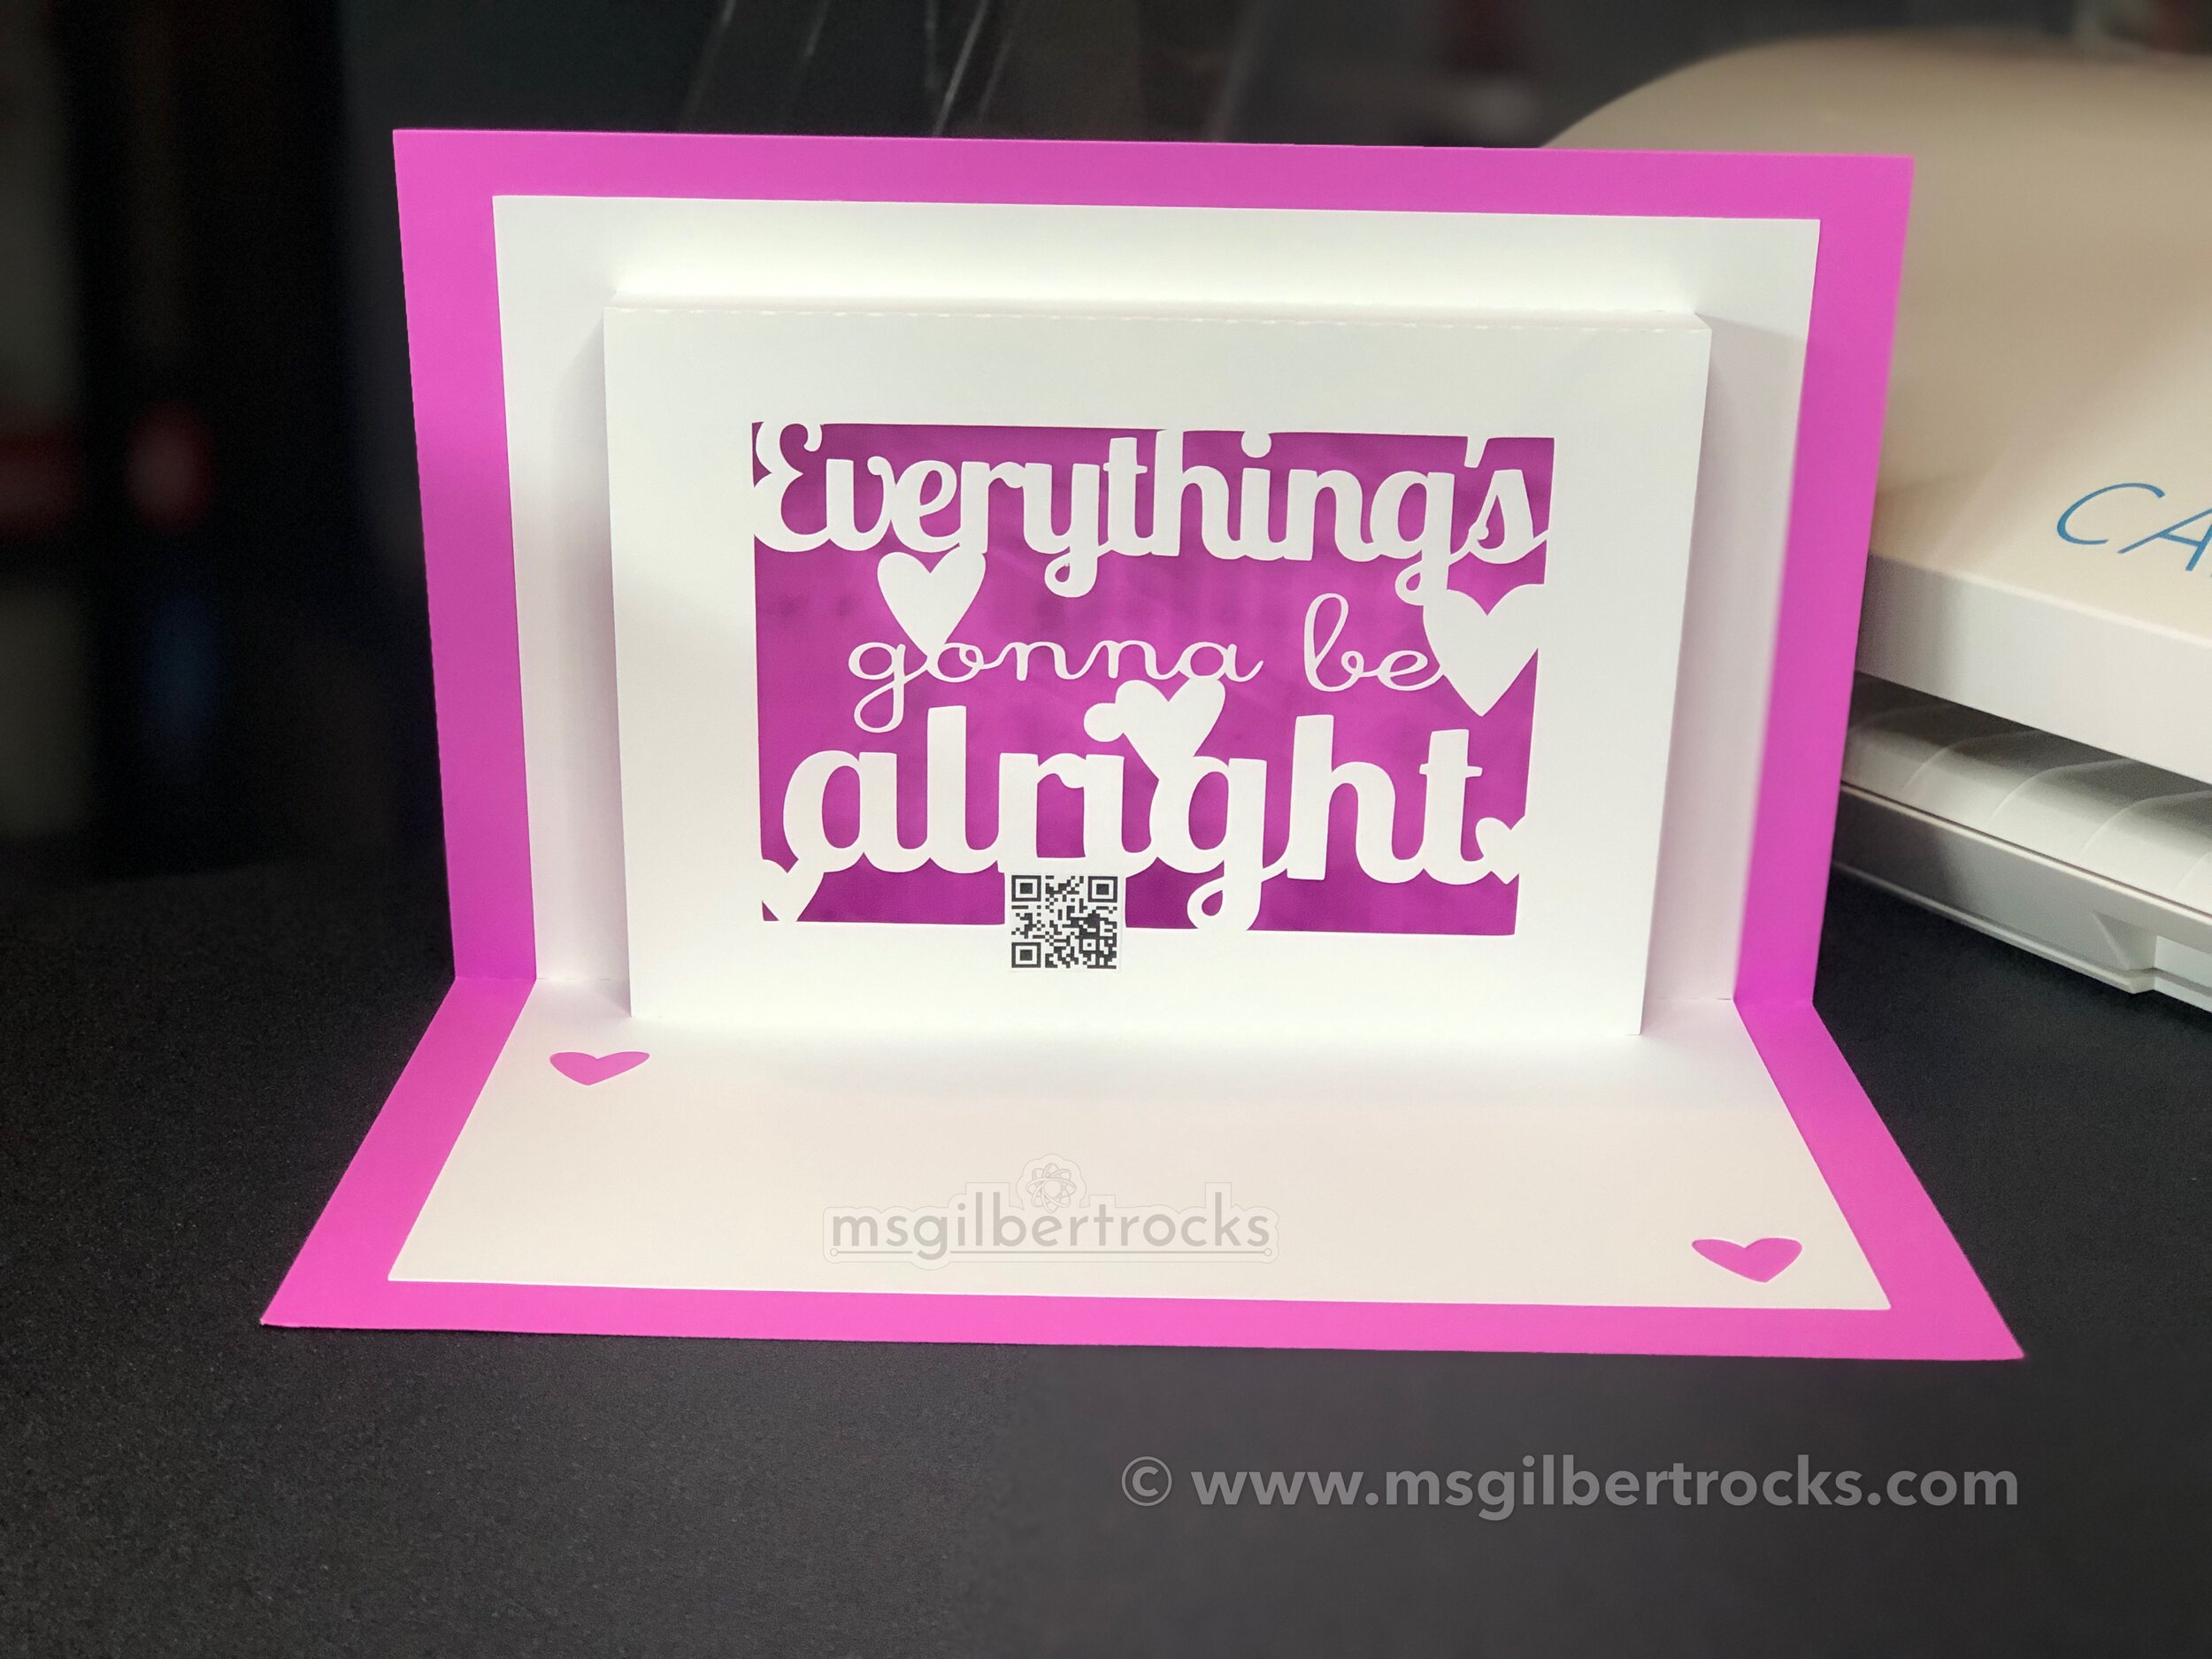
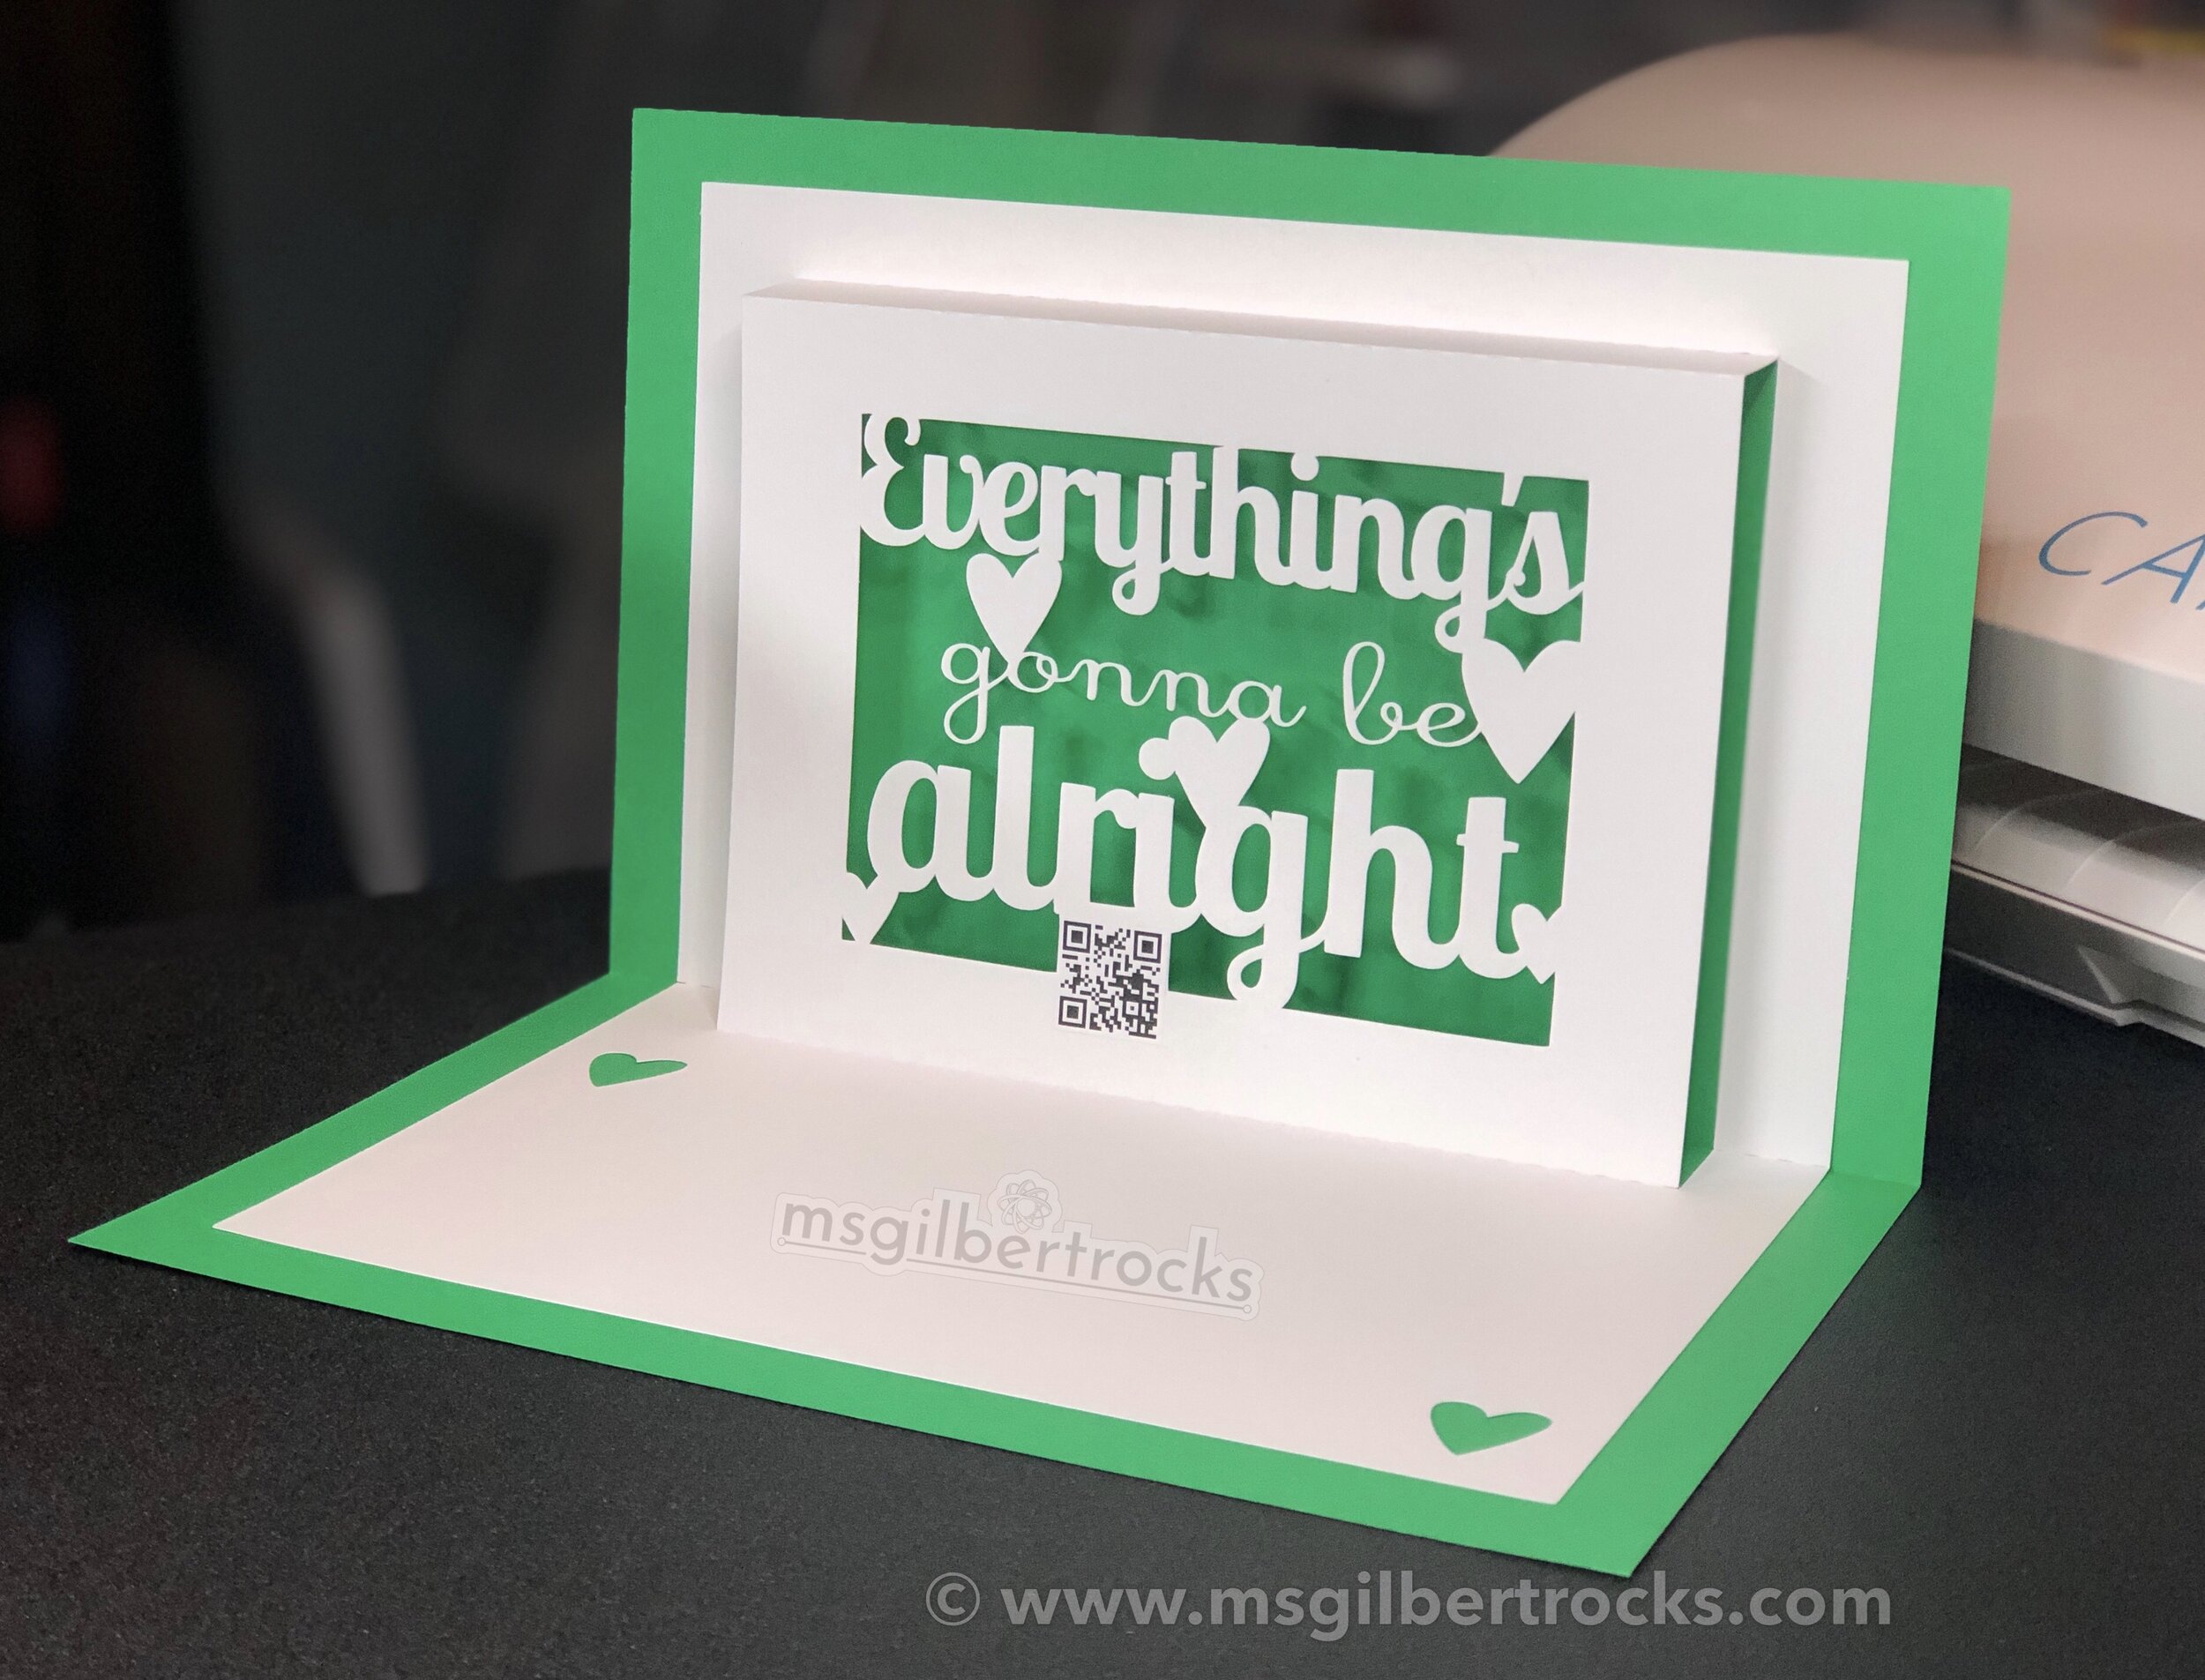
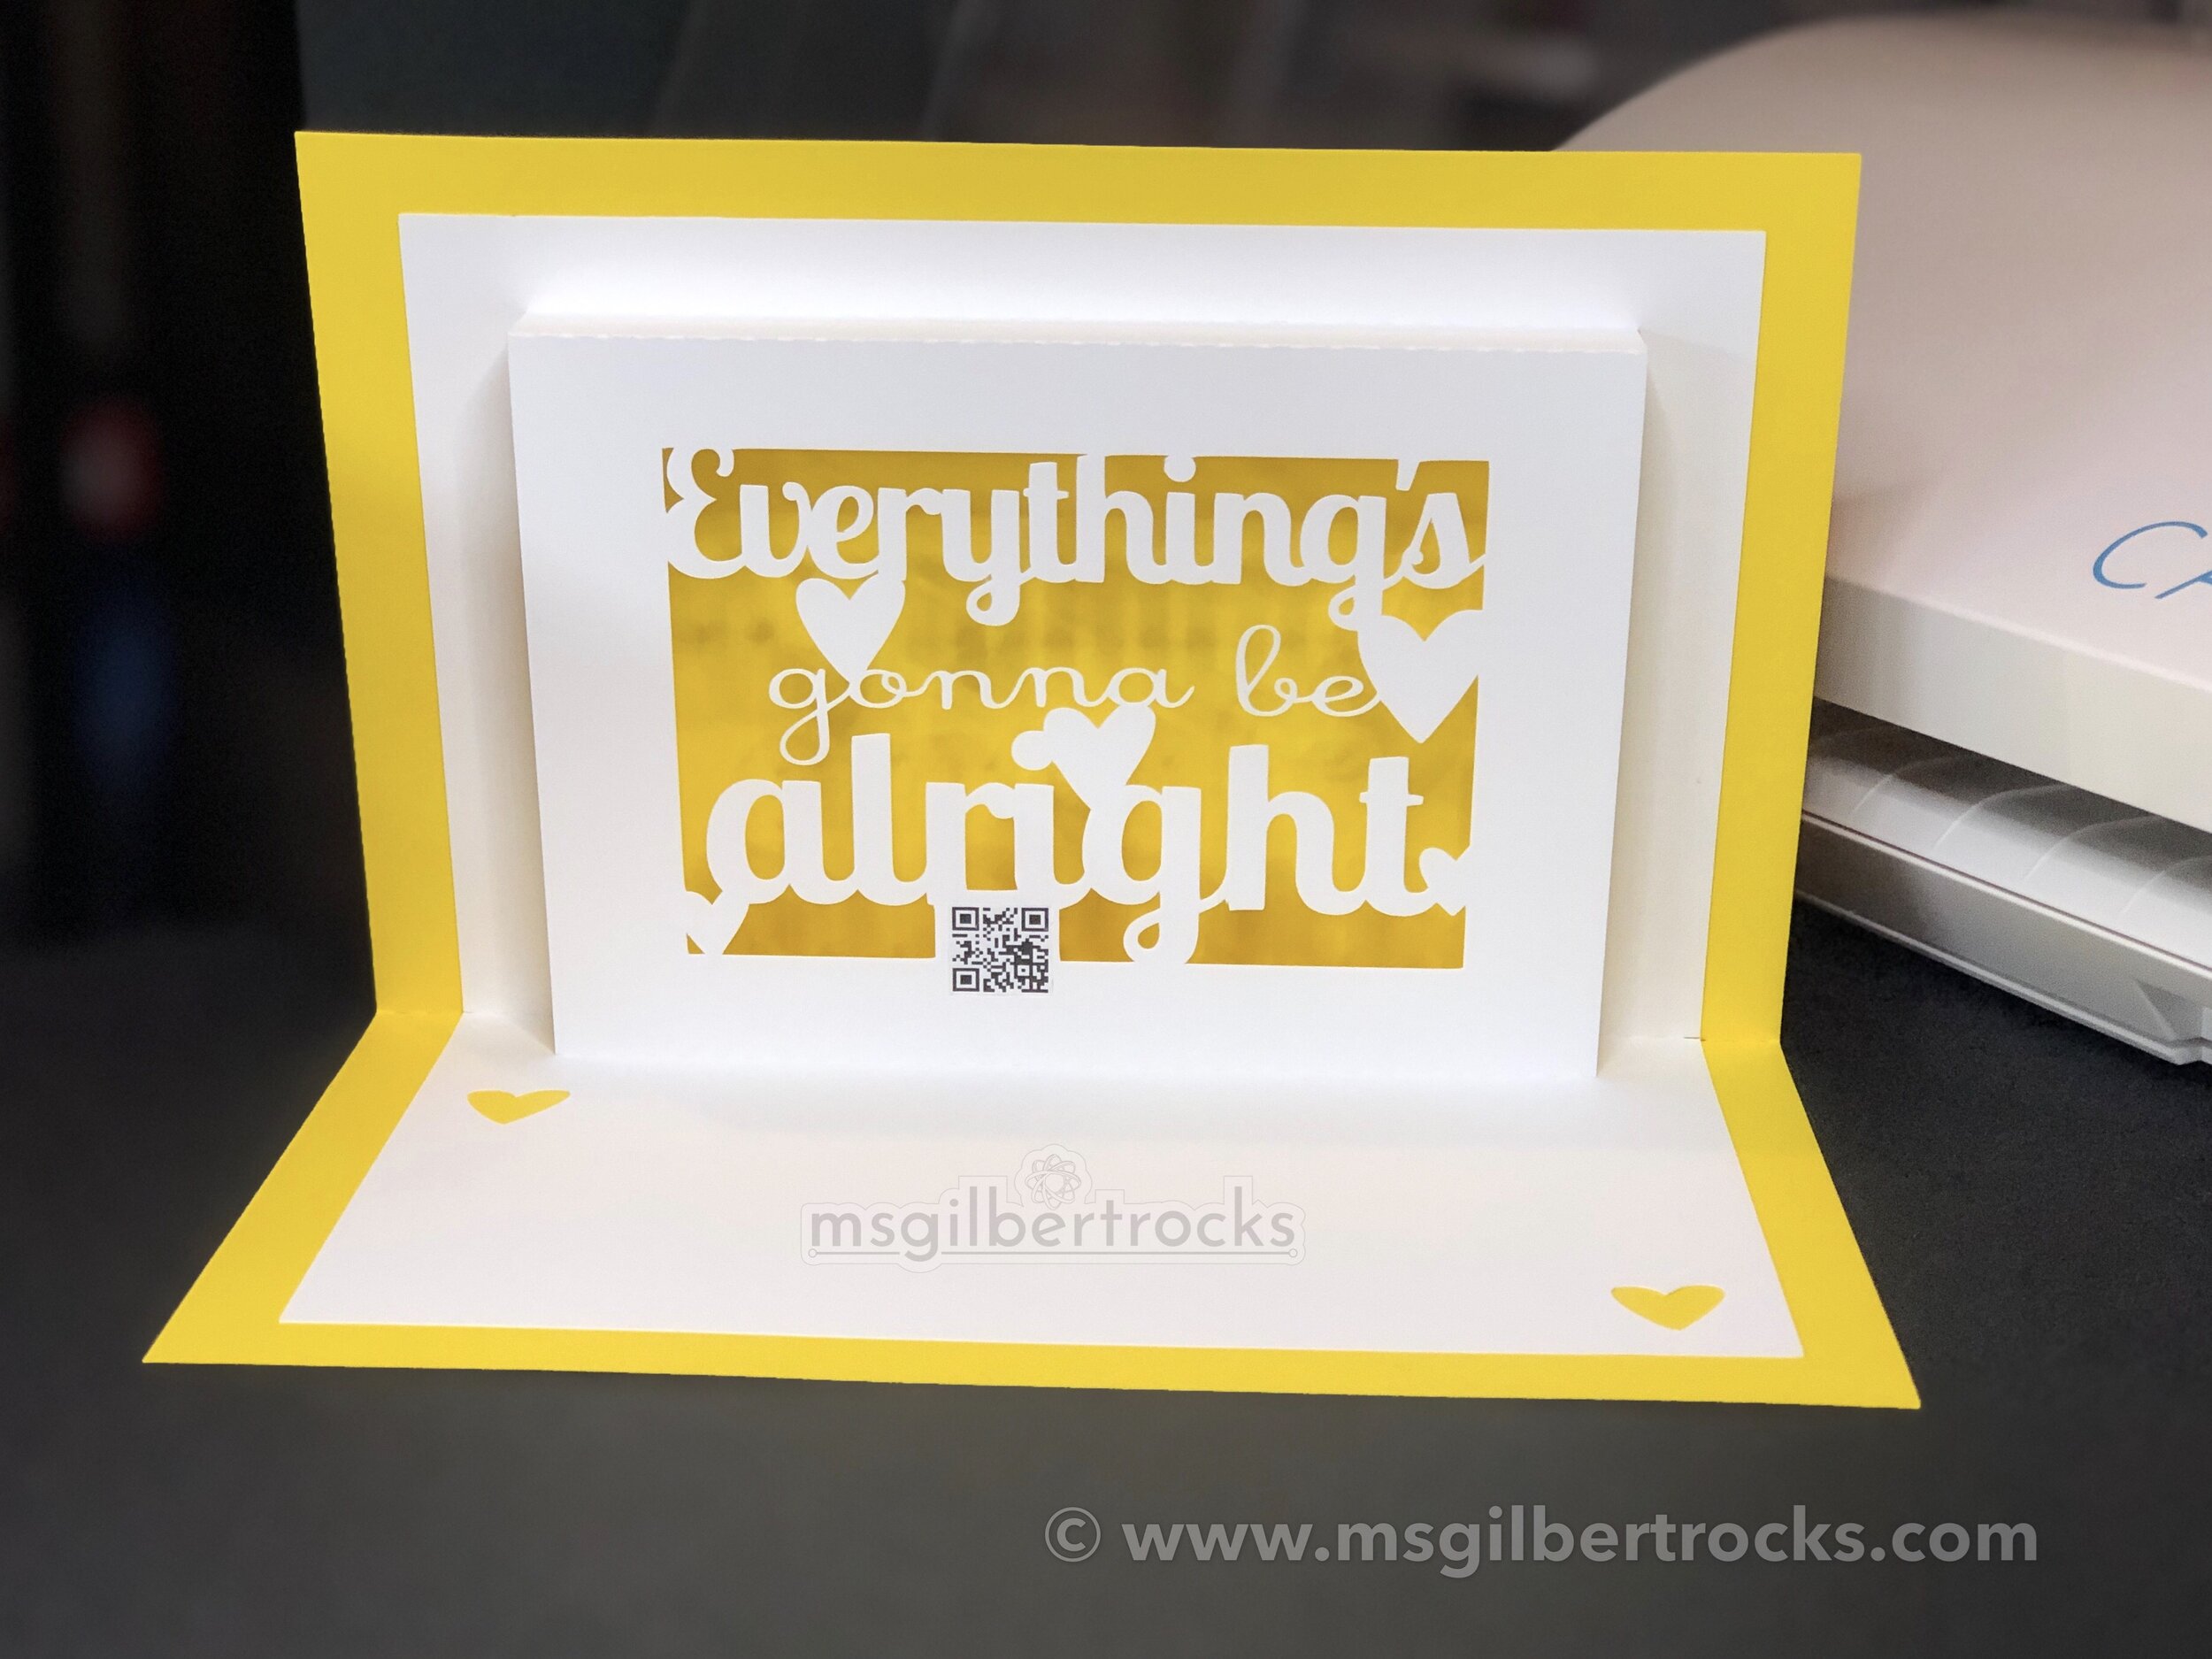
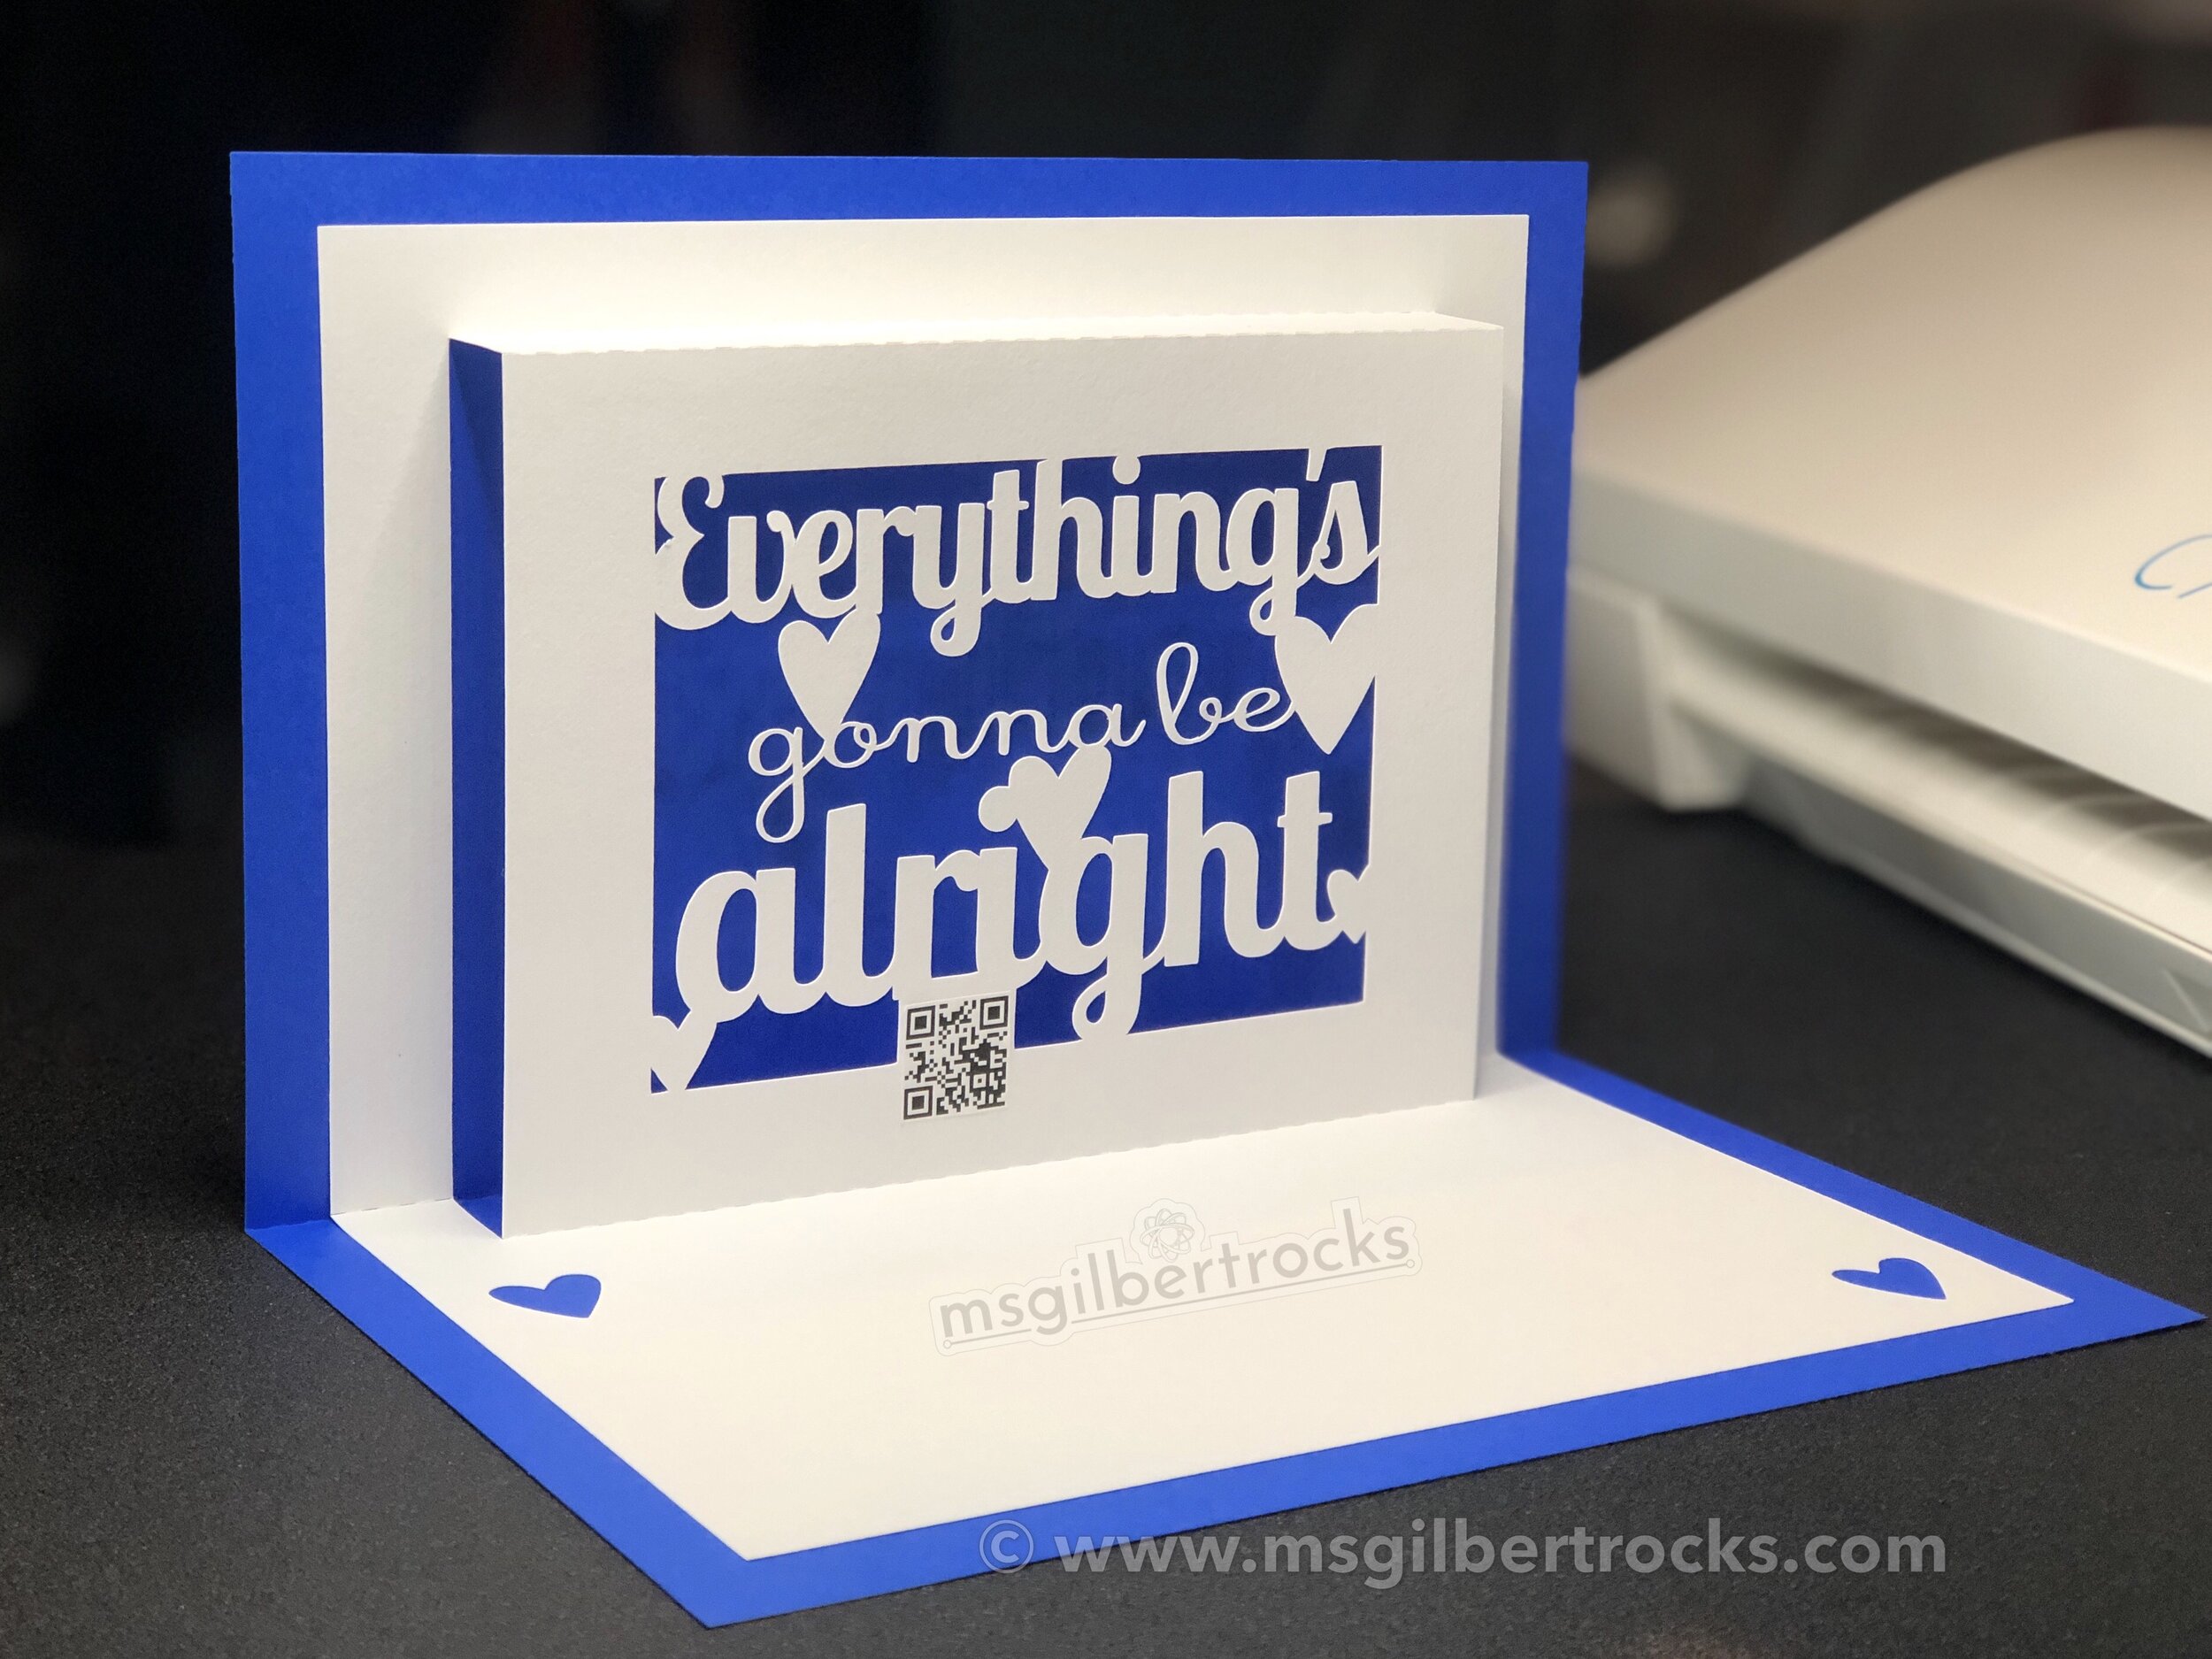
Paper crafting has been a new venture and I am enjoying the challenge of it. So far I have used the software and my machine for practical projects (unicorn costume cut for Rosie the Root Robot! ) in addition to creative boxes and cards. The latest adventure has been using Astrobrights color card stock (65lb/176gsm) in card making for a variety of card sizes and types. I follow a lot of information online and then try to modify the original land to make my own versions. Sometimes it works well (custom boxes), and sometimes it’s an ongoing challenge. For example, in trying to set up my custom sizes for the window version of the pop up card I have had many failures and one success. The full size (folded 8.5x11) card has worked for projects, and I am still trying to get the dimensions worked out for smaller variations (4x6 folded and A2 size). If you are interested in the song linked with the QR code from the project below, you can find it on YouTube: Everything’s Gonna Be Alright (by David Lee Murphy and Kenny Chesney). If you would like the actual project file for the card, please reach out (contact here or on social media) to me! I intend to post it at some point but want to add a couple more “anchor hearts” in the design.

TAPE for paper crafting
In terms of adhesive tape used with paper, I have always loved the Roll-On Permanent Glue Tape (see it here) that comes in a two-pack from Staples…and I only love it more after trying other options. I find that the typical “crafters tape” pulls and sticks coming off the dispenser making it a challenge to work with. Even though the Staples glue tape is ridiculously expensive, it is my number one choice. I also have glue pens for fine details and plan to add some tape on a roll that is marketed towards card making so I can see if that is a happy (less expensive, but still effective) medium. Stay tuned for more on the adhesive tape options as I purchase and try more.
STICKERS/PRINT AND CUT
One of the features I do not get to explore all that often involves the option to “print and cut” with registration marks. This option allows, for example, custom stickers to be set up in the software with cut lines, printed, and put through the machine to with a “kiss cut” to give you a full page (or whatever you choose) of stickers. The “kiss cut” means that only the top layer of the sticker paper is cut and not the backing paper. You can also cut through the paper entirely, but I have found myself primarily using the “kiss cut” settings for full pages. I found this full page sticker paper (Online Labels full sheet label on Amazon - 100 pack for $17.90) and continue to use that original pack of 100 pages two years later. Since I do not have a color printer at home these designs have been limited lately. I have an outstanding old black and white laser printer that is awesome for the few times I actually need to print something at home, but I cannot bring myself to invest in a color machine. I would likely get a color laser printer if I did add one, but the sticker pages have printed nicely on inkjet (thanks to an assist from Maggie to print the last project - see color sticker below - on her home printer!).


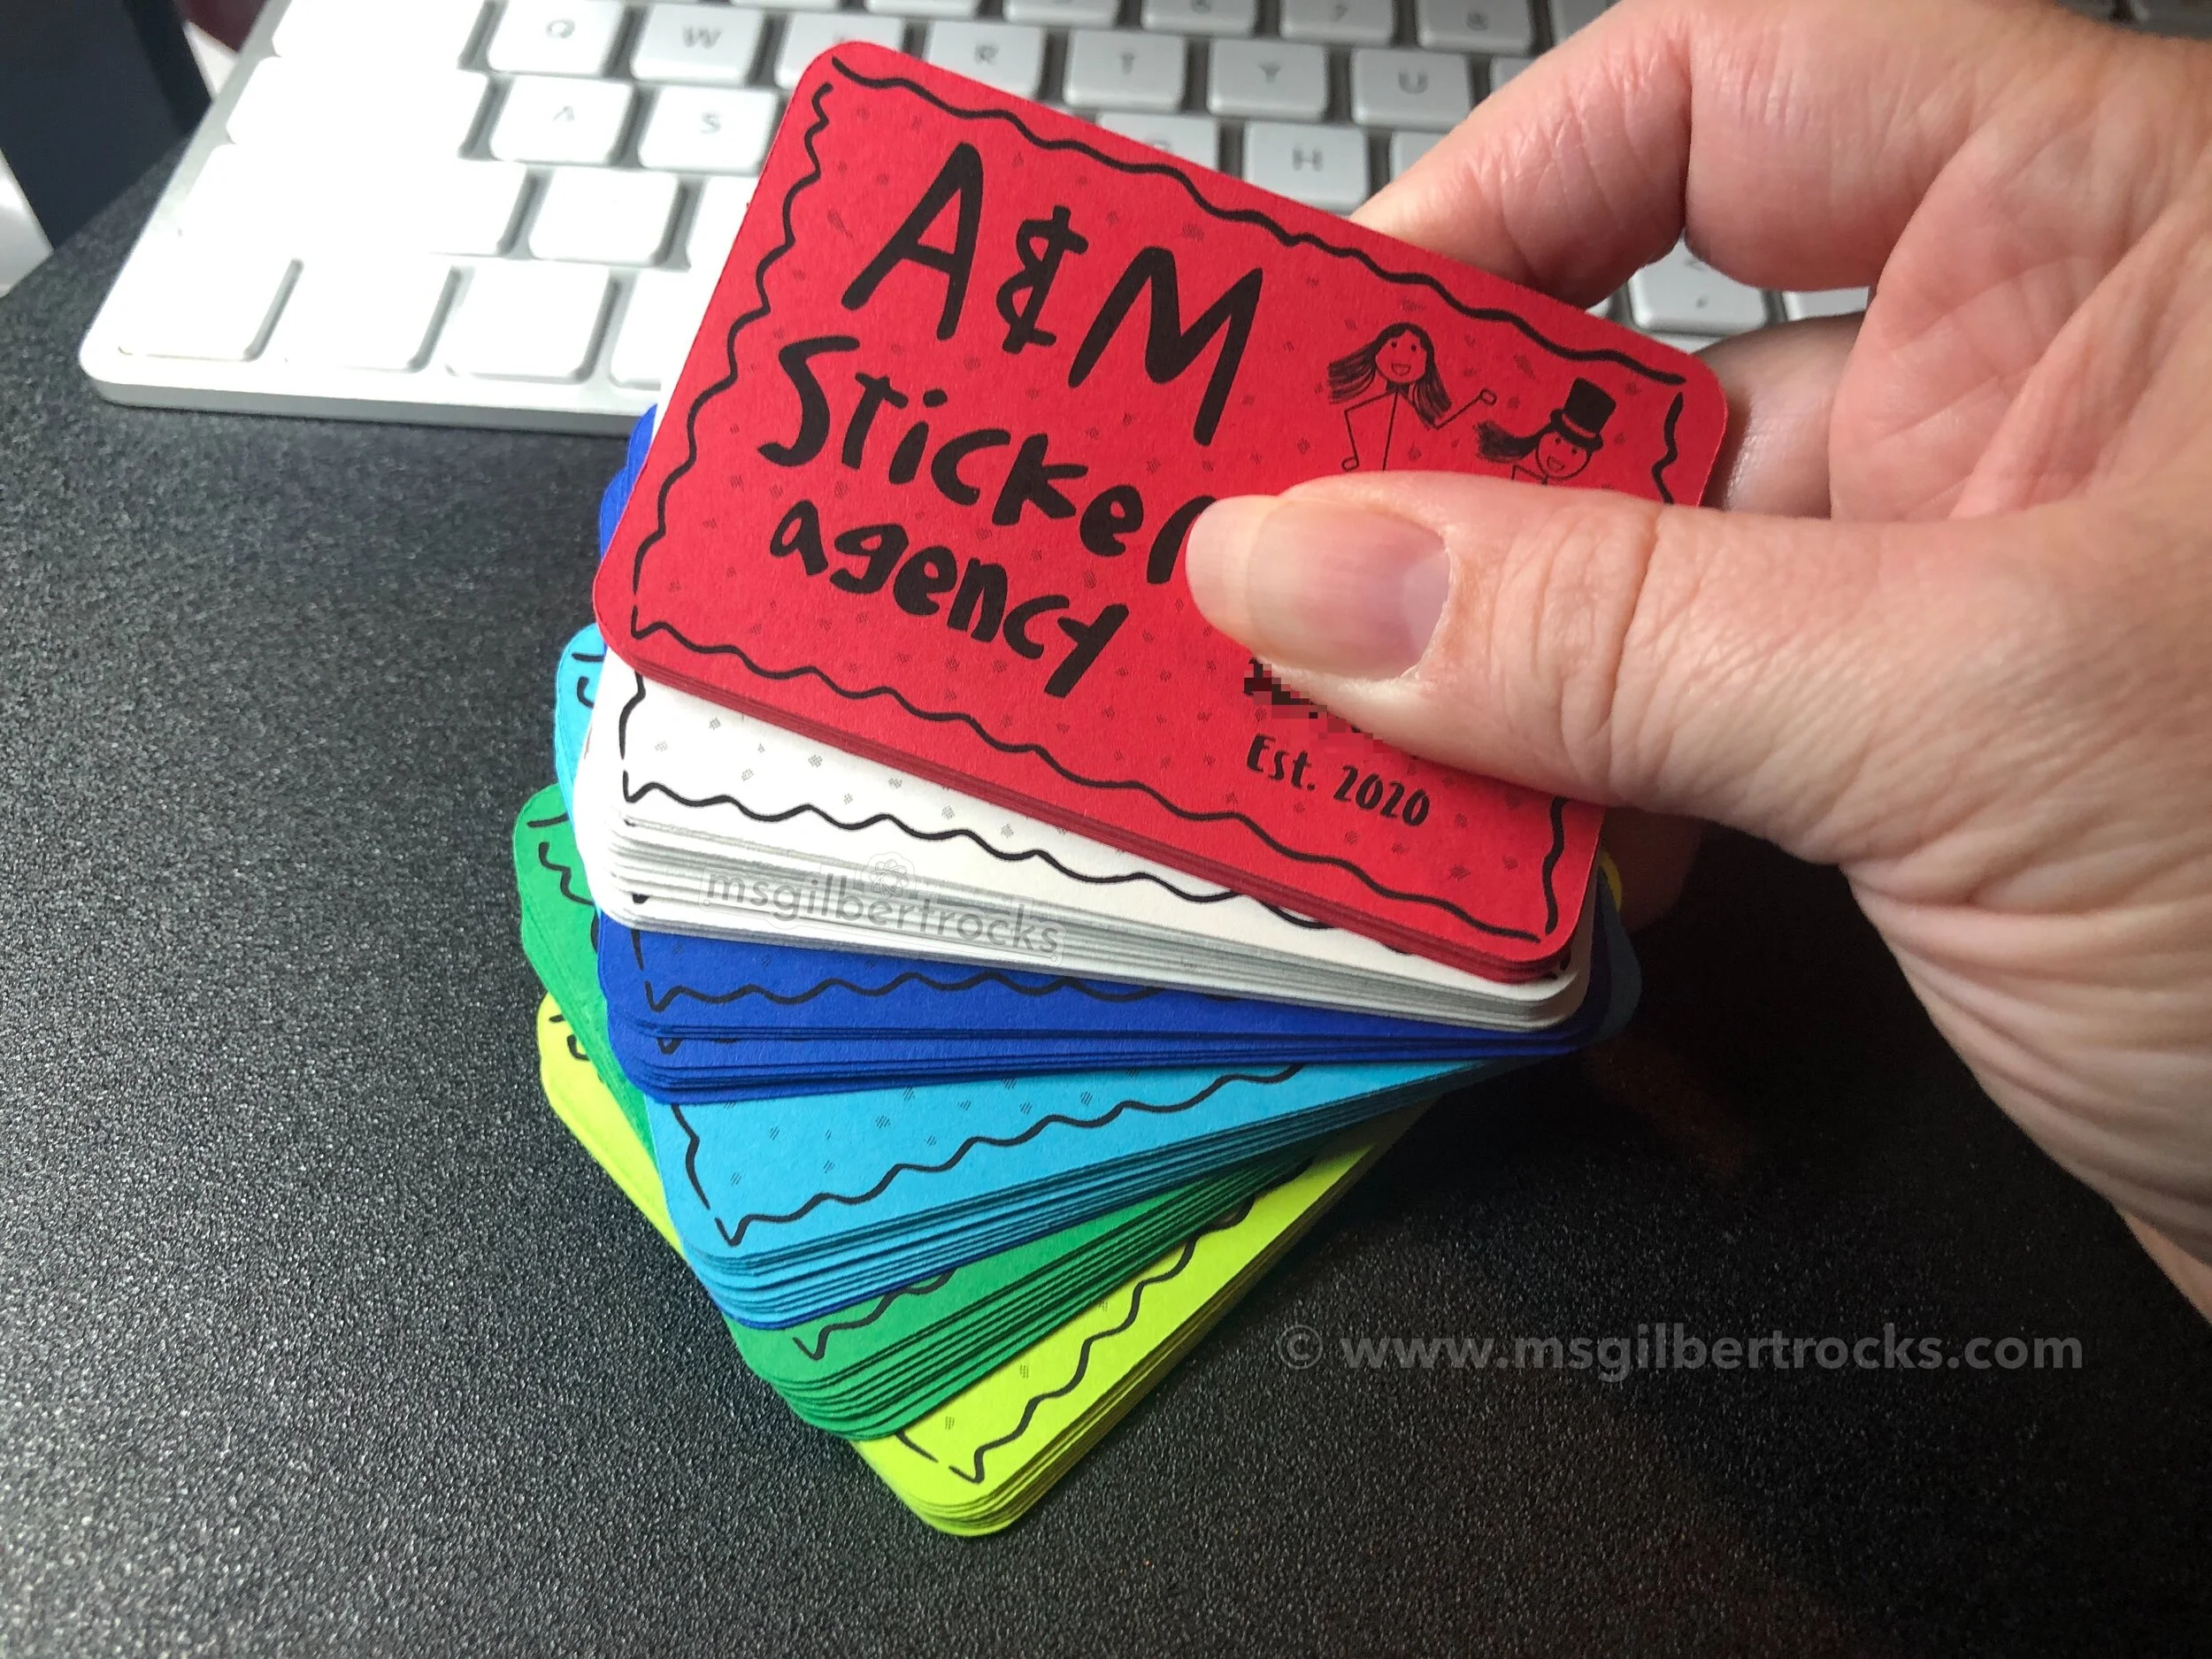
Just like the unicorn costume for Rosie, you can print anything with an outline to cut and run it through the machine for precise cuts. I used a simple rounded rectangle to hold a variation of the custom logo (made in the software using a scan of kids artwork) for the A&M Sticker Agency to make a mock business card for the kids running it (fun activity they are doing from home). Simple black and white design (remember that’s all I can print at home!) that fits 10 on a page. Using the card stock in different colors was a fun way to vary the cards. One thing that is imperative with the print and cut - you must have a good light source when the machine scans for registration marks or your cuts can be incredibly wonky. I am loving the clip on light/magnifier (this one that I purchased was a bit less a couple months ago, but plenty of reasonable options out there!) I purchased recently because it works well for weeding and also allows me to angle a bright light (clipped in place on the desk so my hands are free) right over the machine during the scanning process. I had previously used a small LED flashlight pointing at the area scanned as the machine moved. The hands-free flexibility that the clip-on light gives me both for projects and for use during scanning of registration marks has been excellent.
STENCILS
This is a new one for me and I have only tested out con-tact paper (yep, it cuts just fine!). I purchased mine on Amazon: Con-Tact Brand Creative Clear Covering Self-Adhesive Semi-Transparent Privacy Film Protective Vinyl and Shelf Liner, 18'' x 20', Clear Matte. I have also used transparency sheets (remember those from the overhead projector days?!). I had fun with the transparency sheet and the designs from it, but since the material is fairly flimsy, it is not ideal. I will try a blank laminating pouch (thicker 5 mil option) at some point.
SETTINGS USED
These are the settings that work for me with the materials mentioned. My blade has a fair amount of use at this point and my cutting mat is well worn from projects, especially those with paper. I only use the AutoBlade so far and keep a new one on hand in case I’m in a pinch. I do use painters tape to hold paper in place just to be safe (well worn cutting mat with not a lot of stickiness at the moment) if I use the older mat and I am rotating in a newer one for paper projects.
Vinyl, matte and Glossy (same settings used for all…I believe I have even had success with HTV using these)
Blade Depth: 2
Force: 10
Speed: 5
Passes: 1
Overcut: not checked
Materials I am using include (see more info in full post above about vinyl):
Oracal 631 and Oracal 651
Frisco Glossy White
Siser Heat Transfer Vinyl
Cricut Heat Transfer Vinyl (have on hand - thanks, Margie! - but have not tested yet)
Cardstock, Plain (typically no change to default settings)
Blade Depth: 3
Force: 20
Speed: 4
Passes: 1
Overcut: not checked
Materials I am using include:
Neenah Vellum Bristol Cardstock, Lightweight, 67 lb/147 gsm, 94 Brightness (love this lighter weight option for the inside of custom cards or testing out designs - it is very easy to work with and does not add too much bulk when layering designs/cards)
Astrobrights Colored Cardstock, 8.5” x 11”, 65 lb / 176 gsm (any variation works and I have both this pack as well as others with fewer colors and more sheets)
Neenah Creative Collection Specialty Cardstock Starter Kit, 12" x 12", 65 lb (this is just about the same as the basic colors in the pack above, but in the 12” x 12” size…I find myself using more of the standard size and it is easy to find sales on the various Astrobrights cardstock packs at just about all stores from Michaels to Target and Staples)
Sticker Paper (“kiss cut” settings - see note about “cut through” adjustment for force)
Blade Depth: 2
Force: 6 (I have adjusted this to 16 for a “cut through” option when cutting portions of sticker pages)
Speed: 4
Passes: 1
Overcut: not checked
Materials I am using include: