Take-Apart Treasure Hunt
I am always looking for hands-on STEM activities that also build reading and writing skills for my pullout groups. Our recent Take-Apart Treasure Hunt was a perfect fit! Inspired by Diana Rendina’s fantastic take-apart activities (and borrowing her brilliant phrasing of "de-construction, not destruction"), we created a classroom experience that blended curiosity, safety, literacy, and technology exploration.
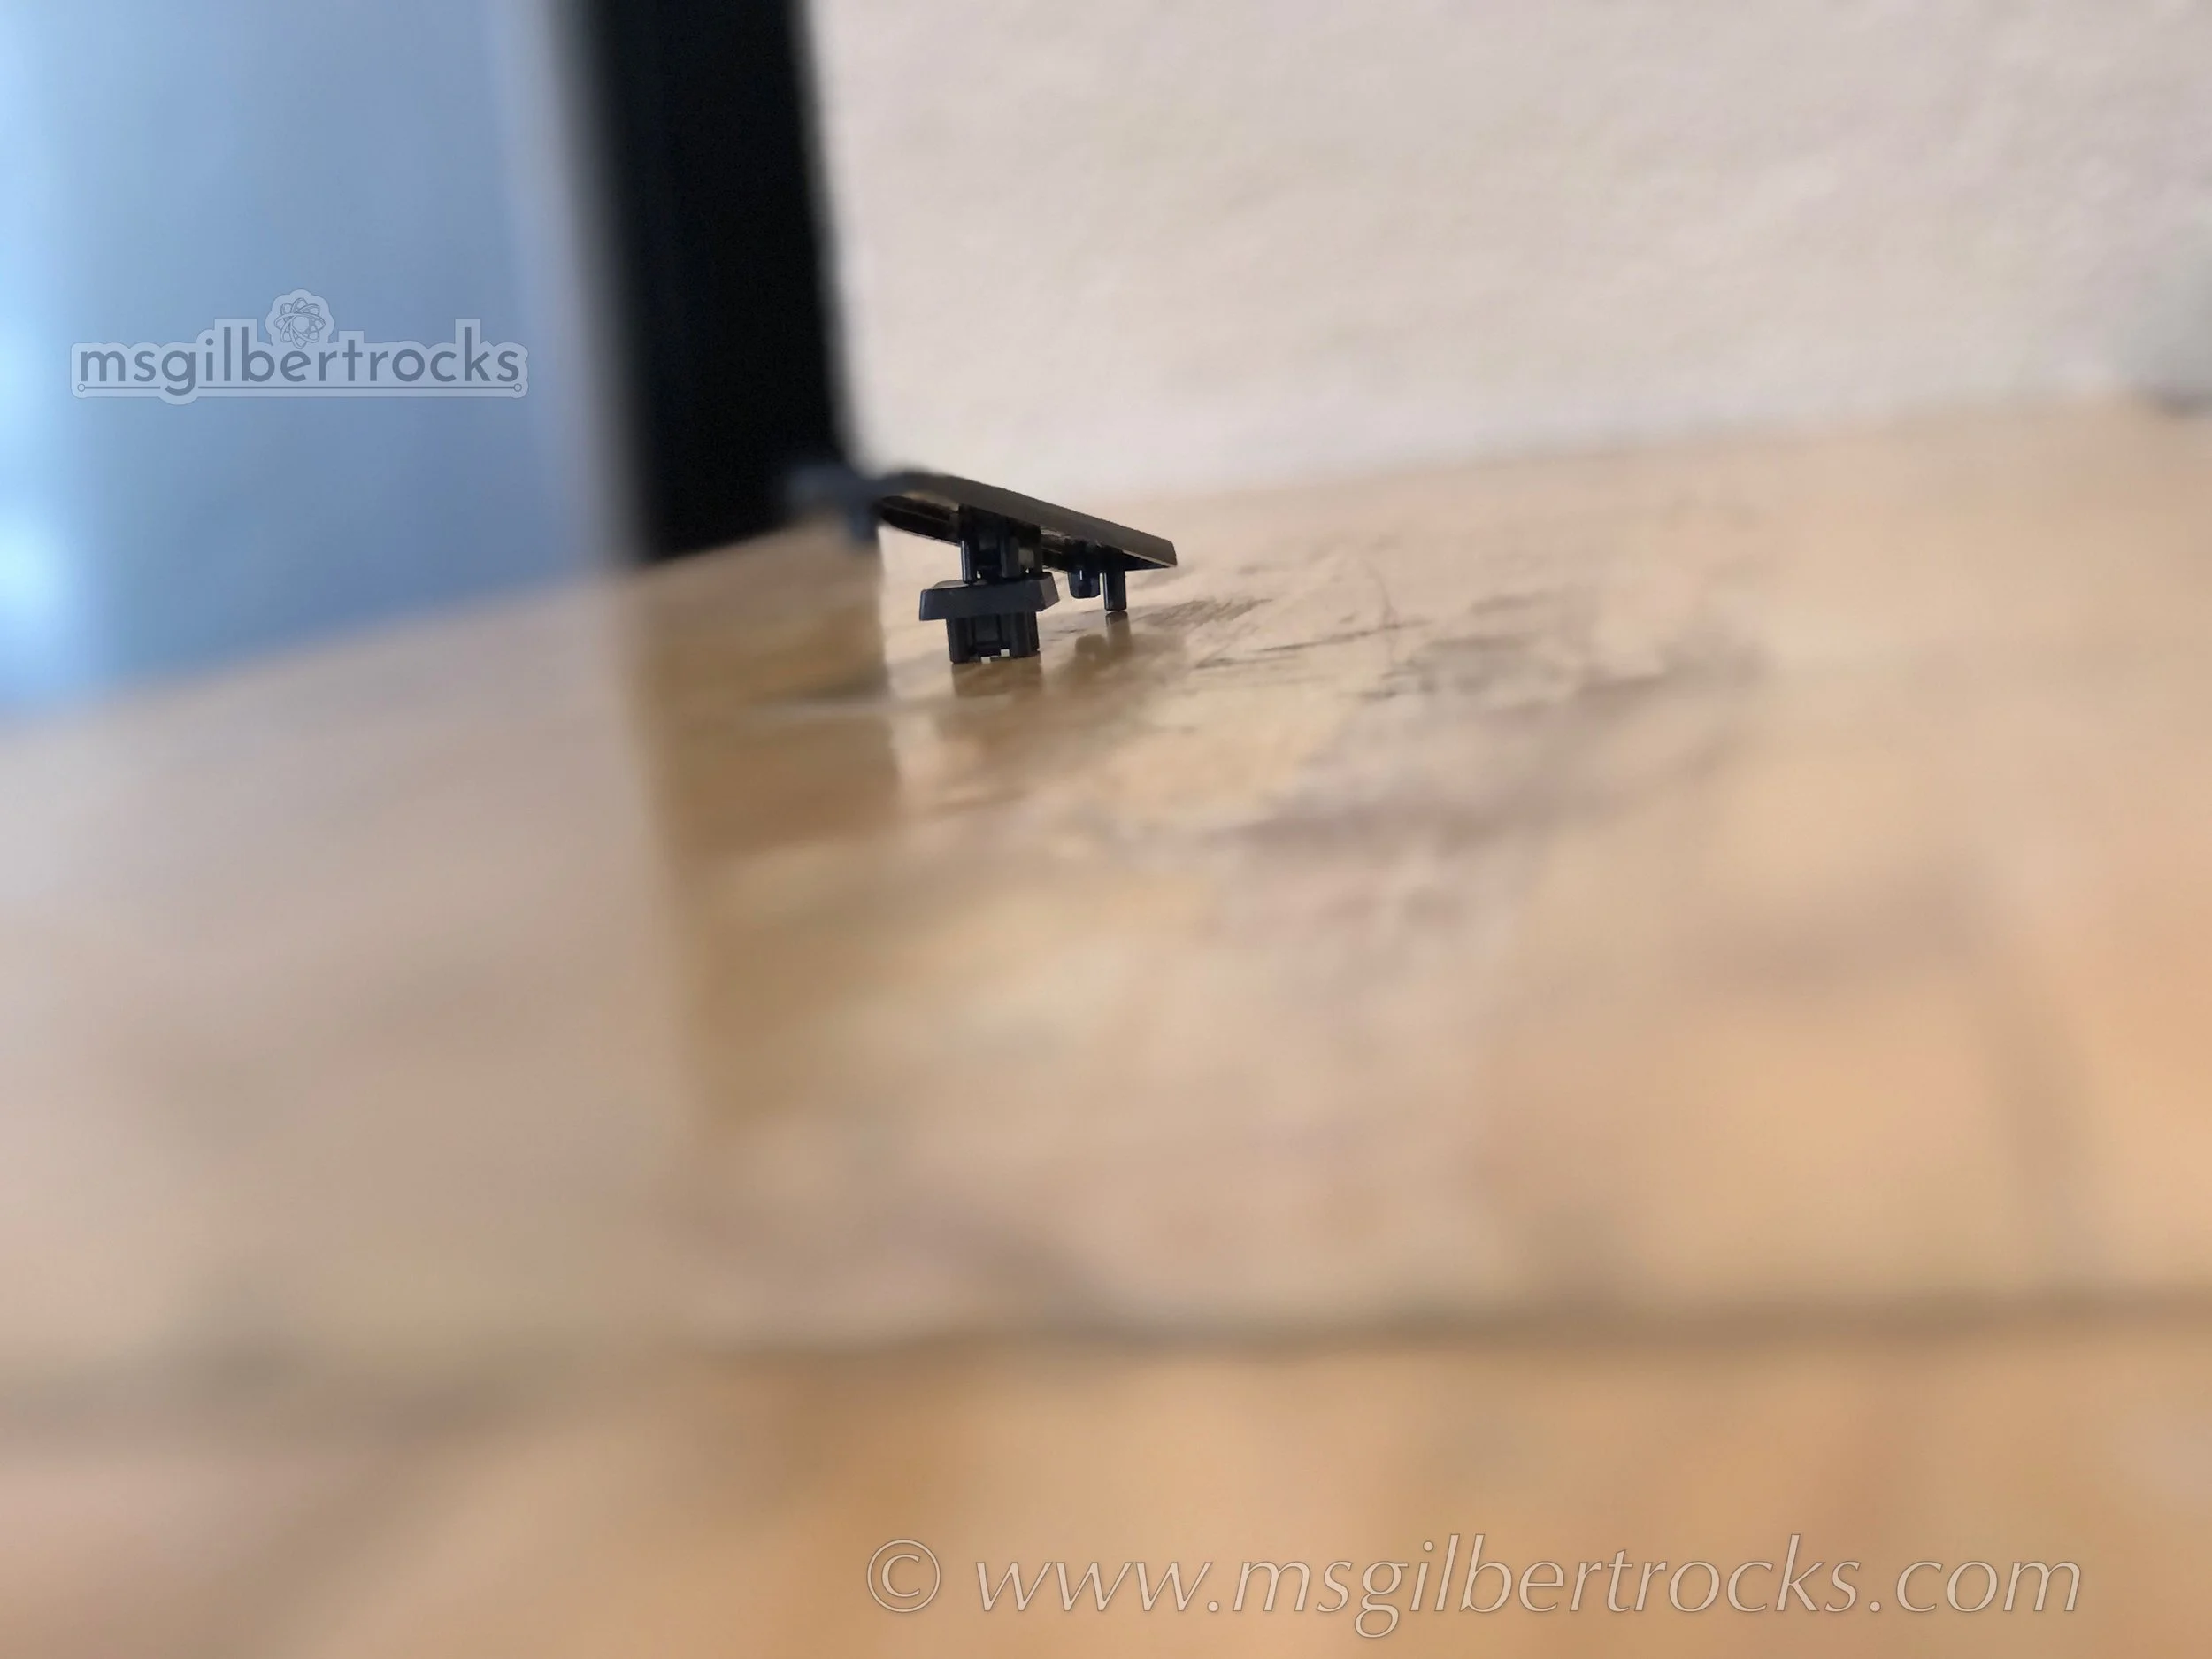
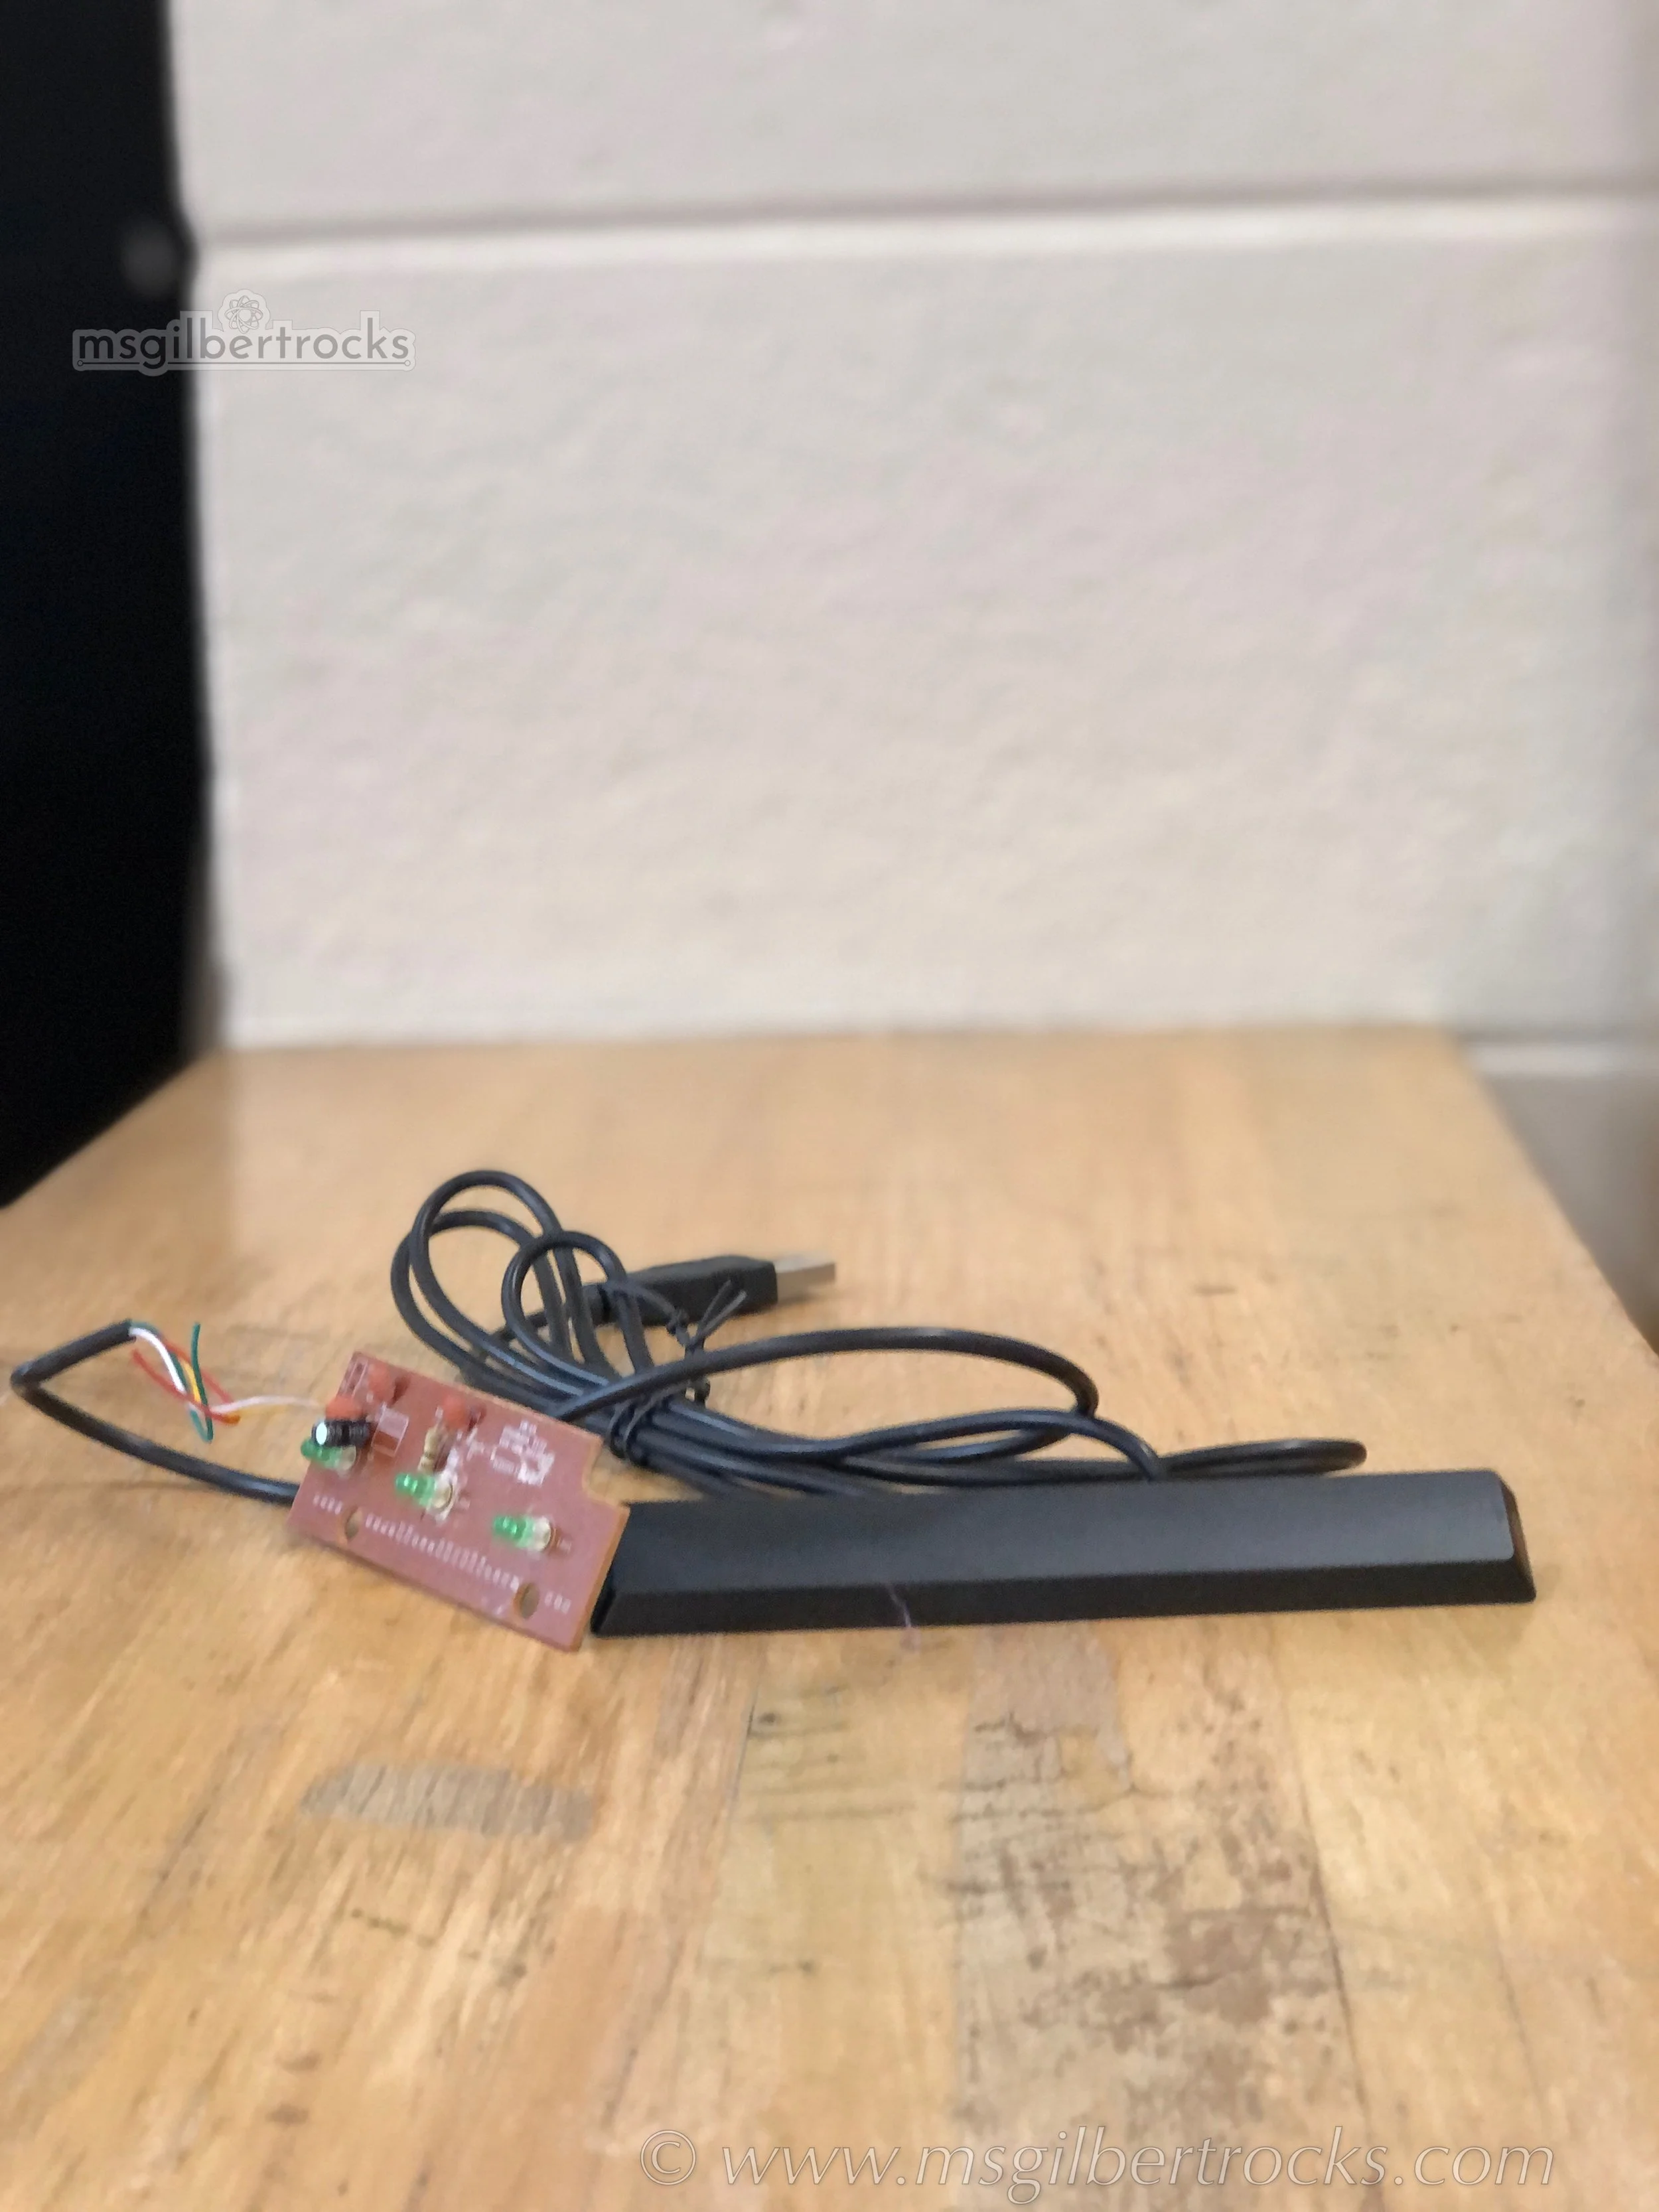
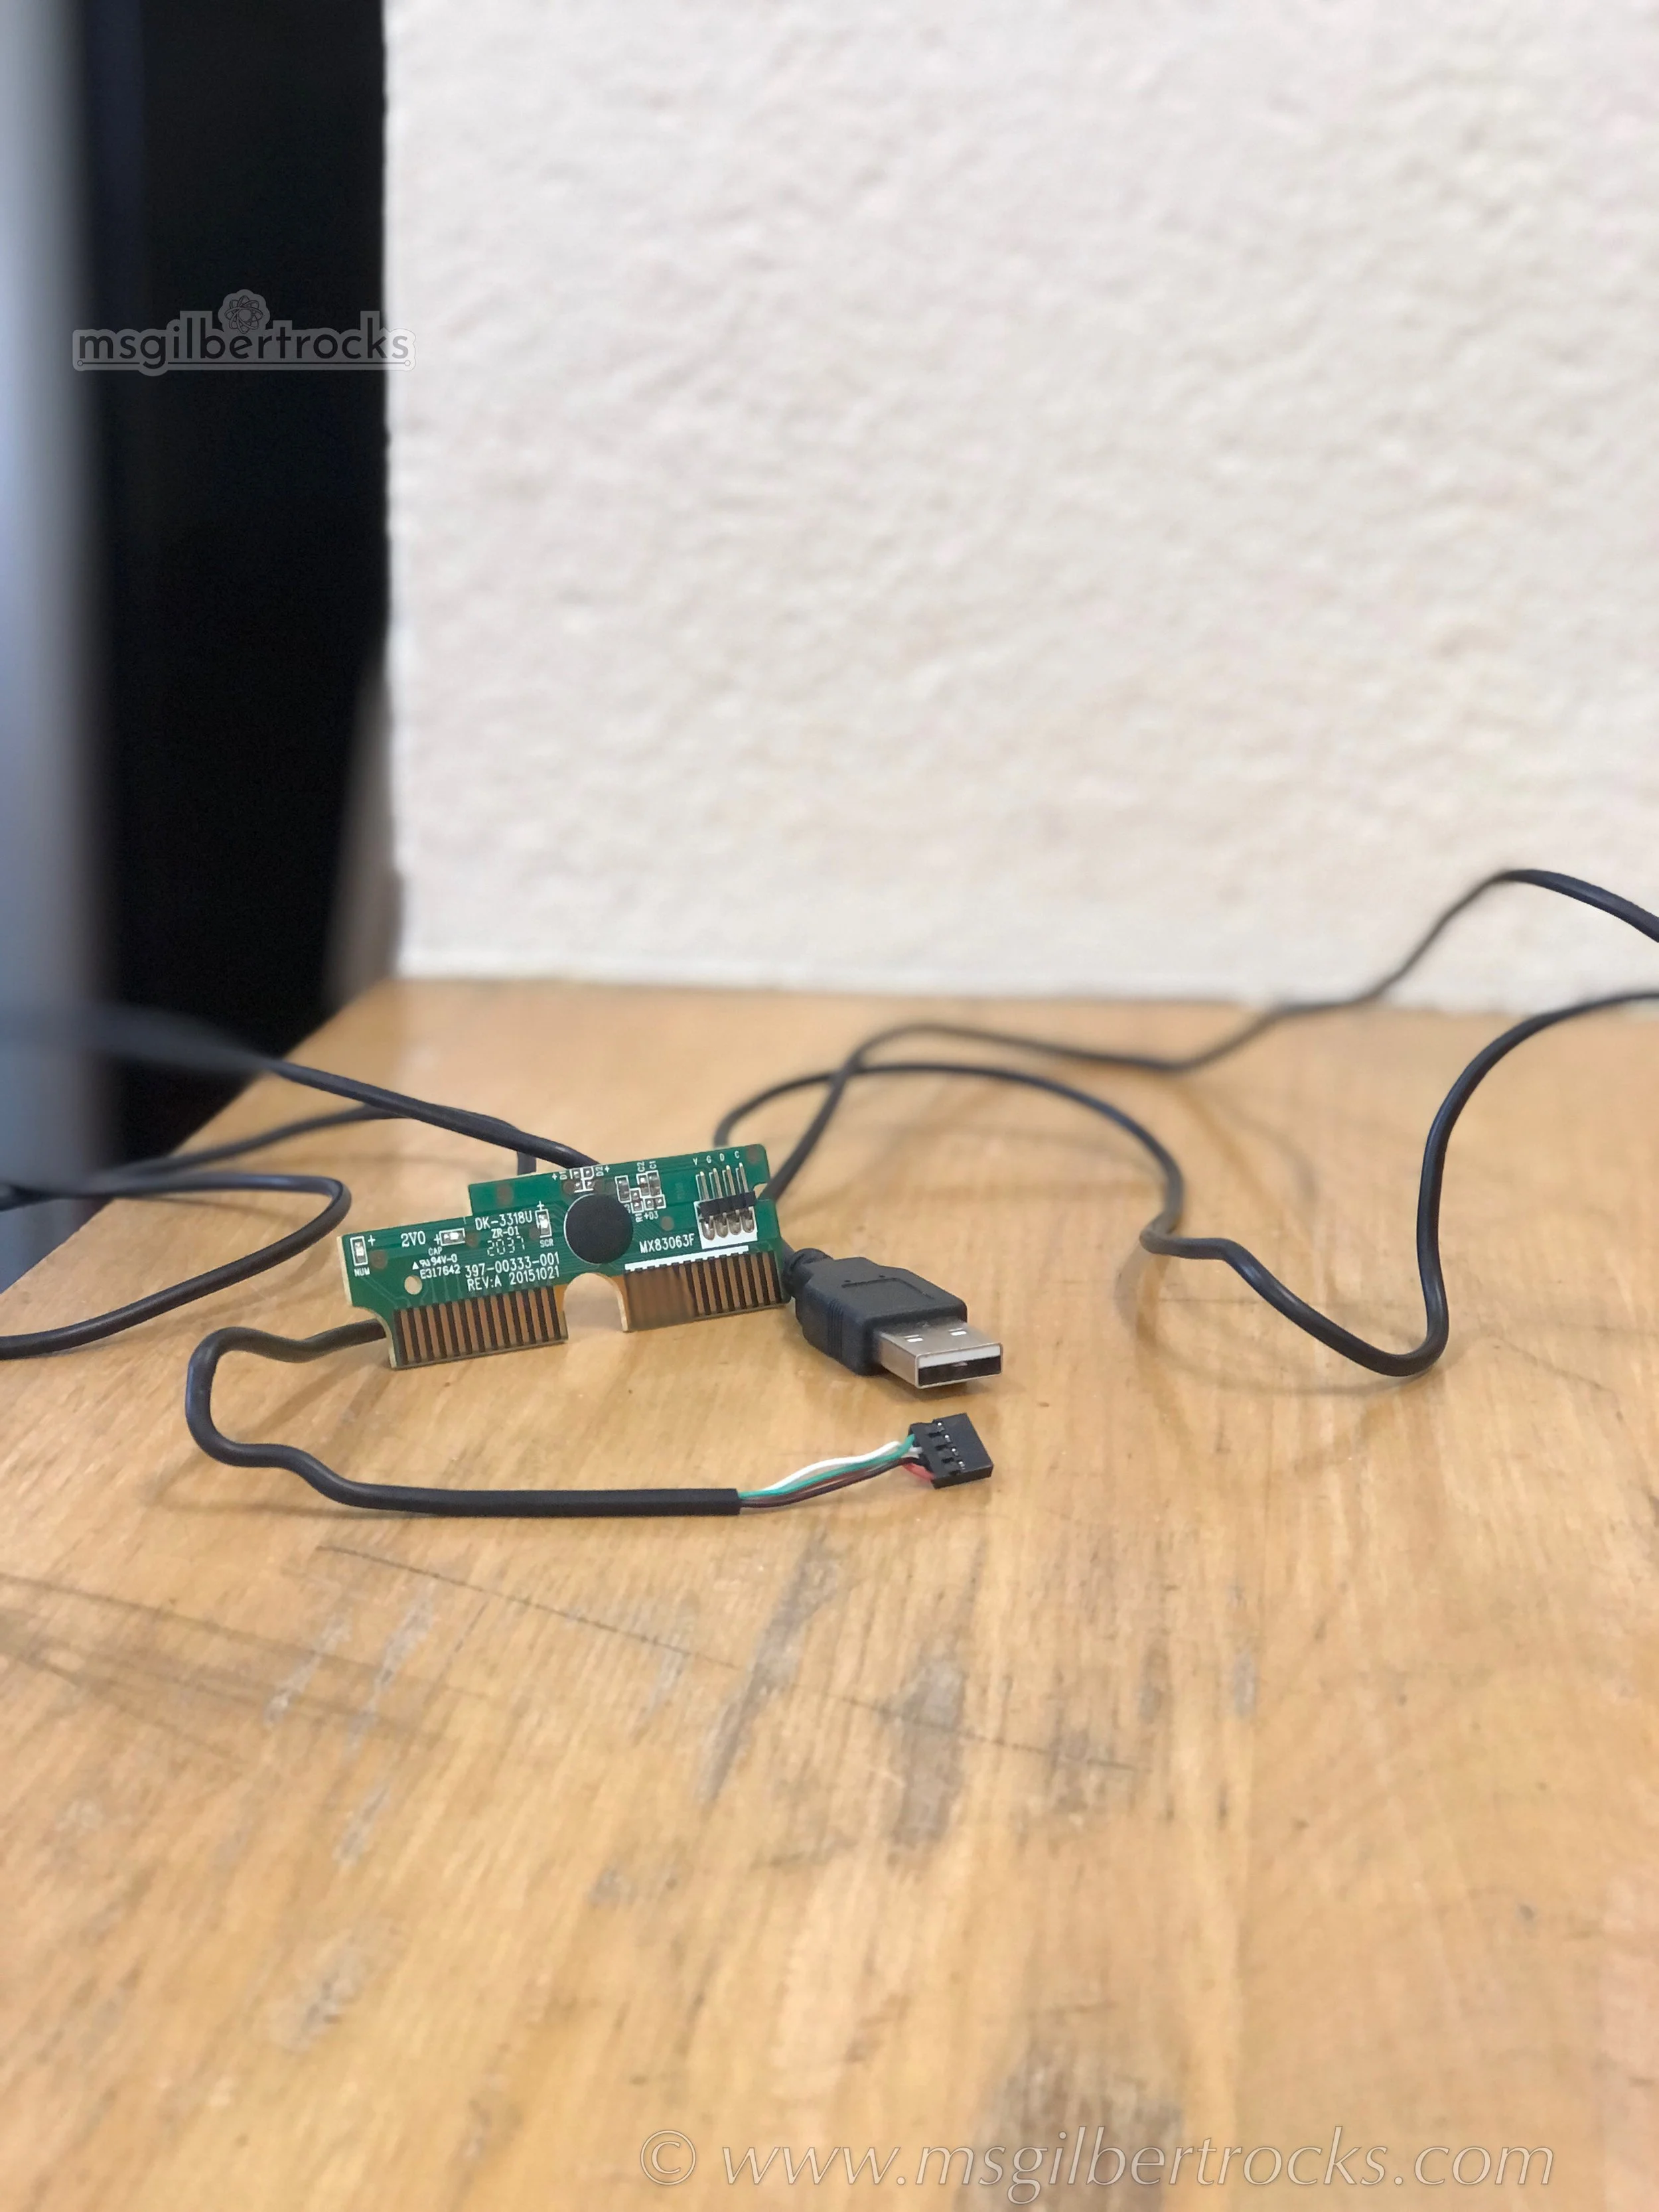
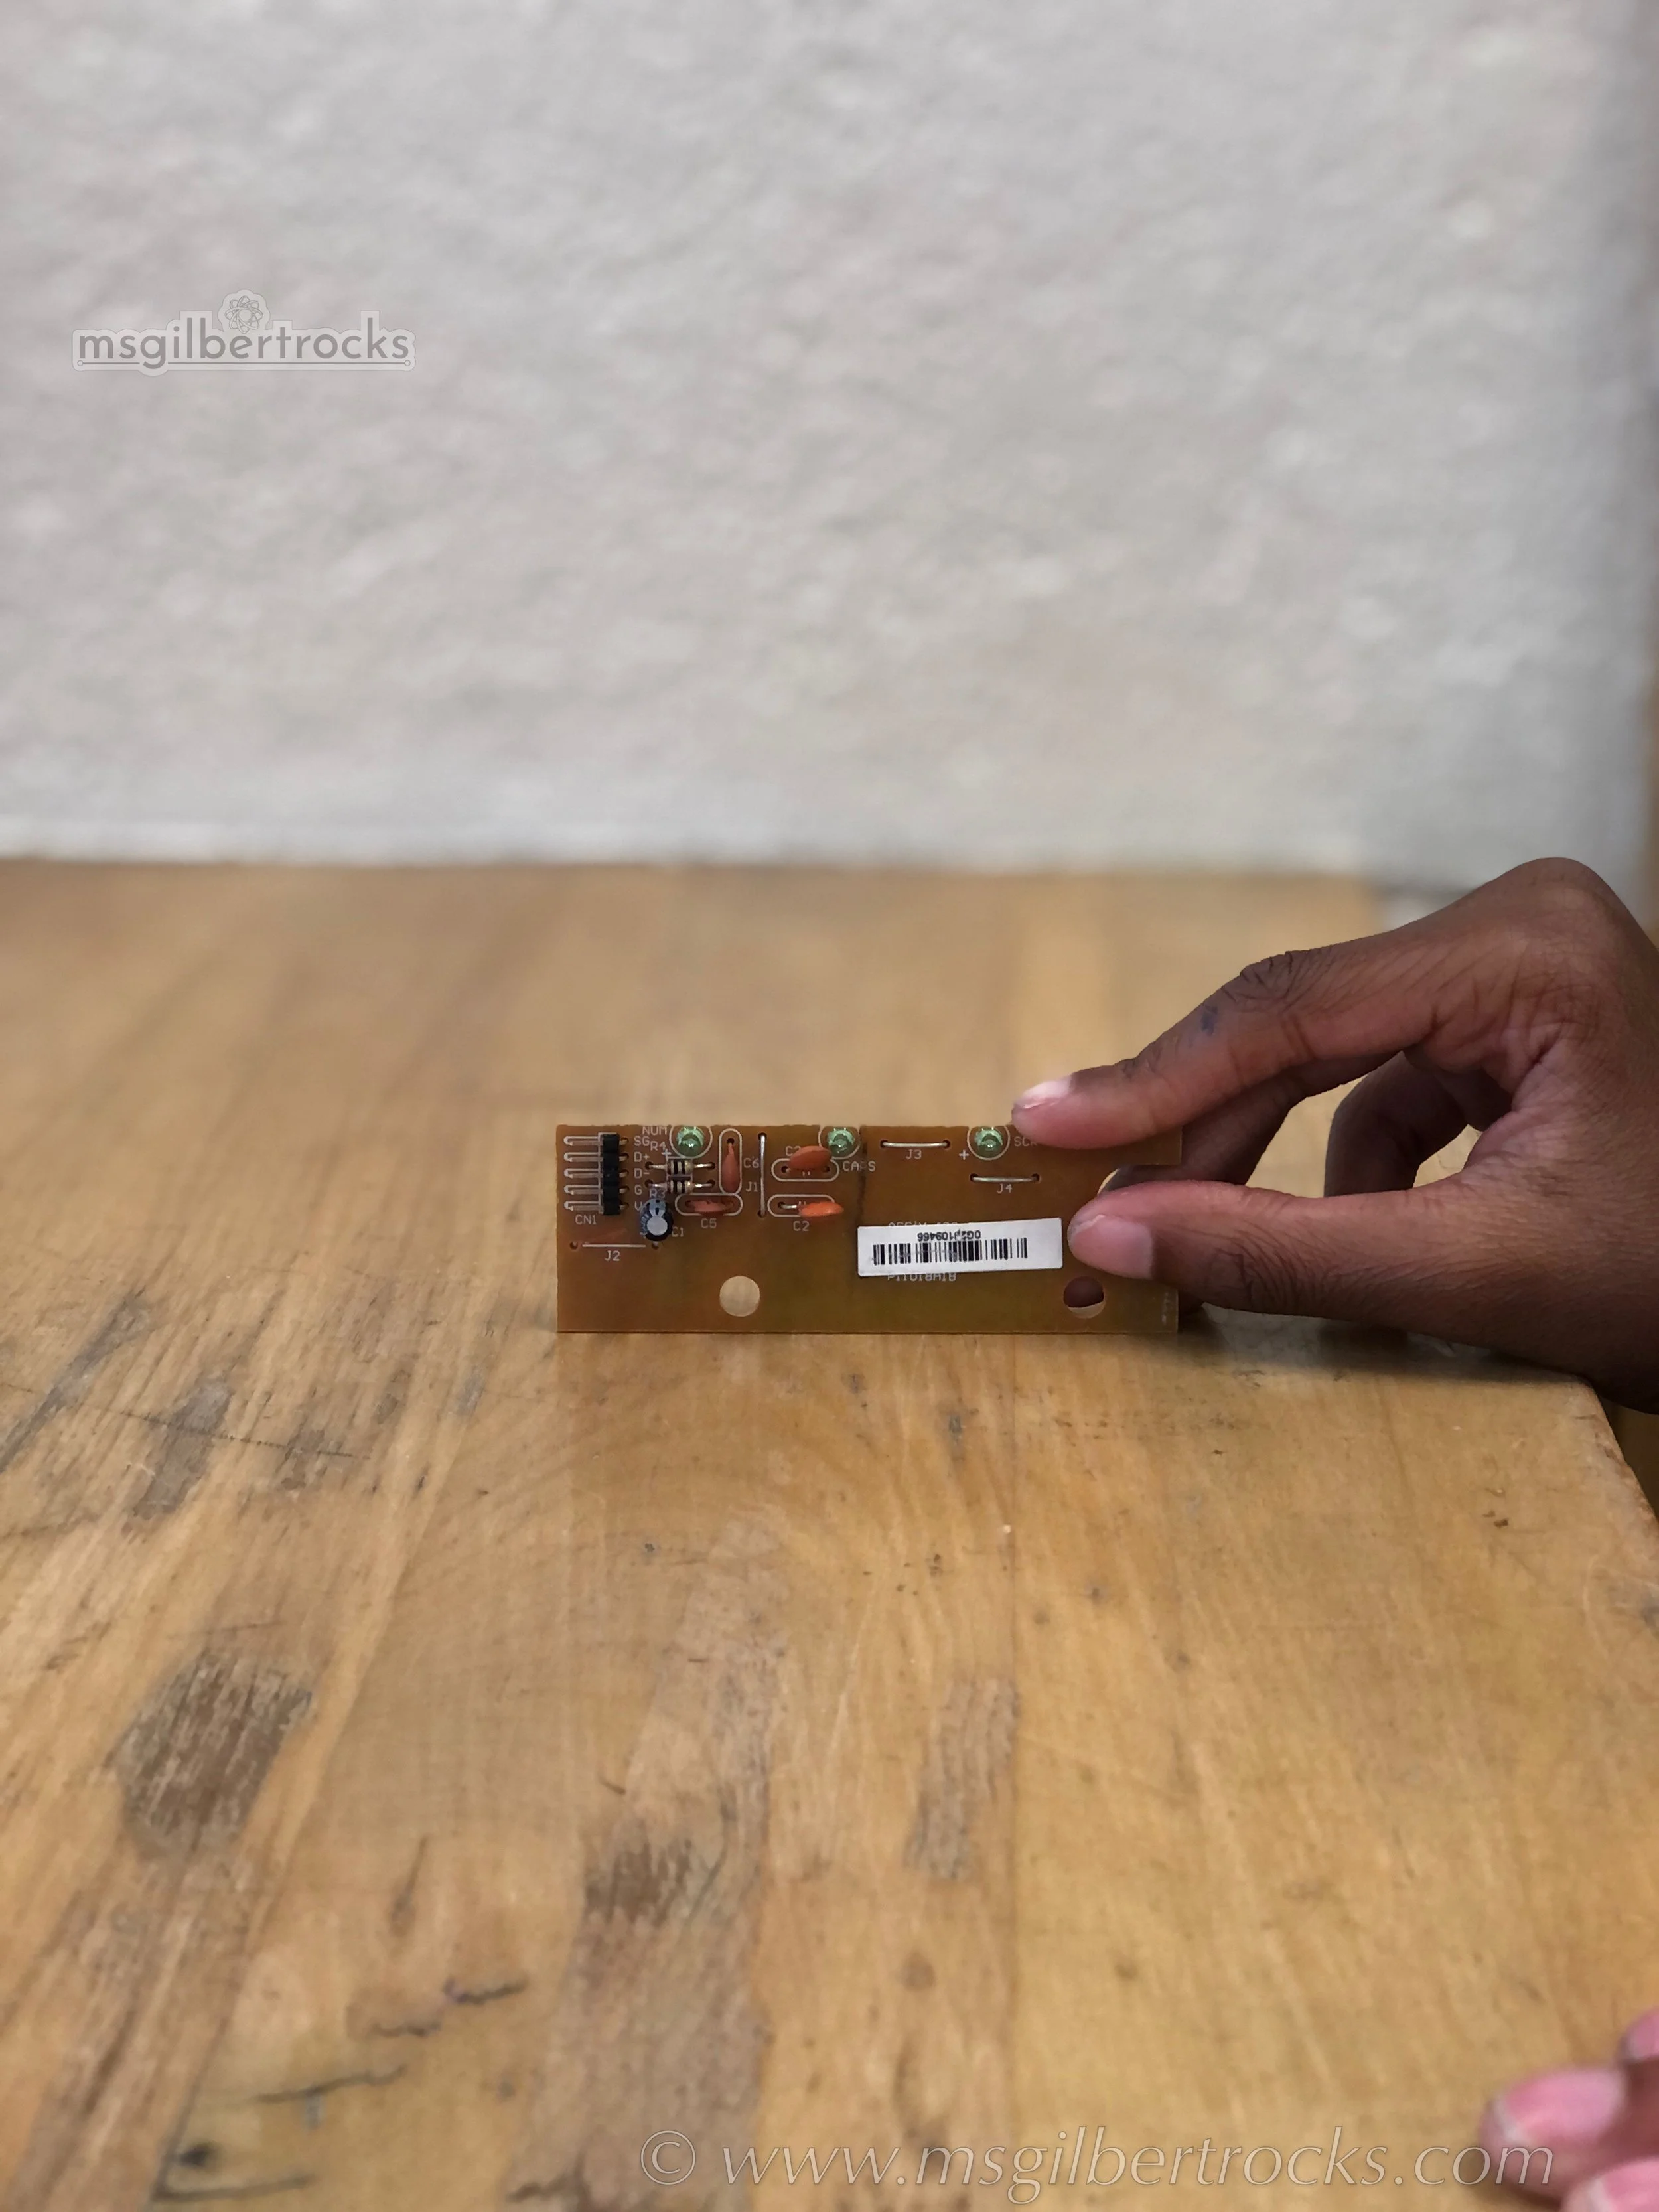
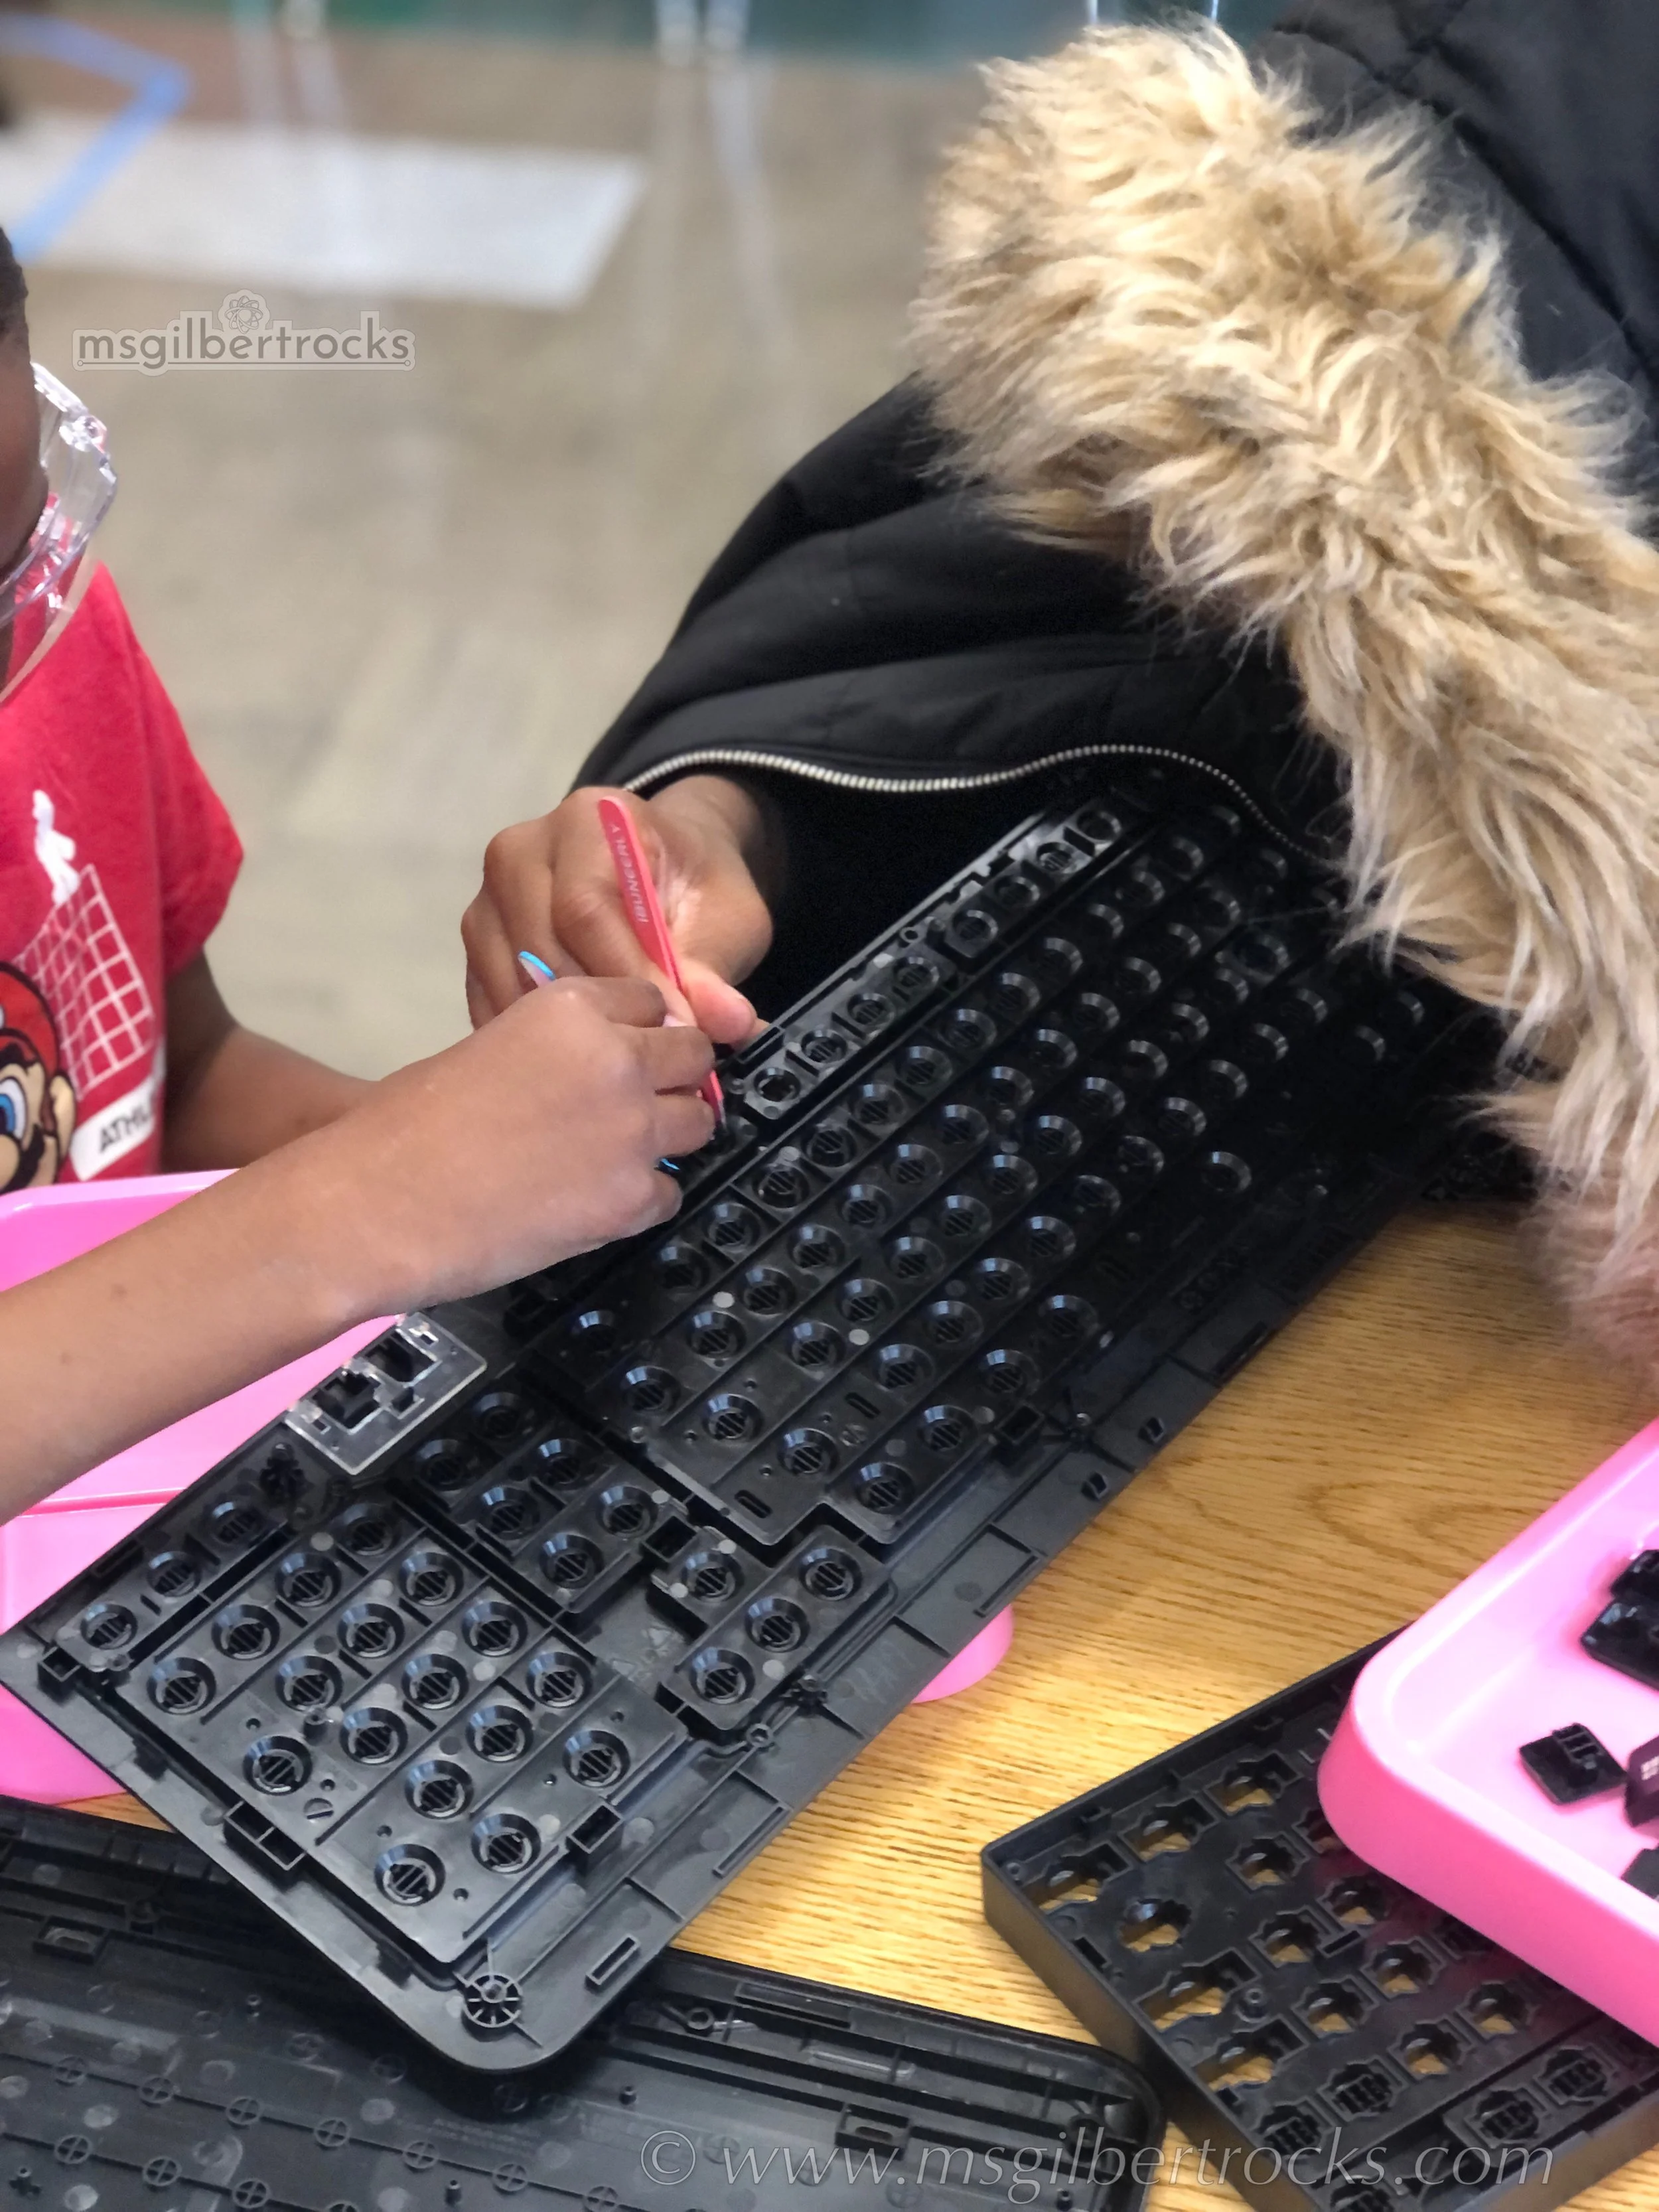
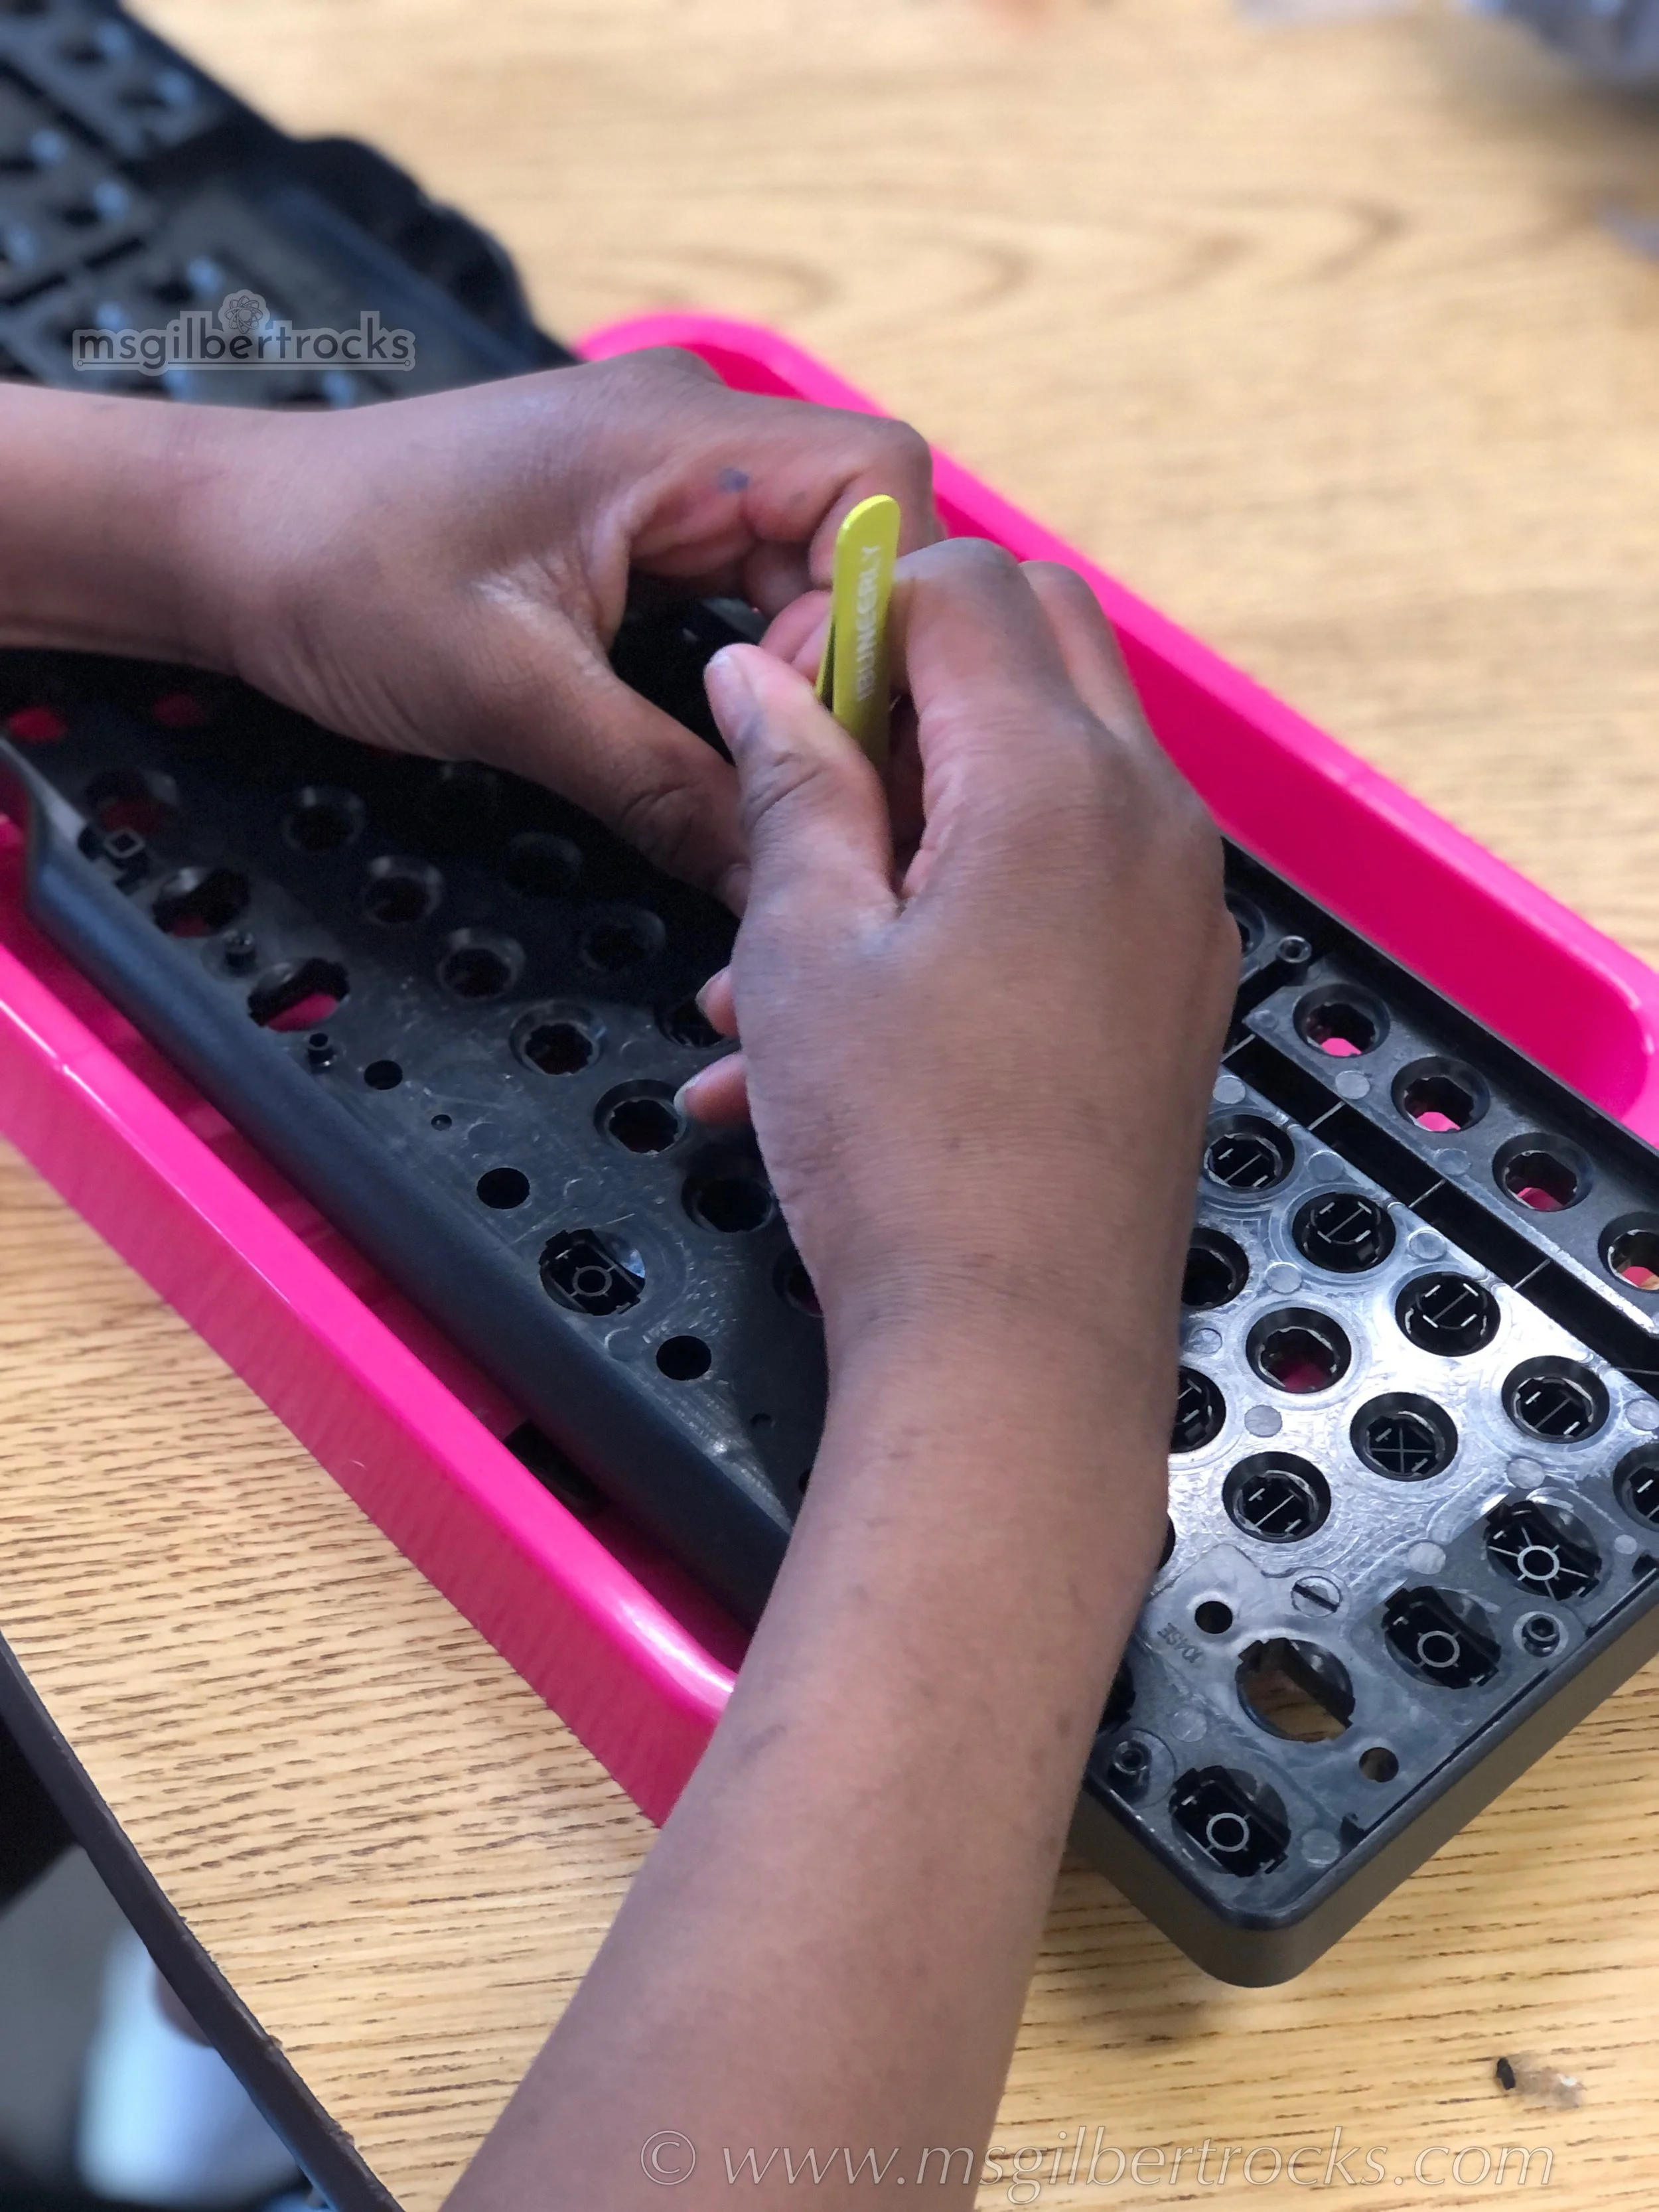
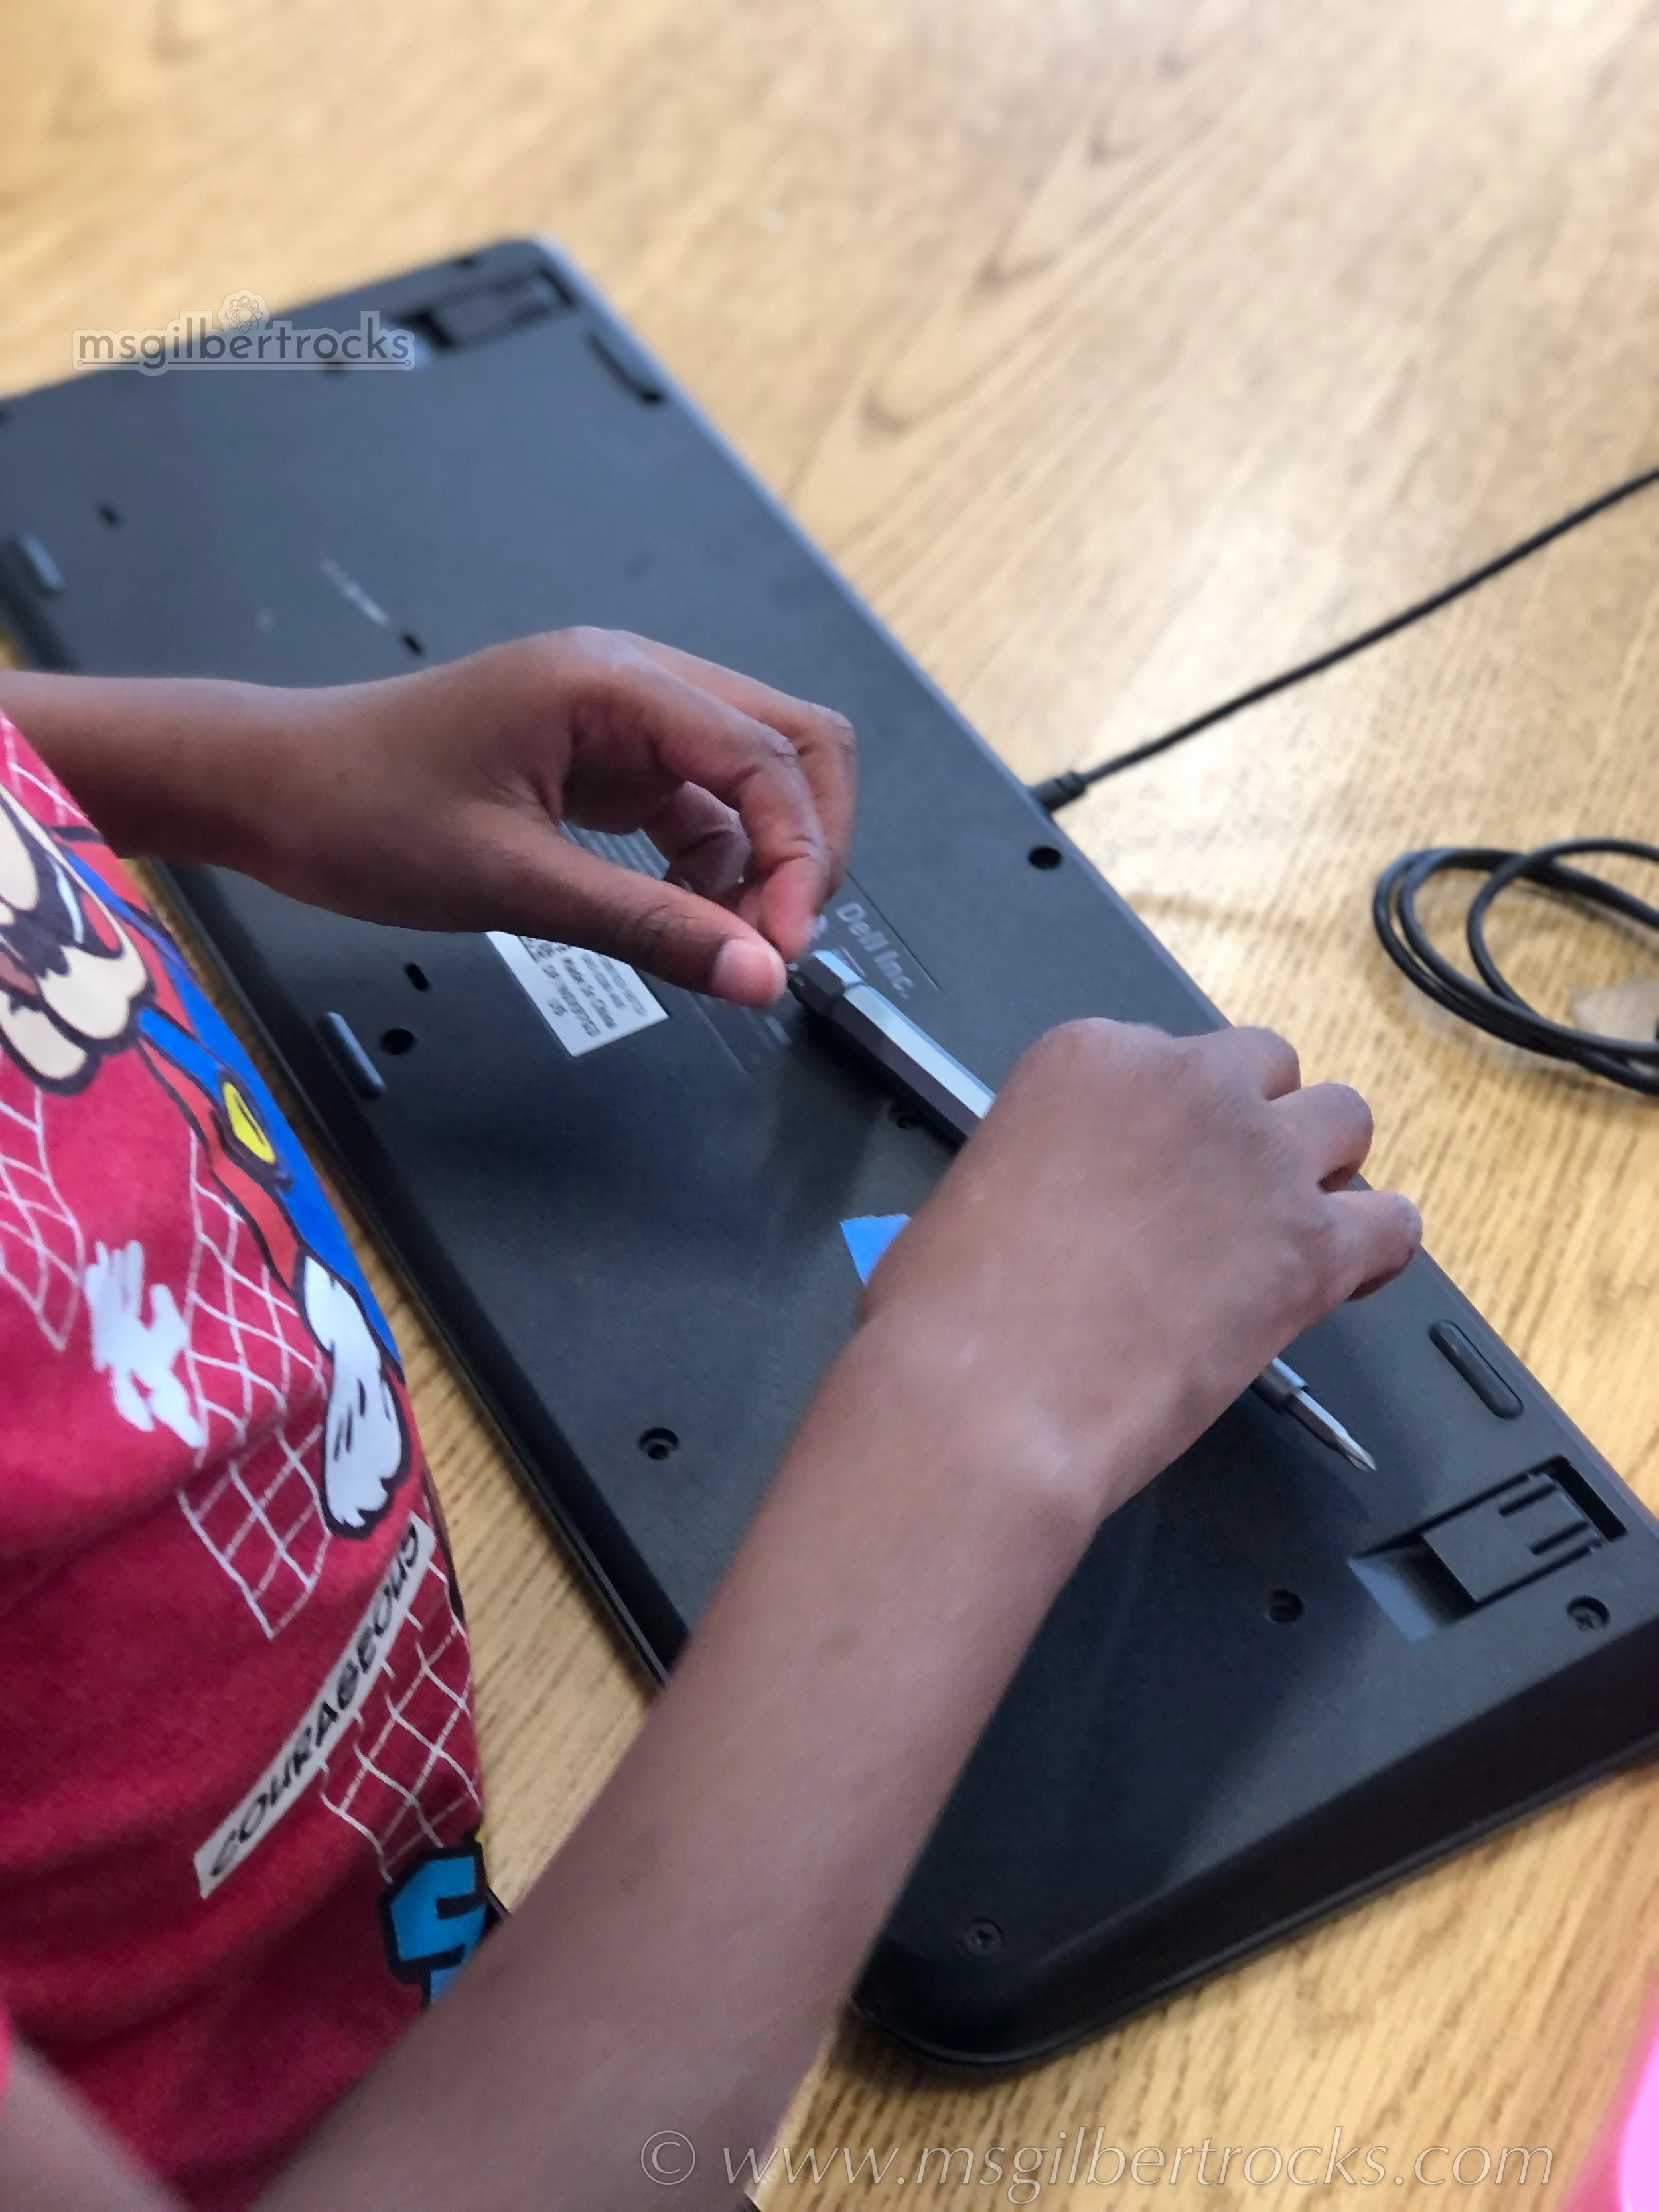
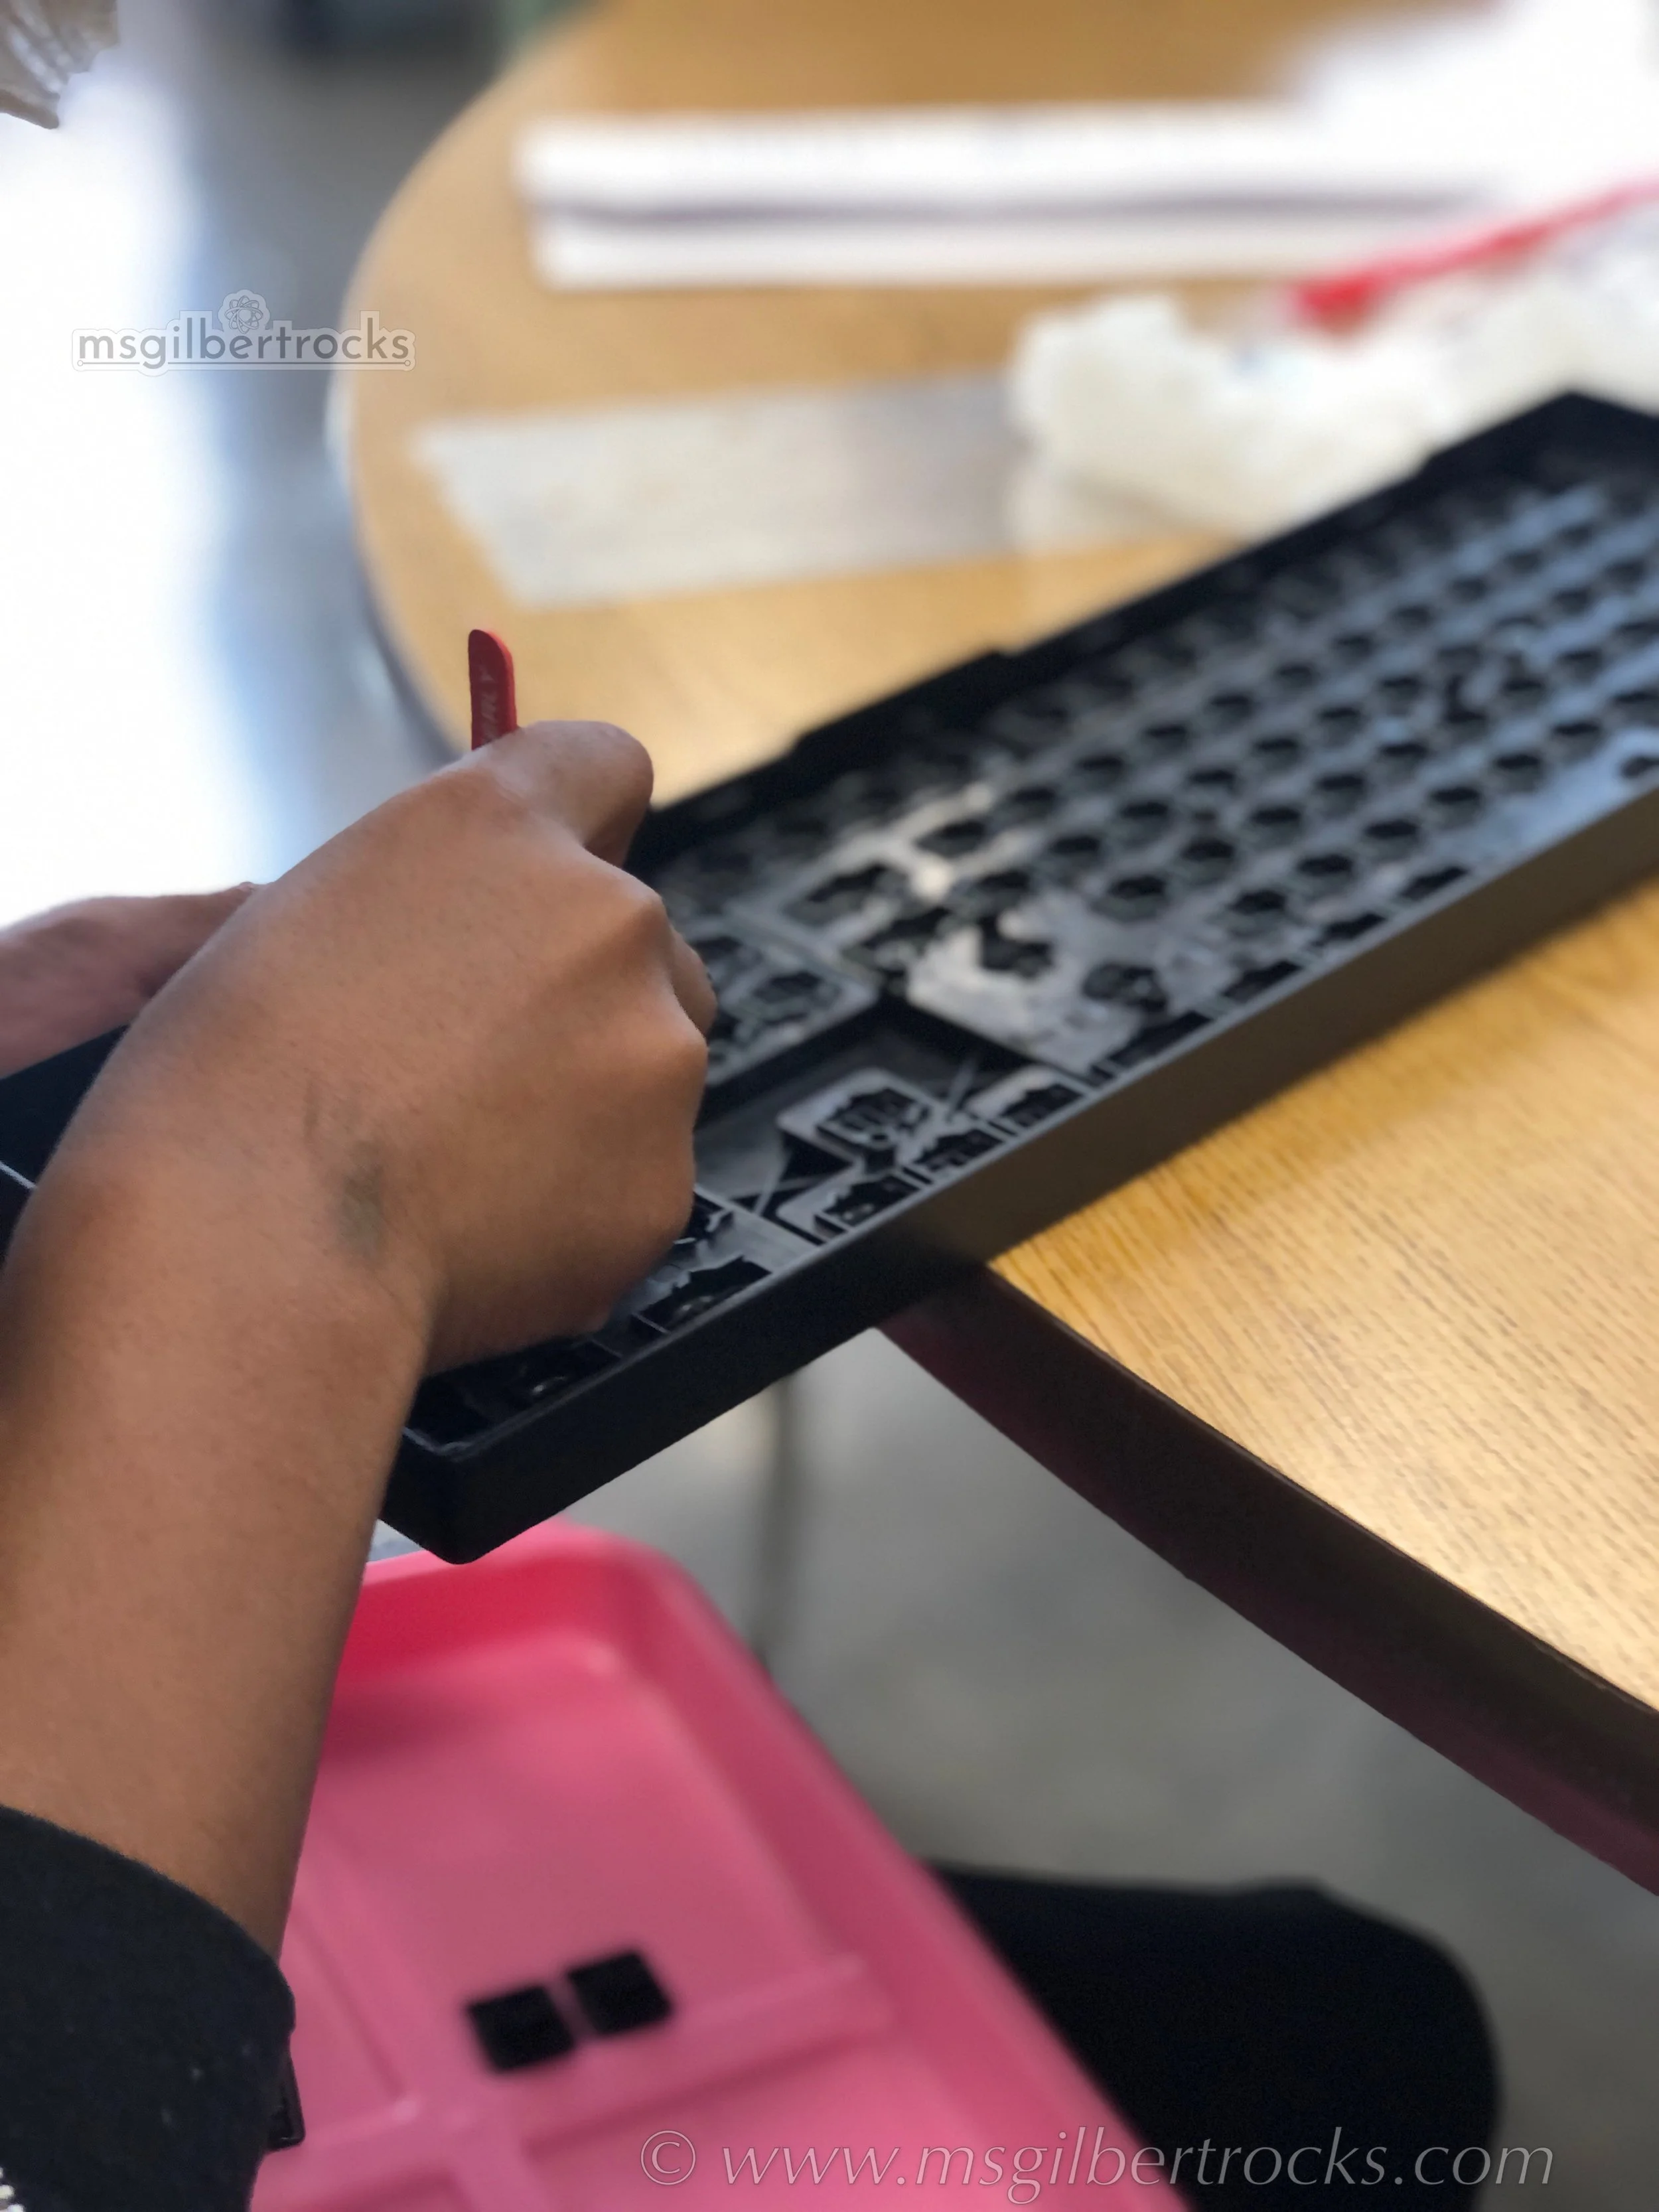
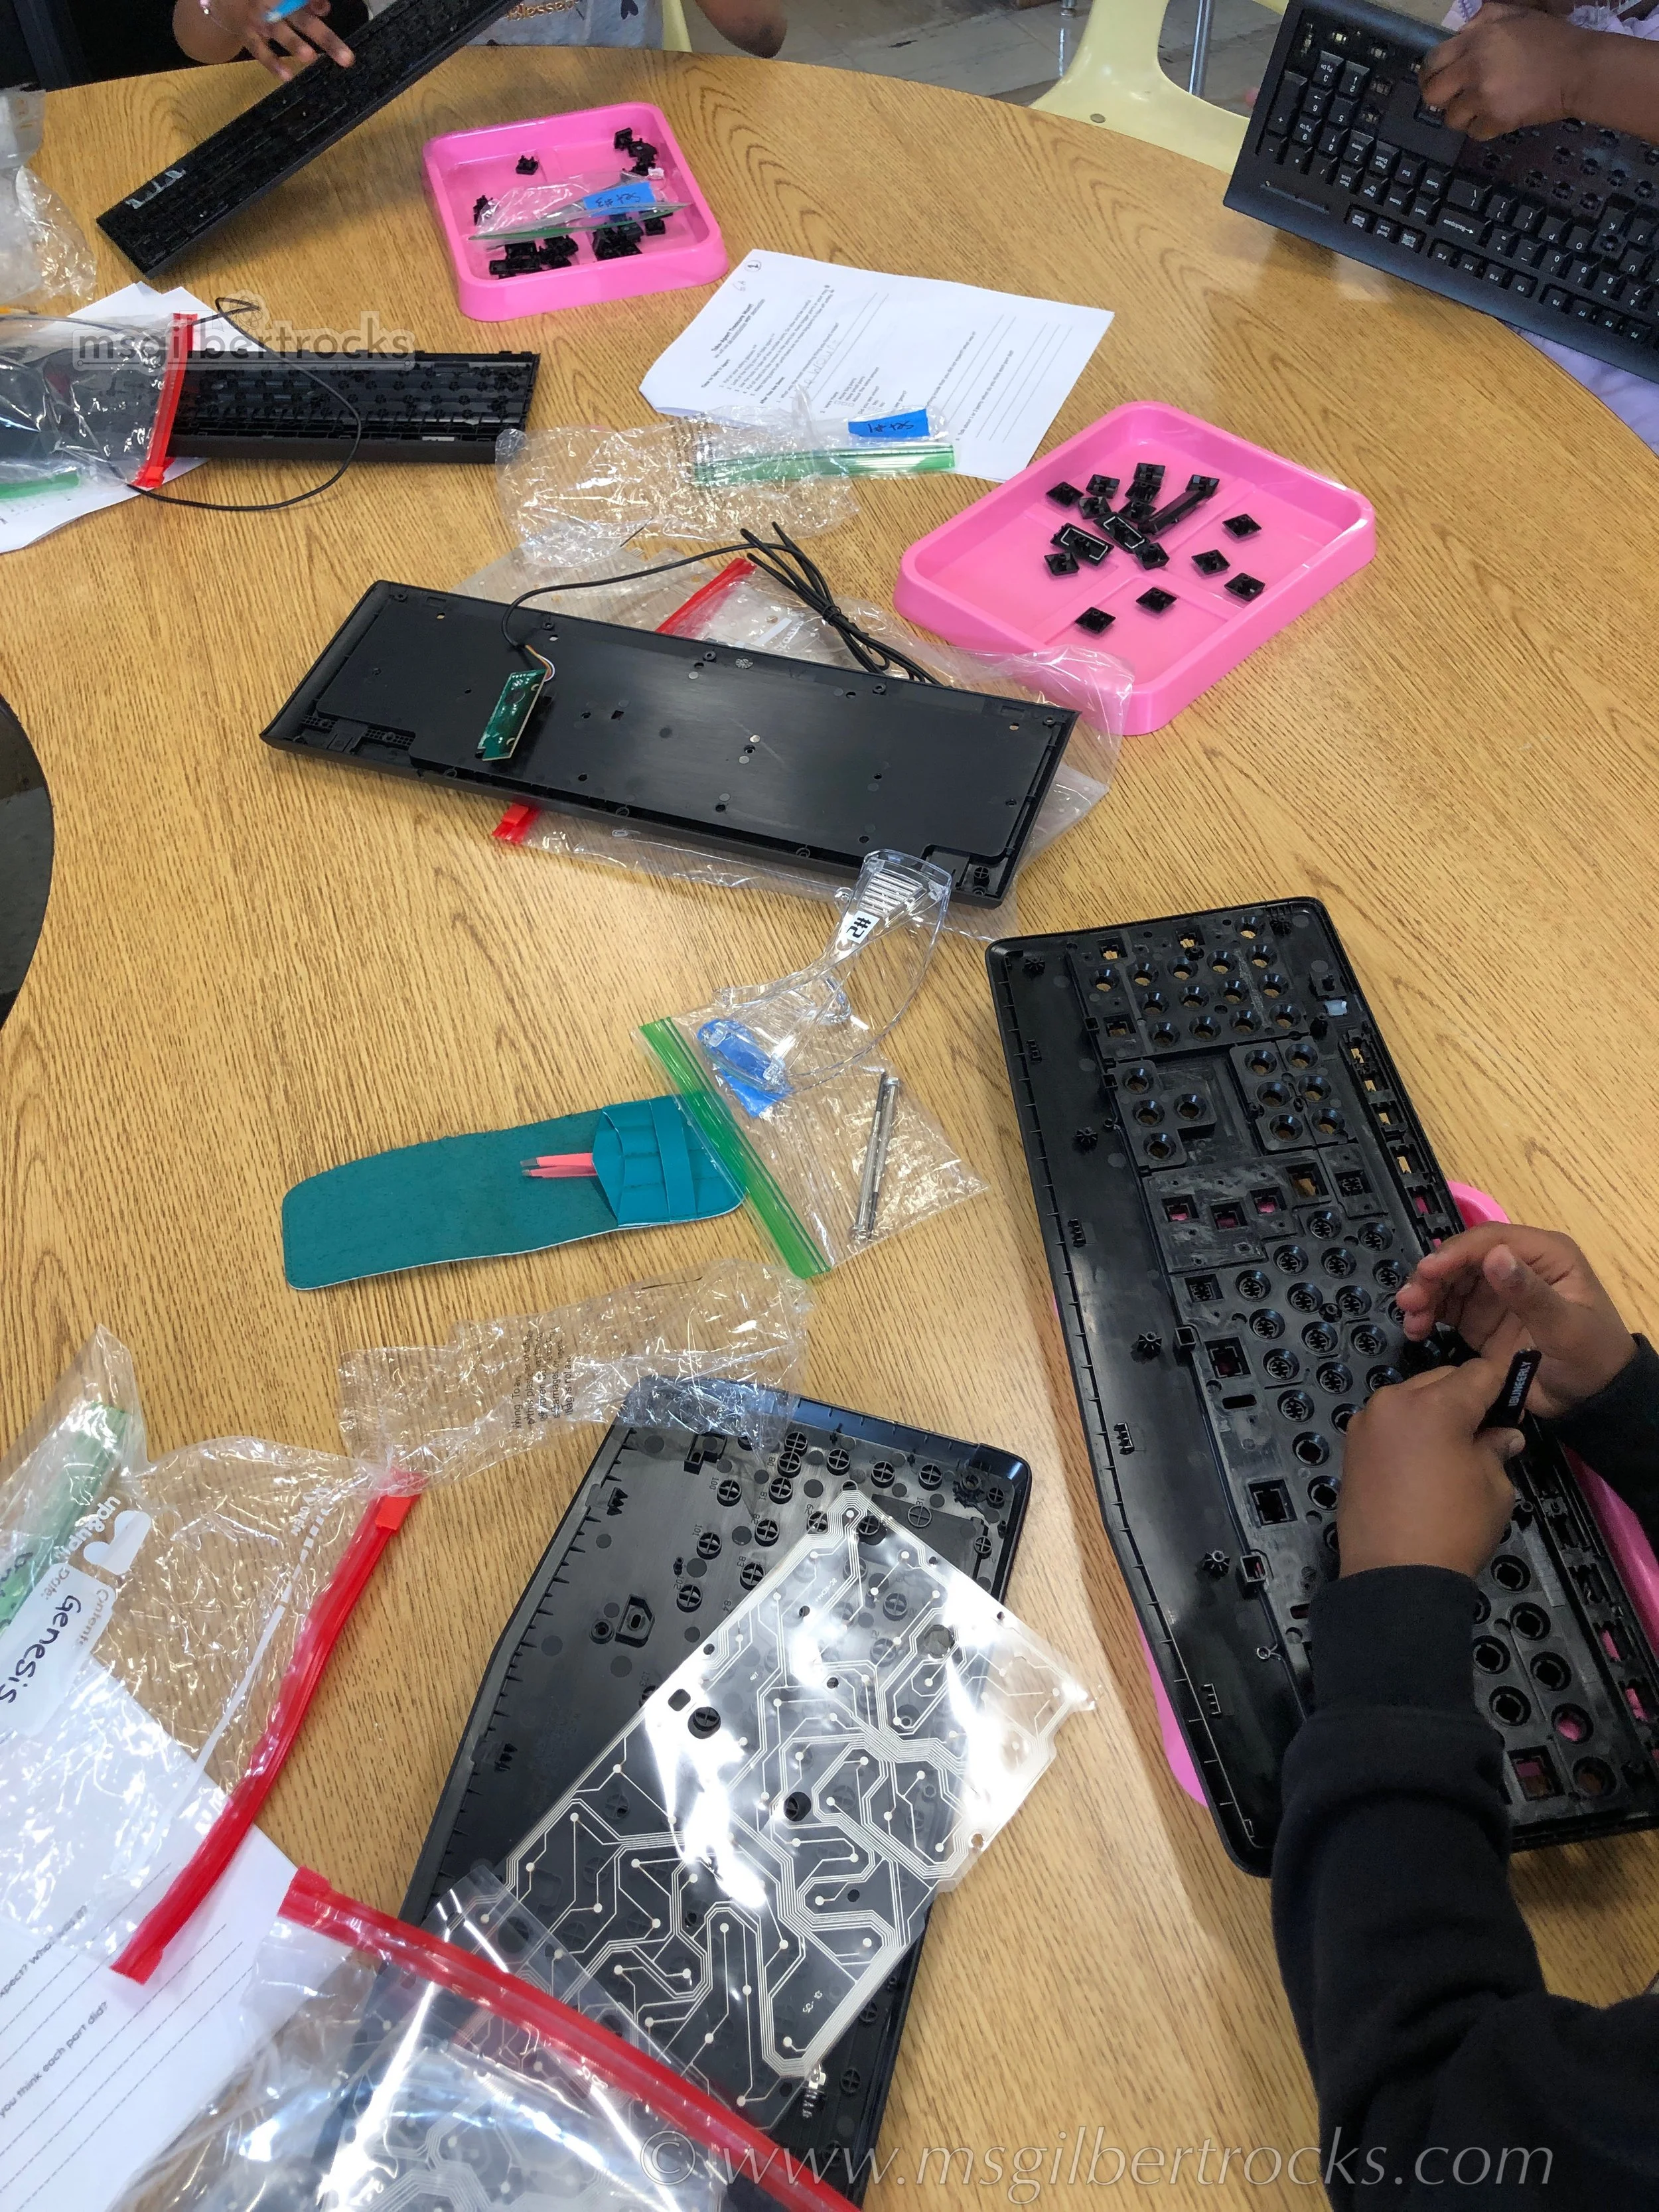
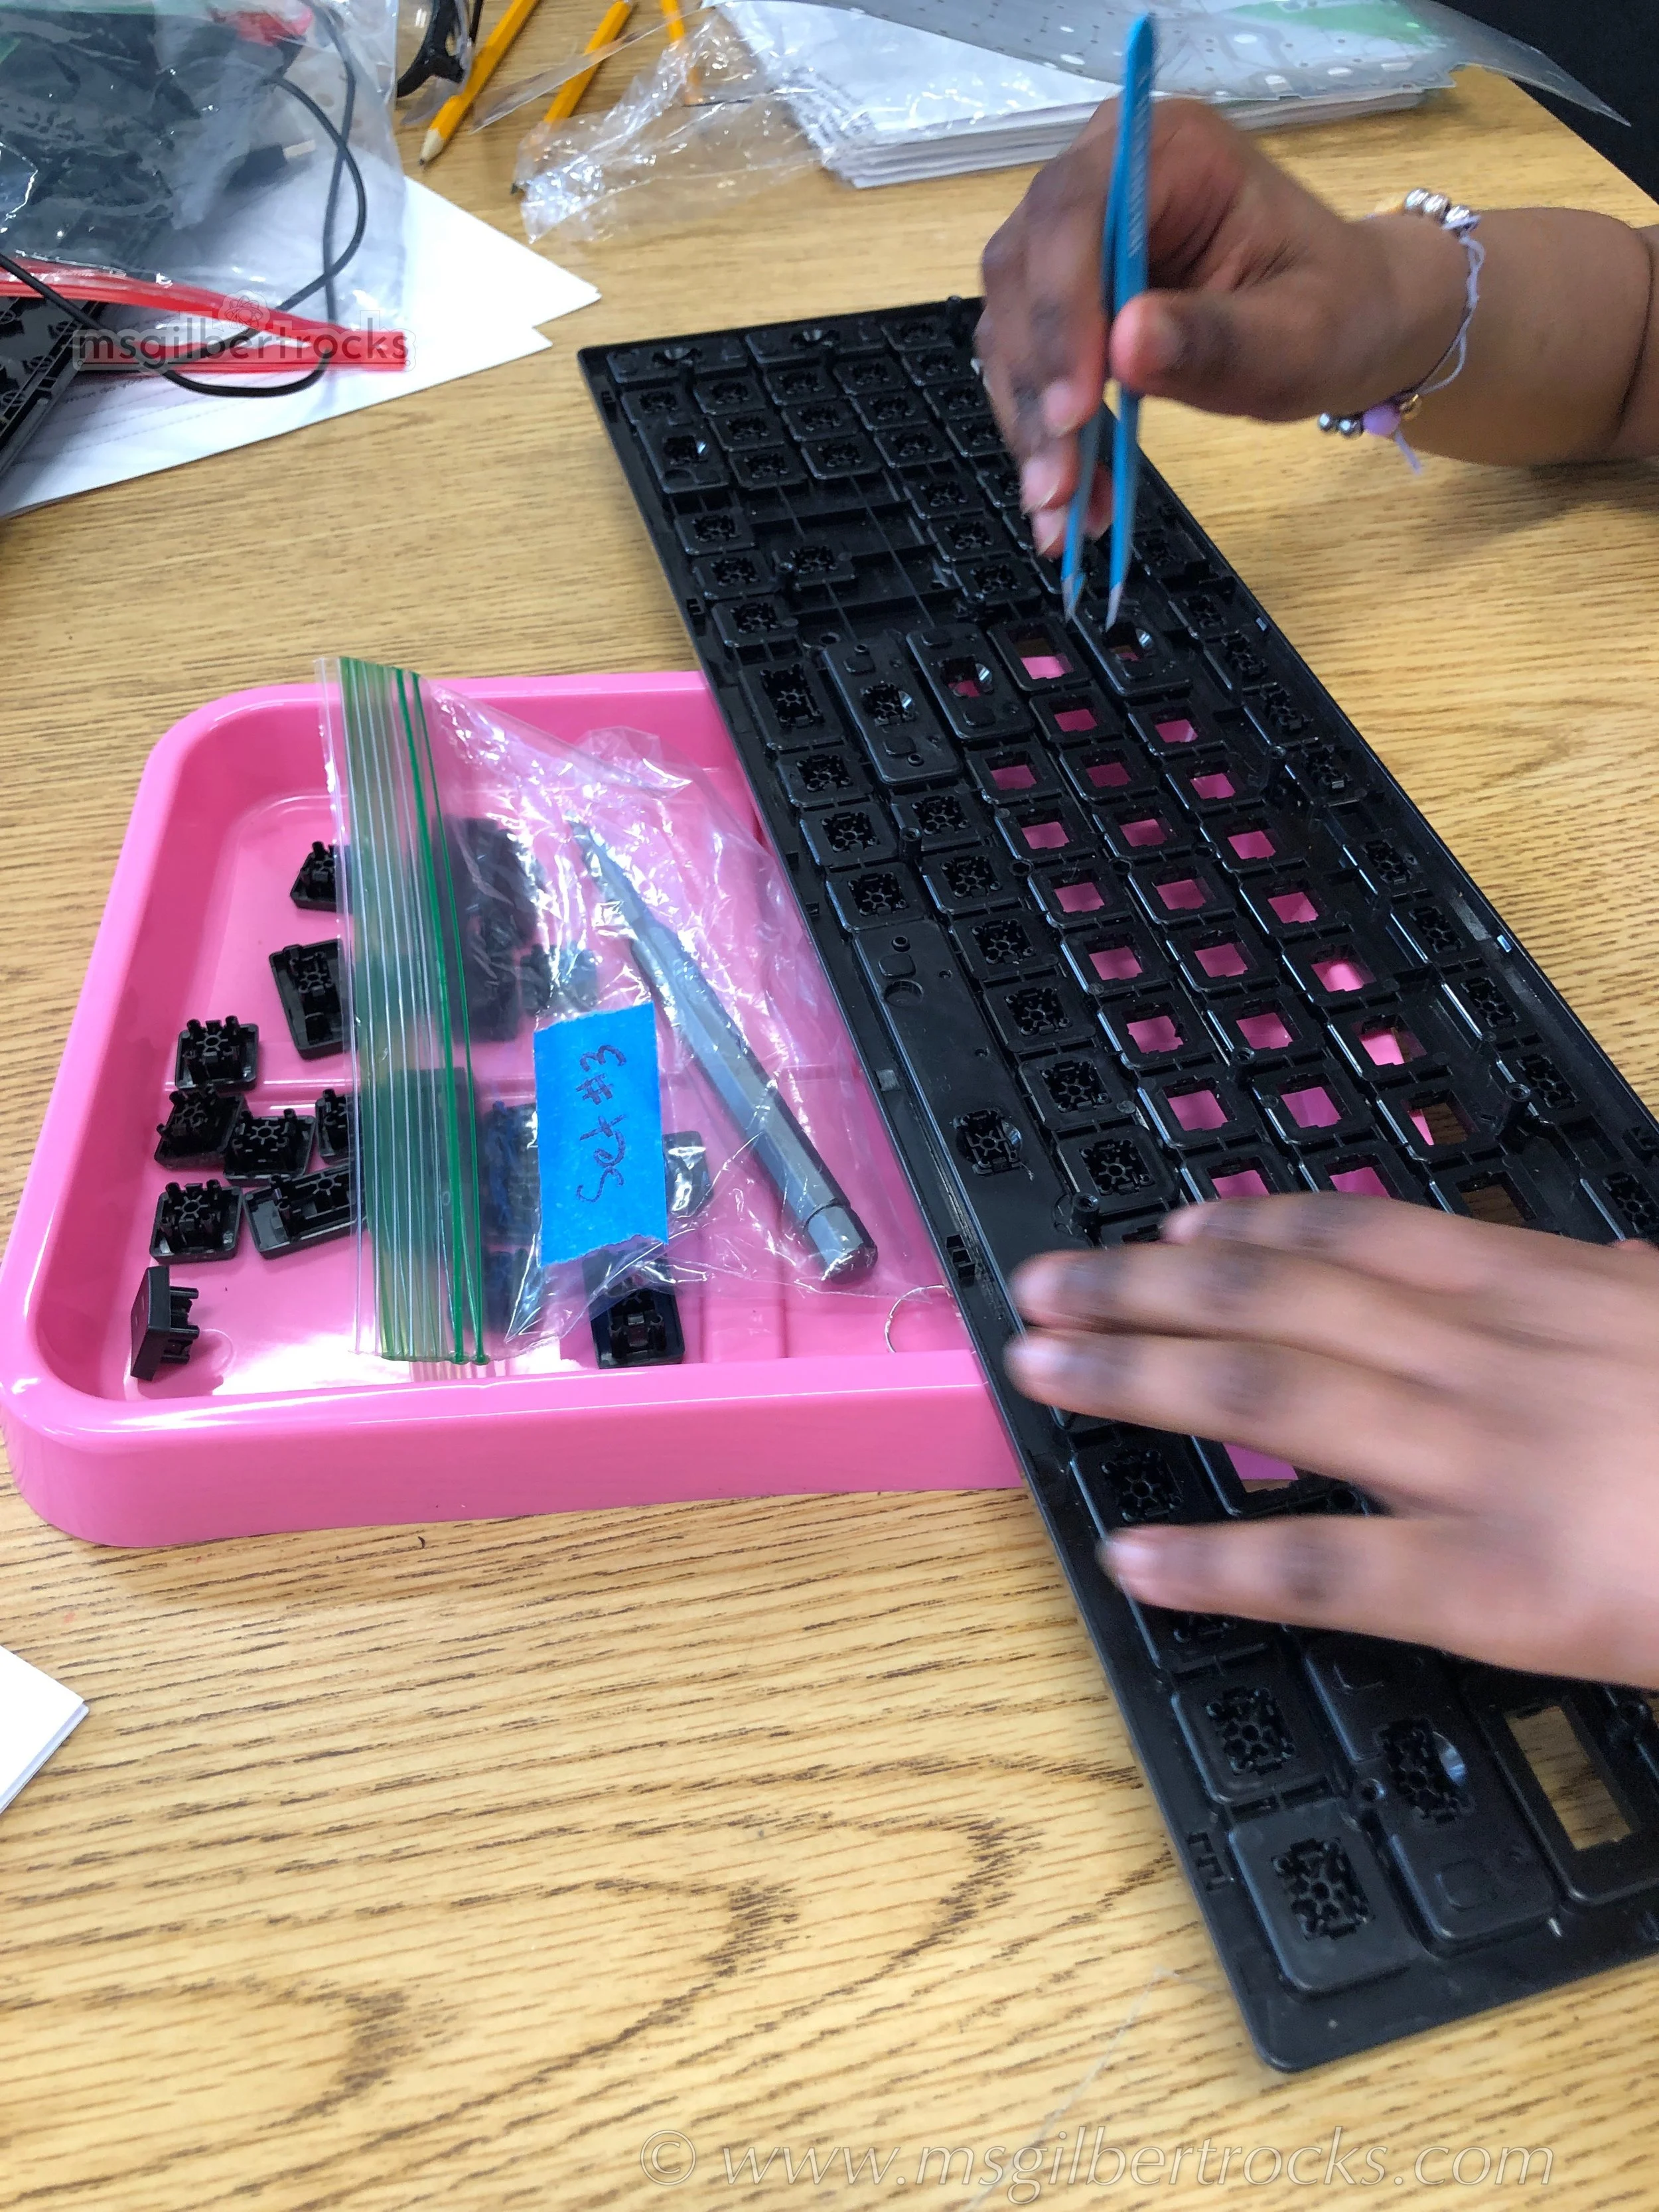
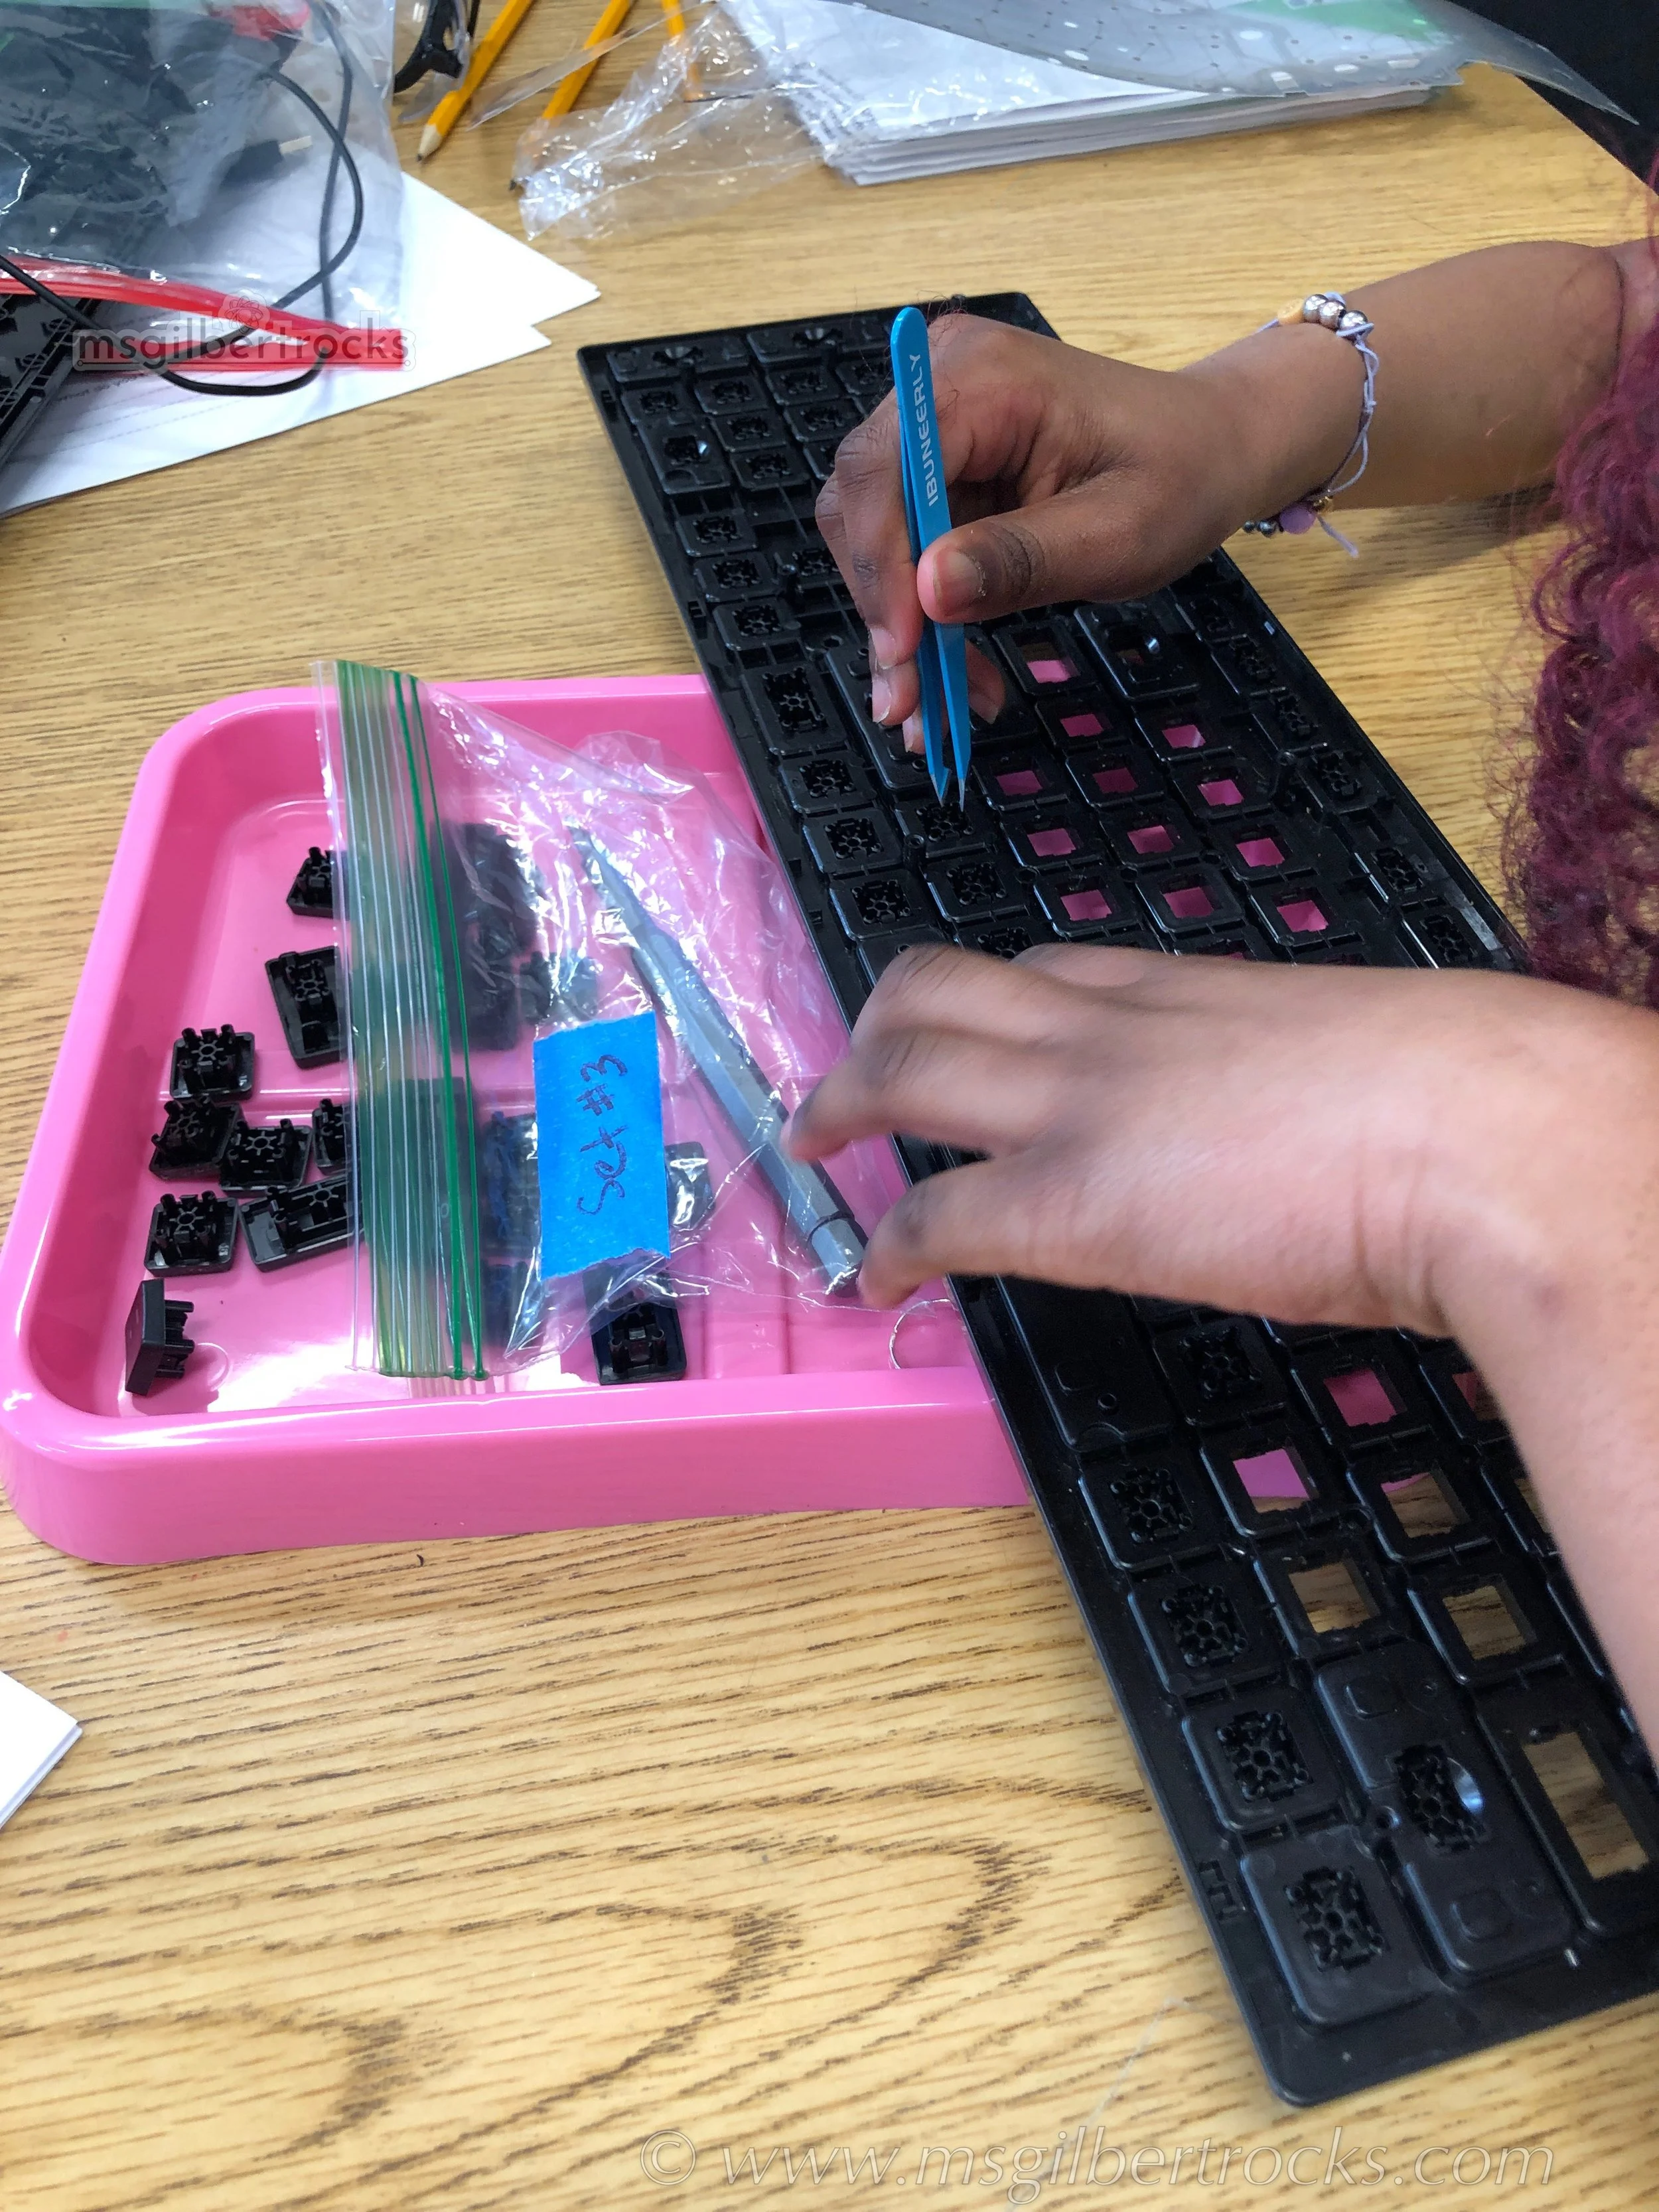
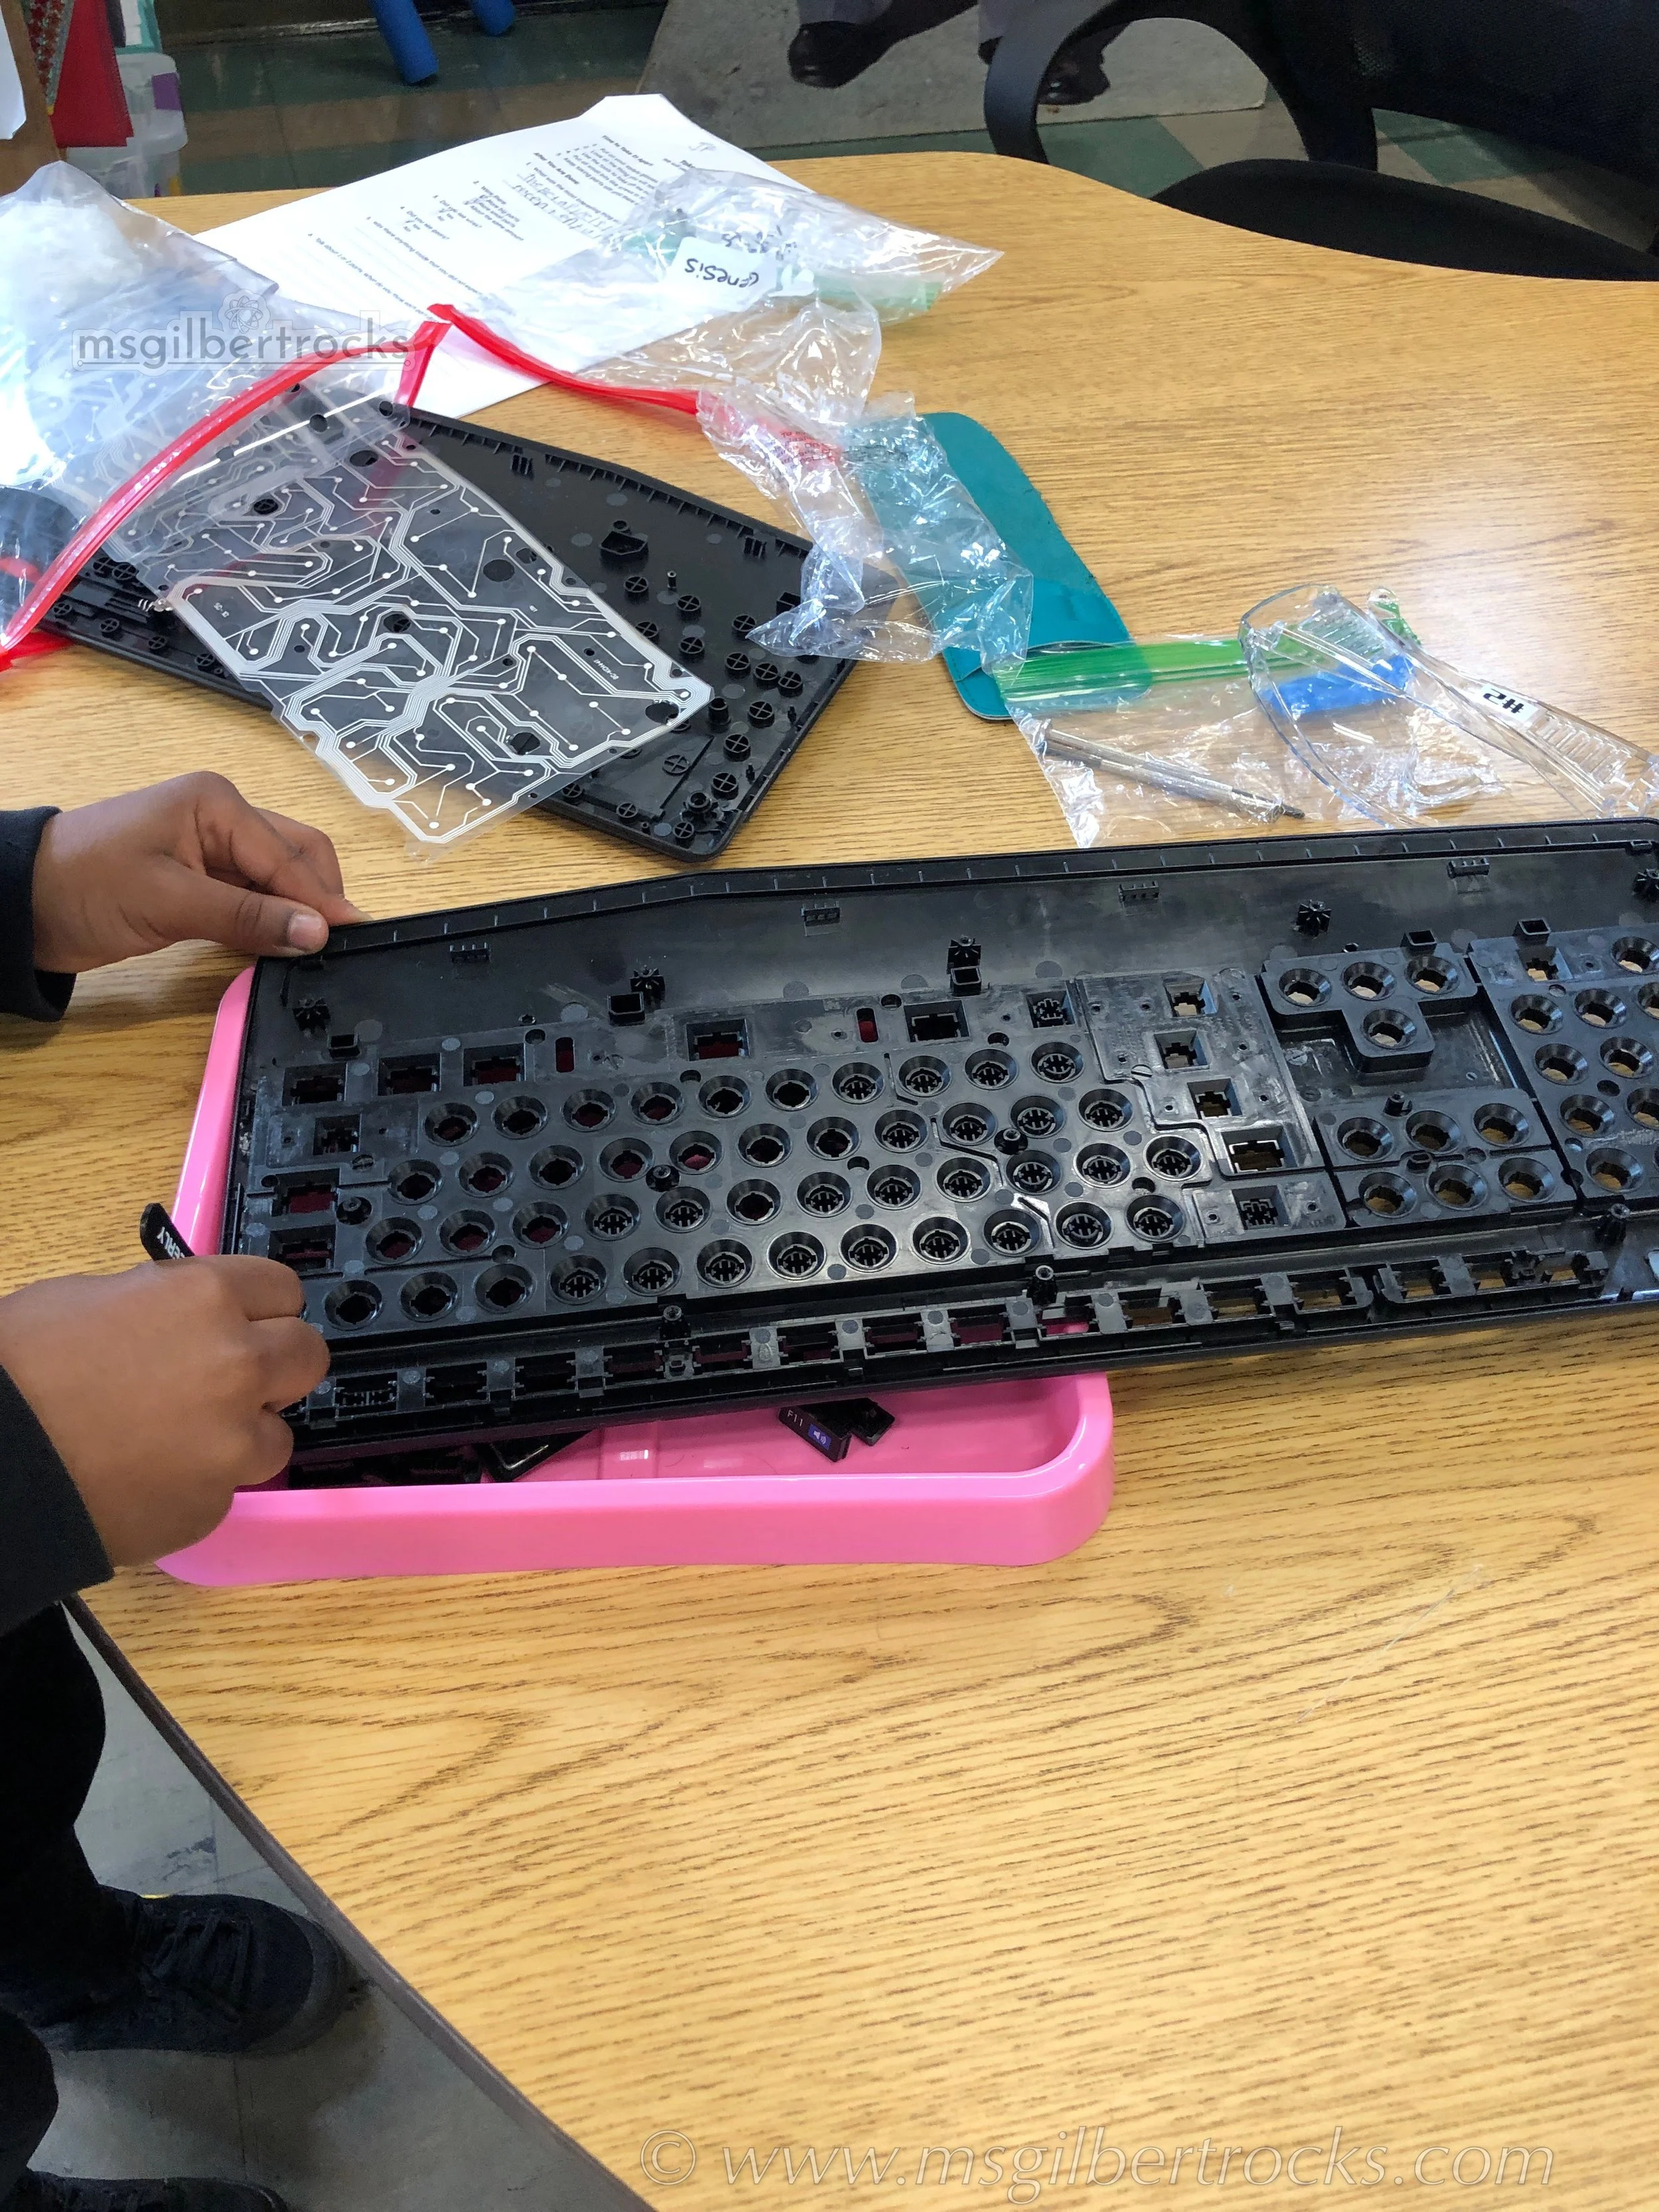
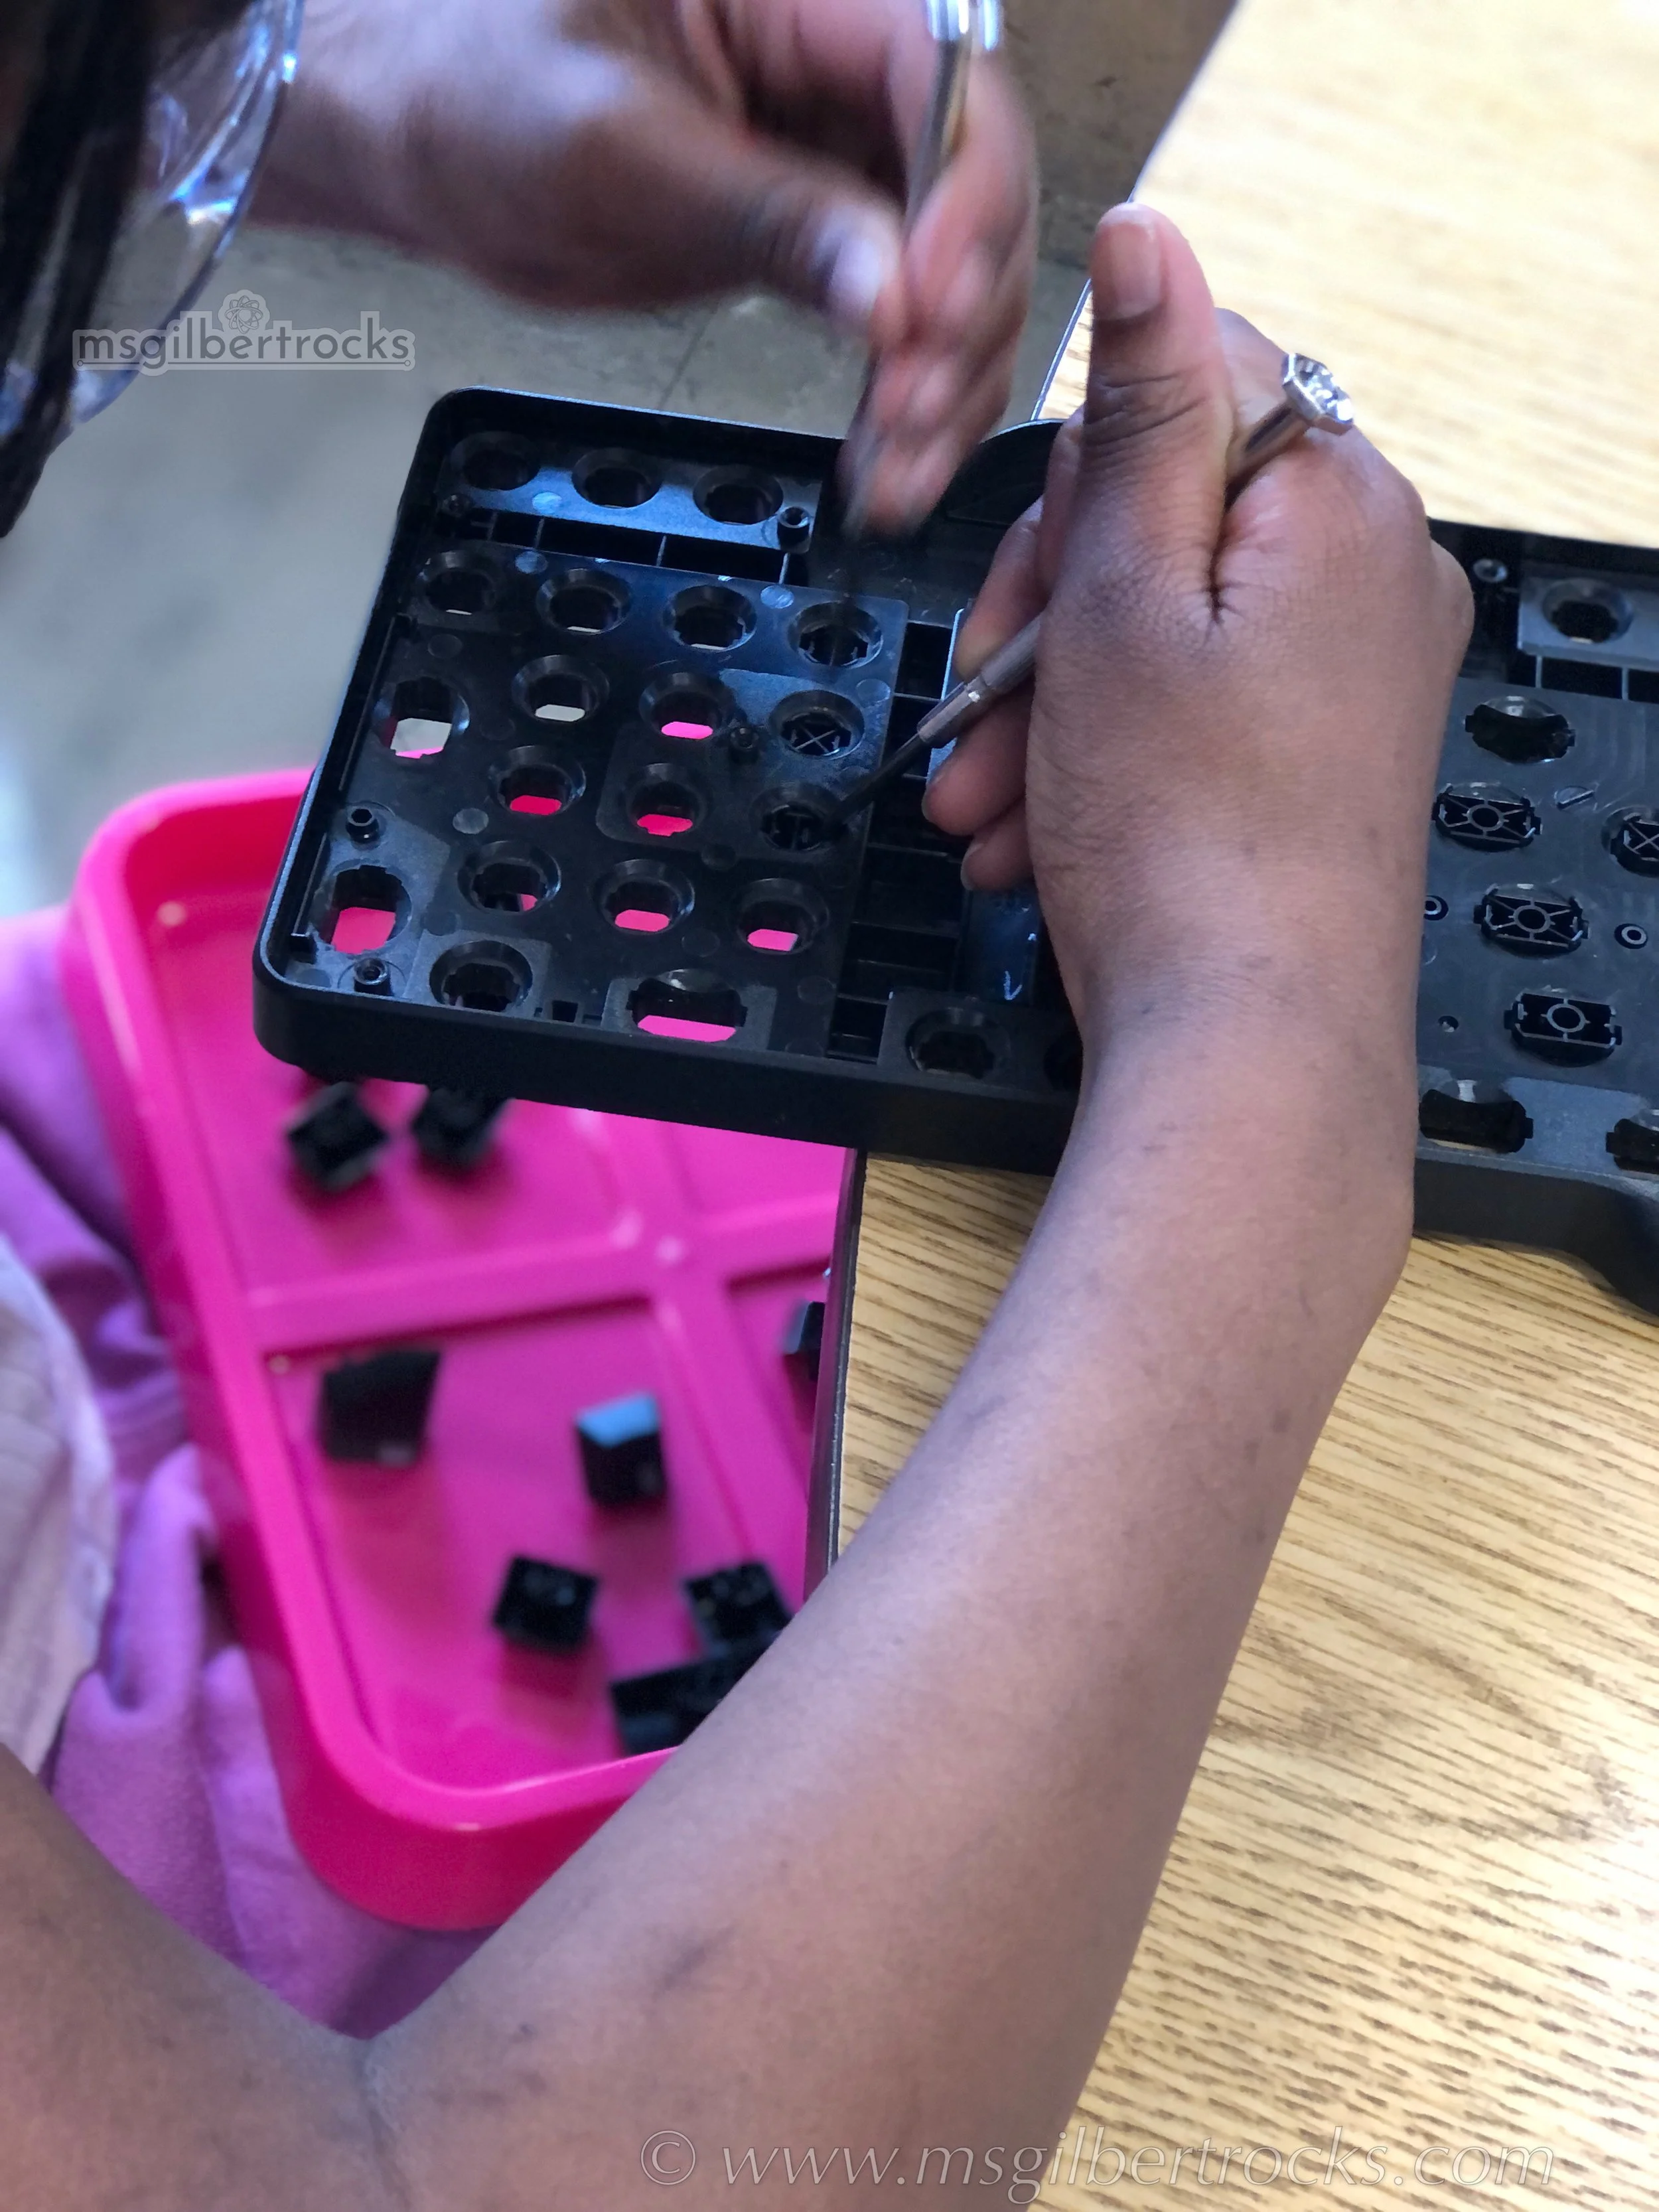
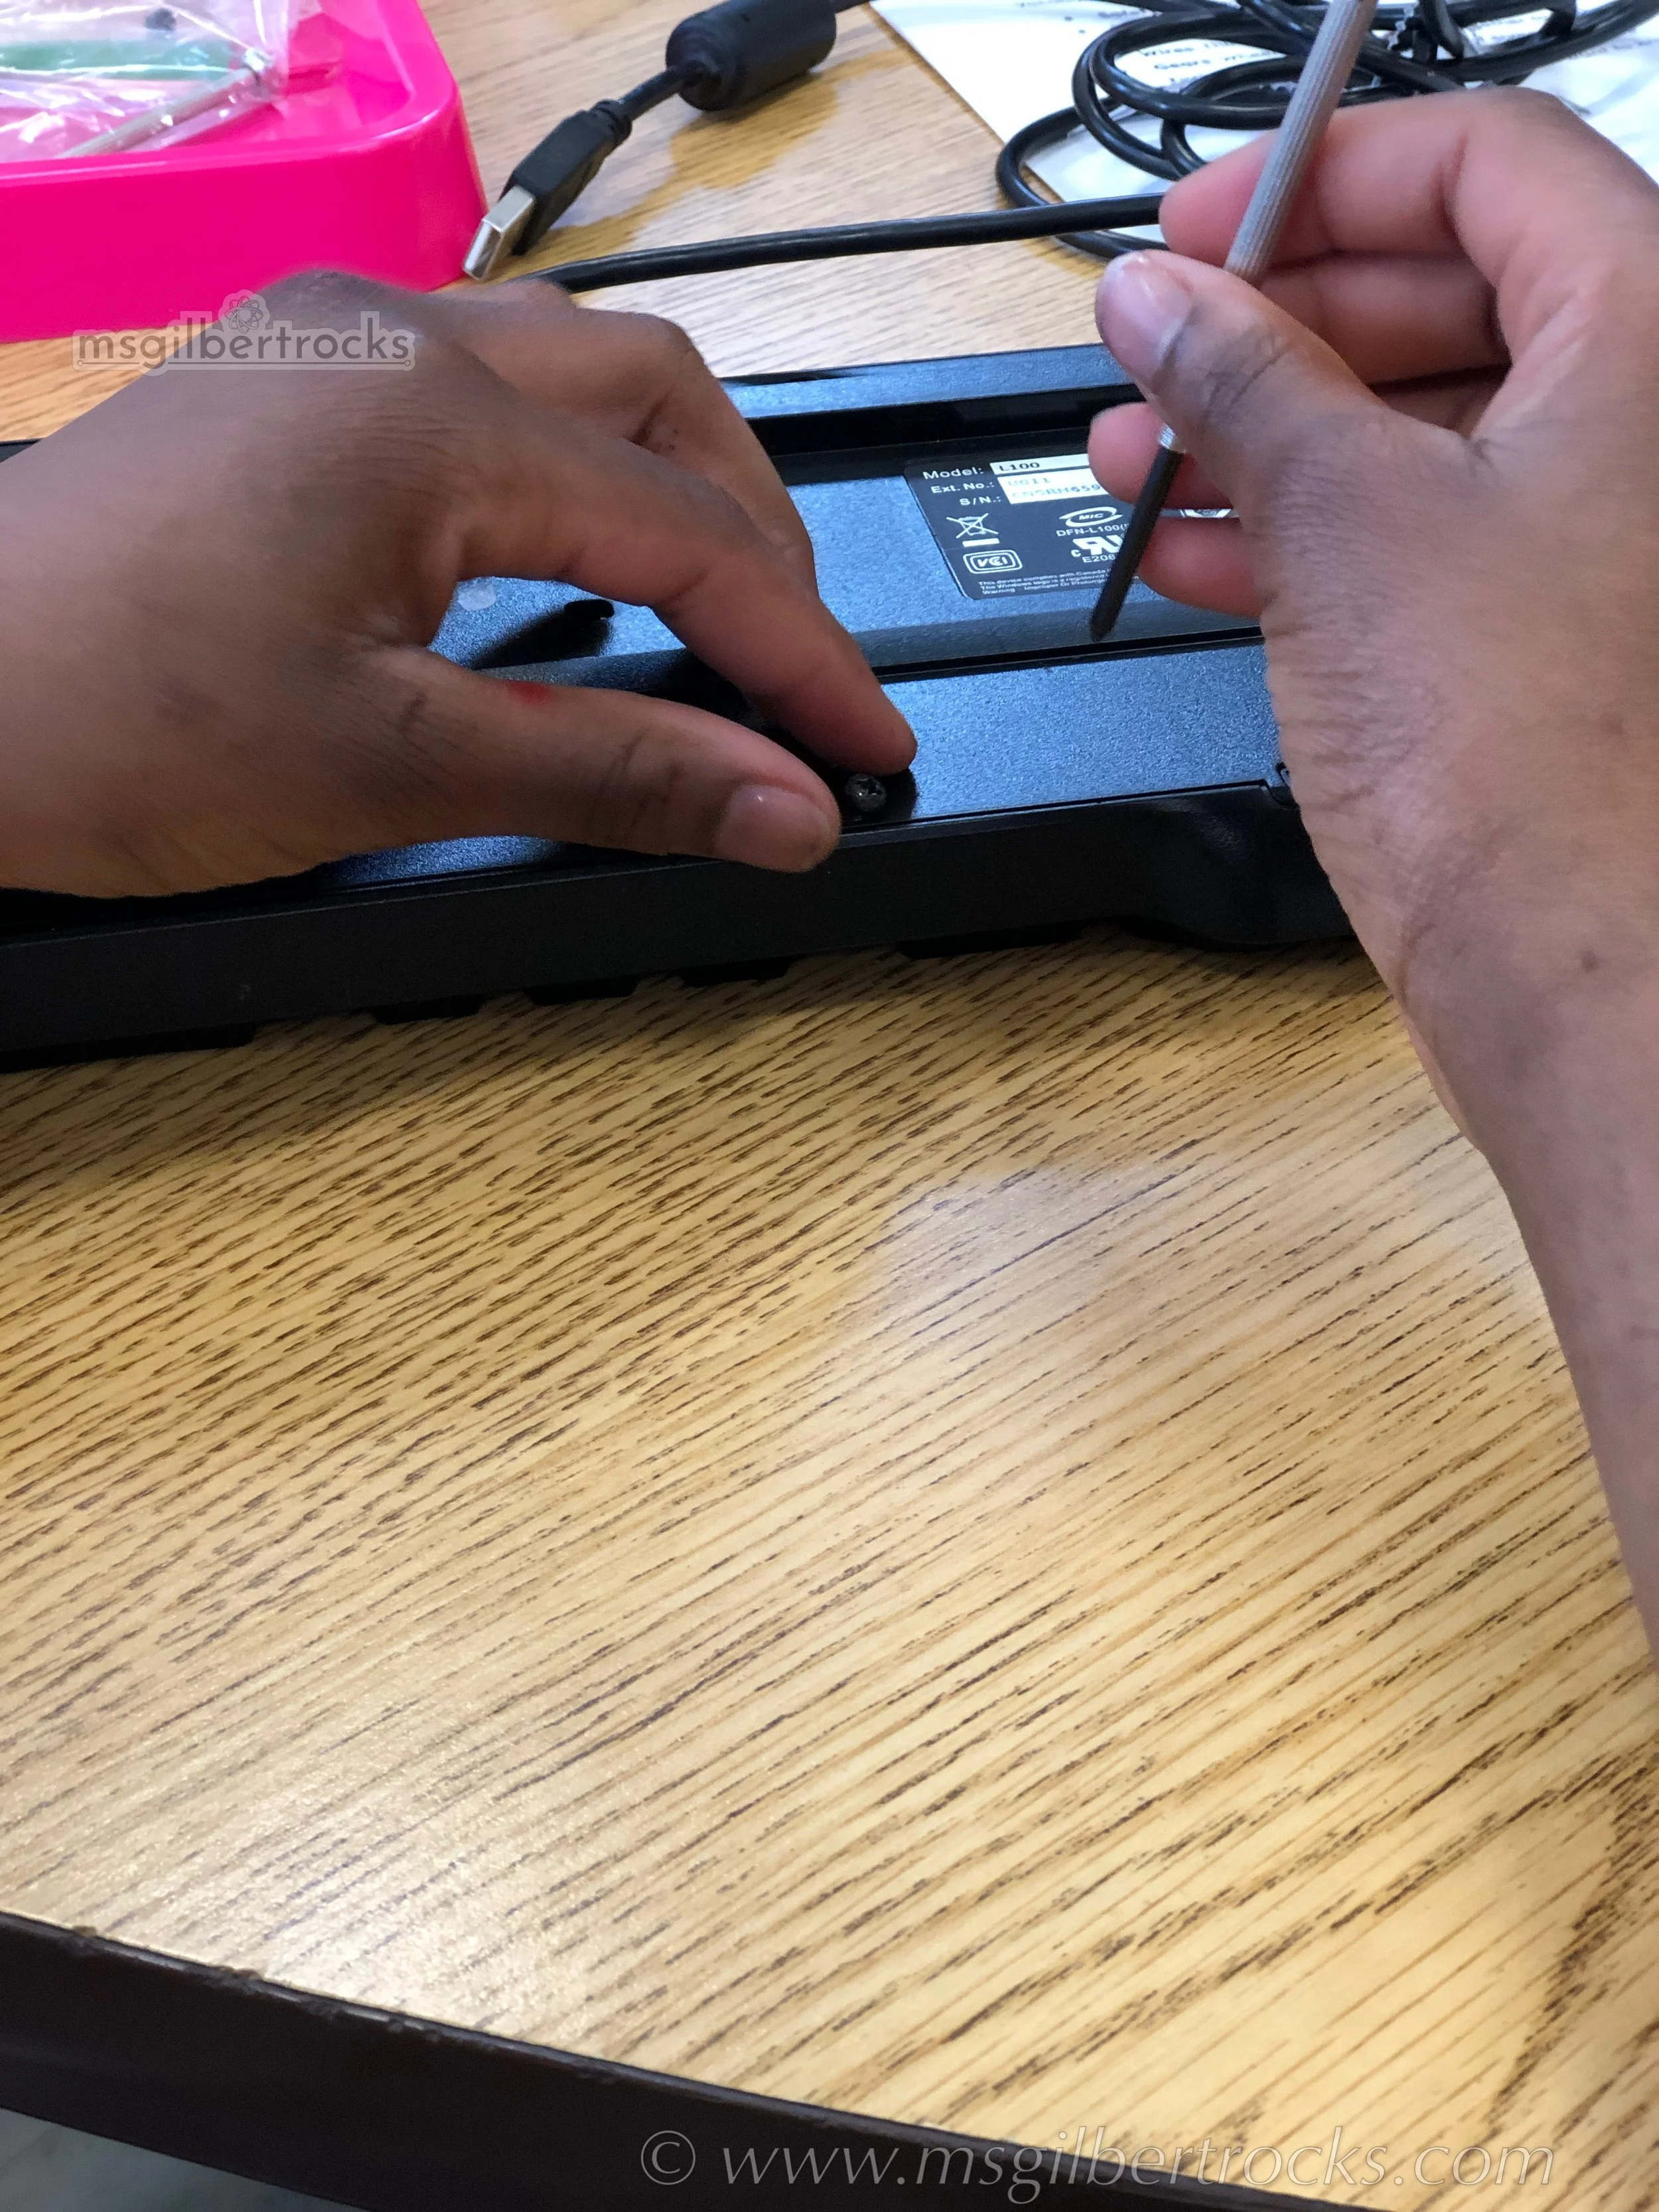
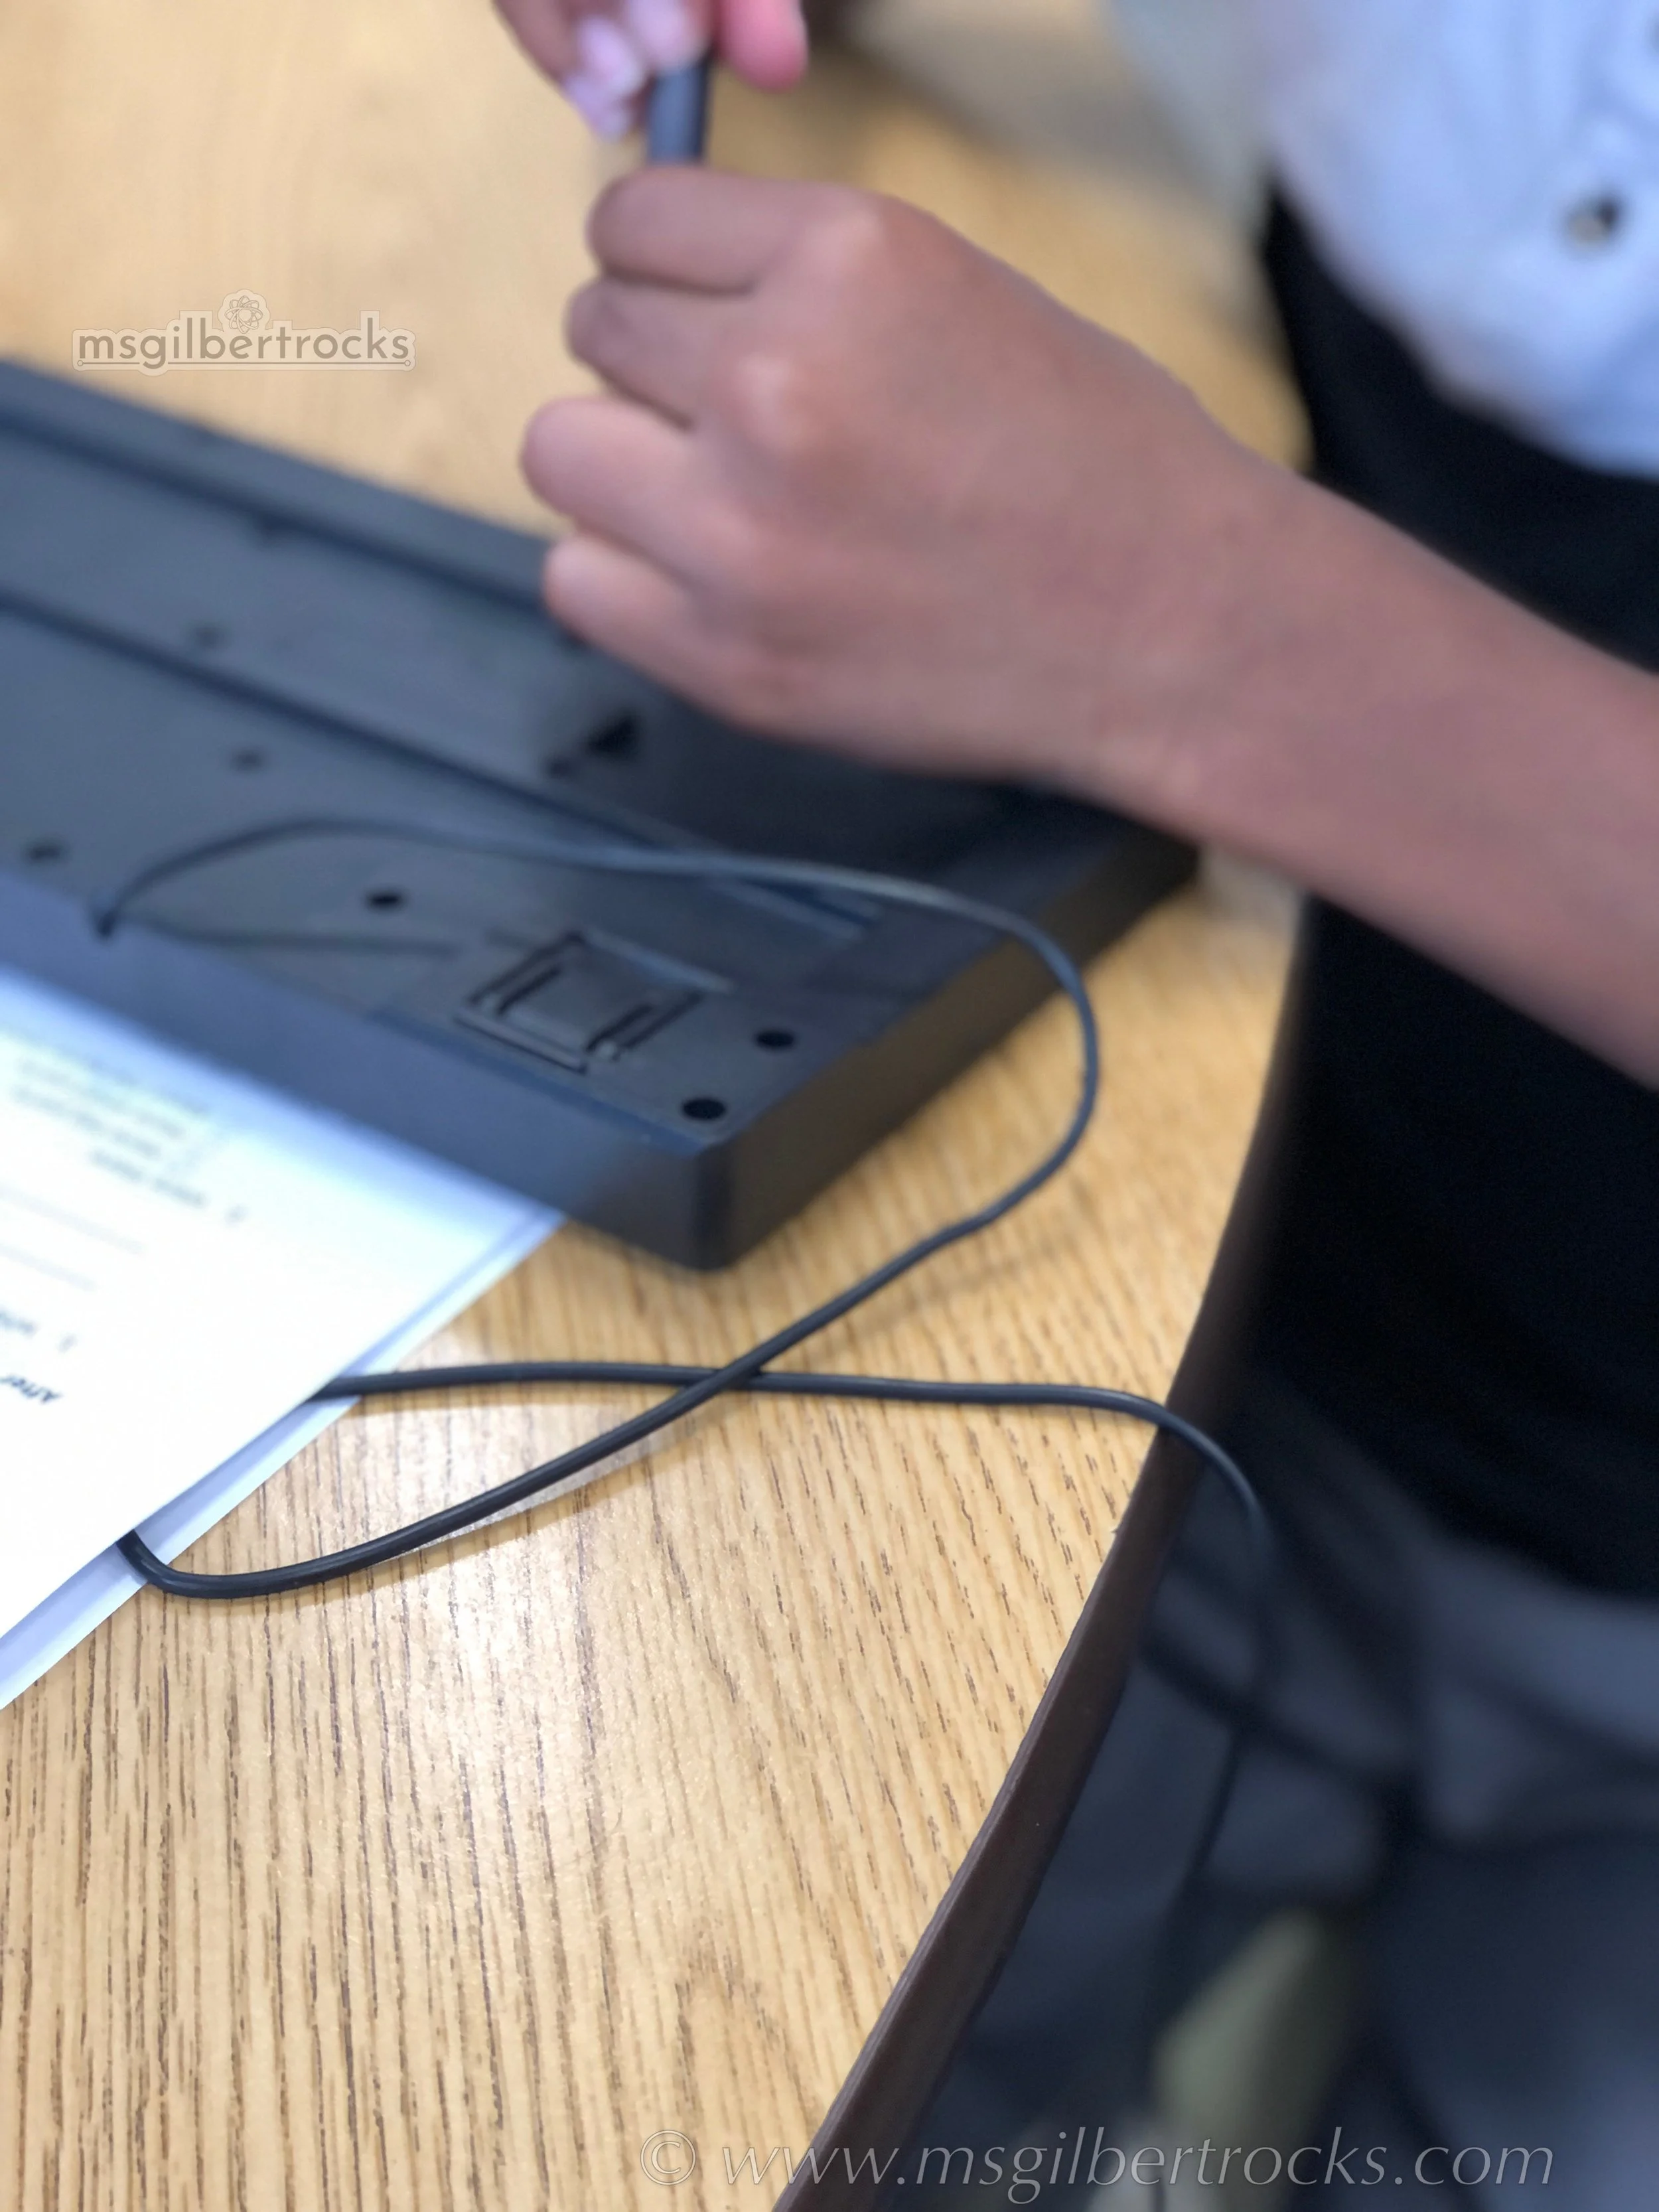
For this project, we used computer keyboards sourced from Goodwill so students would have the same piece of technology to take apart. You can source items many different ways, and Diana Rendina’s article is a great resource if you are looking for ideas. Since I did not have multiples of the same item, and was introducing this as a small group (5-6 students) reading class project with 2nd graders, I chose to purchase keyboards ($1.99 each) at Goodwill. Students were challenged to carefully deconstruct the keyboards using real tools, while following strict safety rules, and then reflect on their findings through writing and speaking tasks.
Why a Take-Apart Activity?
Take-apart activities are a great way to:
Build curiosity and encourage questions
Develop fine motor skills
Foster problem-solving and perseverance
Integrate reading, writing, and speaking skills in an authentic way
In this case, the Take-Apart Treasure Hunt gave students a real reason to read instructions, use vocabulary words, answer reflection questions, and present their ideas, all while getting a peek inside everyday technology.
By working hands-on with real objects like computer keyboards, students practiced literacy skills in a way that felt purposeful, engaging, and exciting.
Setting the Stage for Success
Before starting, we reviewed our Take-Apart Treasure Hunt Agreement, which included important safety rules:
Eyes Safe: Wear safety glasses the entire time.
Hands and Body Safe: We will not throw any parts or tools. We will be careful with the tools and our bodies.
Parts Stay: All the small bits will go in the tray. The bigger parts can stay on the table. Nothing leaves the classroom.
Tool Time: We will use the tools the right way. Ask if you need help!
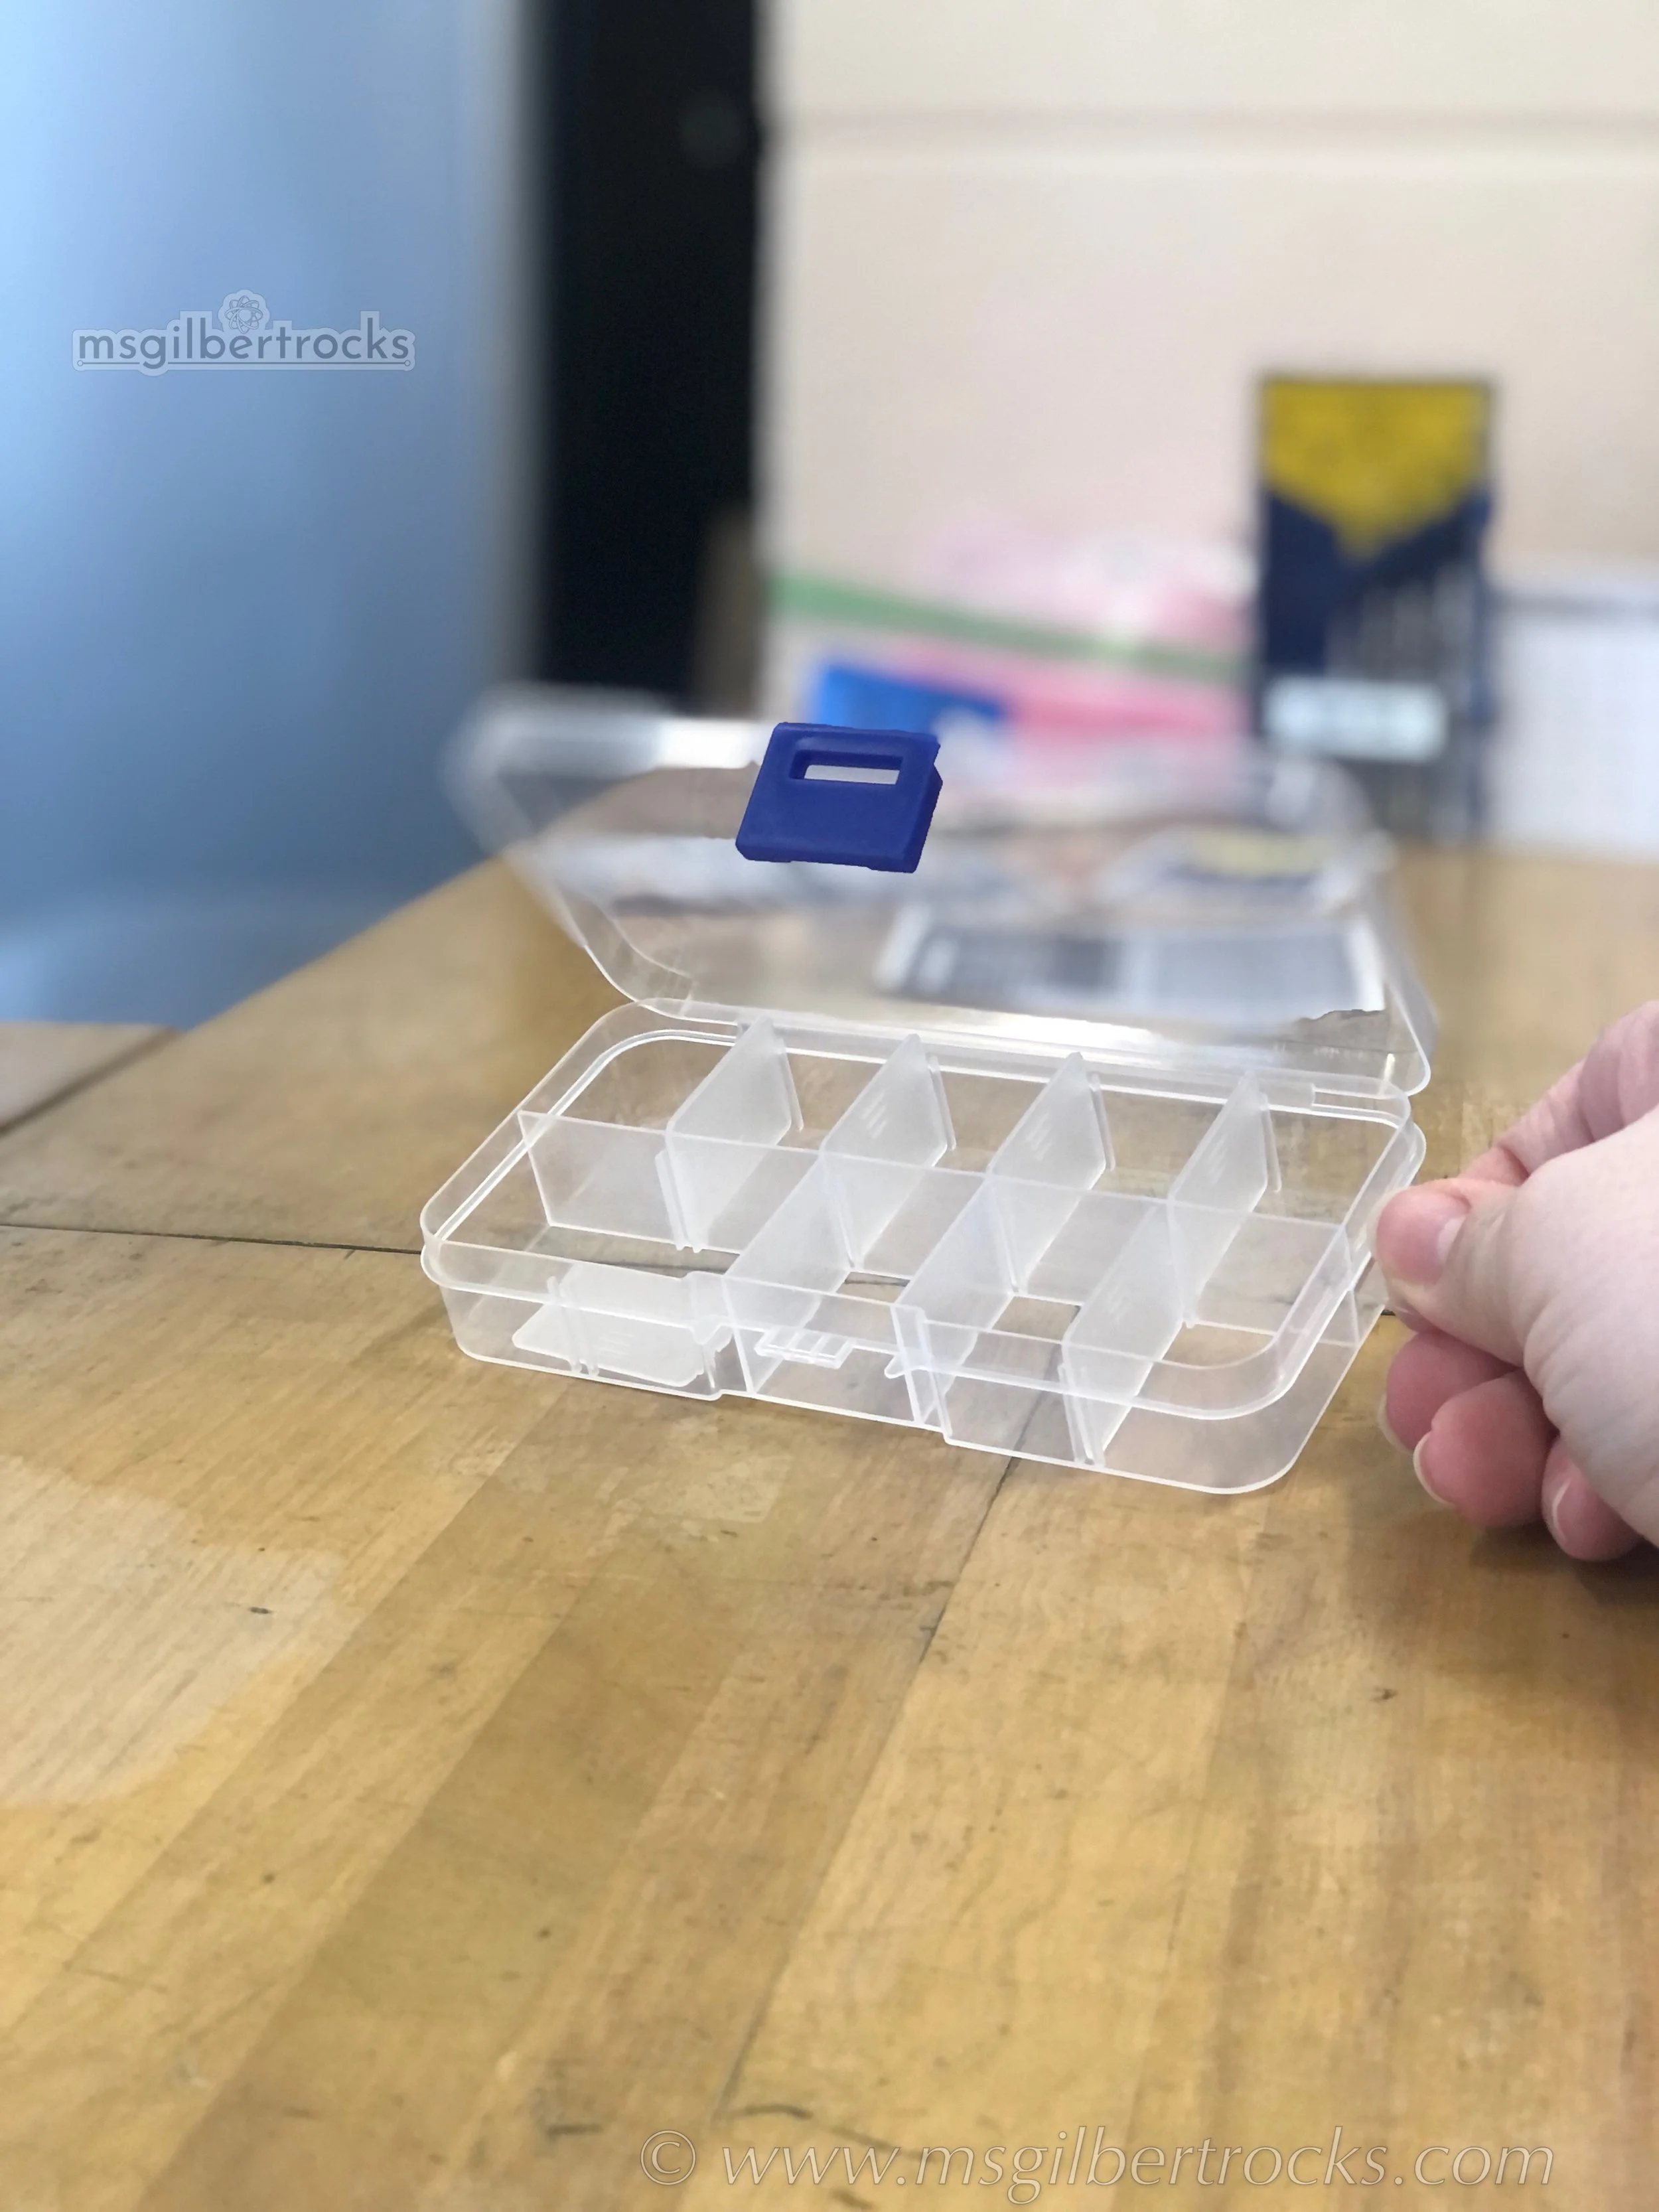
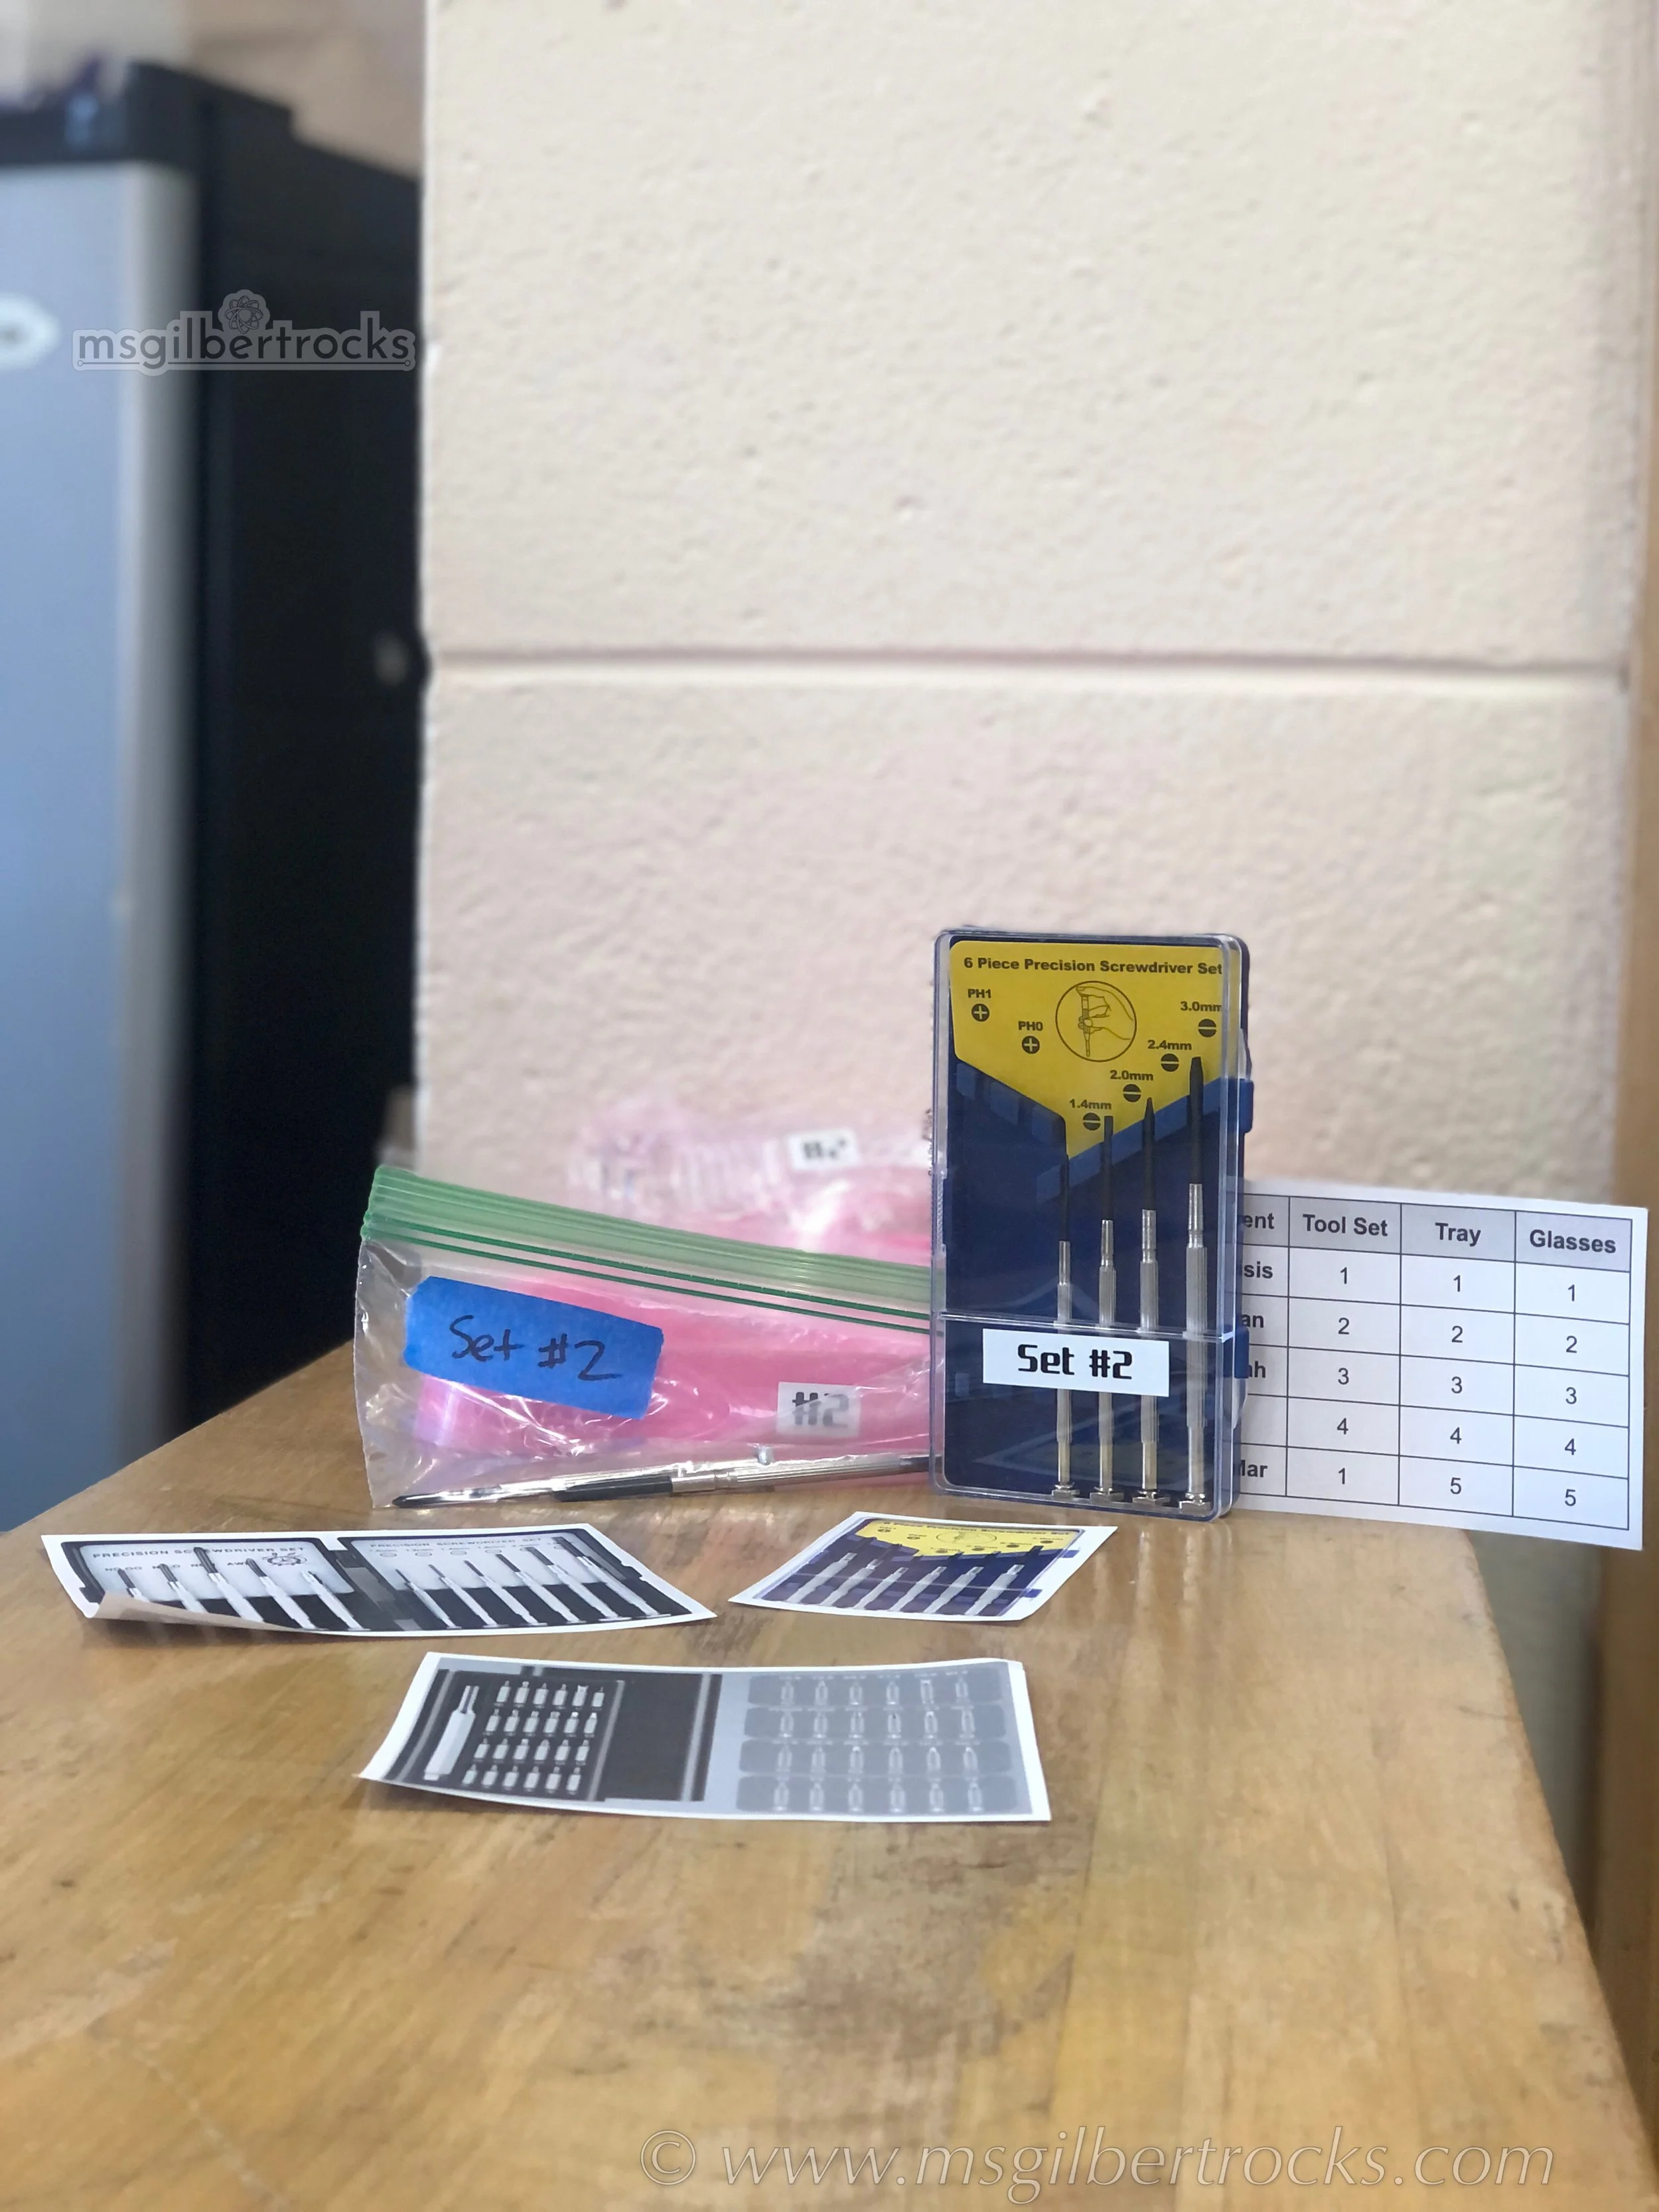
After we read the agreement out loud, students signed it to show they understood the expectations and were ready to be careful, respectful engineers. Note that while all parts stayed during the time we worked on the project, students ended up taking everything home (other than the museum display parts and tiny screws) if parents agreed. Use of baggies in several sizes helped keep sets of materials and each student’s parts contained. Gallon and quart sized slider storage bags were labeled with names and trays/tools were labeled with numbers since we had to share some things like the screwdriver sets. You can see photos in the gallery at the bottom of this post.
Building Literacy Skills Throughout
Students completed pre-activity reflections to predict what they might find inside their keyboards. They used a word bank and practiced vocabulary related to parts, tools, gears, wires, and safety. After the take-apart session, they answered a series of written reflection questions about what they found and why it was interesting.
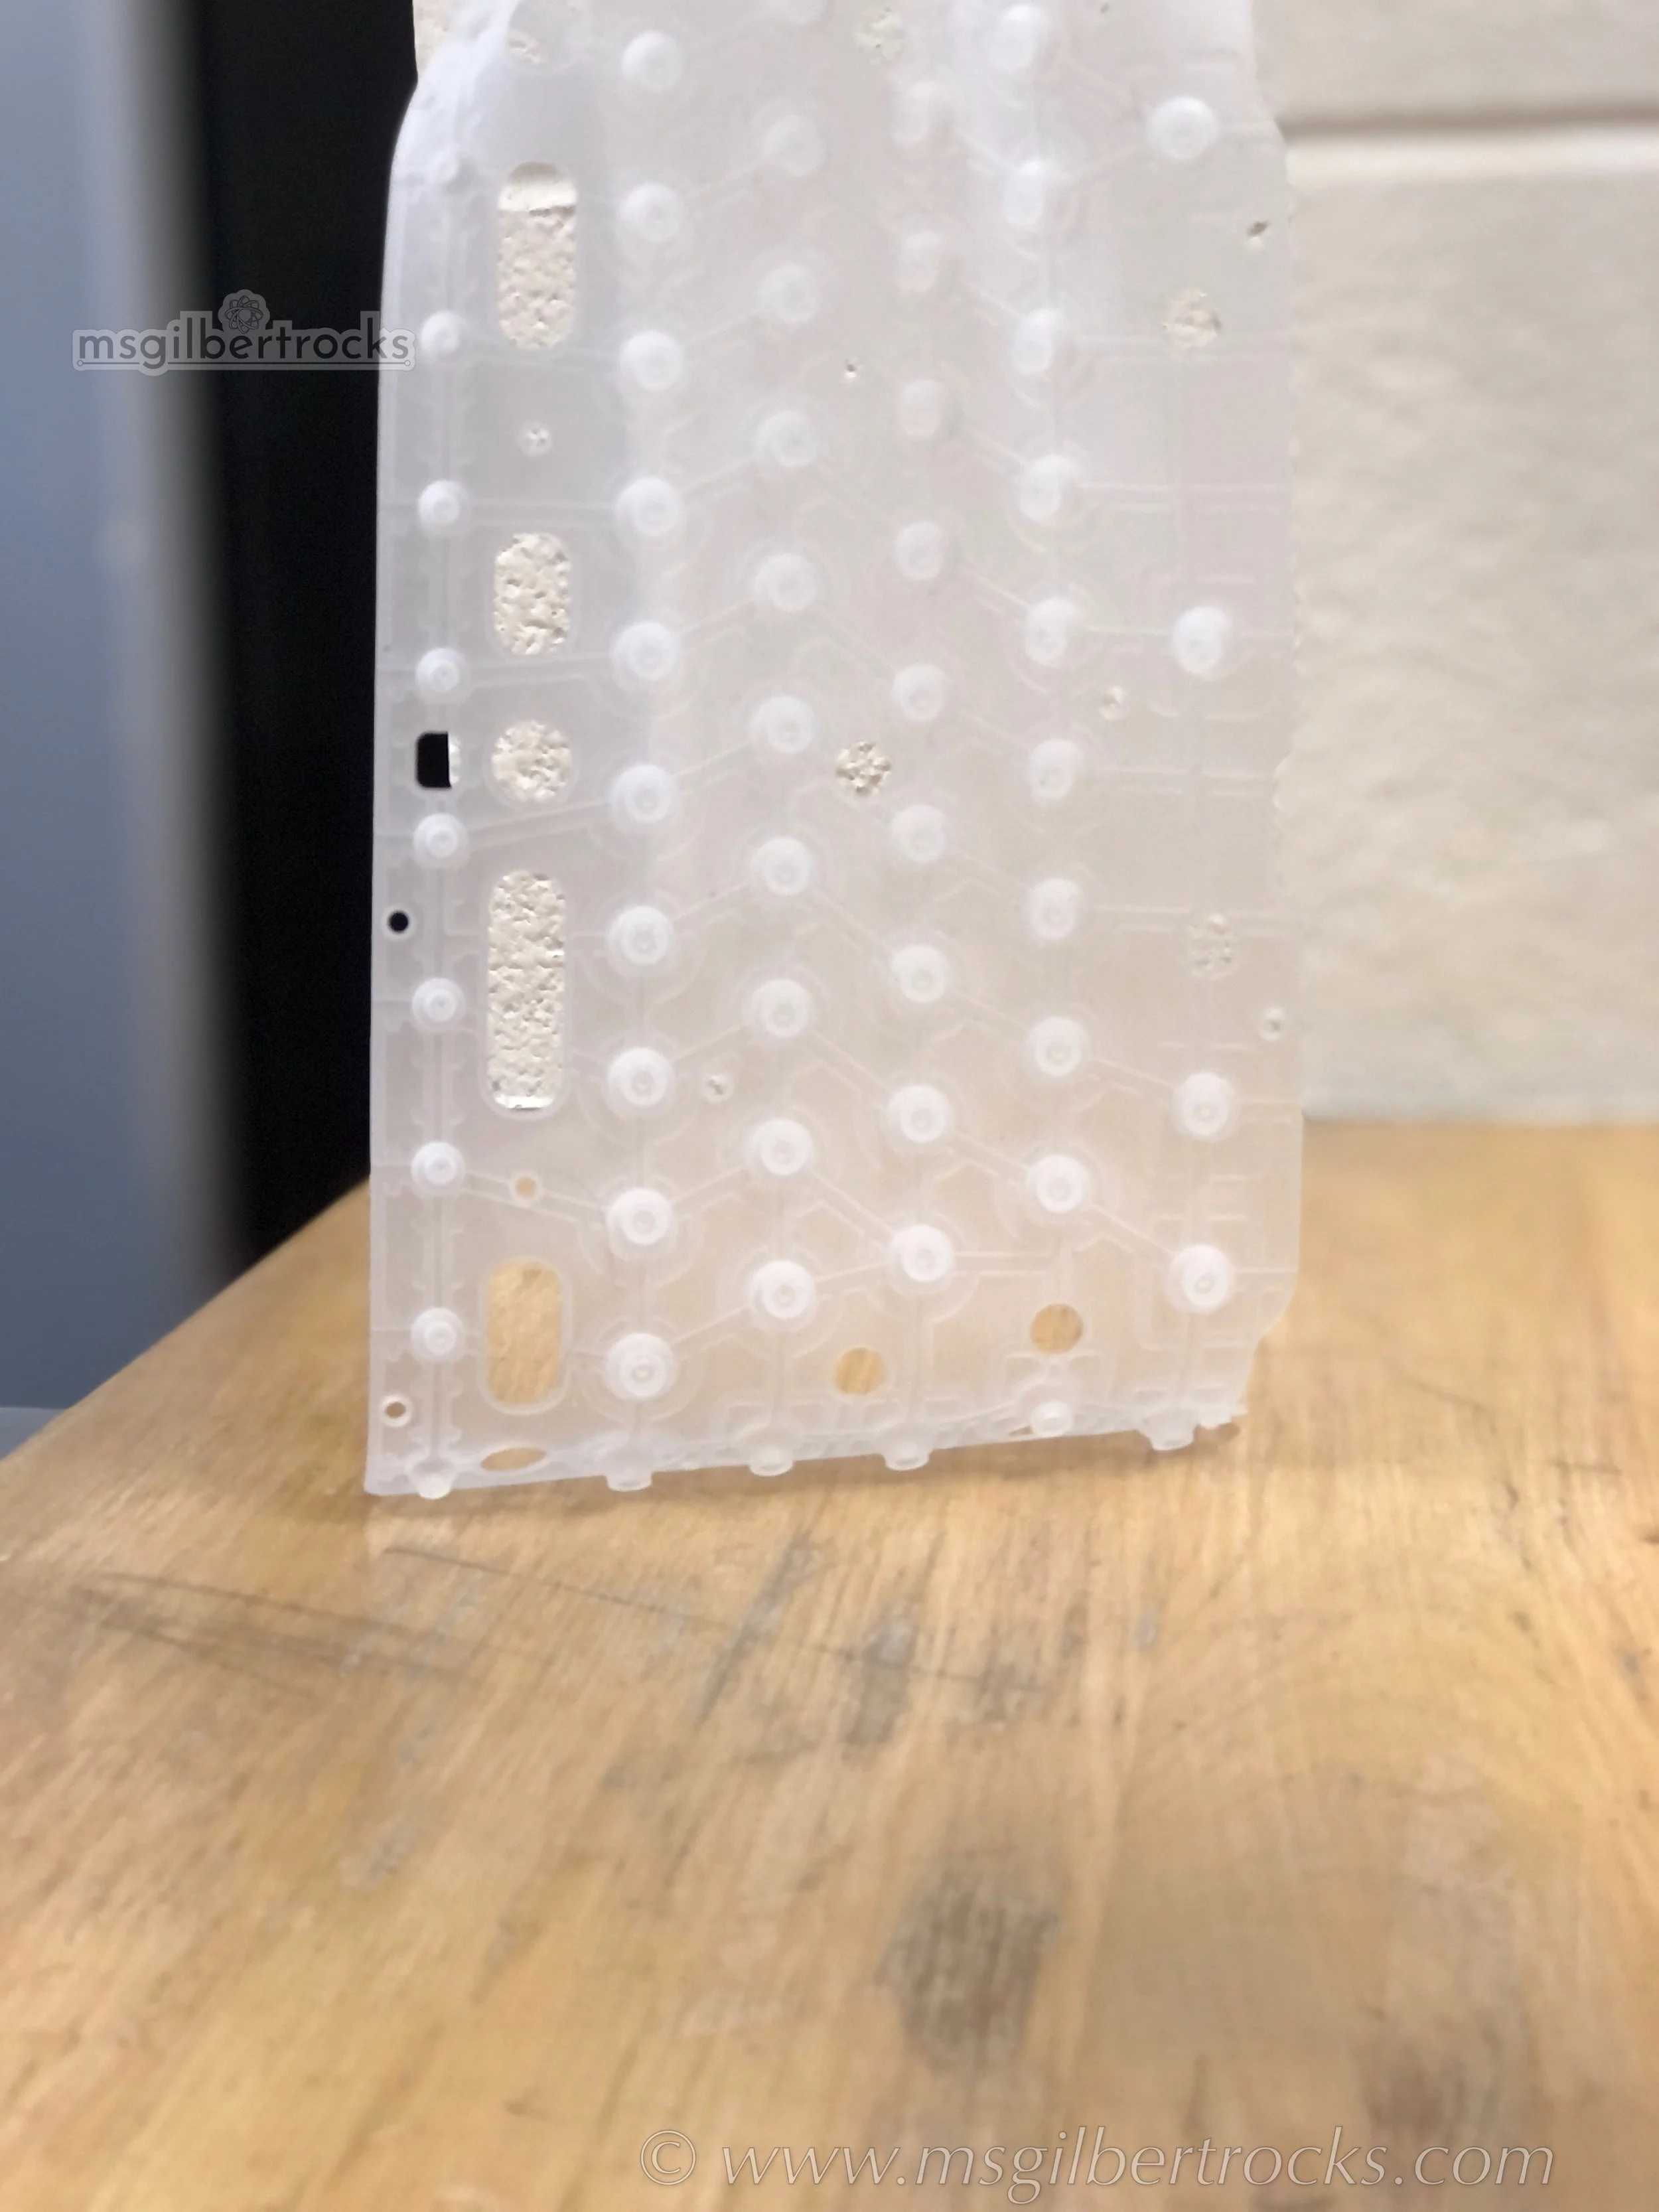
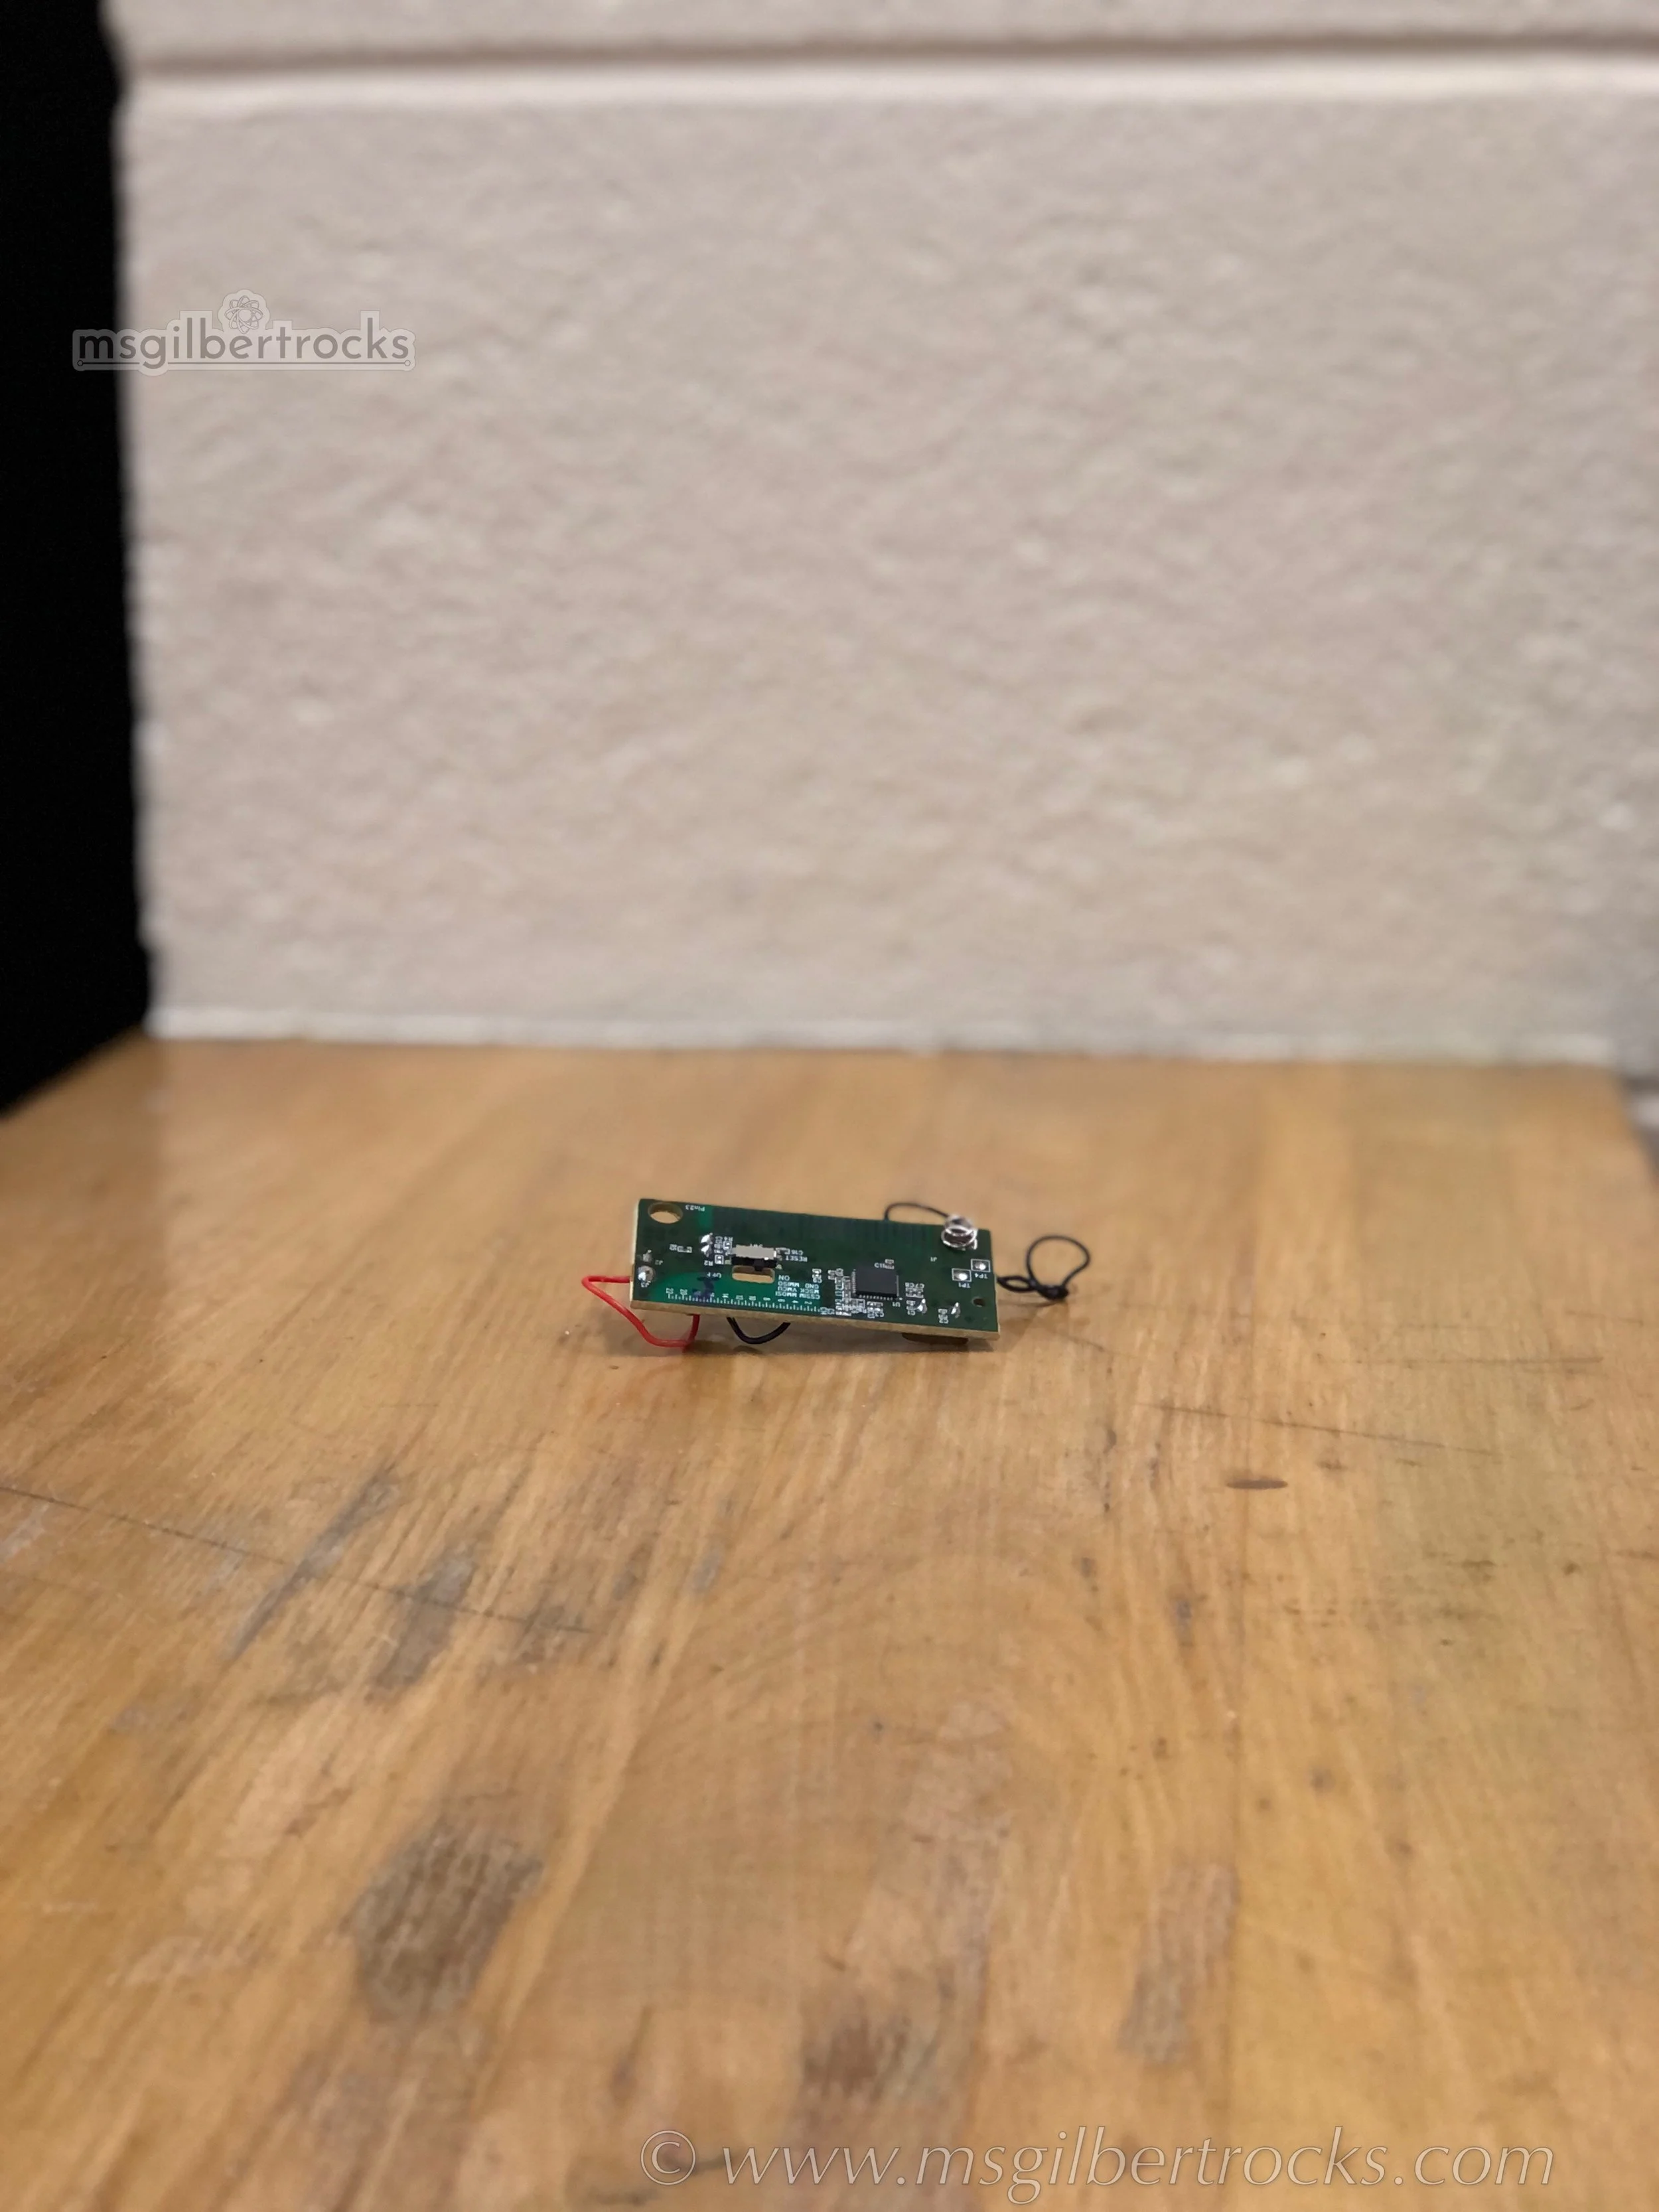
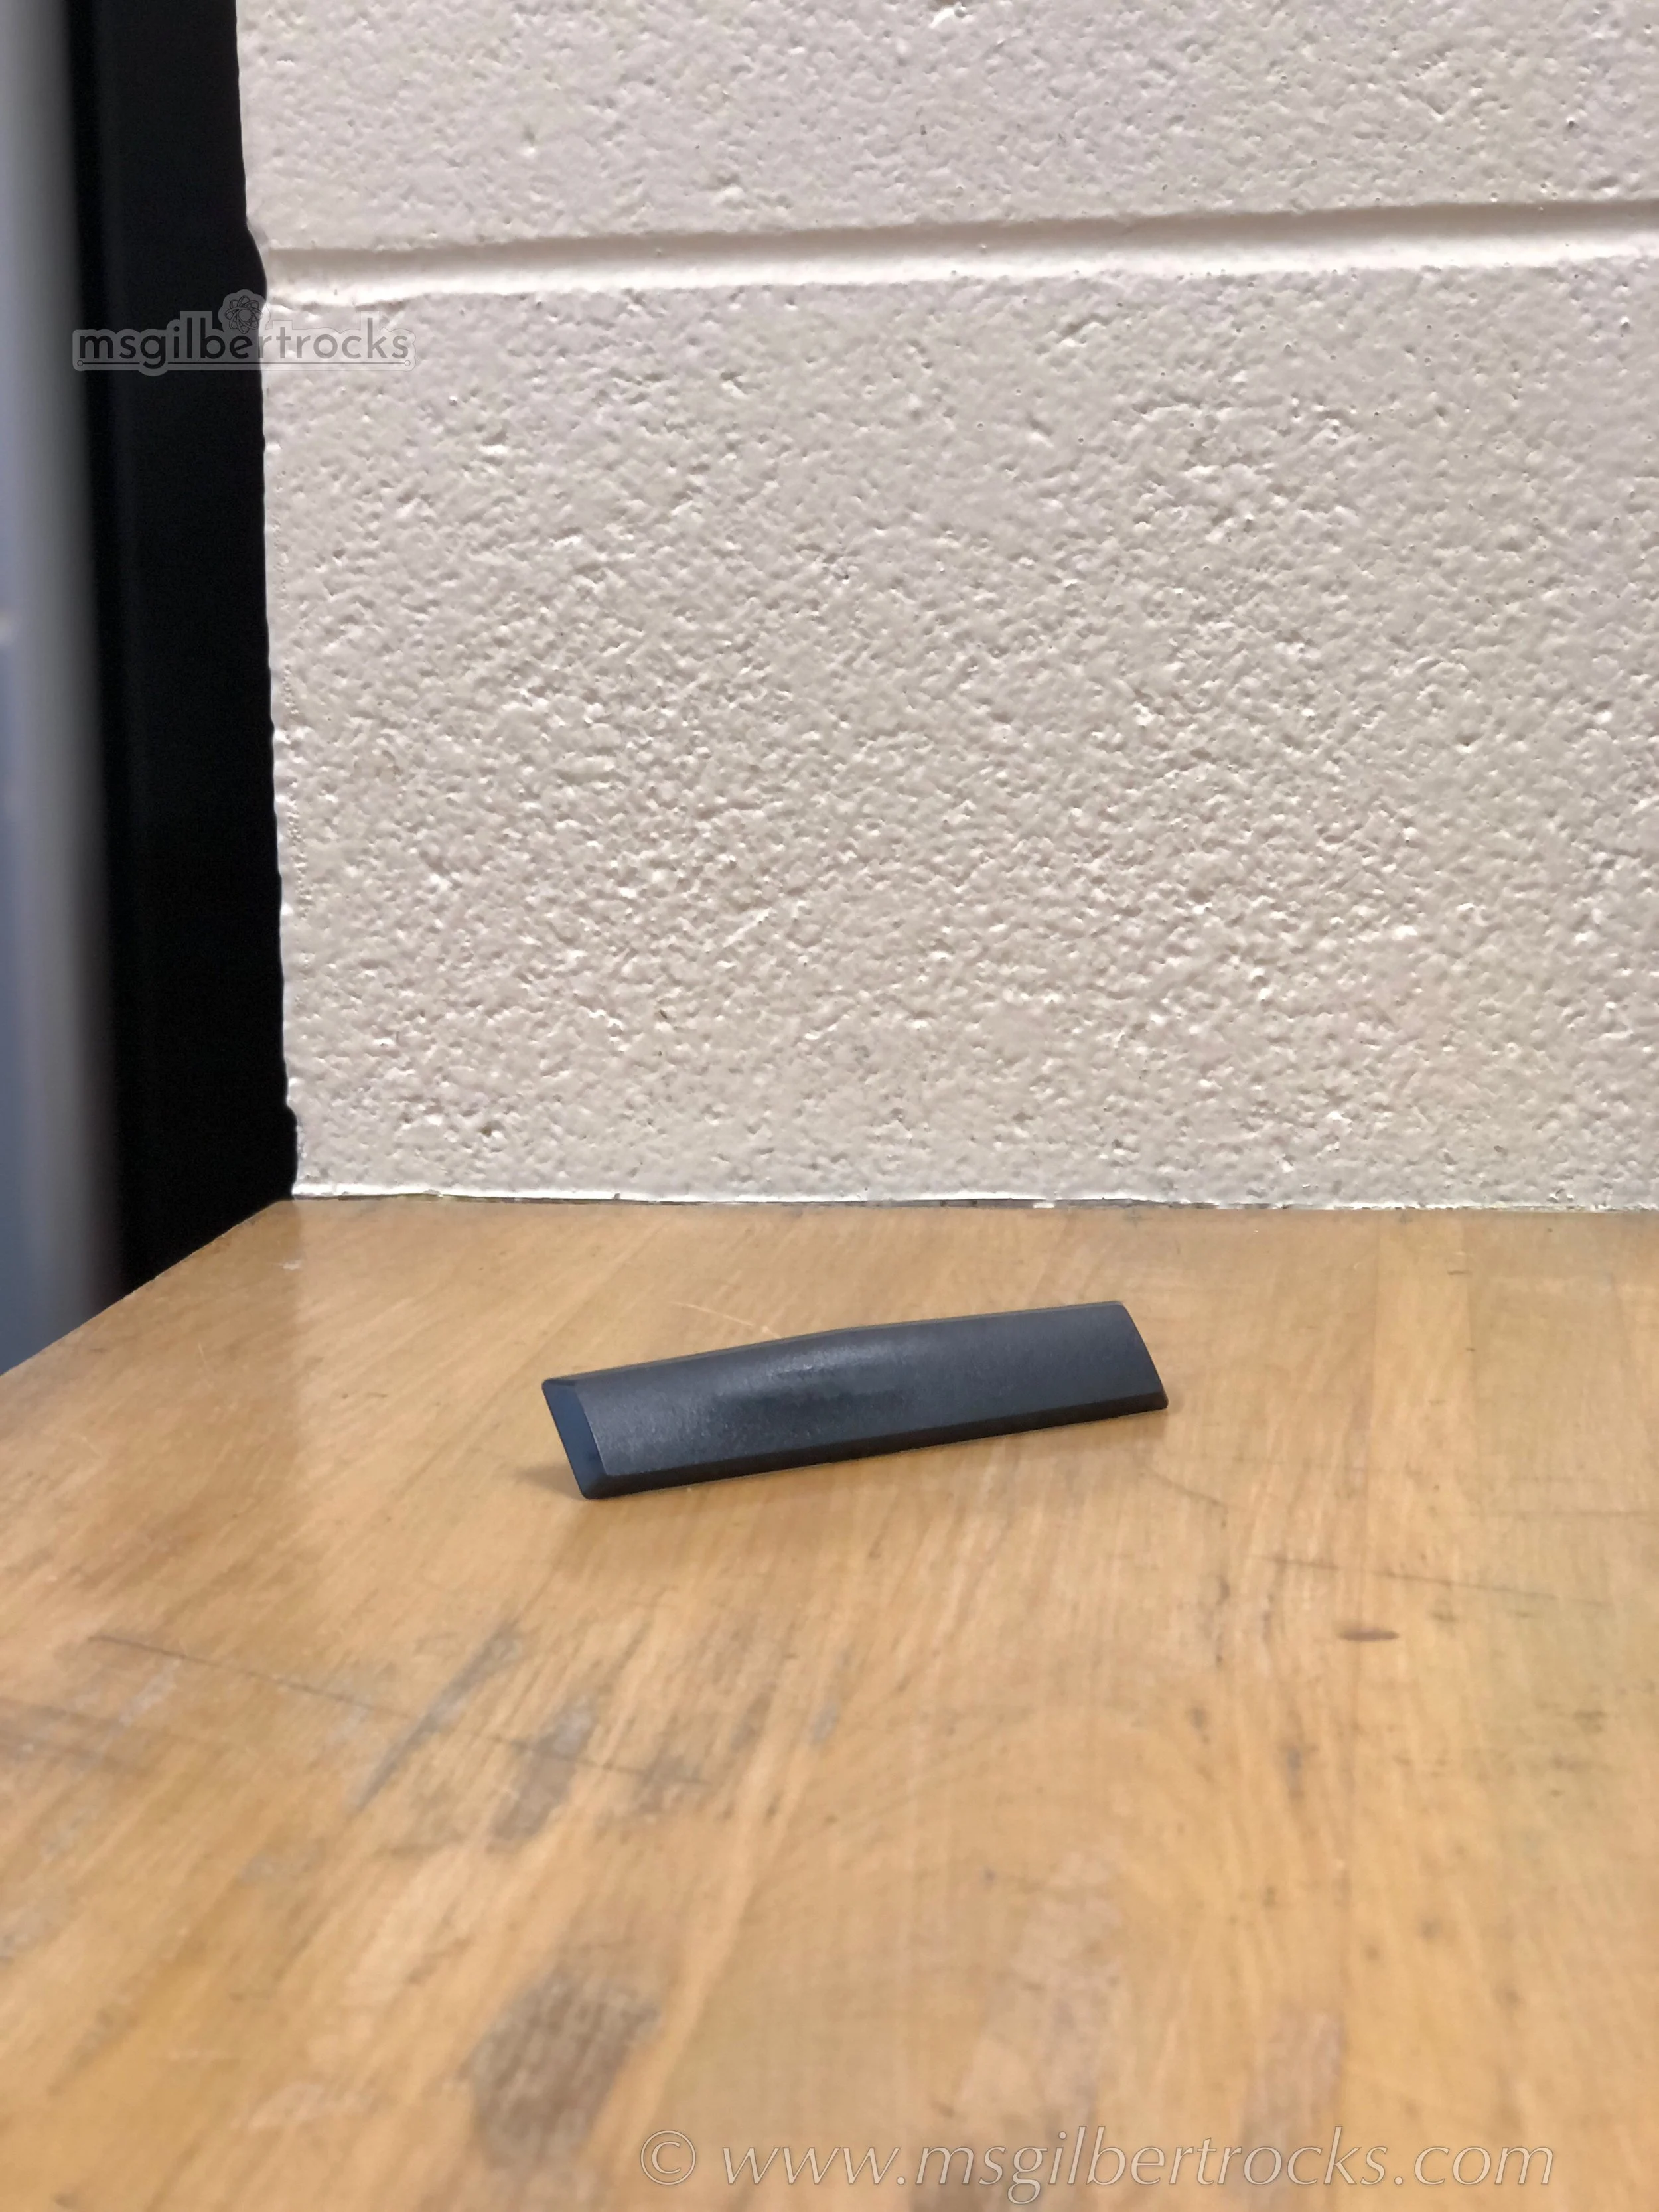
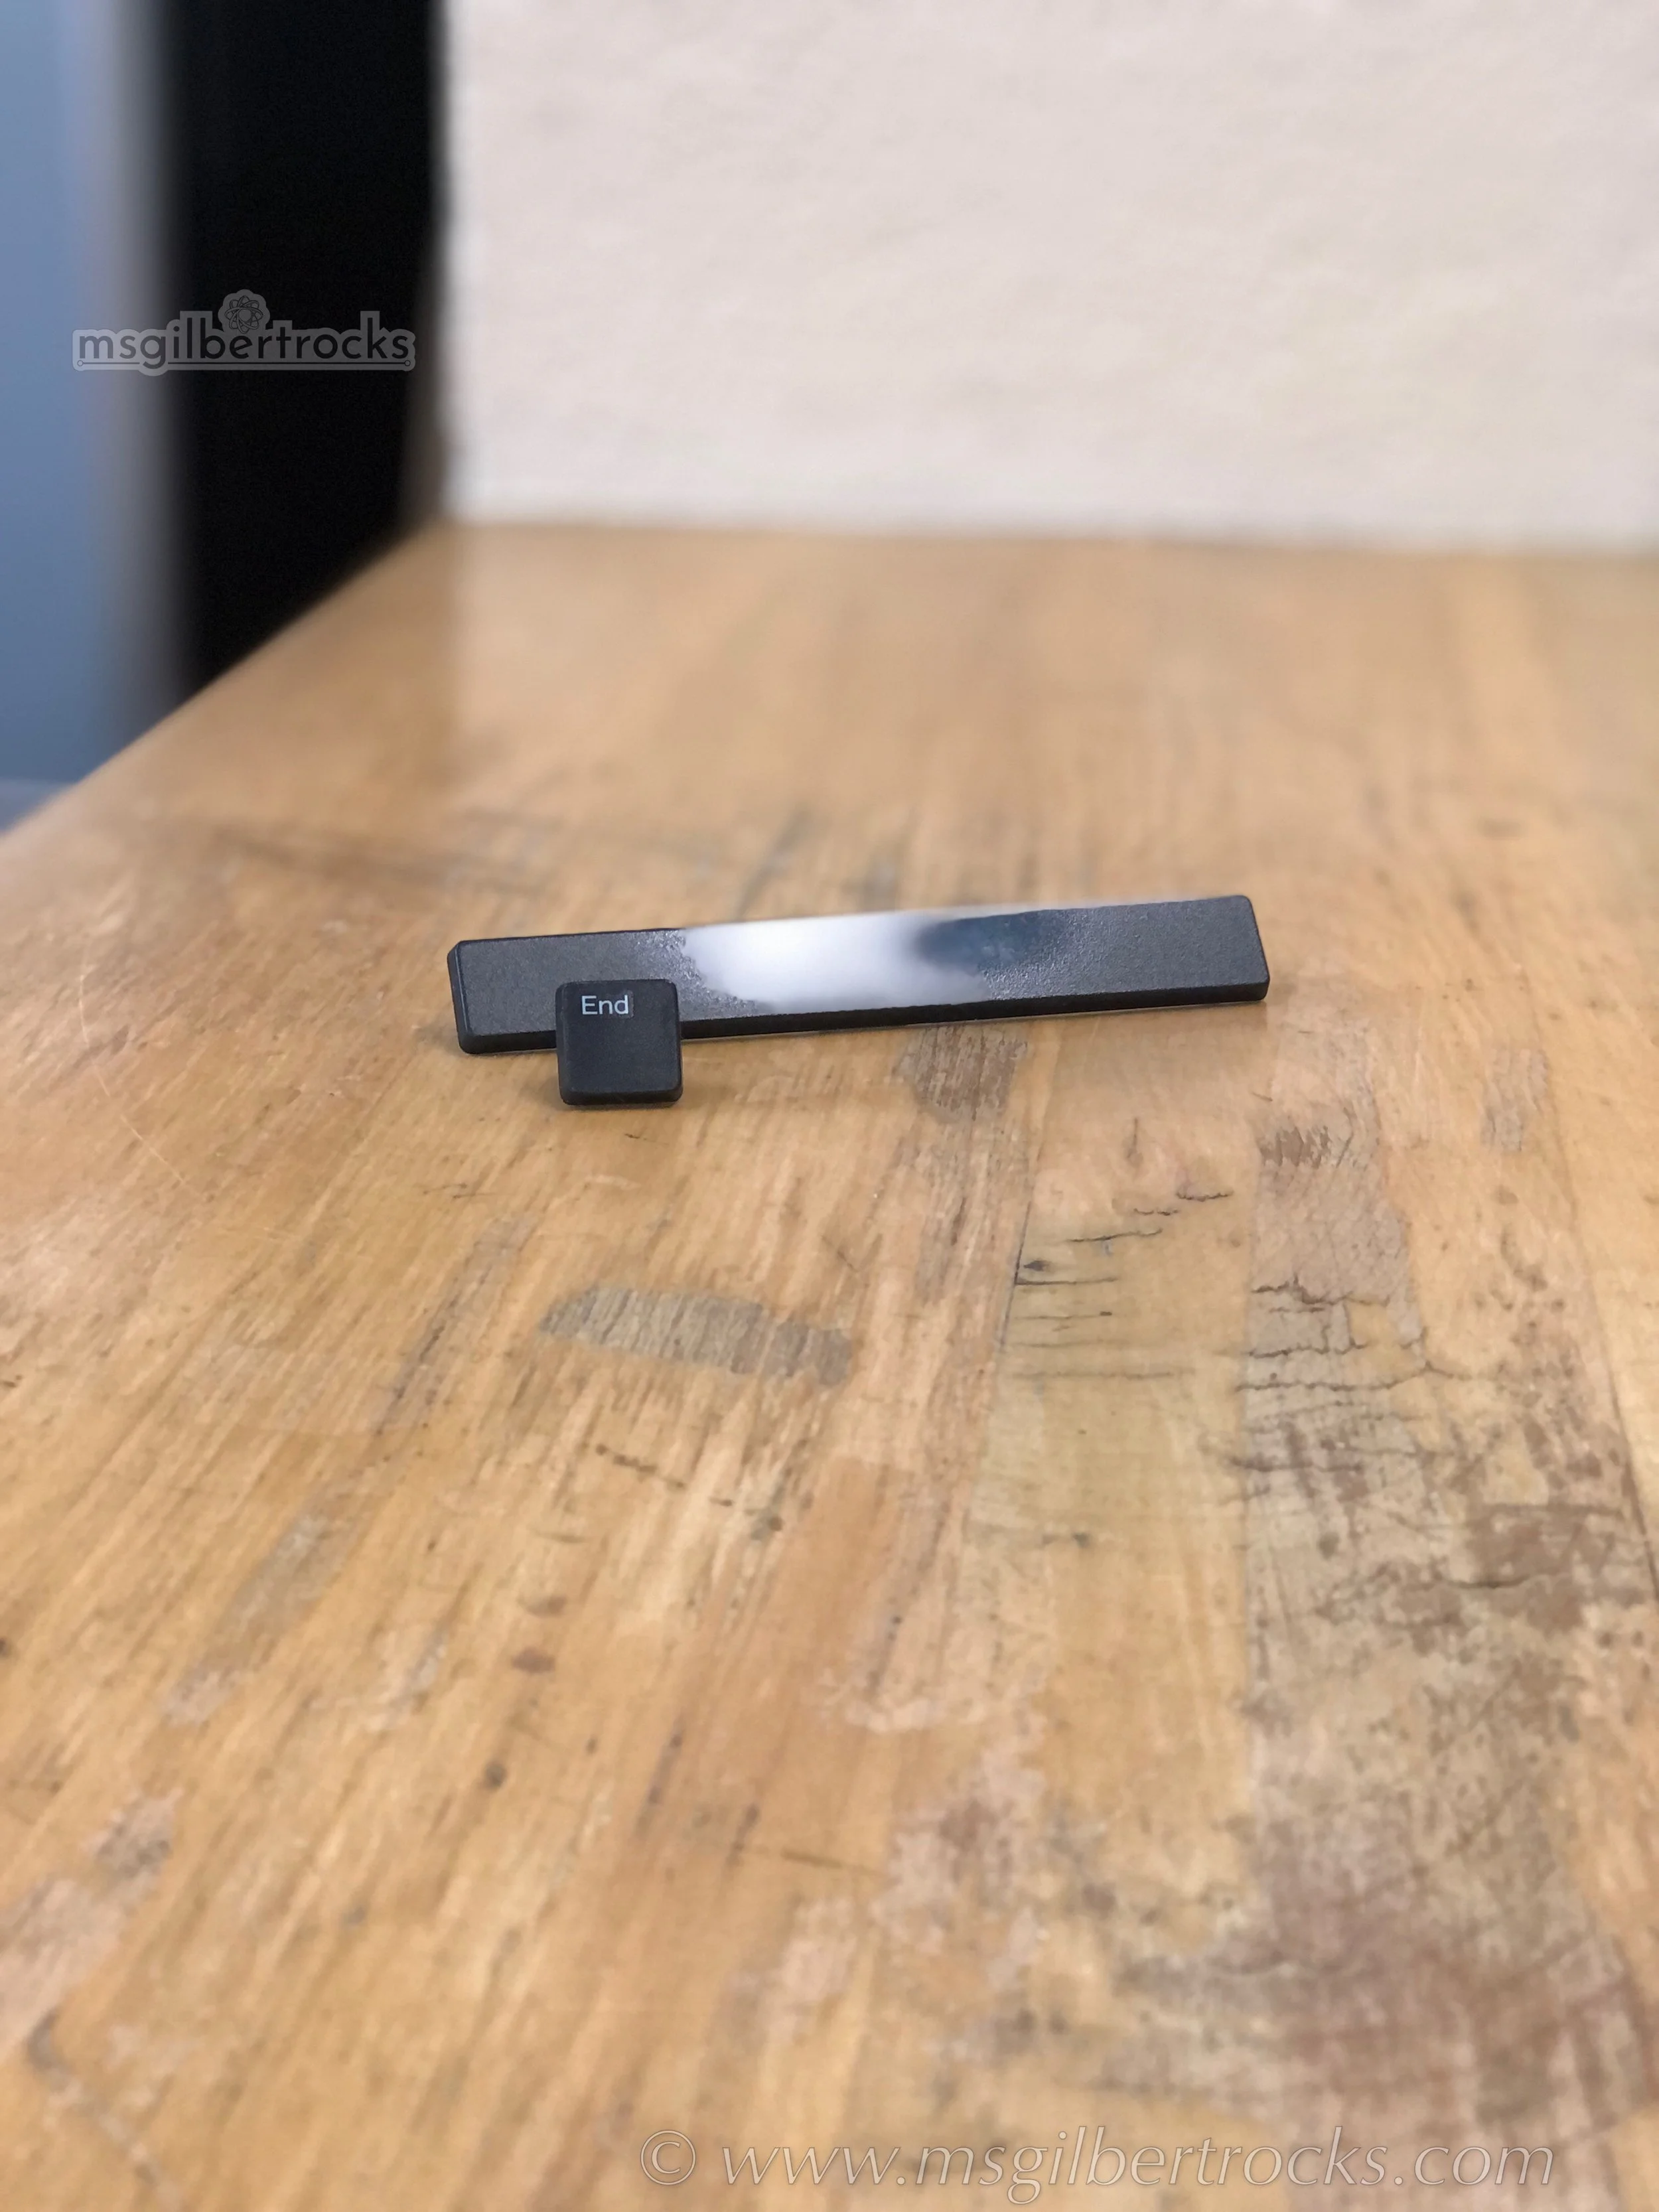
Next, they used a very basic Google Slides template to create a visual presentation featuring one or two parts they found, what they thought the parts did, and why they found them interesting. This also gave them a chance to practice typing, organizing ideas, and preparing for oral presentations. Students chose the parts they wanted to highlight and helped me set them up to be photographed. I added the photos directly into their slides.

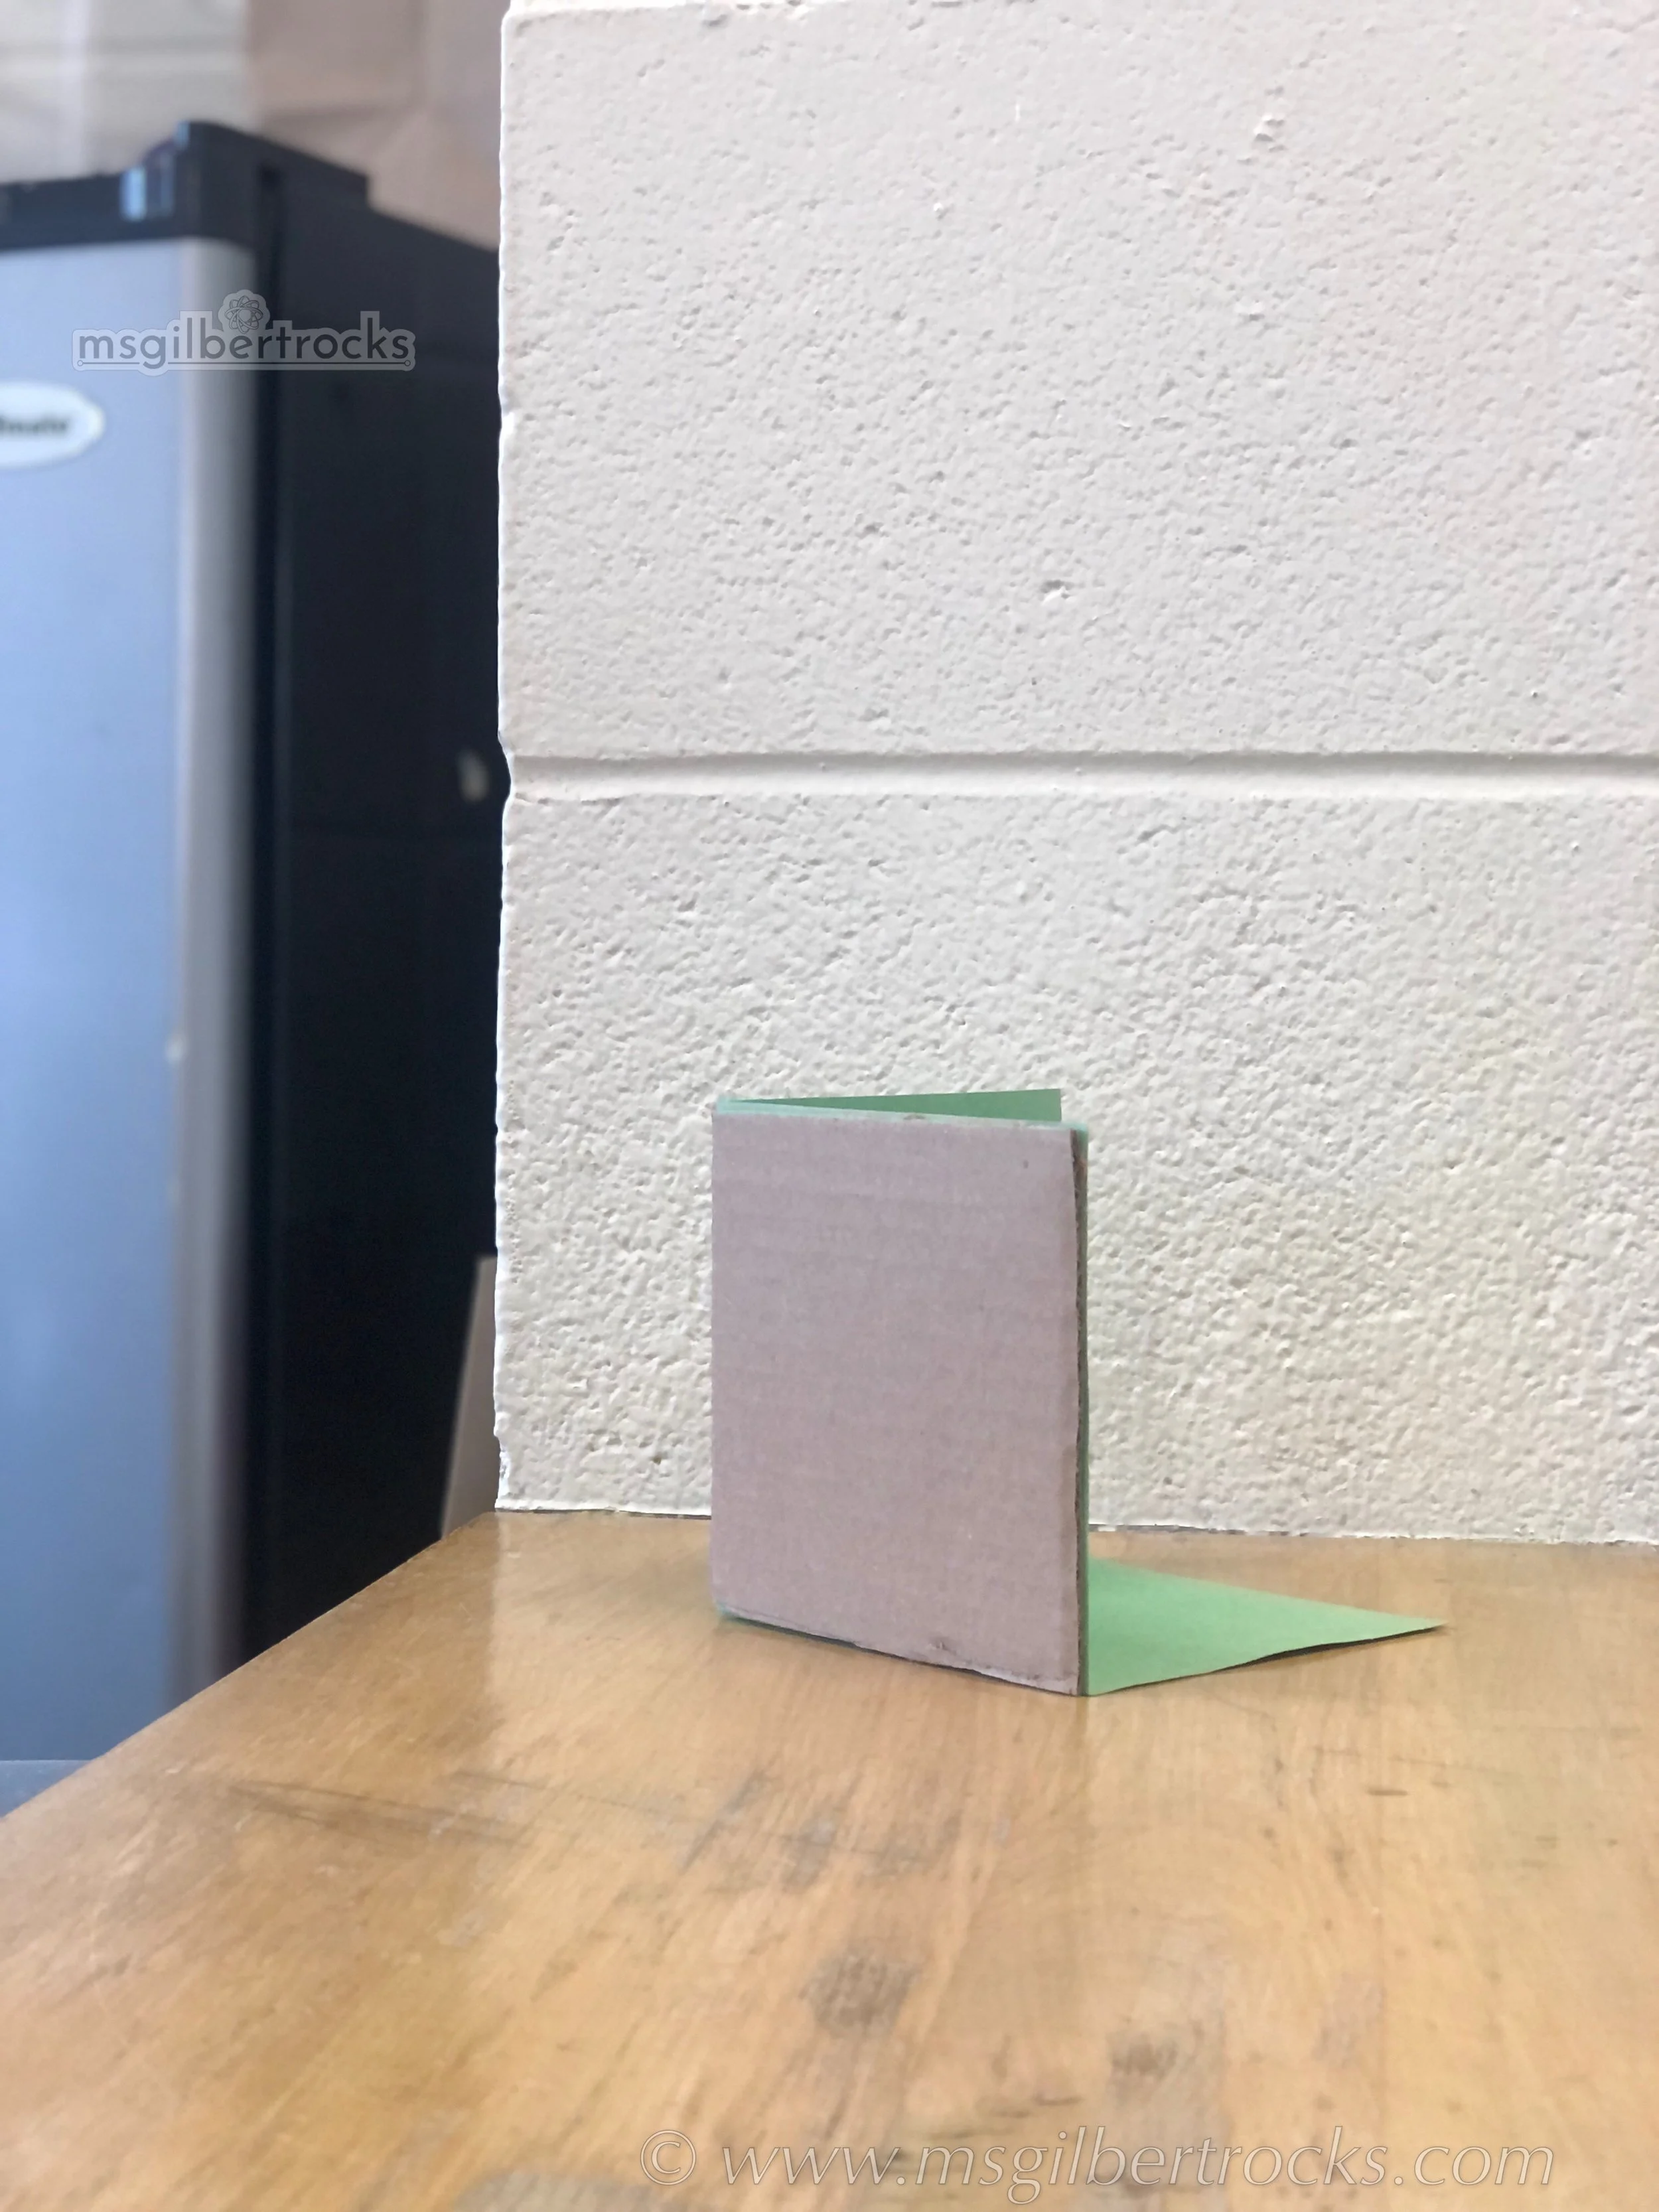
Our Take-Apart Museum
To celebrate their hard work, students created a mini Take-Apart Museum to showcase their discoveries!
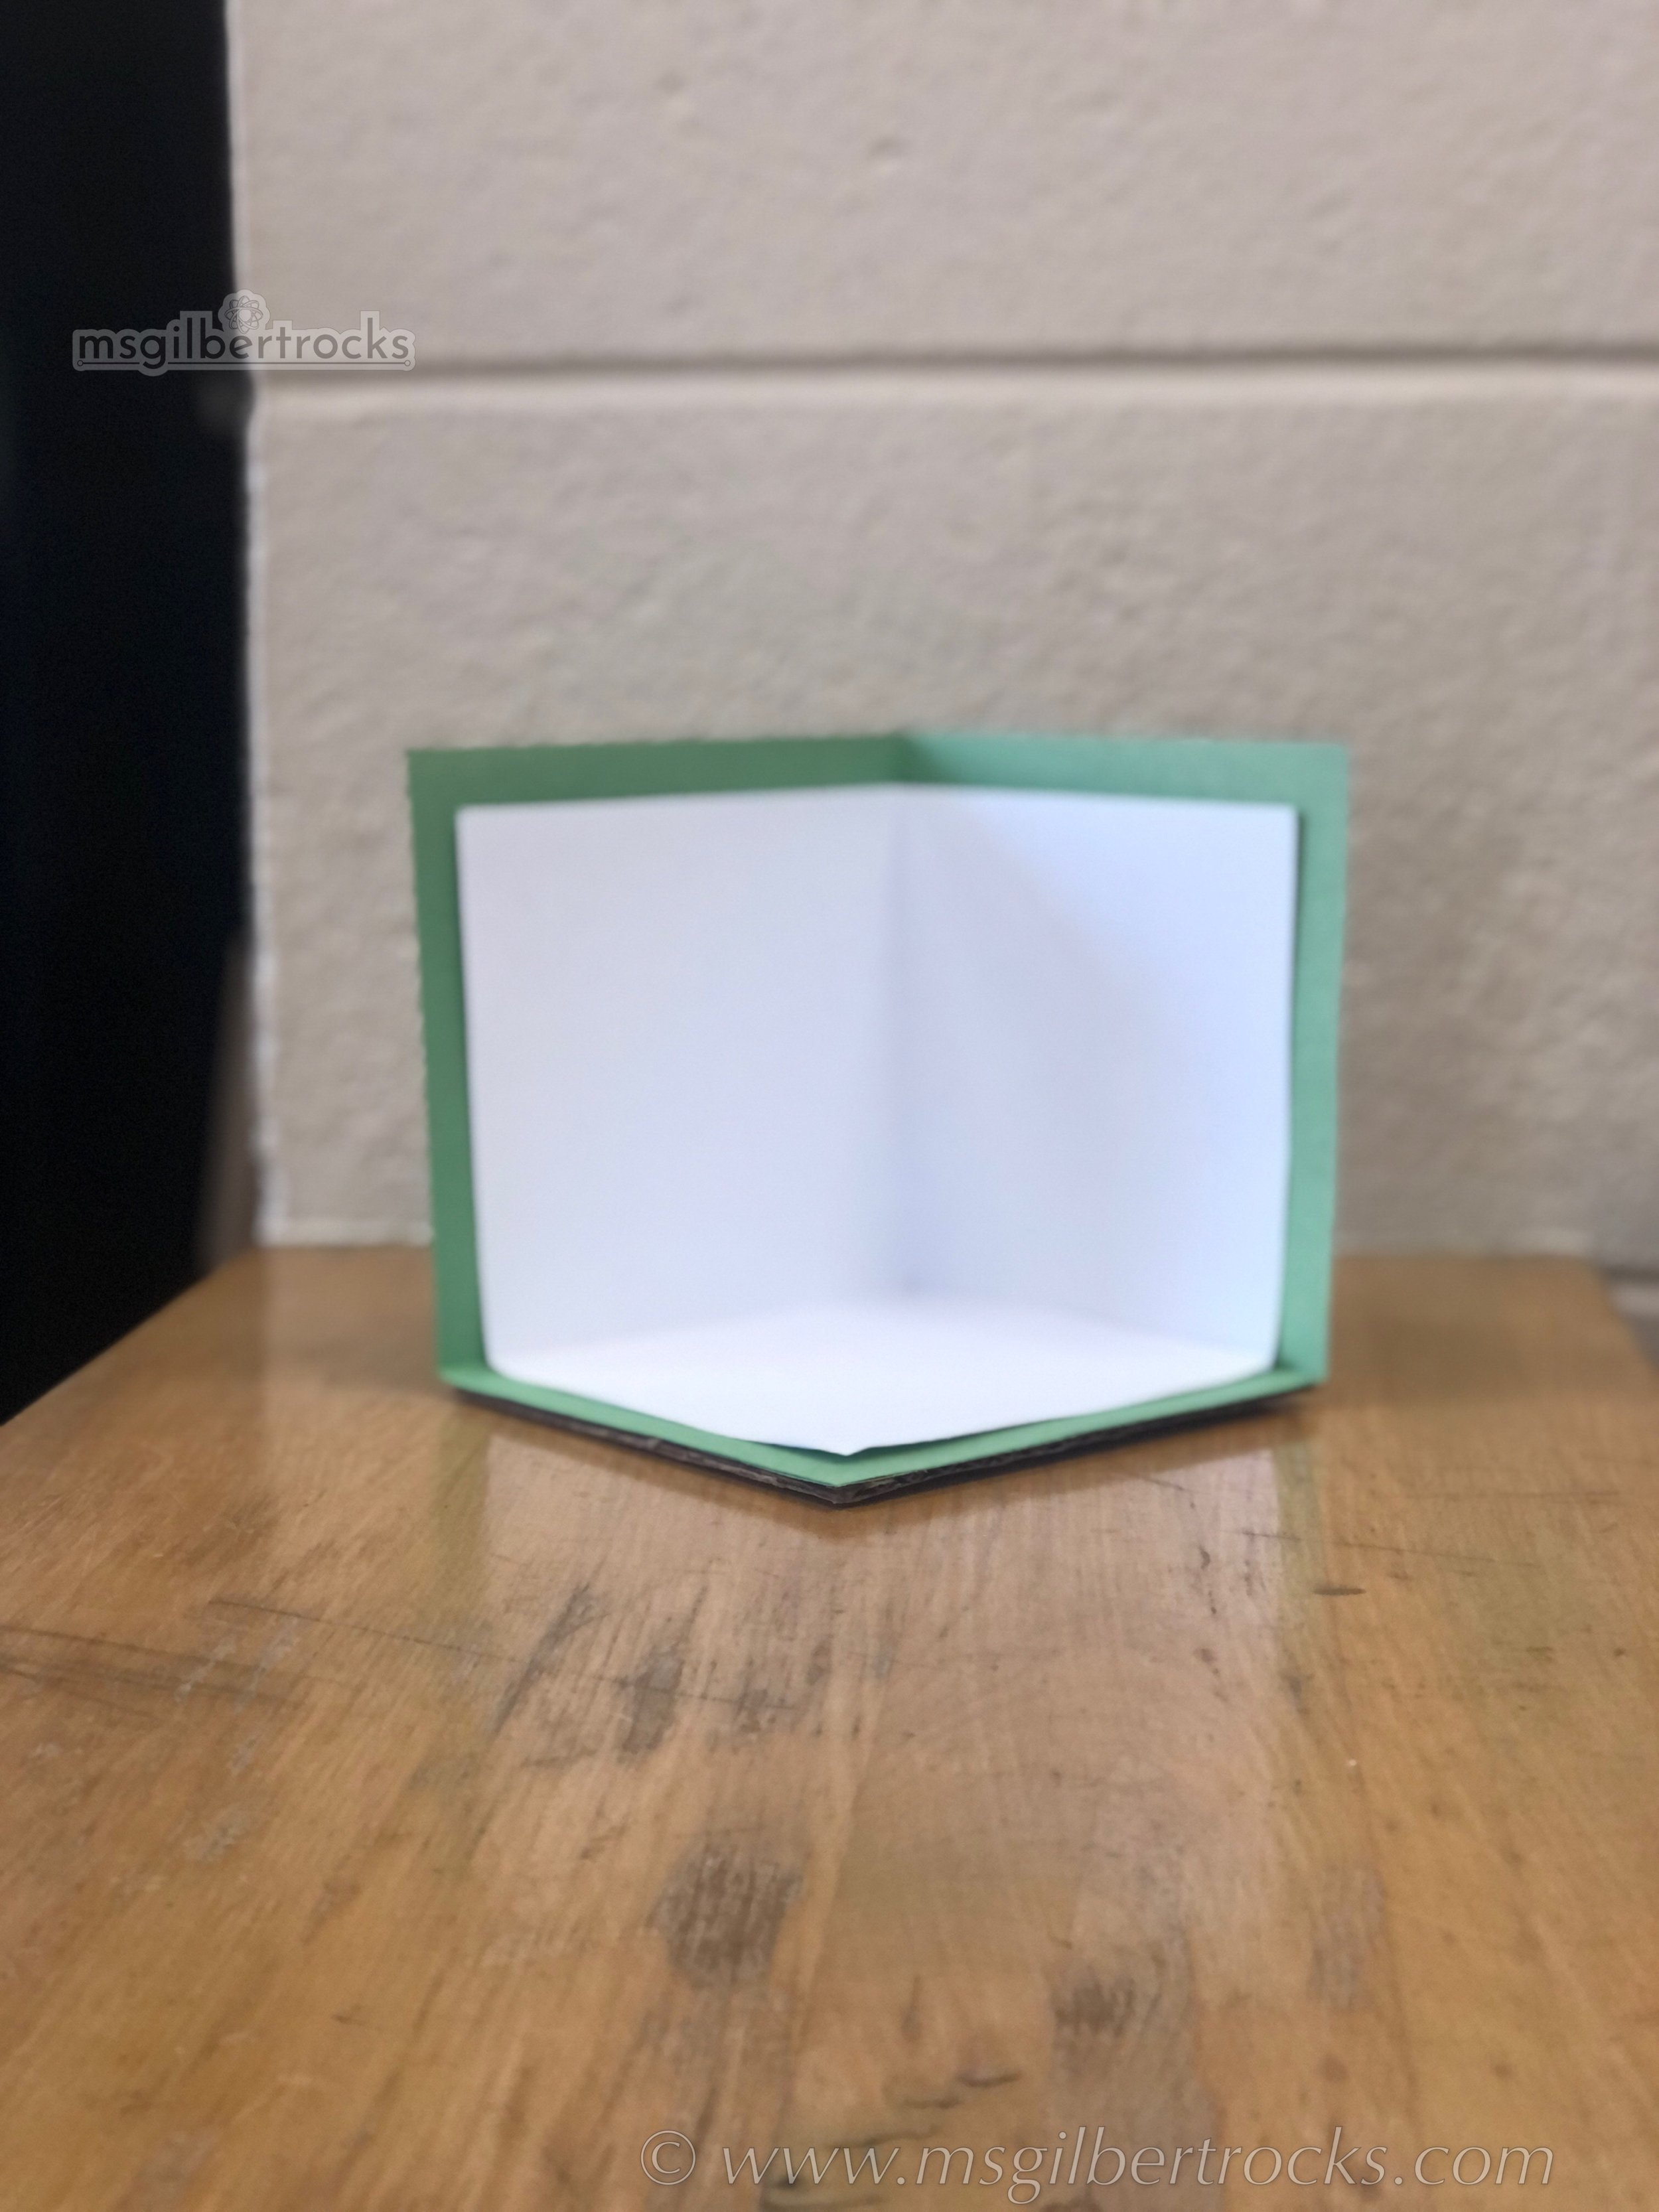
Each student was given a simple paper display stand made by folding a piece of paper into an open box shape with a piece of cardboard glued to the bottom for stability. Their display included:
One or two parts they chose from their deconstructed keyboard
A colorful background or frame created with the folded paper
Next time I would add this in, or consider setting it up with links to last year’s presentations for more students to see this year:
A printed caption, or if space was tight, a QR code linking to them a video of them reading their slides
This museum-style setup allows students to share their STEM and literacy work in a real-world way that makes their learning visible and celebrates their curiosity. The greatest challenge was the timing for when we started and completed the projects, so they never had the full museum display experience. The good news is that the students all recorded themselves reading their slides (using the built-in screen recording feature of Google Slides), so it is easy enough to use the QR code option mentioned above to highlight the projects again this year.
A Take-Apart Treasure Hunt: More Than Just STEM
This project wasn’t just about technology or science, it was about giving students a meaningful reason to read, write, think, create, and share.
Using an authentic task like this one helps make pullout reading and writing groups feel important, exciting, and connected to the real world.
I look forward to building on this experience with even more hands-on literacy-focused STEM projects!
If you’d like to try the Take-Apart Treasure Hunt with your students, grab a copy of the resources below and please reach out to me with any questions about logistics or anything I did not cover in detail within this post.
Make a copy of the Google Doc for this activity
Make a copy of the Google Slides template for student sharing - this is very basic and fit with the age/level for my groups and time we had (the end of the year!)
And a special thanks again to Diana Rendina for her inspiring "de-construction not destruction" take-apart approach!